So in true seventies, split-level house-ness, our house has a lot of awkward spaces and big walls that need something dimensional to anchor them. On Fixer Upper, Joanna Gaines seems to always be putting beautiful wooden shelves in all of the homes they design and I fell in love with them (anyone else obsessed with that show?). I had seen a few tutorials on Pinterest that I liked, but most didn’t have all the steps or were more complicated than they needed to be, so my husband and I took the best ideas from them and made these; they cost about $20 per shelf to make.

Supplies Used:
2X4 common board
1/4″ plywood
1X8 common board
Finish Nails
Pocket Screws
Miniwax Stain and Putty in Provincial
Miniwax Paste Finishing Wax
The basic idea of these shelves is that you essentially are making a box that is missing two sides, screwing it into the wall, and then adding on the two missing sides. For the back and sides of our shelves, we used 2X4’s. We made them eight inches deep- deep enough to hold jars and cute decorative things like my vintage scale, but not jutting out so far from the wall that I thought they looked odd.
The dimensions for your shelves will probably depend on the space you are trying to fill. I held my hands up to show my husband how big I wanted them, and he made them that wide. Our shelves are 8 inches deep, 36 inches wide, and about 5 inches tall.
Now for the cutting- we cut a 2X4 to go across the back of each shelf. It should be cut to 4 inches less than your desired width. Next you want to cut the 2X4’s that will be the sides of your shelves. We cut ours to 8 inches, so our shelves would be that deep. Now, you can either pocket hole the sides to the back support, like you’ll see we did in our pictures, or simply screw them in from the side. You will see these nails, but you can always fill them later. If you are making your shelves much longer than ours, you may want to add a center support or two as well for extra strength. Since our shelves were pretty short and felt strong, we chose not to.
Now you can cut your top shelf. Take your 1X8 and cut it to the width of your shelf, and then nail it to the top of your frame, like below.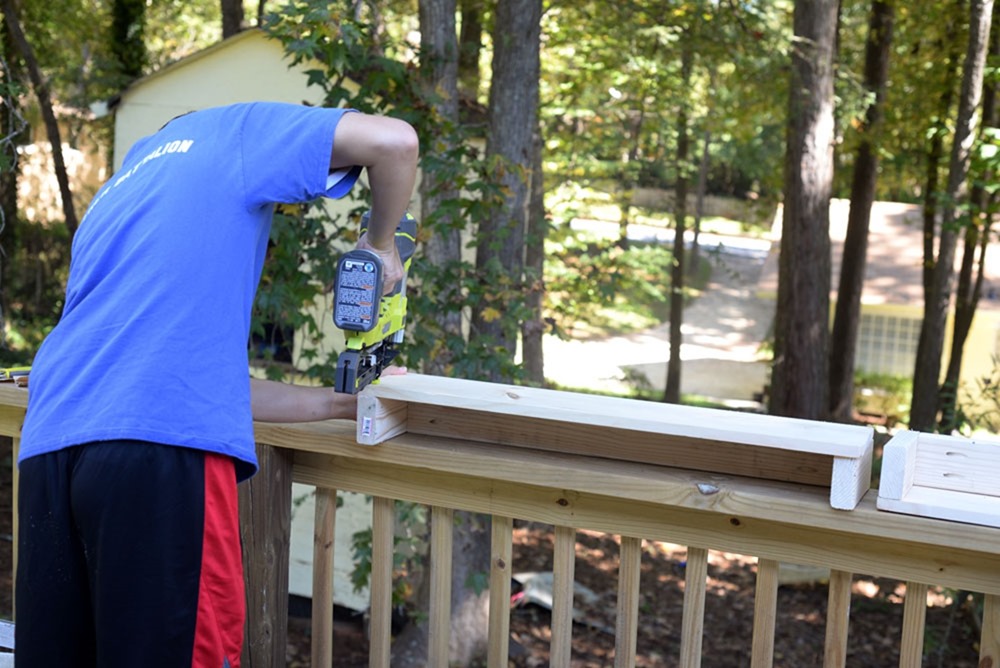
At this point, you’ll want to cut your plywood for the front and bottom of the shelf. You won’t add it on until the end, but you’ll want it cut so you can stain it with the rest of the pieces. Measure your frame, and cut the plywood to the proper dimensions. Our bottom piece measured approximately 8 inches deep and 36 inches wide. It’s a good idea to measure and cut it to your exact dimensions though, because lumber is never exactly the size it’s called. After cutting your bottom piece of plywood, set the frame on it and measure how big your front piece of plywood needs to be in order to cover the entire front of the shelf. Once you’ve made all your cuts, sand and stain your pieces.
Now for installing them! Figure out exactly where you want your shelves, and screw the back 2X4 into the studs in your wall. Make sure you use a level! 
 Once the frame is on the wall, you can nail on your bottom piece and then the front piece. Wa-la! You can stop there, or you can fill in your nail holes with wood putty to disguise the nail holes. I also added a layer of finishing wax for a more polished look. You can use Polyurethane if you want a glossy finish.
When I came back in with all my cute decorations to fill them up with, I found this:
Ryobi would be proud. My husband would have been totally happy to have those on the shelf forever, but it didn’t exactly fit my rustic farmhouse-y décor. (Here’s the link to that awesome nailer we used)
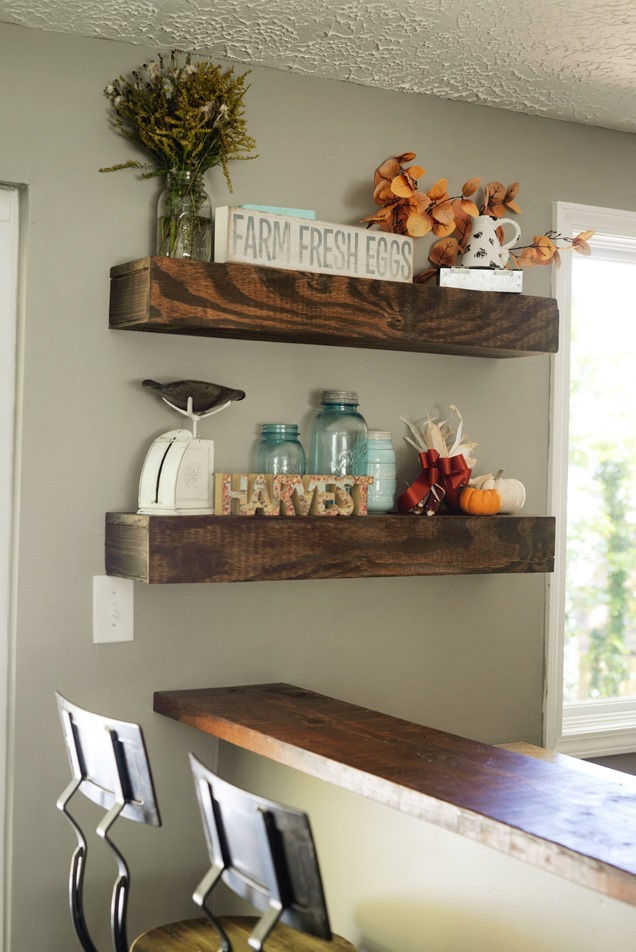
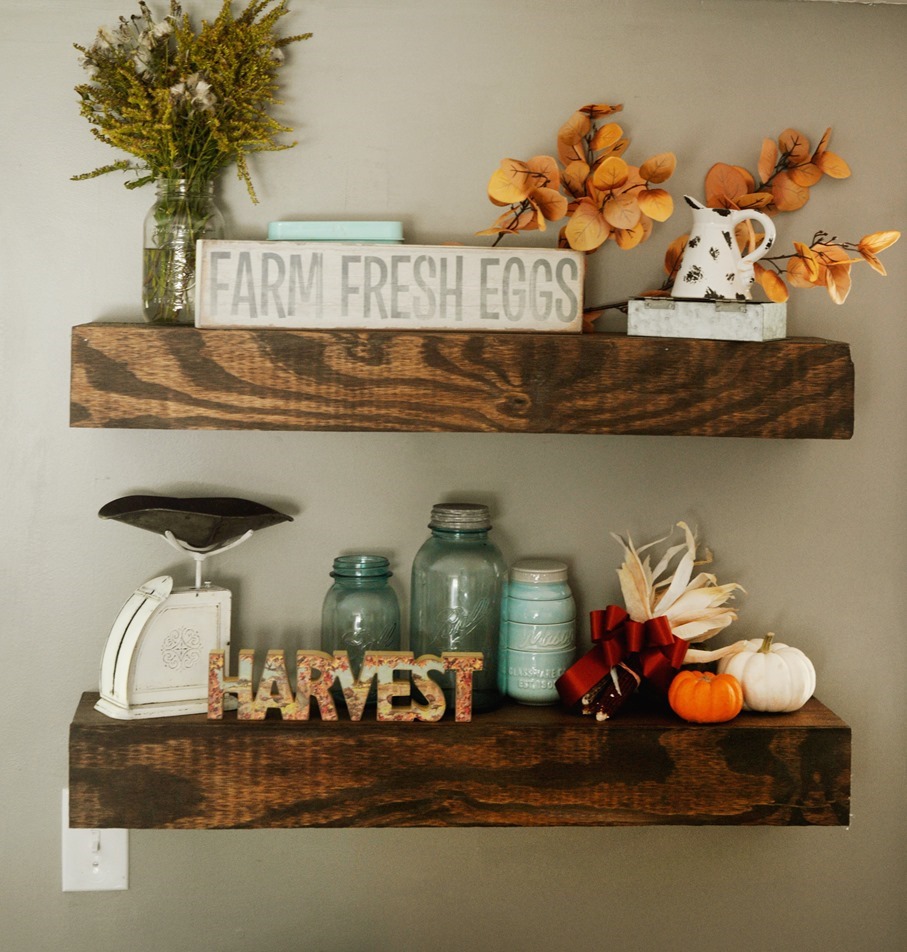
If you make some yourself, I’d love to see your pictures!



These are seriously so cute! You guys did an amazing job and I love the pieces you decorated them with!
I love the shelves. Stacey and Brandon you all did a great job.
Love these!! Would you mind telling me what color paint is on your wall? So pretty!
Love! Where did you get the farm fresh eggs sign?
I got it at Marshalls, but it’s made by Kathy’s Primitives! They sell her items at a lot of stores and probably on eBay!
I love the shelves. I would love to have one over a outlet and have the front on a hinge and open down to put all iPads and iPhones on charge. NO wires showing. (I really don’t like wires). Than all I would need is someone to build it. LOL.
That is such a good idea!!! That’d be a great place to store a mixer or something too. I like the way you think!
I love your wall color! Could you share the name of it? It looks so warm and inviting.
It was that color when we moved in so I’m not sure. Sorry!
These are great! Your instructions are extremely thorough and helpful! I am planning on making 6 of these shelves for next to a fireplace and a “bar” to go under a very tiny, awkward pass through. I think I can even use this idea to recover the mantel to tie everything together. I’d love to share pictures when I finish the project!
These look great! What kind of 1/4″ plywood did you use? Oak or maple or something else?
I believe it was pine, but I will ask my husband, he might know better than I do.
Love this! What color stain did you use?
Special Walnut 🙂