For the last few years, Pottery Barn Kids has sold these adorable, personalized chair-backers for Valentine’s day that were so cute, but were really expensive after the monogramming and shipping (they were something like $40 final price). I had thought about making my own before, and hadn’t done it, but once again, Target has come through for me. Their one-spot shop, which is the $3 and under section has these almost identical envelopes this year for only $1. As soon as I saw them, I grabbed some. (For those of you emailing me and your Target is already out, here is a link to someone selling the same ones for a little more on Amazon.)
All they are missing is the chair-ties and names! I decided to keep it really simple and cheap by sewing the names on myself, but if you have an embroidery machine, that would be a great way to go, or you could always take them to someone who monograms to have the names added. For a buck, either way you are going to end up cheaper than PBK’s were, and for almost an identical product! These only took me about ten minutes each to make and that’s with two kids distracting me, so it’s a fast project.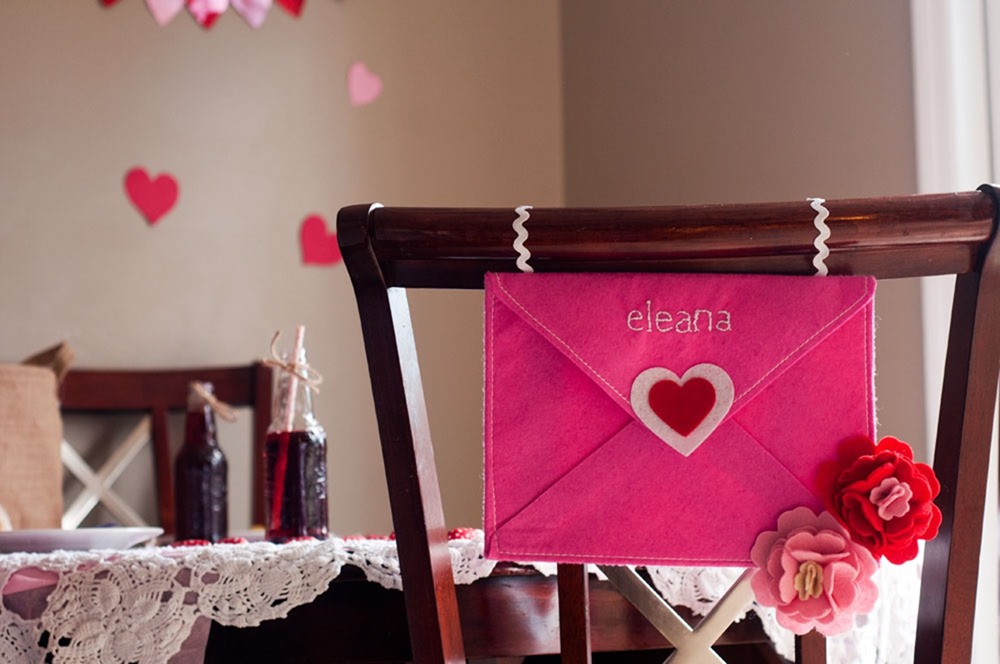
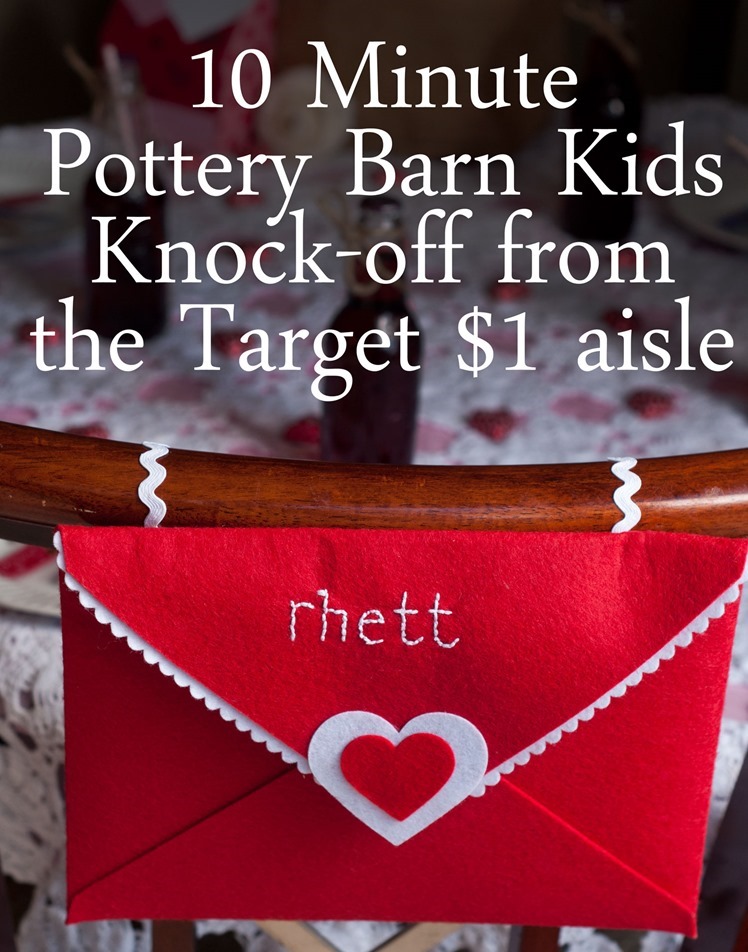
I bought the envelopes for $1, embroidery floss for .50 cents, and had this ric-rac already, so really this project costs me less than $2, but that’s about what you would pay if you bought all the supplies new.
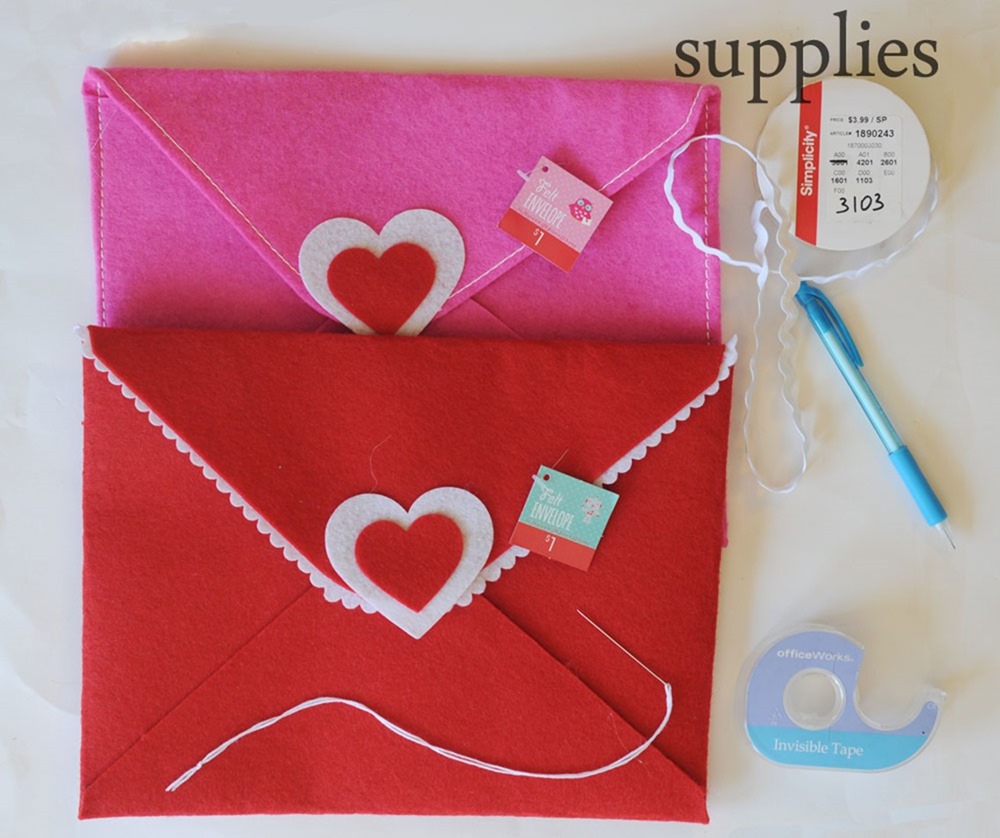 Here’s the supplies I used- the envelopes are from the Target One Spot section, tape, a mechanical pencil (a old fashion wooden pencil would work much better, I just couldn’t find one), embroidery floss, ric-rac, and a needle.
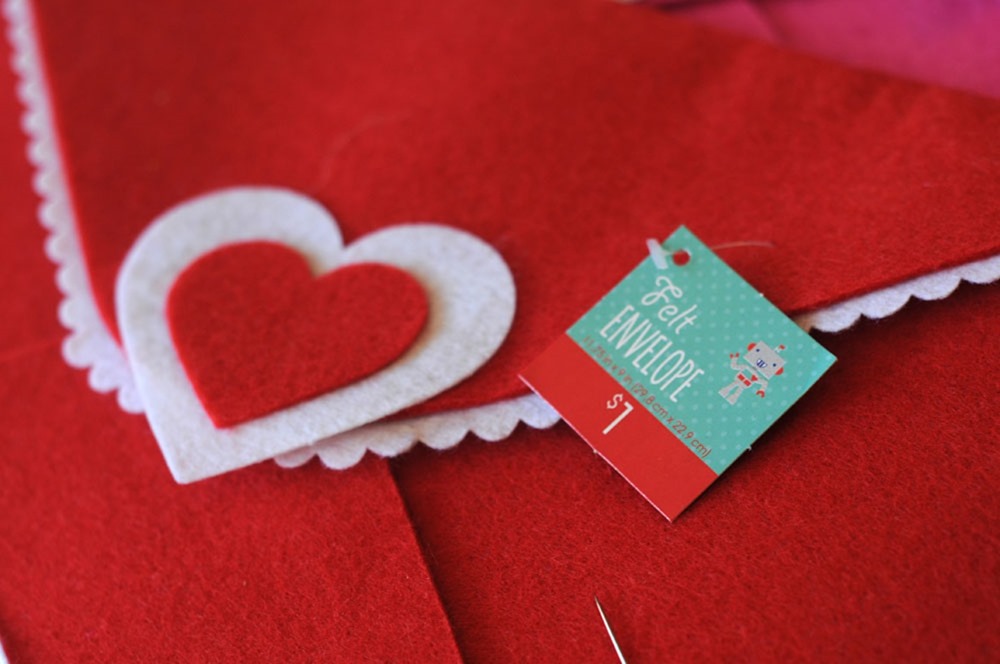 $1! You can’t even get enough felt for this project at the craft store for a dollar. These things are a steal! I hear they are flying off the shelves, so find out when your Target will be restocking. They come in red, pink, and gray.
 The first thing I did to these babies, was add a piece of tape in a straight line below where I wanted the name. This helps with lining up the letters and making it look more professionally done. Then I typed out the name in Microsoft Word and just eyeballed it with pencil onto my envelope, as you can see in the picture above (sorry it’s so hard to see!) Do not skip this step unless you want your letters crooked and not so pretty. Tracing them out before, even you if you do it by eye, makes it so much easier to have them spaced right and straight once you get to the embroidery part.
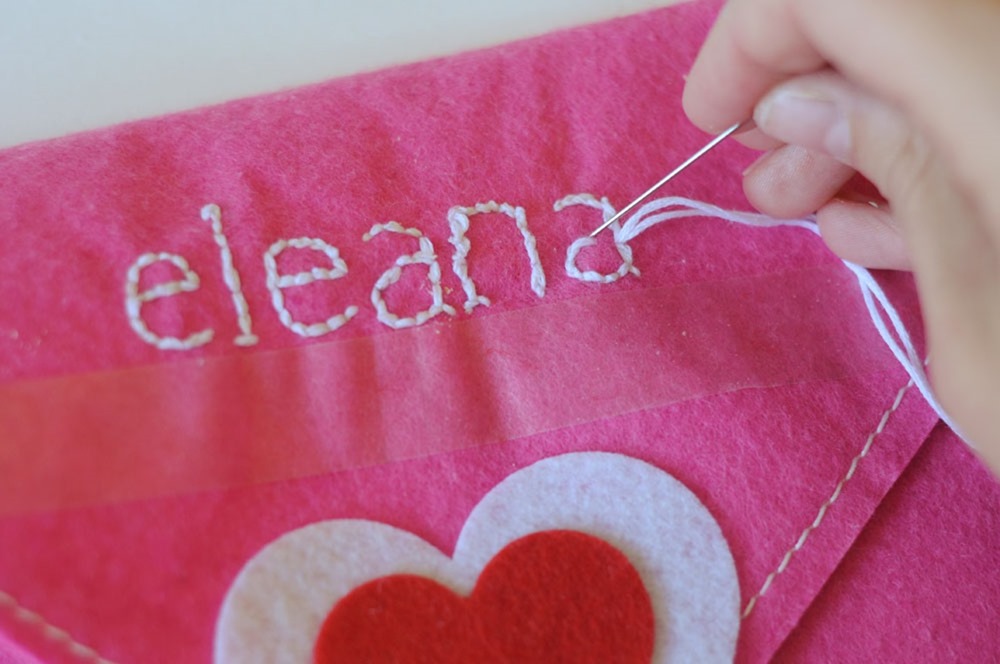 Next, I threaded my needle and hand sewed over my pencil letters. The smaller the stiches you make, the better it will look, especially on curved letters like s, c, etc.
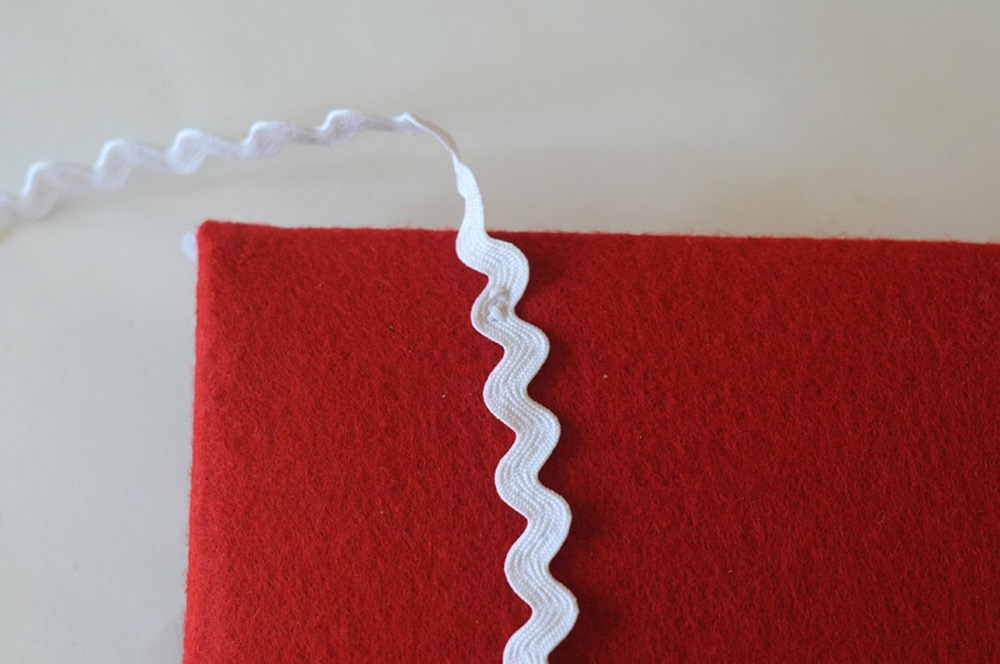
So easy, right? If you want them to be chair-backers like I did, I cut two pieces of ric-rac that were about two feet long, folded them in half, and sewed them on the back as ties, sewing from in inside out. I used fray check to keep the ends from unraveling. Tada! Adorable personalized chair-backers! You could always add the extra stitching on the edges that pottery barn did too, if you’d like. The pink ones come with it, the red don’t. For the pink one, I grabbed some $1 flowers out of the one spot shop that come on a clip and added those to the corner to dress it up a little more.
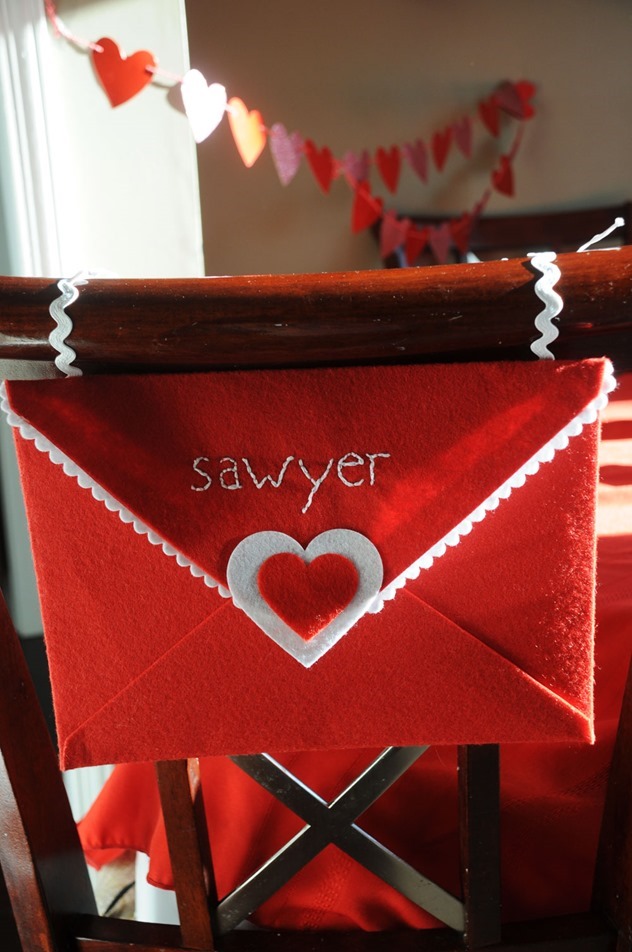
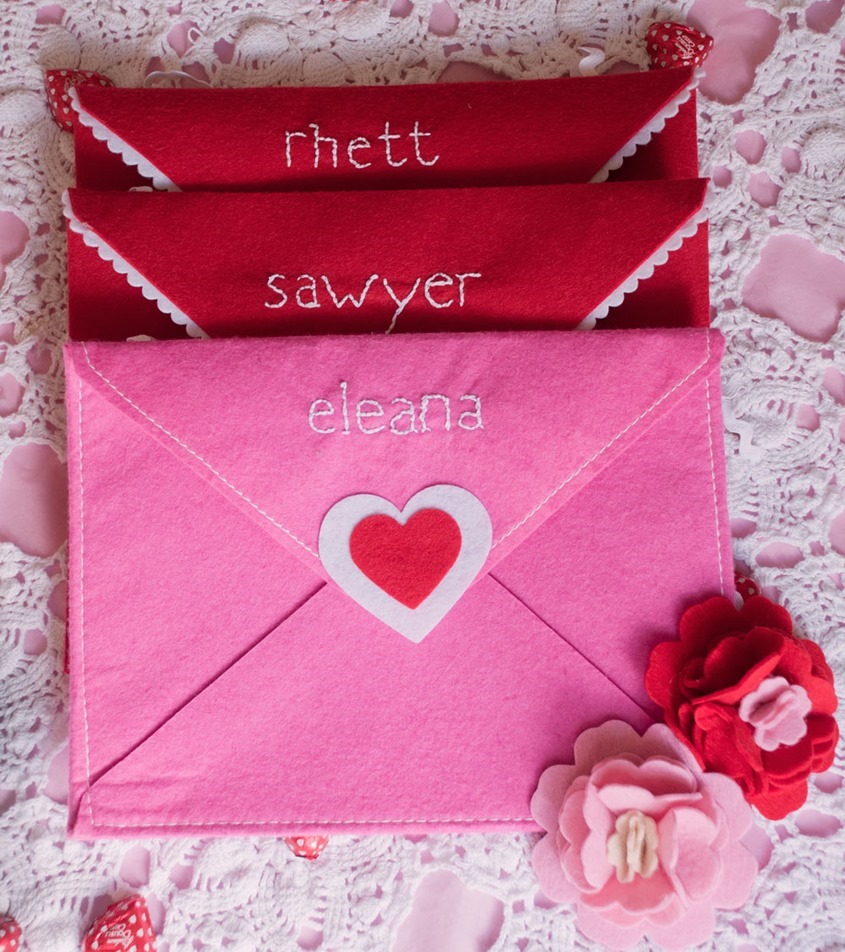
Here’s all three that I made, one for each of my boys, and one for my best friends daughter, and here is Eleana’s compared to the Pottery Barn Kids version! If you make your own, tag them with #goodmorningloretta and share them so I can see, I’d love to see yall’s take on these, the envelopes are such a great blank space. I thought about getting a few more red ones and taking the heart off to make Christmas chair backers!
Thanks for reading!

This is such an awesome and cute idea! I’m totally going to head to target and make these!
Paige
http://thehappyflammily.com
Thanks Paige!
They turned out so cute! I wish I could find some gray ones too!
I checked all the Target’s on the way home the other day, there weren’t any!
I am honestly so obsessed with Eleana’s!!! It’s so cute!!
I’m so glad you like it!