This shop has been compensated by Collective Bias, Inc. and its advertiser. All opinions are mine alone. #allfreeclear #CollectiveBias
Today, I’ve got another great DIY for kids to share with you. Yesterdays post was all about backyard water fun and today is all about getting dirty. My boys spend 99% of their time outside digging in dirt. No matter how many bikes, scooters, playgrounds we have, they love digging. Unfortunately for us, our house has this little pit of mud with no grass that they love, and it is right next to the road, and they really love it. It makes me so nervous and I sit there watching them like a hawk the entire time they play, and even then I’m nervous something will happen. We don’t live on a really busy road, but still. So instead of letting them dig a big hole in the middle of my yard, we decided to build them a box that can be there monster truck/construction vehicle play box. We made most of it from pallets, which is awesome because it can fit anyone’s budget. Keep reading for instructions!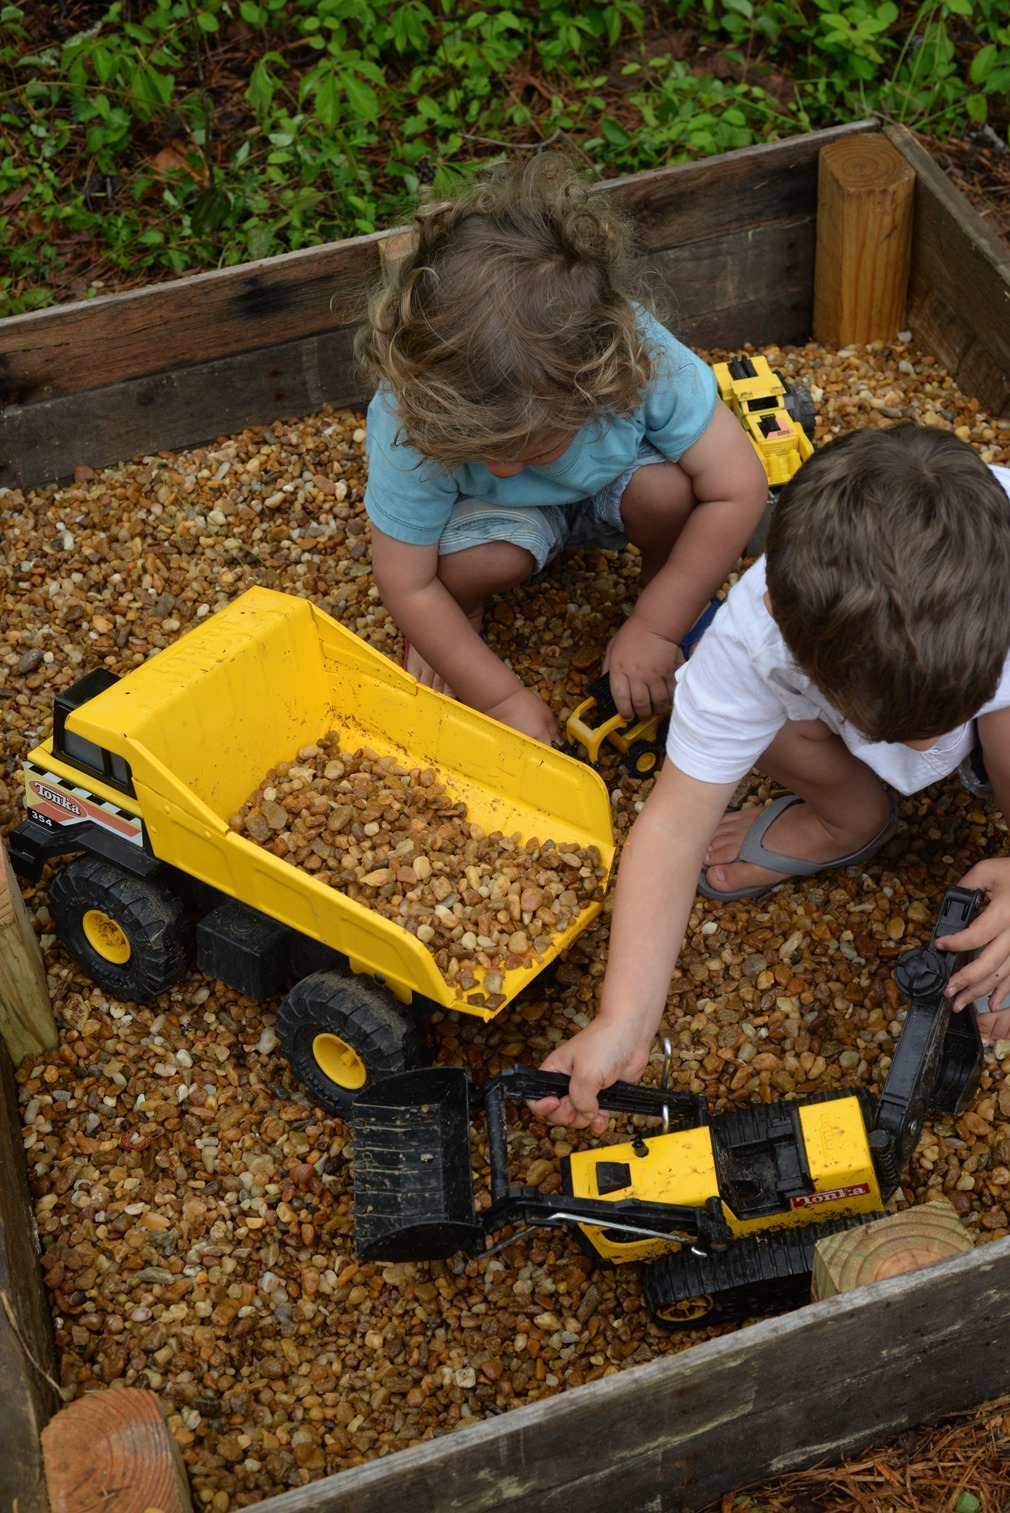
We decided to fill it with rocks instead of dirt to try and keep them at least a little cleaner than they normally get (we considered sand but didn’t want the neighborhood cats using it as a litter box). I swear my kids have to change clothes ten times a day because they go get so muddy playing in that hole. We go through so much laundry detergent, but we’ve been using all® free clear detergent and at least it gets all the stains out and so they can play outside and get as muddy as they want without me worrying about their clothes every time. In high school, I started having sneezing fits constantly, and was able to trace it back to the laundry detergent I was using. I switched to all® free clear detergent and haven’t used another detergent since. It’s gentle enough for even my babies, strong enough for my messy toddlers, and doesn’t bother me. We pick it up in bulk when we go to Sam’s Club. 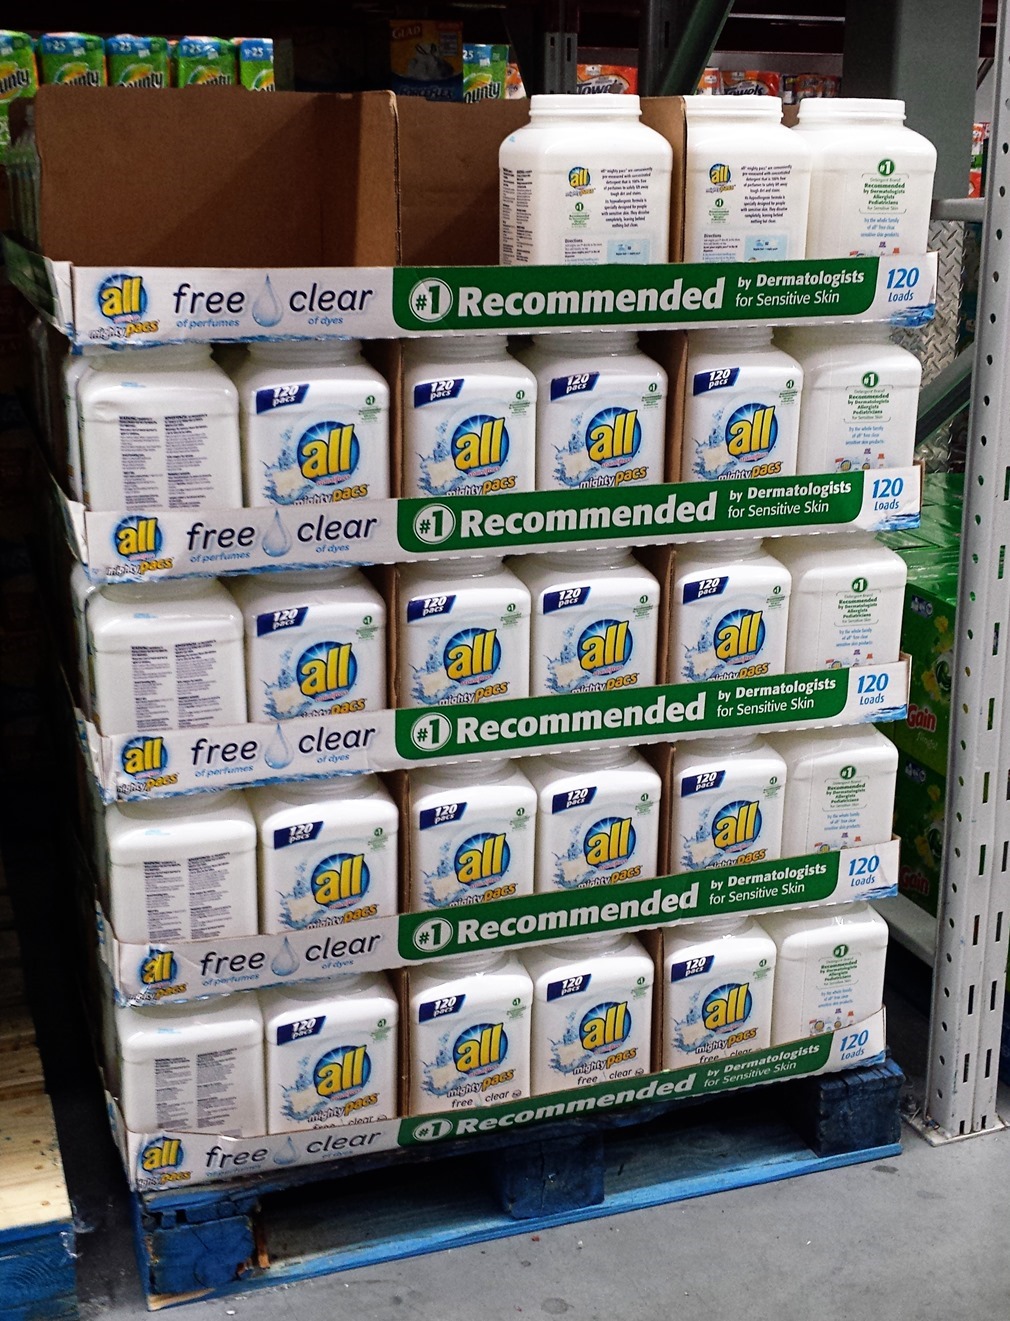
I buy it by the pallet. Just kidding, I wish that was my stockpile! I really am loyal to all® free clear detergent though.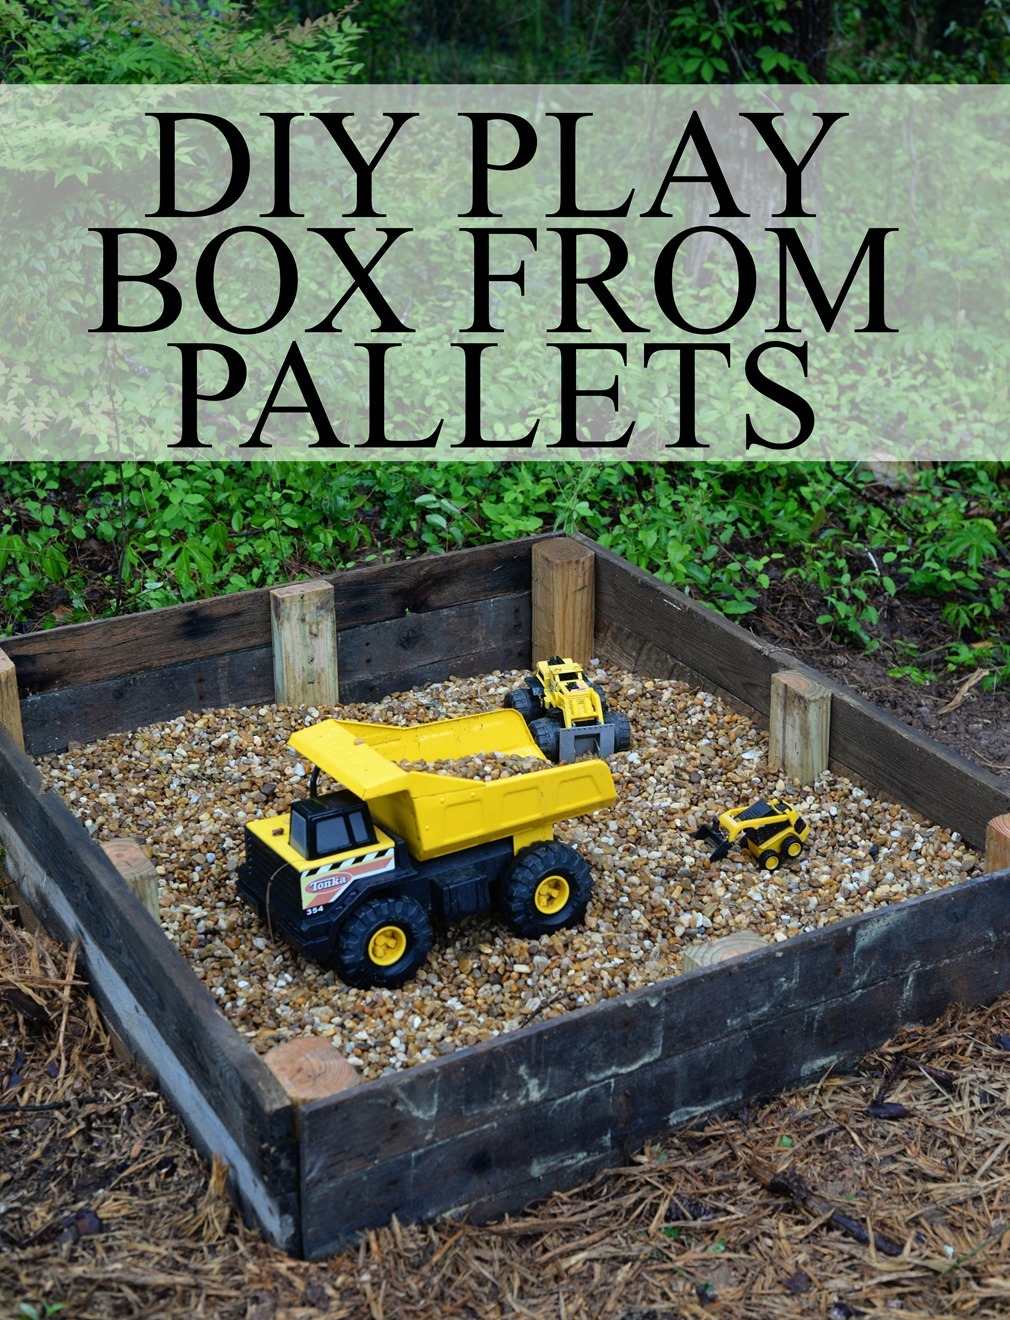
Supplies:
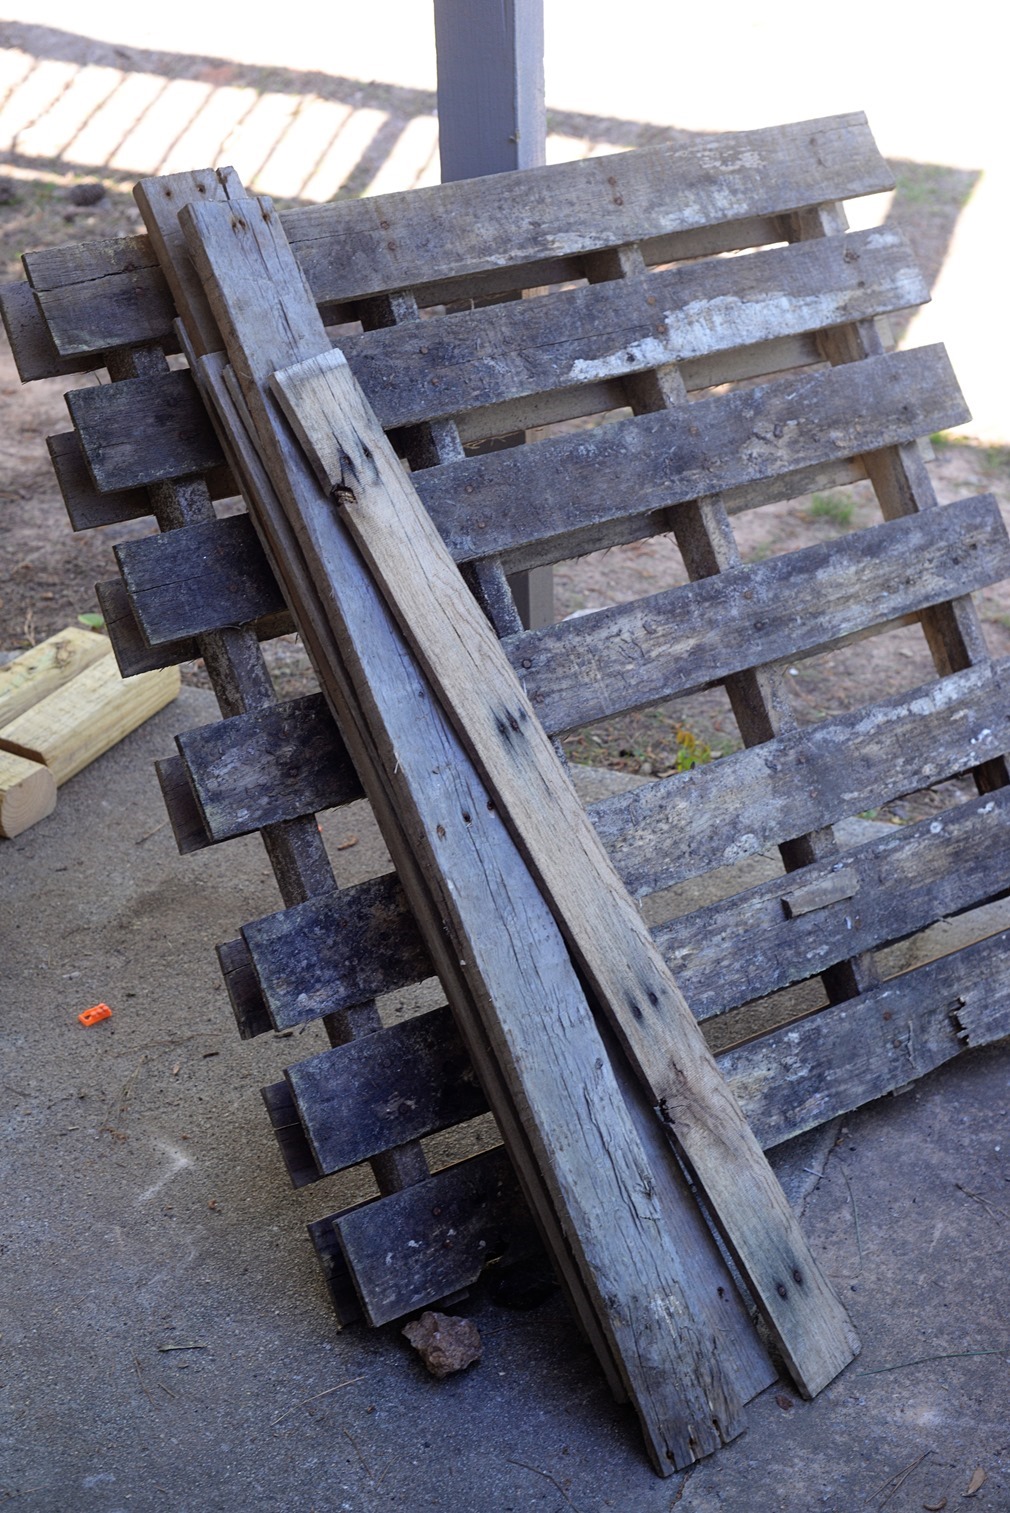
12 boards off of pallets (You might need two pallets to get enough)
Nails
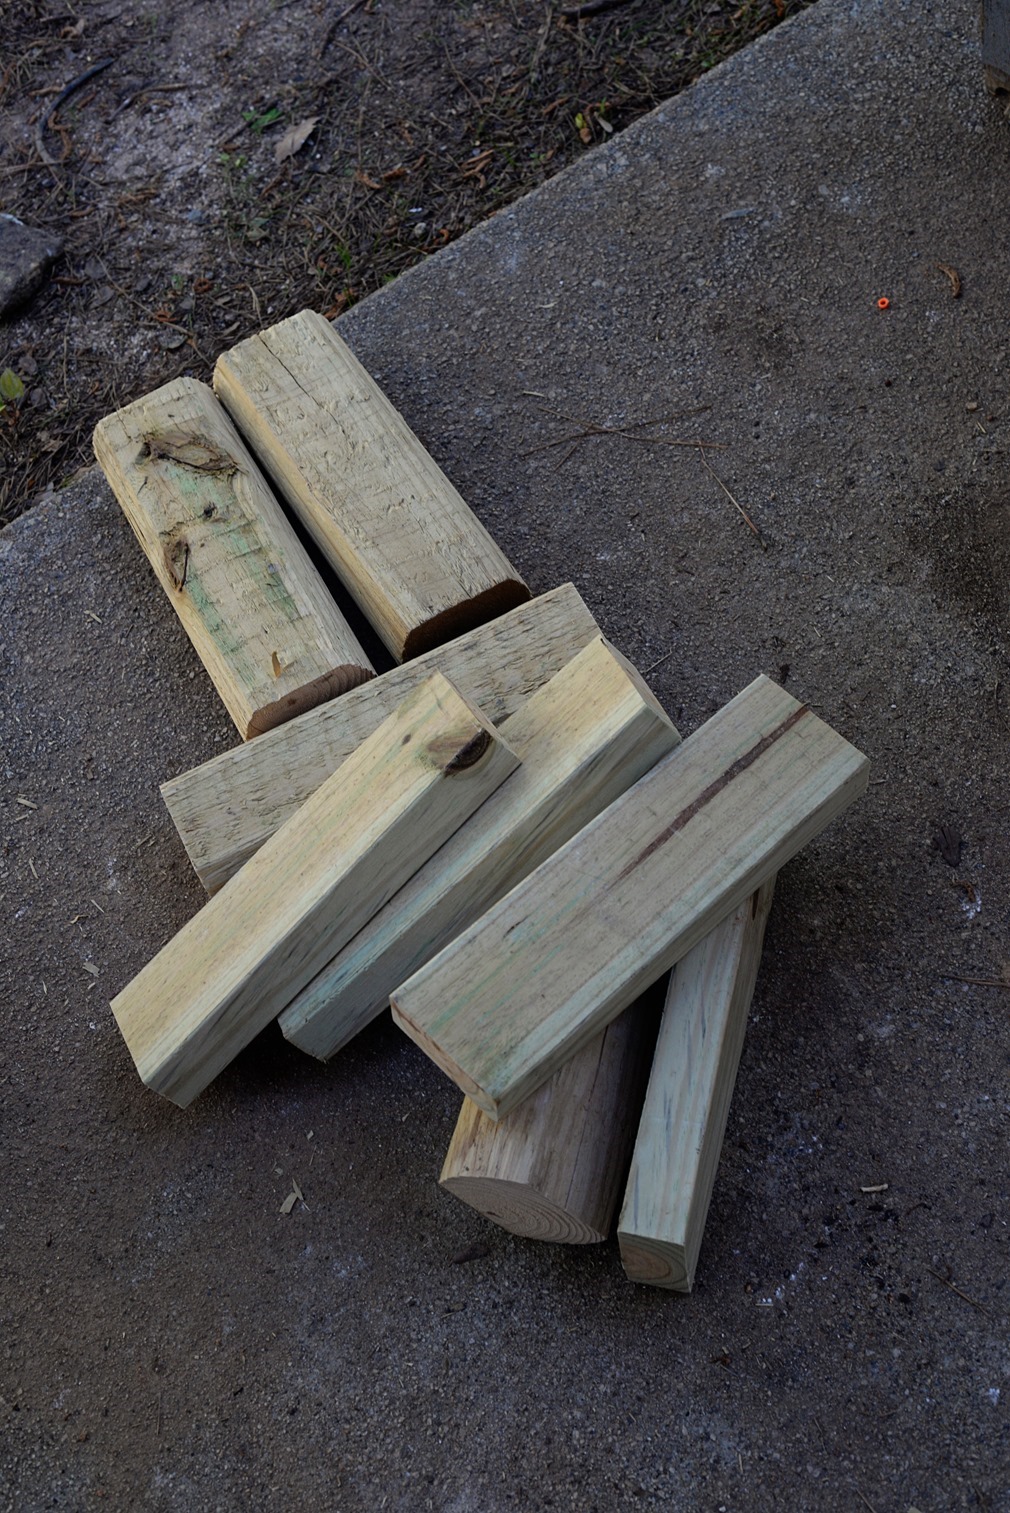
2X4’s (you can get these off the pallets as well, or buy them, we had some extras lying around)
Landscaping Timber (for the corners)
Pea gravel
The first thing you want to do is choose the wood from your pallets and take it off the pallets. Look for wood that’s not broken, doesn’t have holes, etc. You can either pry the boards off of the pallet carefully so you don’t split them, or use a sawzall with a metal cutting blade on it to cut through the nails and free the boards. The latter is much easier, but you can do either one just fine. You’ll need 12 boards. If you pry them, take out the nails as well.
Next, you want to cut your landscaping timber (this will be your corner supports) and 2X4’s to be 12 inches long. We used landscaping timbers because they are only two dollars per eight foot board, but if you have 4X4’s lying around, or a pallet with really big support boards, that will work too.
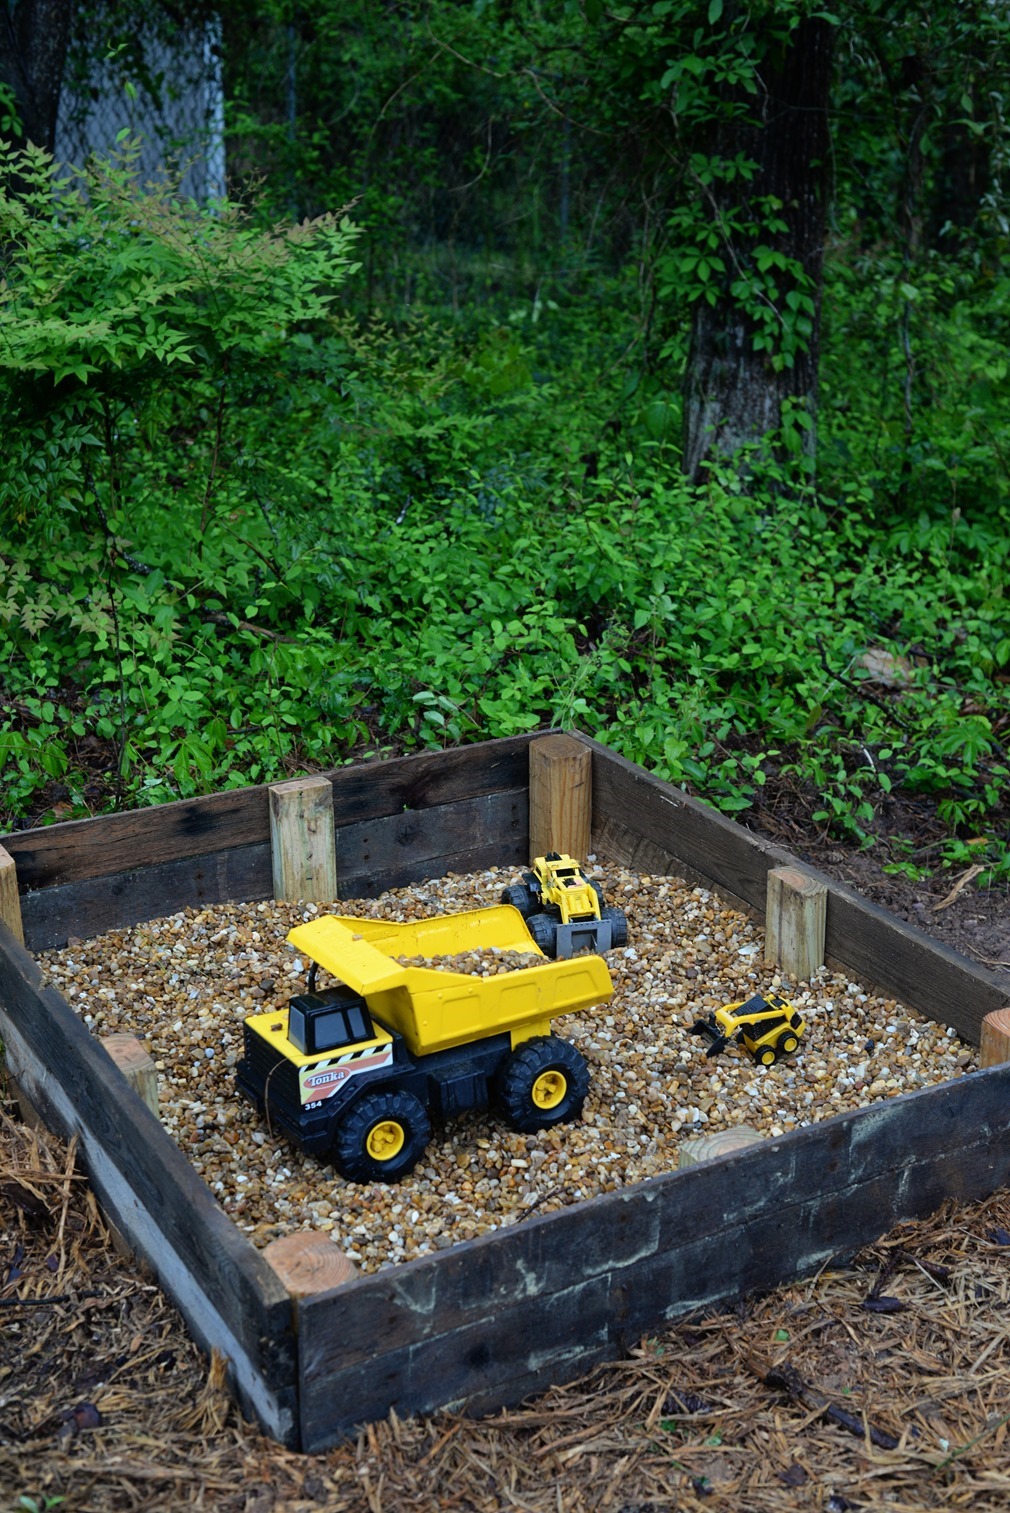
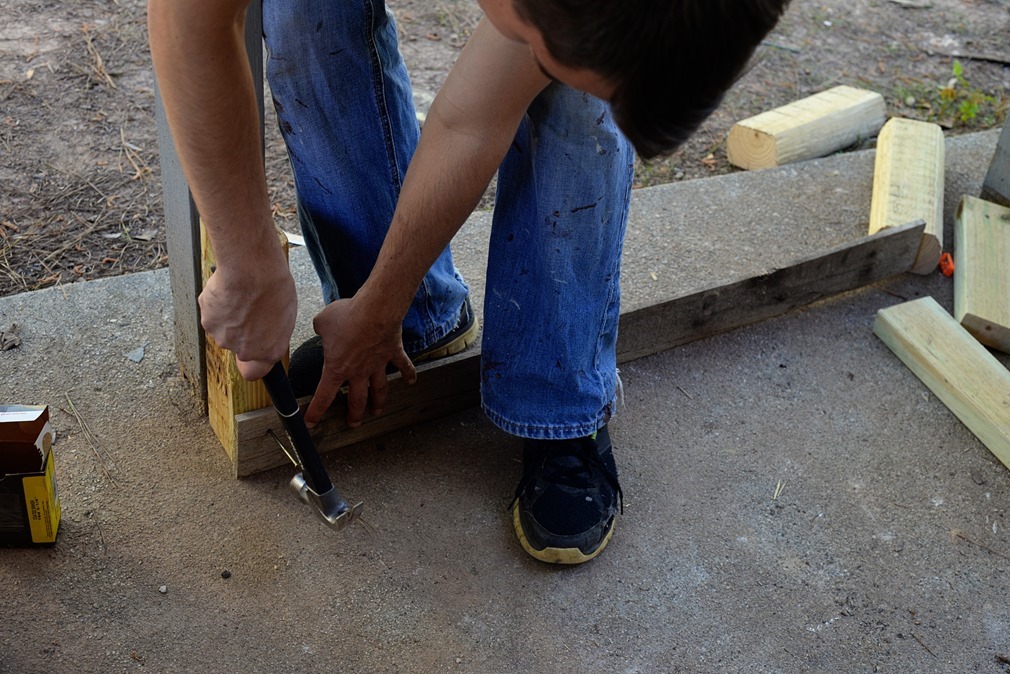
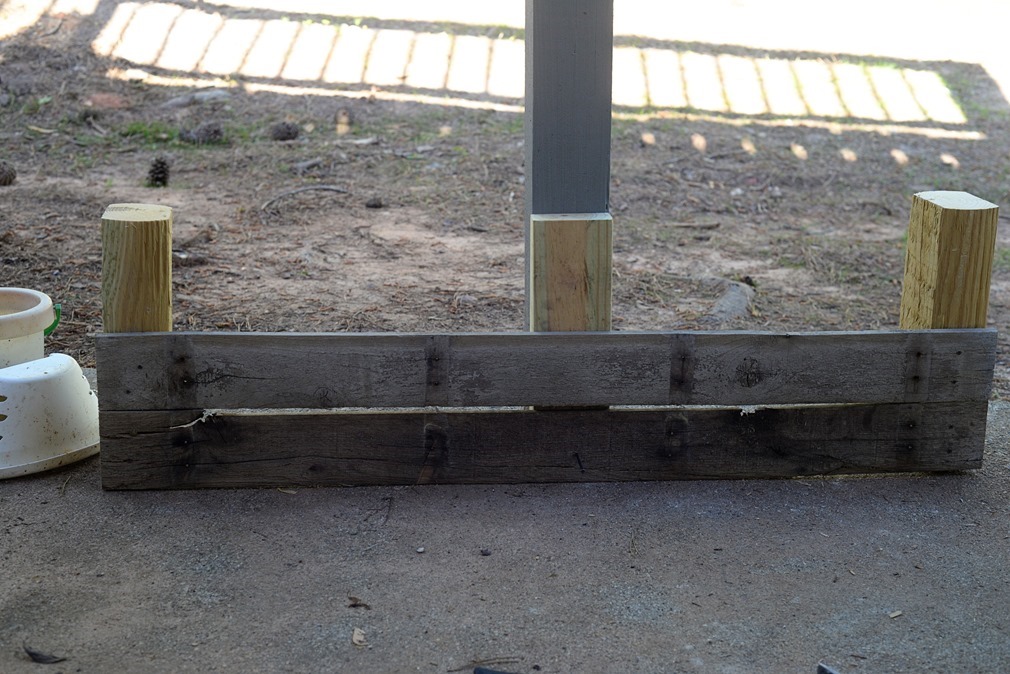
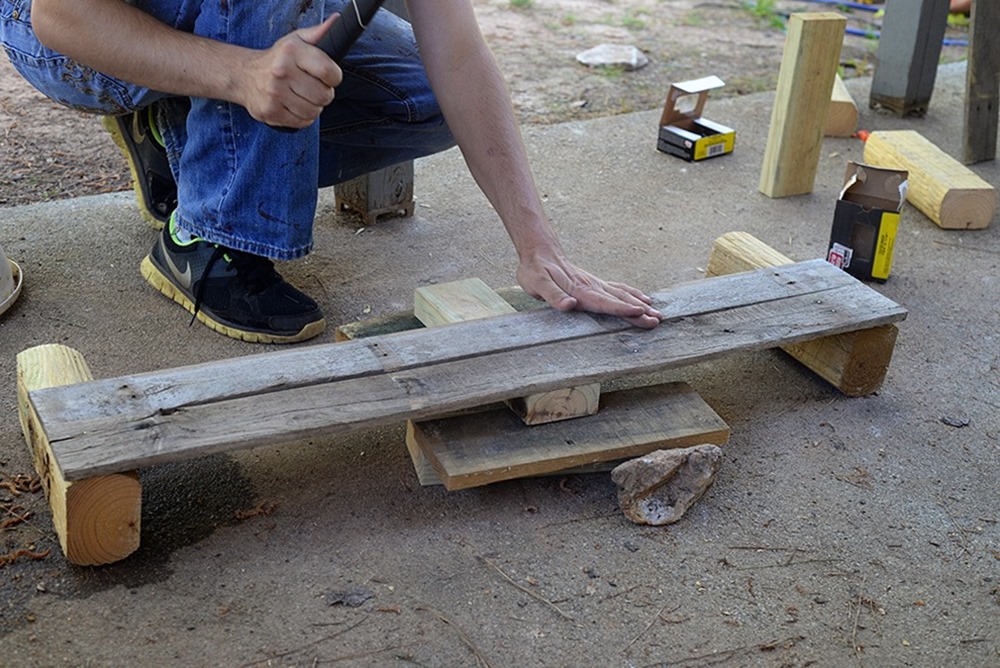
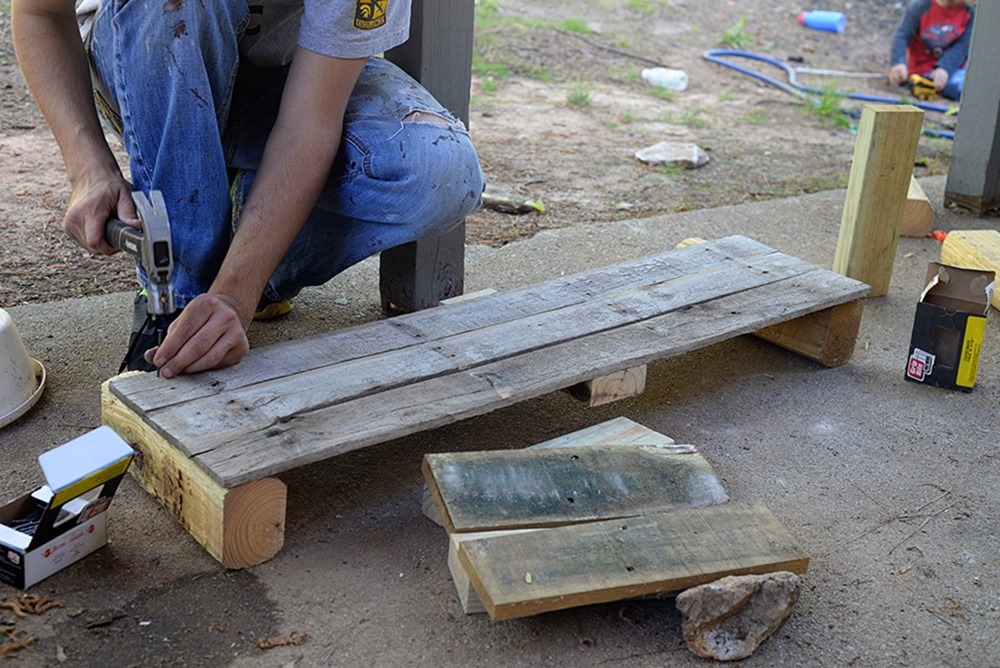
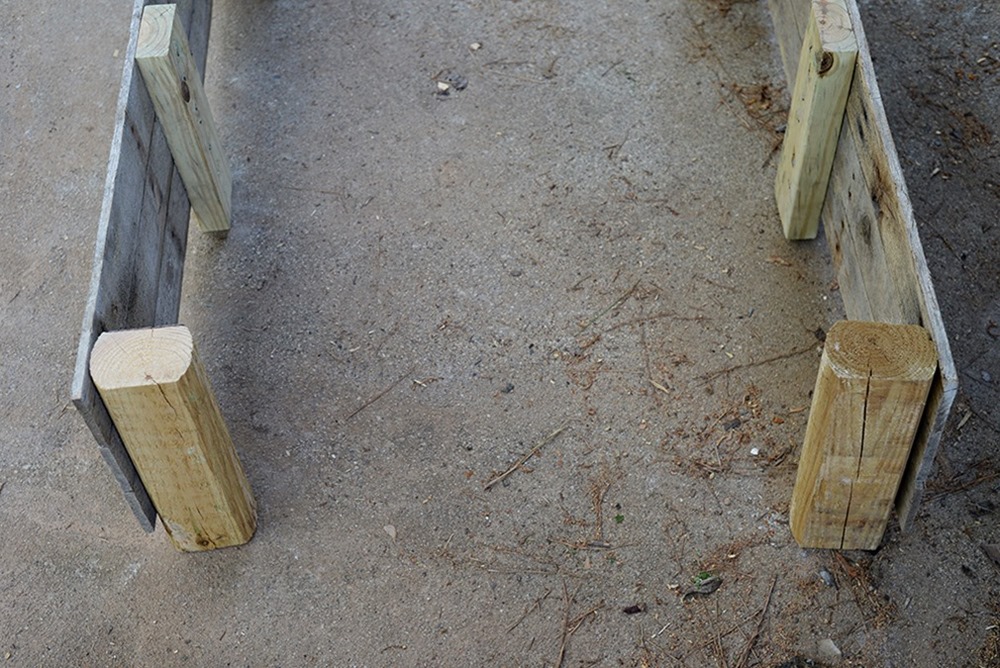
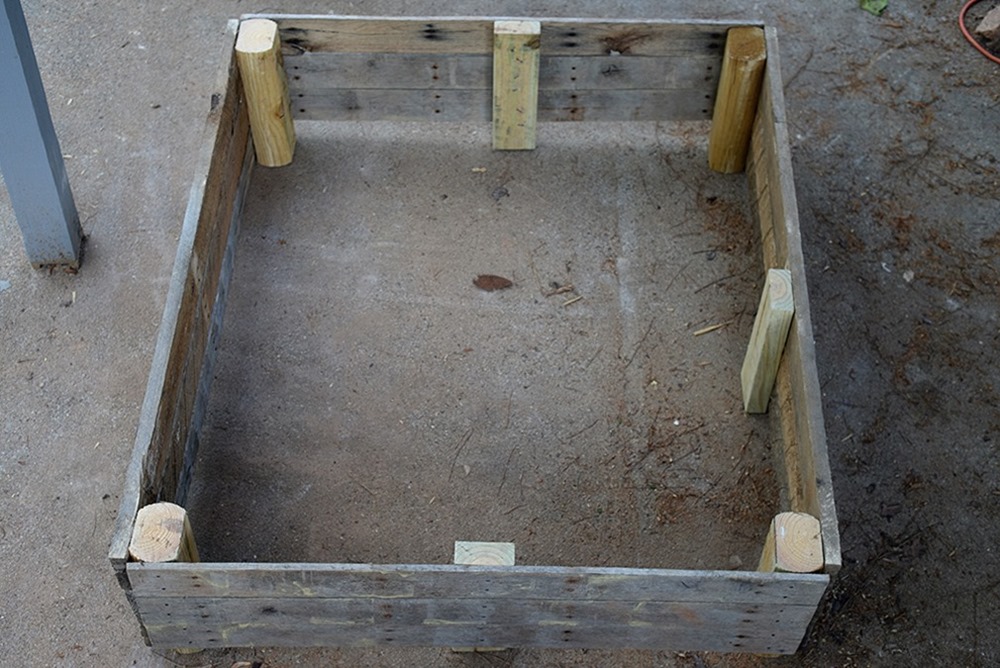
Now you’re going to start building the box. Take one of your pallet boards and nail each end to one of your landscaping timbers. In the middle, nail a 2X4 for support. Be careful while you are nailing not to split the wood. Pallet wood splits easily. Once you have the three supports on the board, nail two more of the pallet 1X4’s on top of it, as you can see we’re doing in the pictures below. As you add the two top boards, make sure you’re boards are as close together as possible so that when you’re finished the rocks don’t fall between the cracks. You’ll notice you have a little bit of overhang, which is good. That’s where your supports will go into the ground a little. Make two of these.
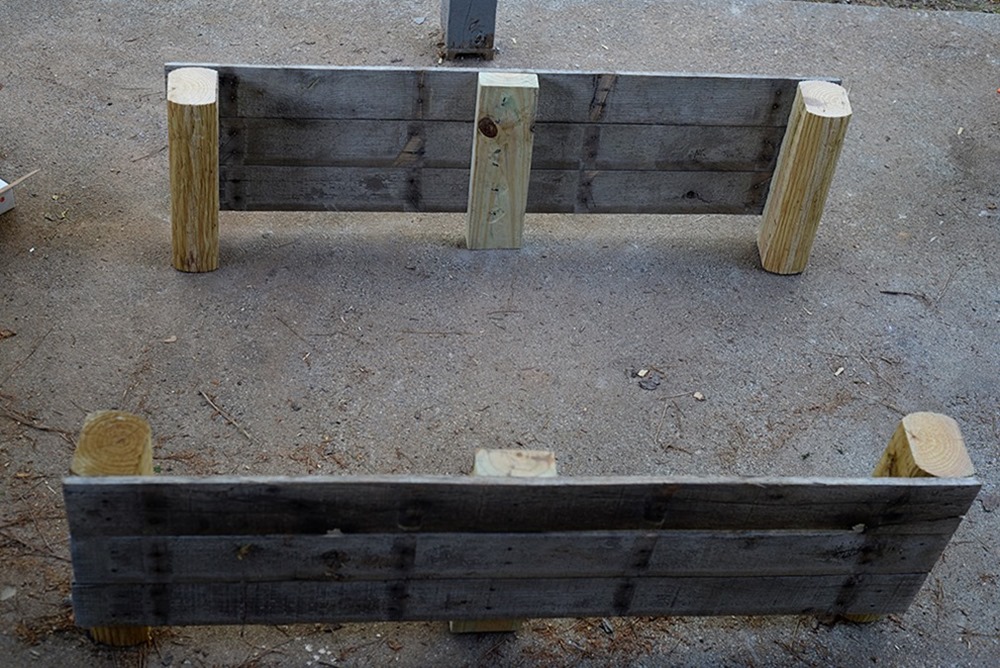
Now you’re going to add a 1X4 pallet board to connect the two sides you just made, and start making it into a box. You’ll put two more on top just like you did on the other two sides, making sure to line up the boards so you still have that inch or so on your supports that will go into the ground. Repeat on the other side and you have your play box! If you ended up with any cracks or holes, you can use a wood filler or caulk to fill them in.
Now find the spot in your yard where you want your box to be, and use a shovel to even out the ground a little. Take a shovel and dig out just a couple inches where the edges of the box will be so that it will sit down into the ground a little, then you can put your box in, jump on it a few times to get it in the ground, and fill it with rocks! We used 12 bags of pea gravel, and then added in our kids favorite dump trucks and diggers.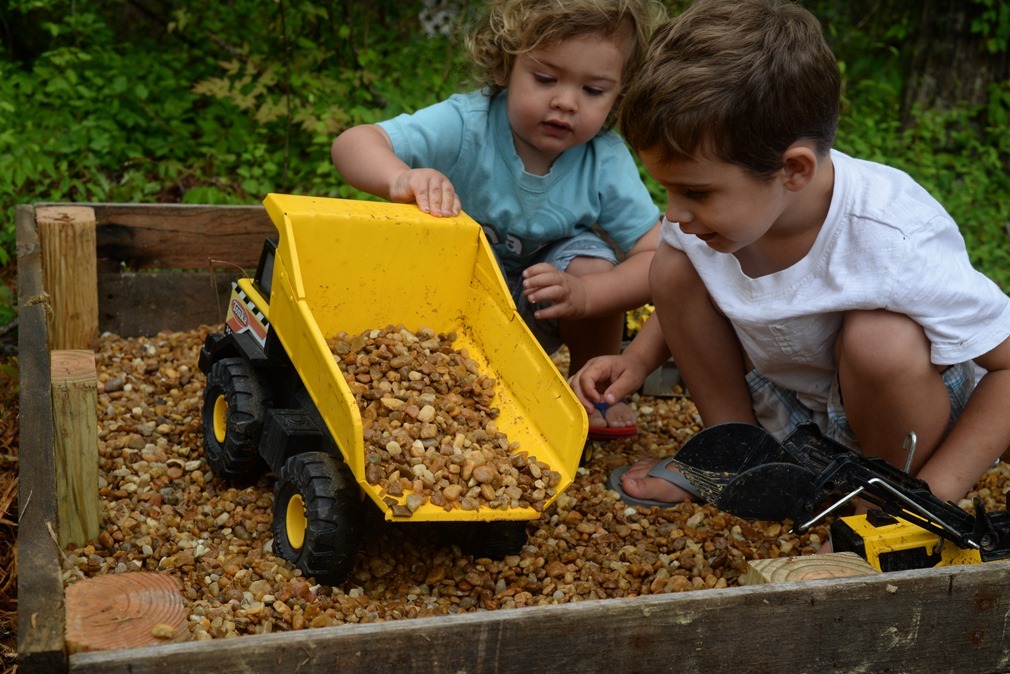
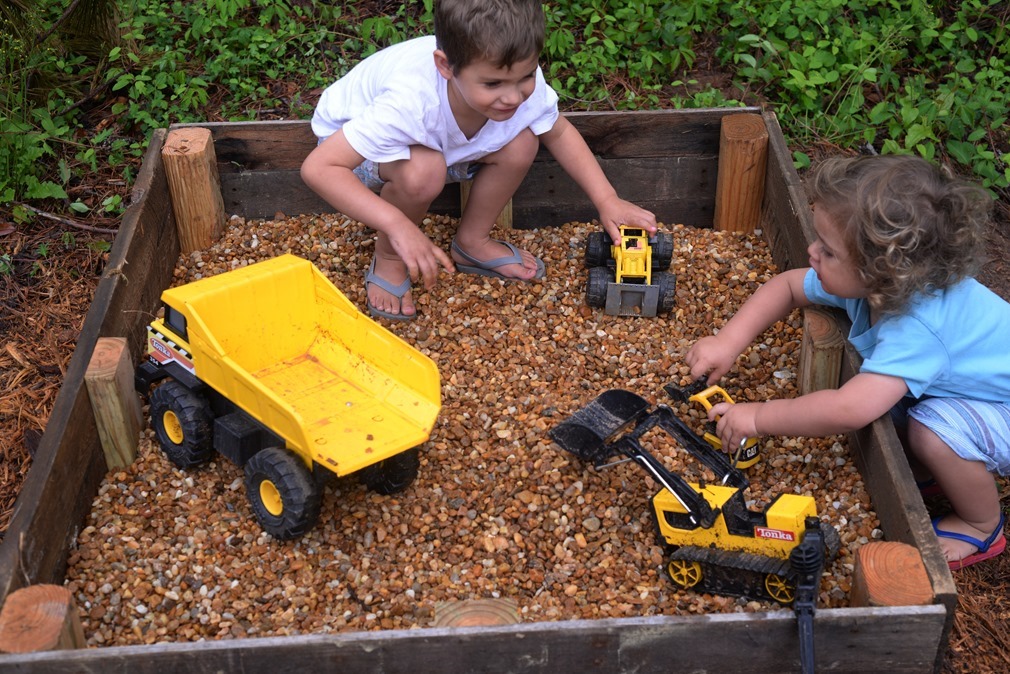
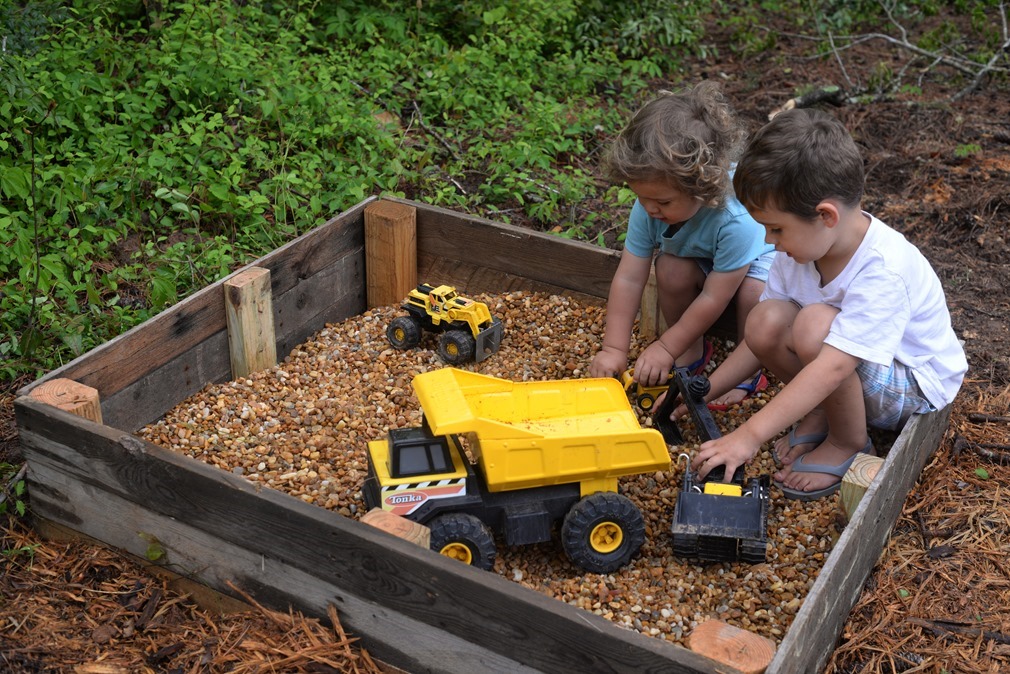
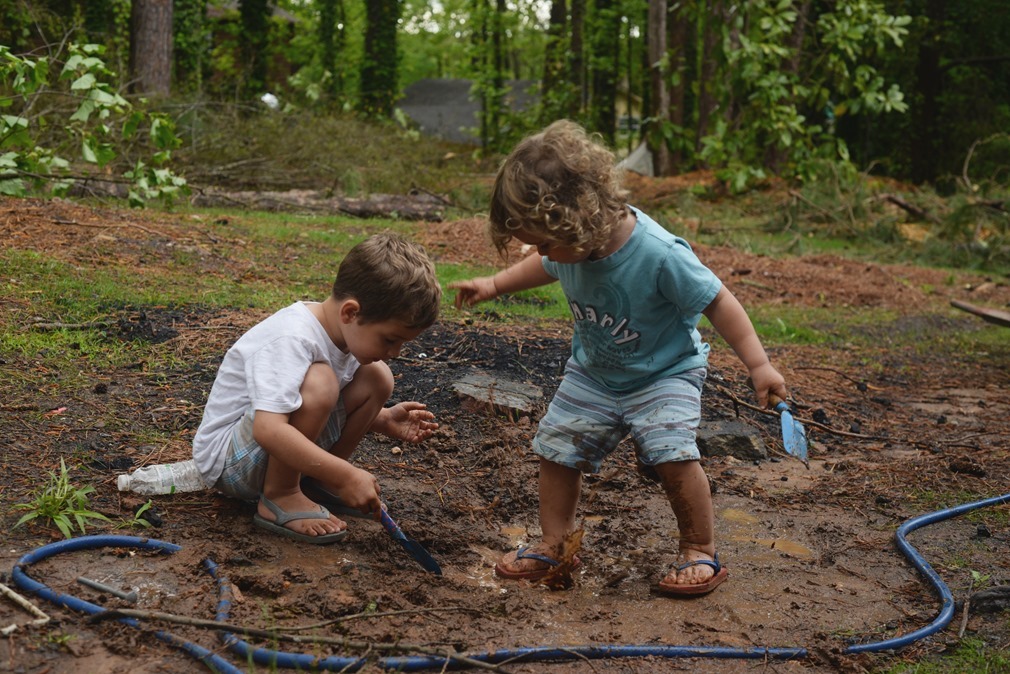
They love it and have played in it tons, but of course they managed to find their way back to a mud hole. That’s what the laundry detergent is for, right?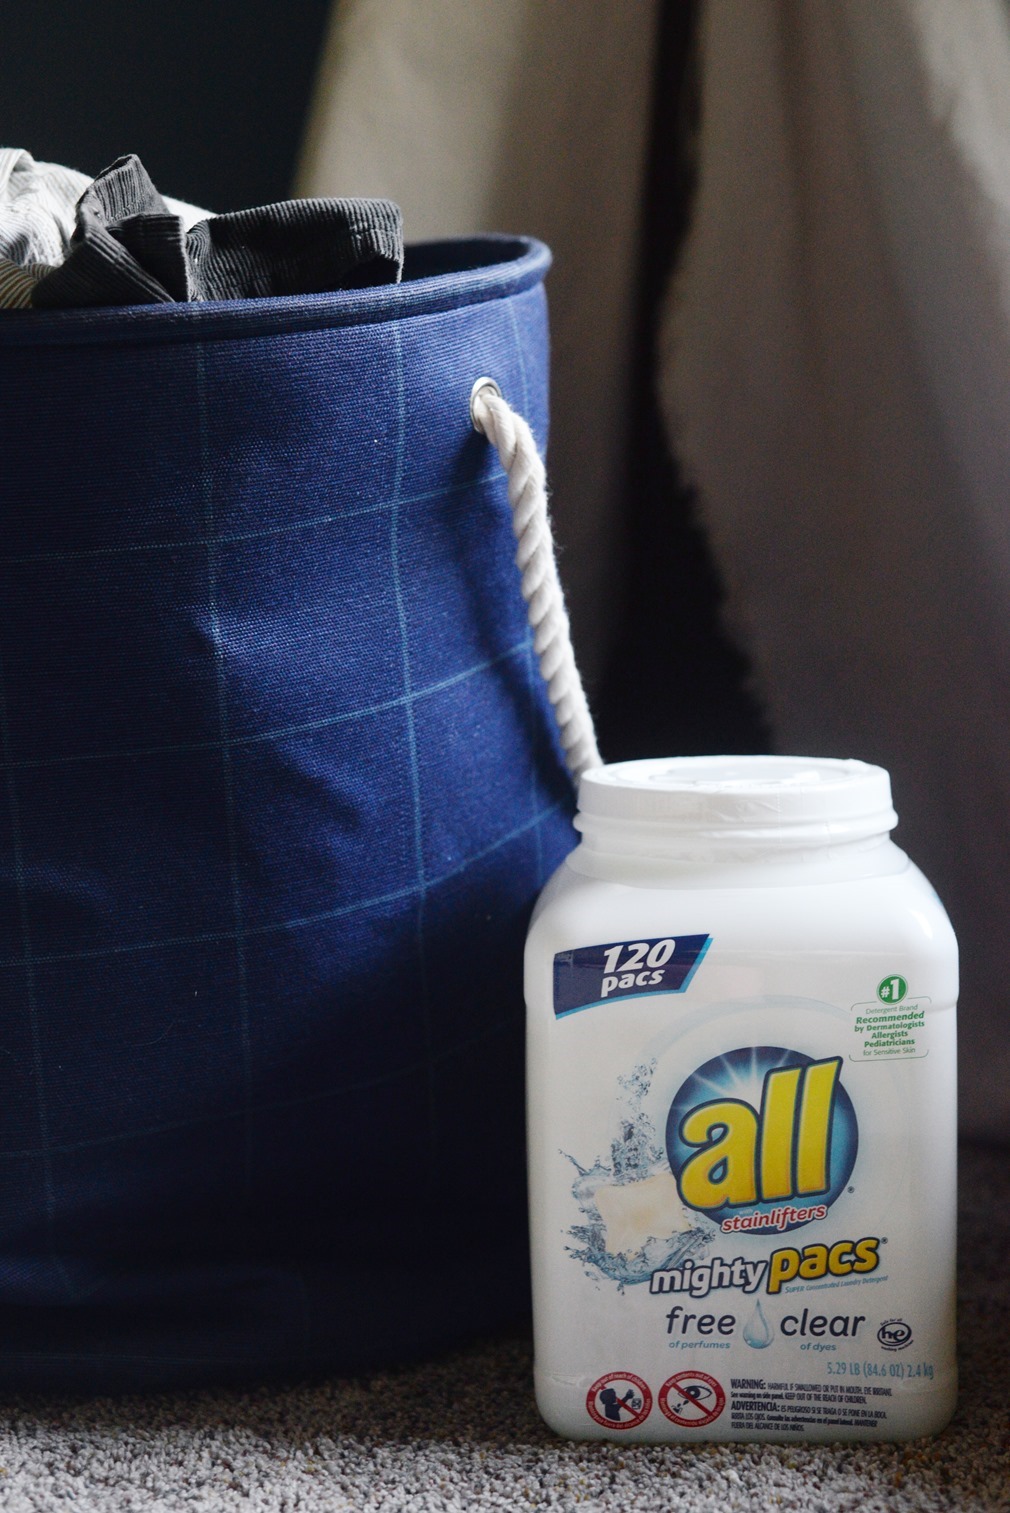
Do you have any great ways for getting mud out of kids clothes? Or keeping them from getting muddy?? I’d love to hear it!


Great use of pallets. How fun.
I love the idea of a gravel box instead of a sand box. Your kids probably have the best time. #client