This shop has been compensated by Collective Bias, Inc. and its advertiser. All opinions are mine alone. #BigLotsHoliday #CollectiveBias
Christmas is coming!!! Usually I wait until after Thanksgiving to get all of my pretty holiday décor out, especially since my husband doesn’t like for Christmas to overrun Thanksgiving, but he was out of town, and I was so excited about my amazing Big Lots Christmas decoration finds, that I couldn’t wait to decorate just a few areas of the house.
(that picture above is shoppable by the way! So if you see something you like, just hover over it!)
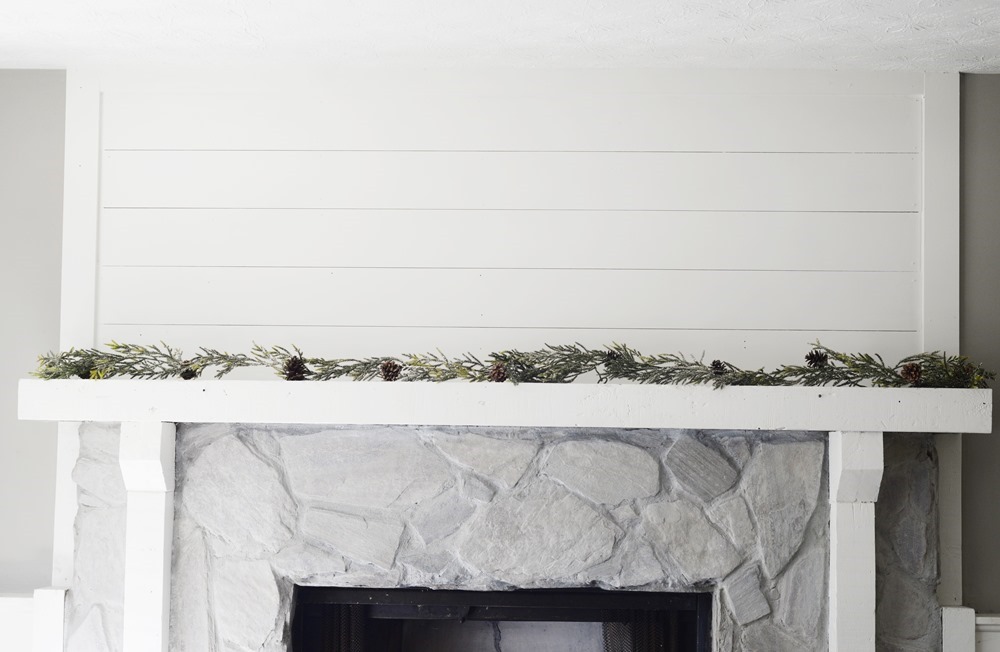
If you’re like me, you probably have already added in some pops of red to your décor as fall and Thanksgiving started coming in, and it makes for such an easy transition into Christmas. One of the main areas that I really wanted to go all out decorating this year was my mantle. A couple of months ago, I woke up one day and decided to add the faux-shiplap paneling to it, and two hours later, my mantle went from meh to a total statement piece in our downstairs living room. I couldn’t believe what a difference that little bit of wood made, and I have had this big, beautiful blank canvas just waiting for boughs of green and pops of red. 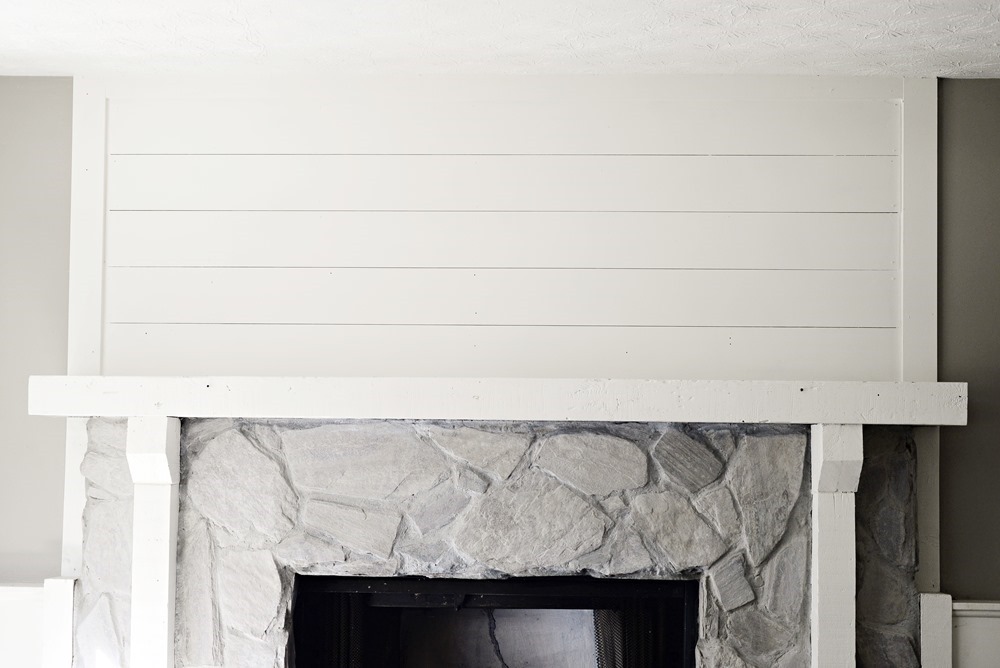
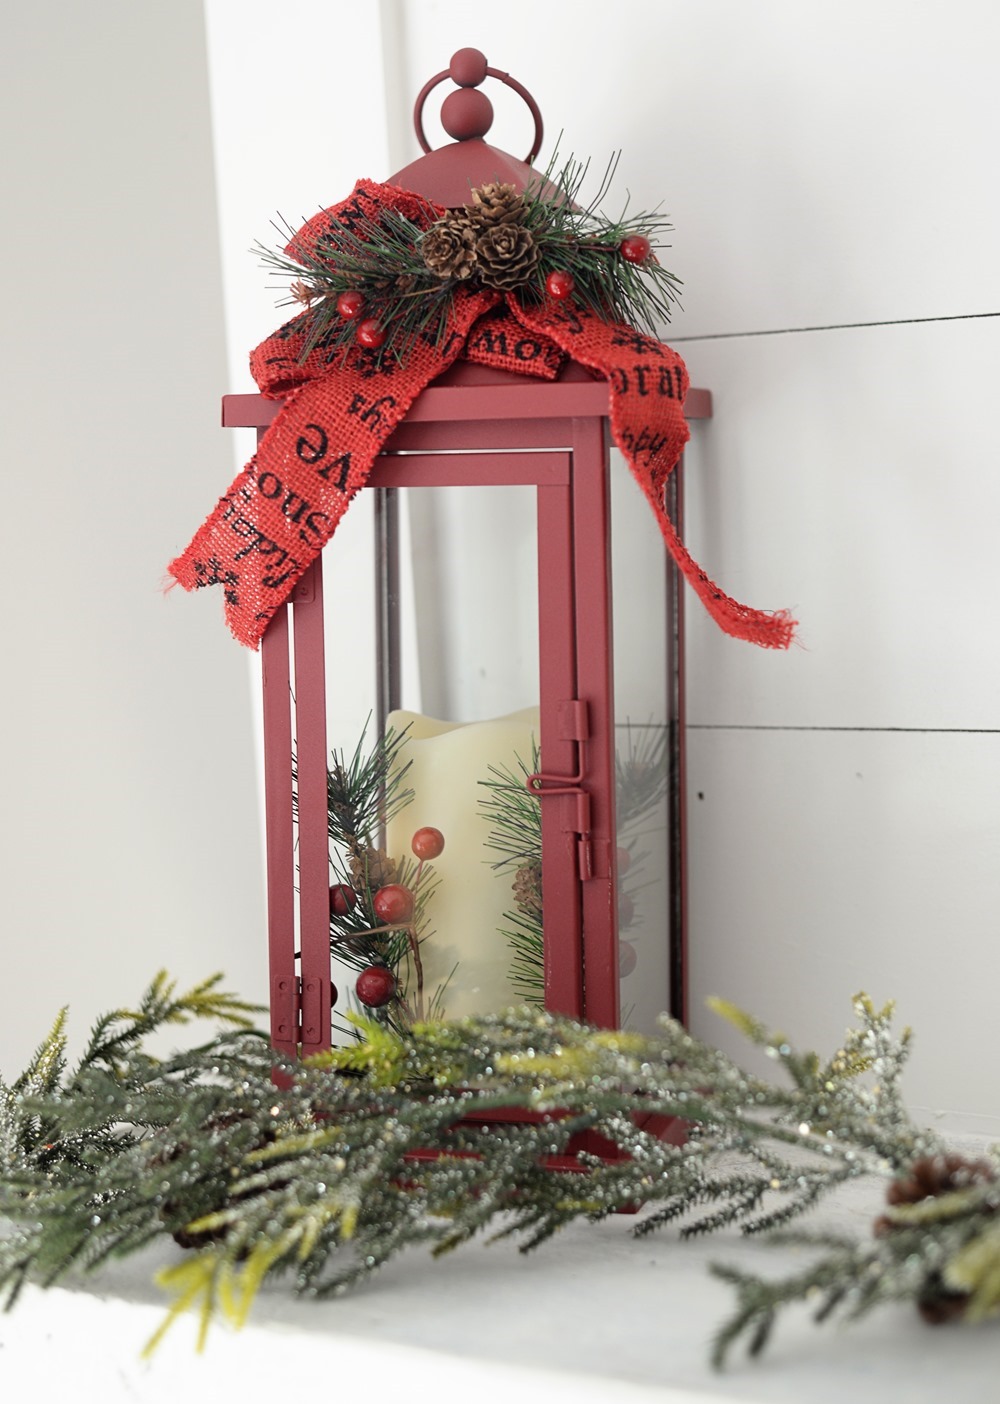
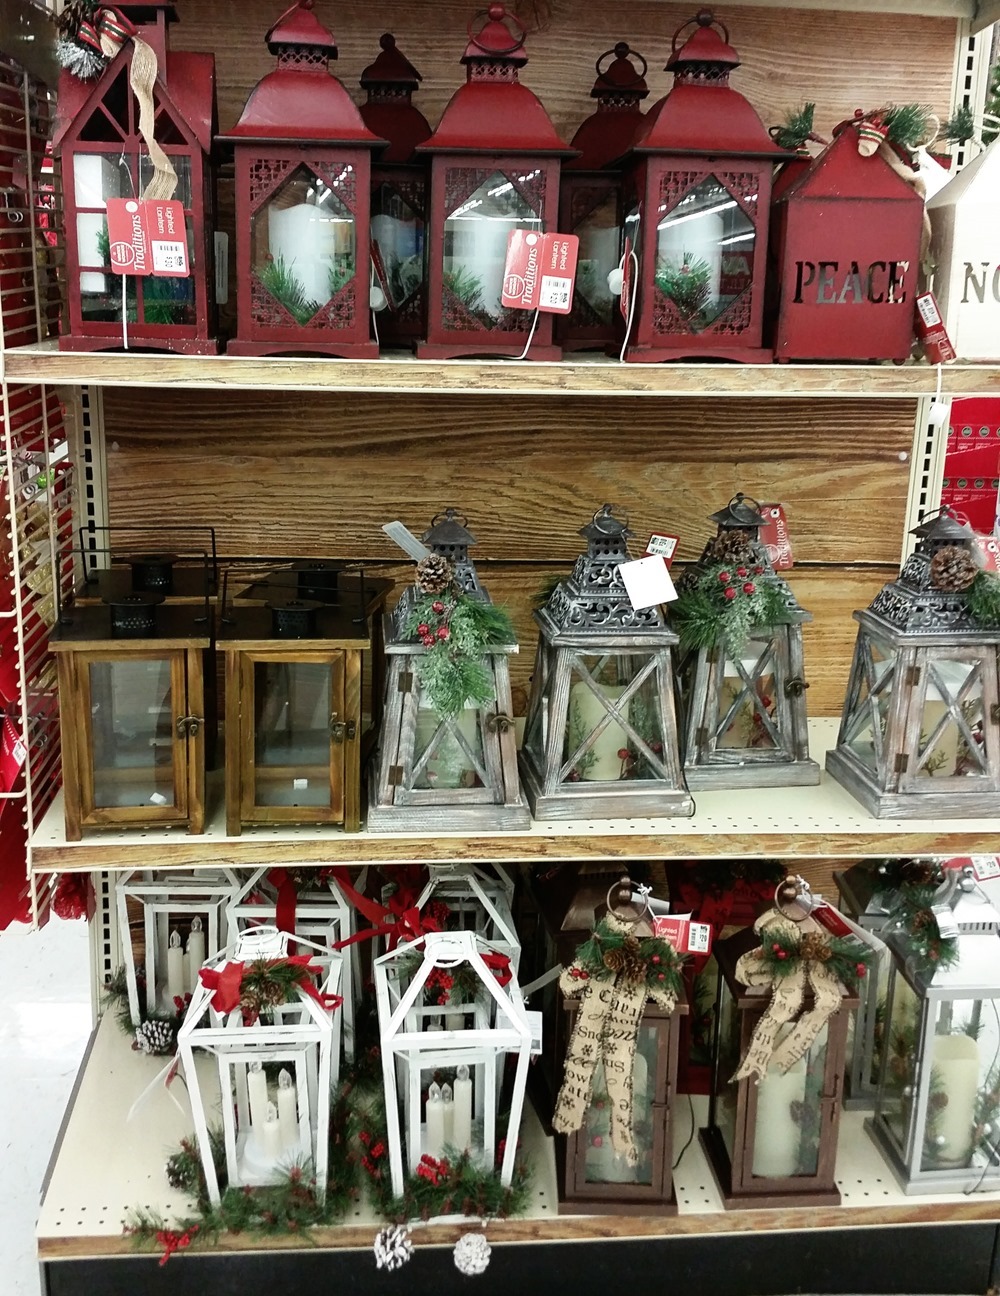
When I was shopping in Big Lots, I came across their display of Holiday lanterns and I had to have some of them. I honestly could have bought them all, they were all so beautiful, but I chose a few of my favorites to mix and match.
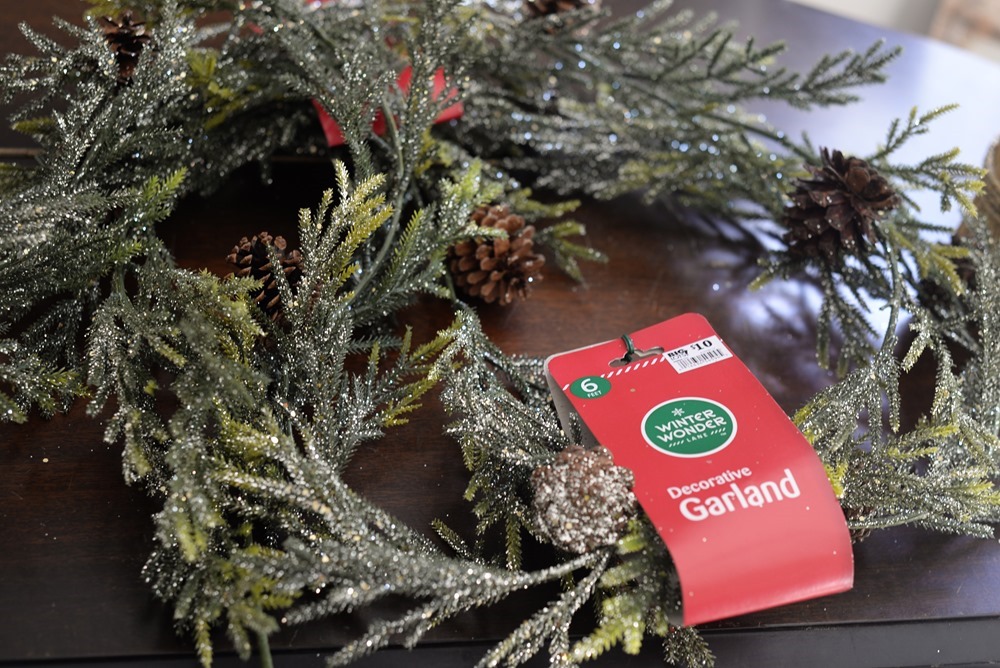
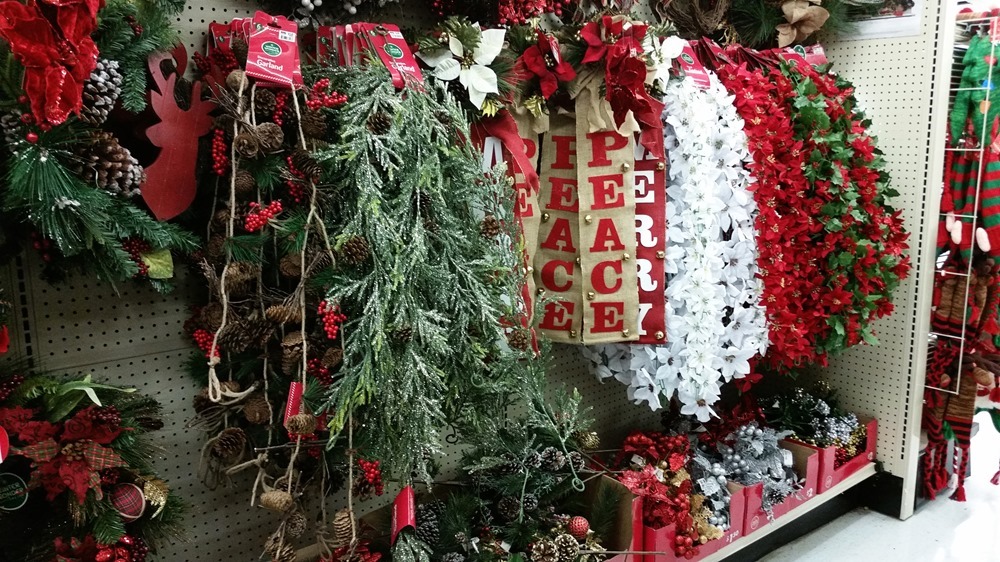
Aren’t they all so cute? I spent forever right there choosing which ones I was going to get and which ones would go best on my mantle. I seriously considered buying one of each! Before I put them up on my mantle though, I started off with two of these pretty, sparkly garlands that I got at Big Lots. I was tempted to buy like 10 of these things, they are so pretty and could go just about anywhere in my house for winter décor. An employee was even super helpful by getting down more boxes of them from off the top shelf so I could buy a bunch haha.
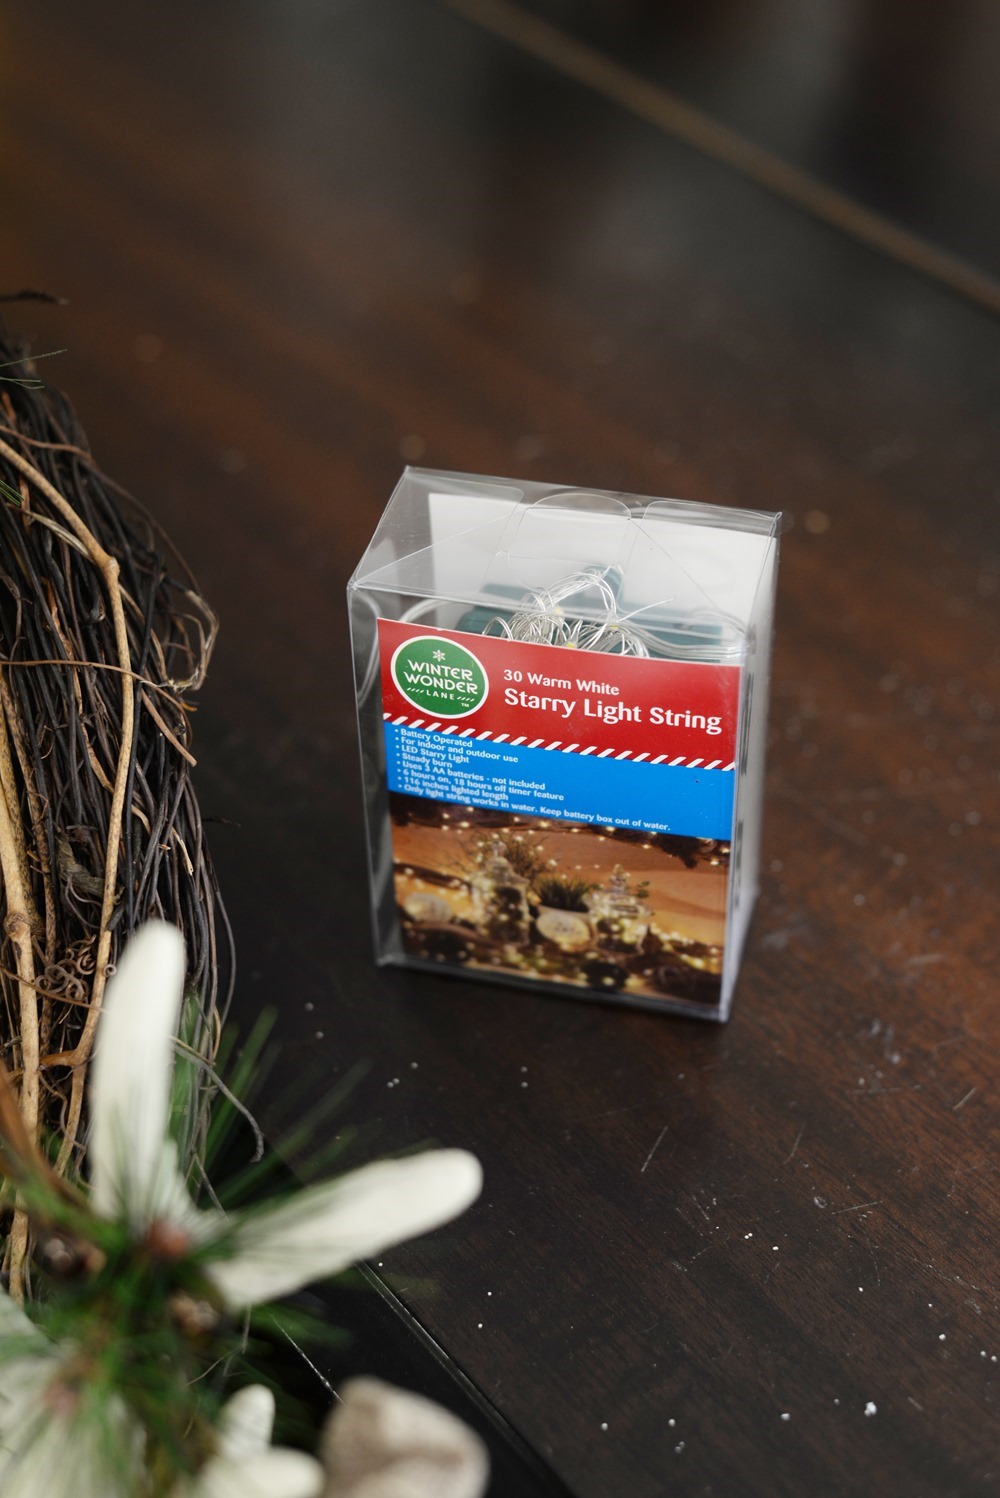
I love incorporating natural elements like pinecones into my Christmas décor, it gives that rustic, cozy feeling to my mostly white home. To give my garlands that extra something special, I also bought a couple boxes of these dainty little lights and wrapped them around my garlands. They are so thin, you can barely even seem them when they are off, but at night they give off such a pretty glow.
Next I added in my lanterns, trying to vary colors and heights to give it a mismatched, yet uniform look. I love the pretty bows and candles in the two red ones. In the wood one, I later added a red candle and more of the tiny lights for a little color and shine.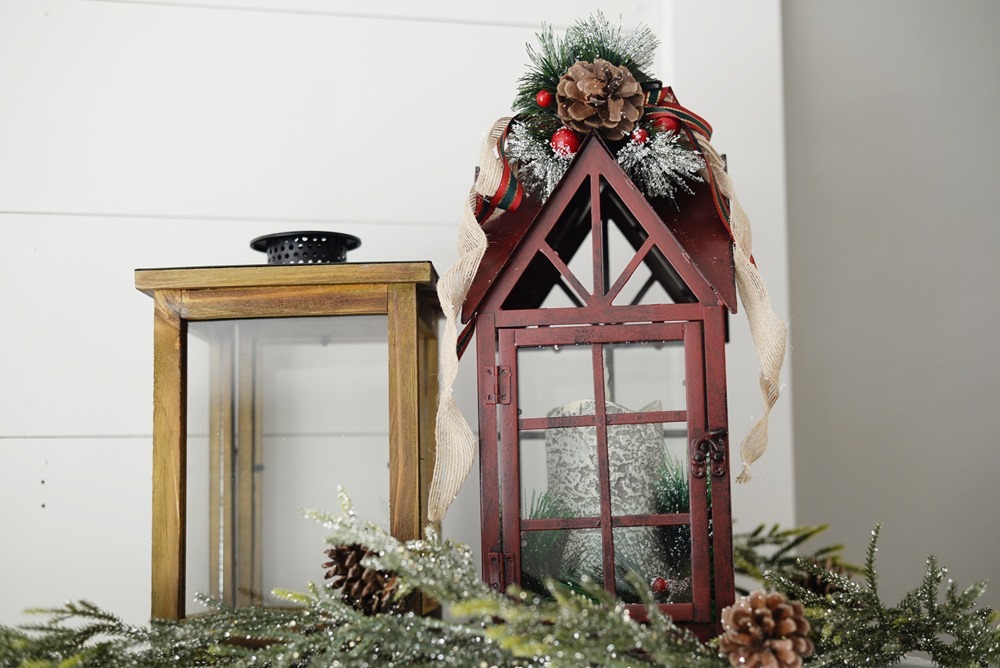
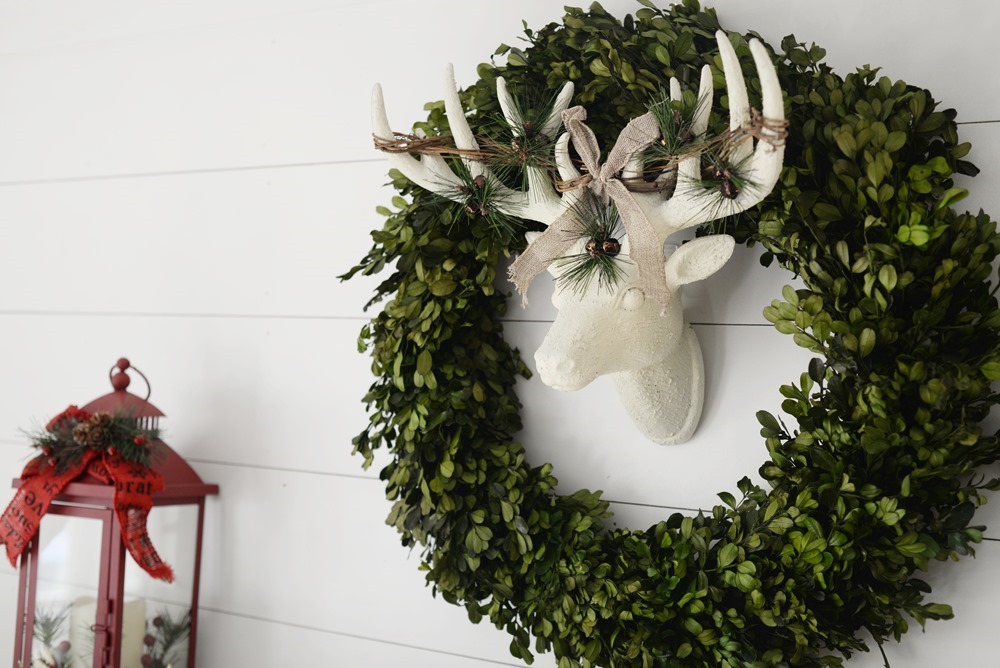
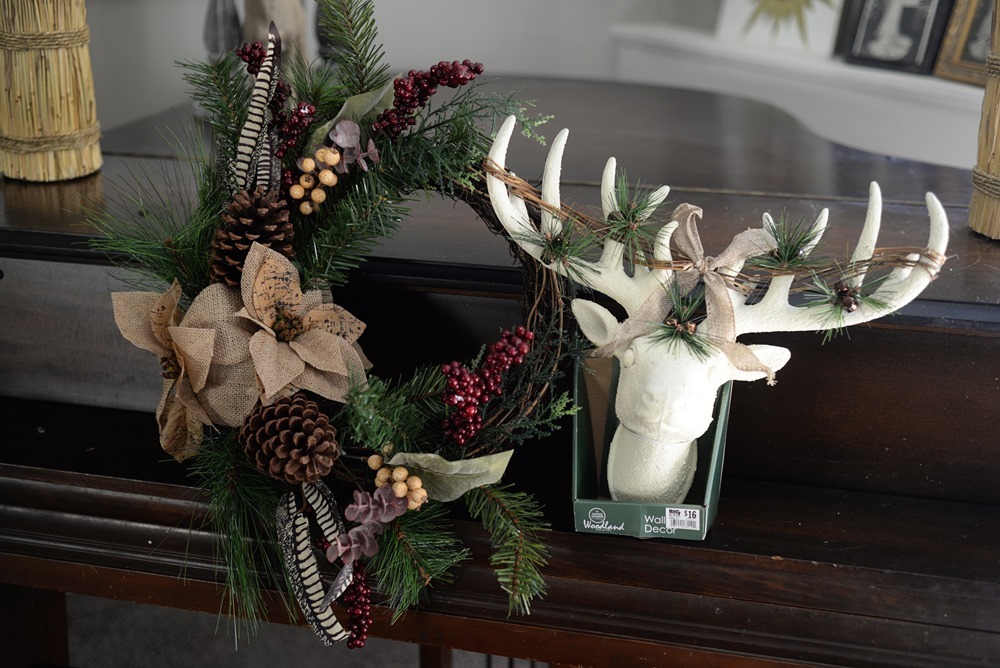
One of the first things that grabbed my eye while I was shopping at Big Lots for Christmas decorations was this reindeer head. I love the rustic vine wrapped around the antlers, and I’m always a sucker for white.
I originally planned on putting it inside the wreath shown above, but when I got home, it wouldn’t fit! Luckily, I have quite a few everyday wreaths through out my house, and just decided to borrow the one that is usually above the sink, and I’ll have the Christmas one above the sink for the holidays!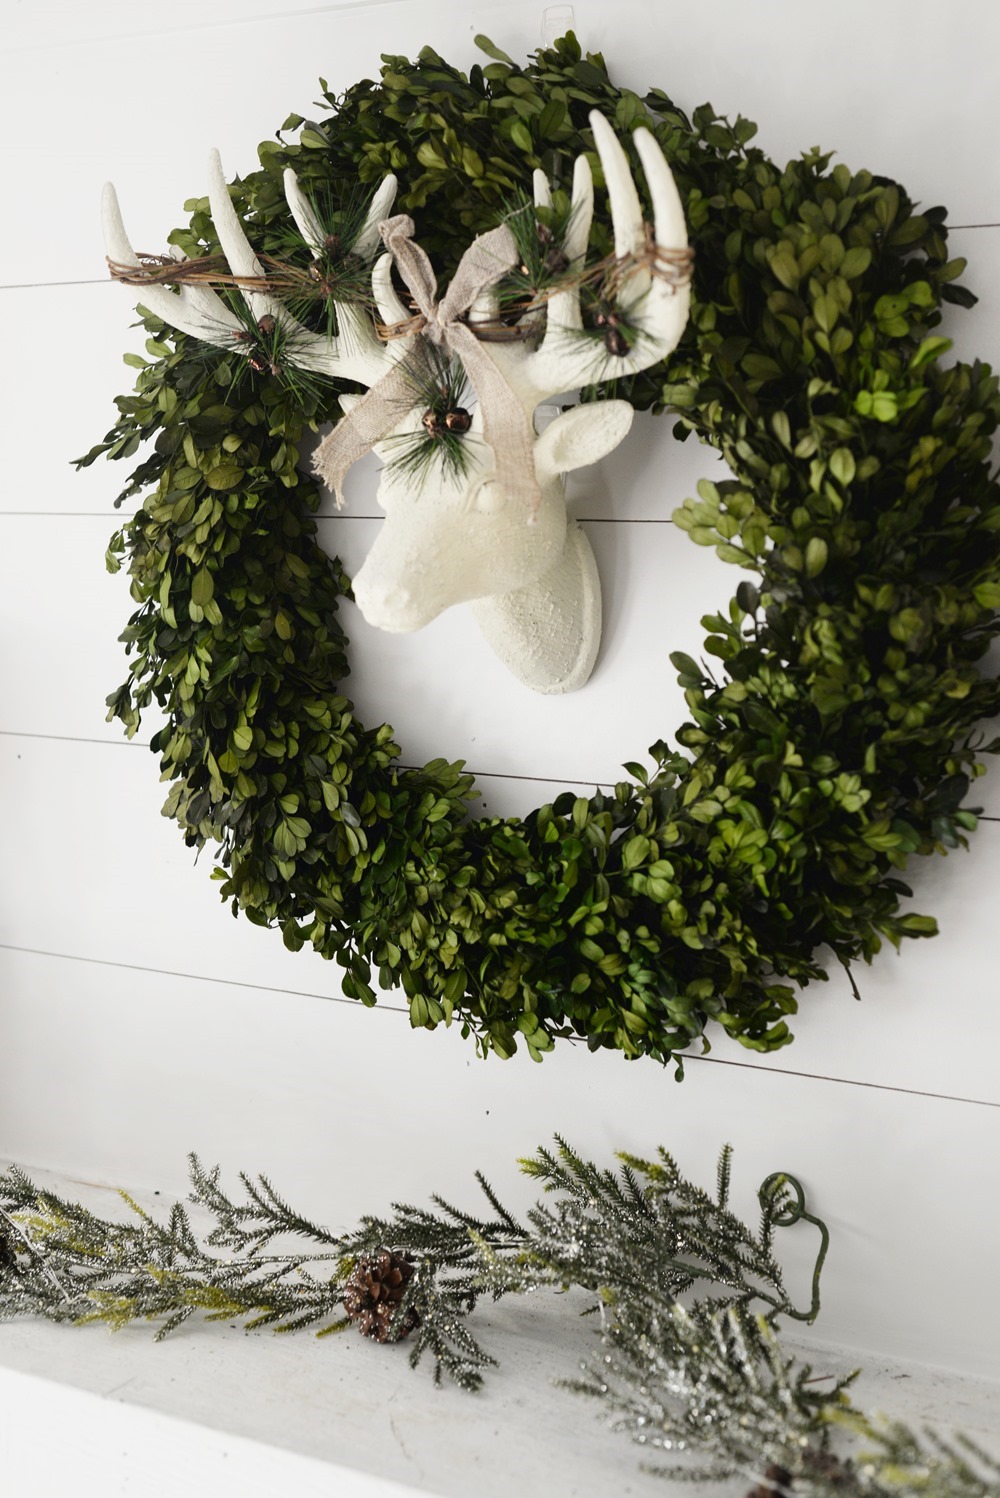
How amazing are those Big Lots finds, and I was able to do my entire mantle without going over budget, so basically what I’m saying is run to your closest Big Lots so you can get them before they’re gone! Once I had all of my Big Lots finds, I added in a few more small decorations that I had collected over the years like a little sled, my candlesticks (which are usually always on the mantle),
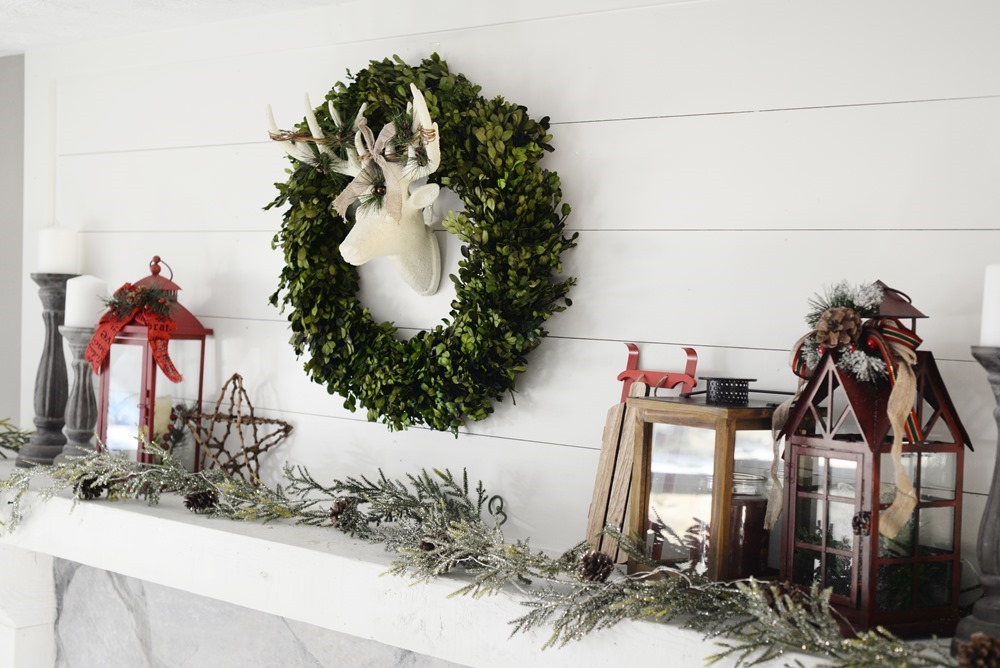
What do you think? Are you a classic reds and greens decorator, go with the silvers and blues, or have your own awesome holiday taste? I’d love to hear! One thing I loved about that sparkly garland is that it would match anyones holiday décor.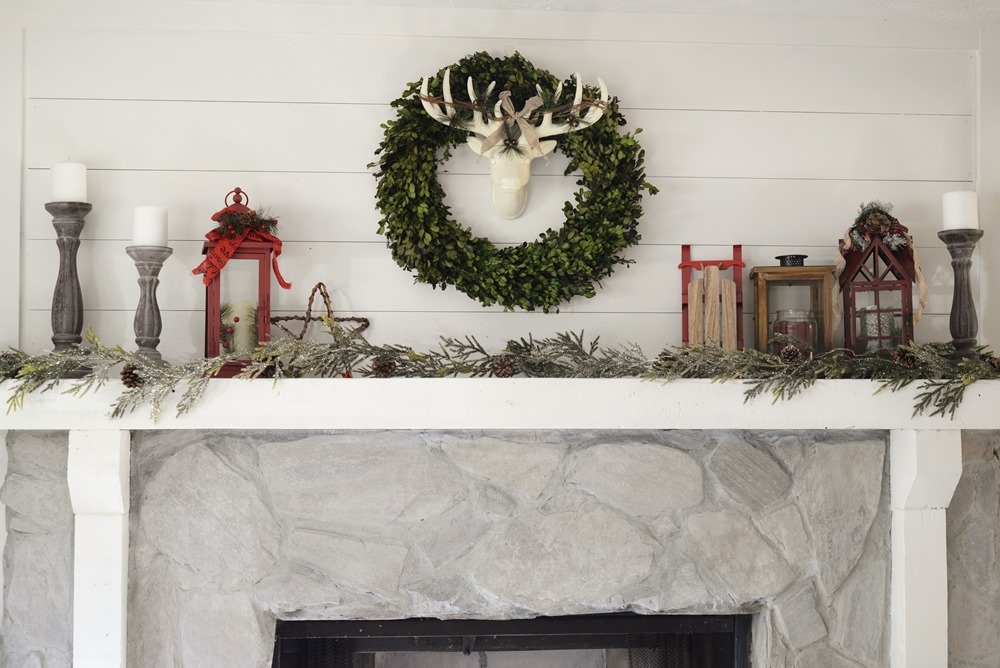
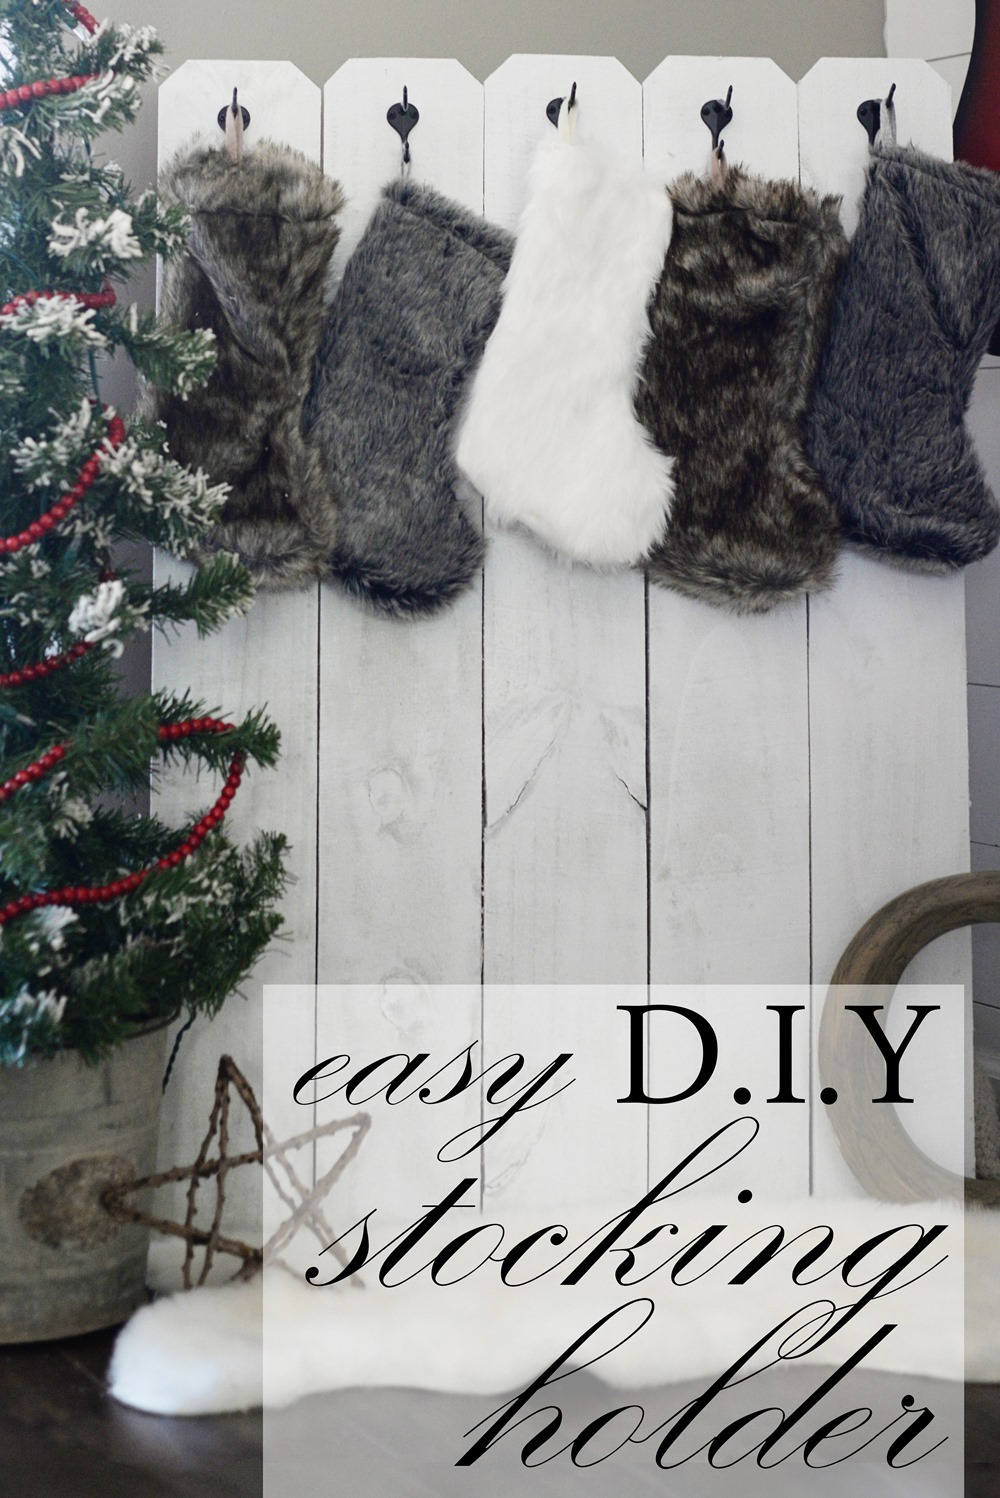
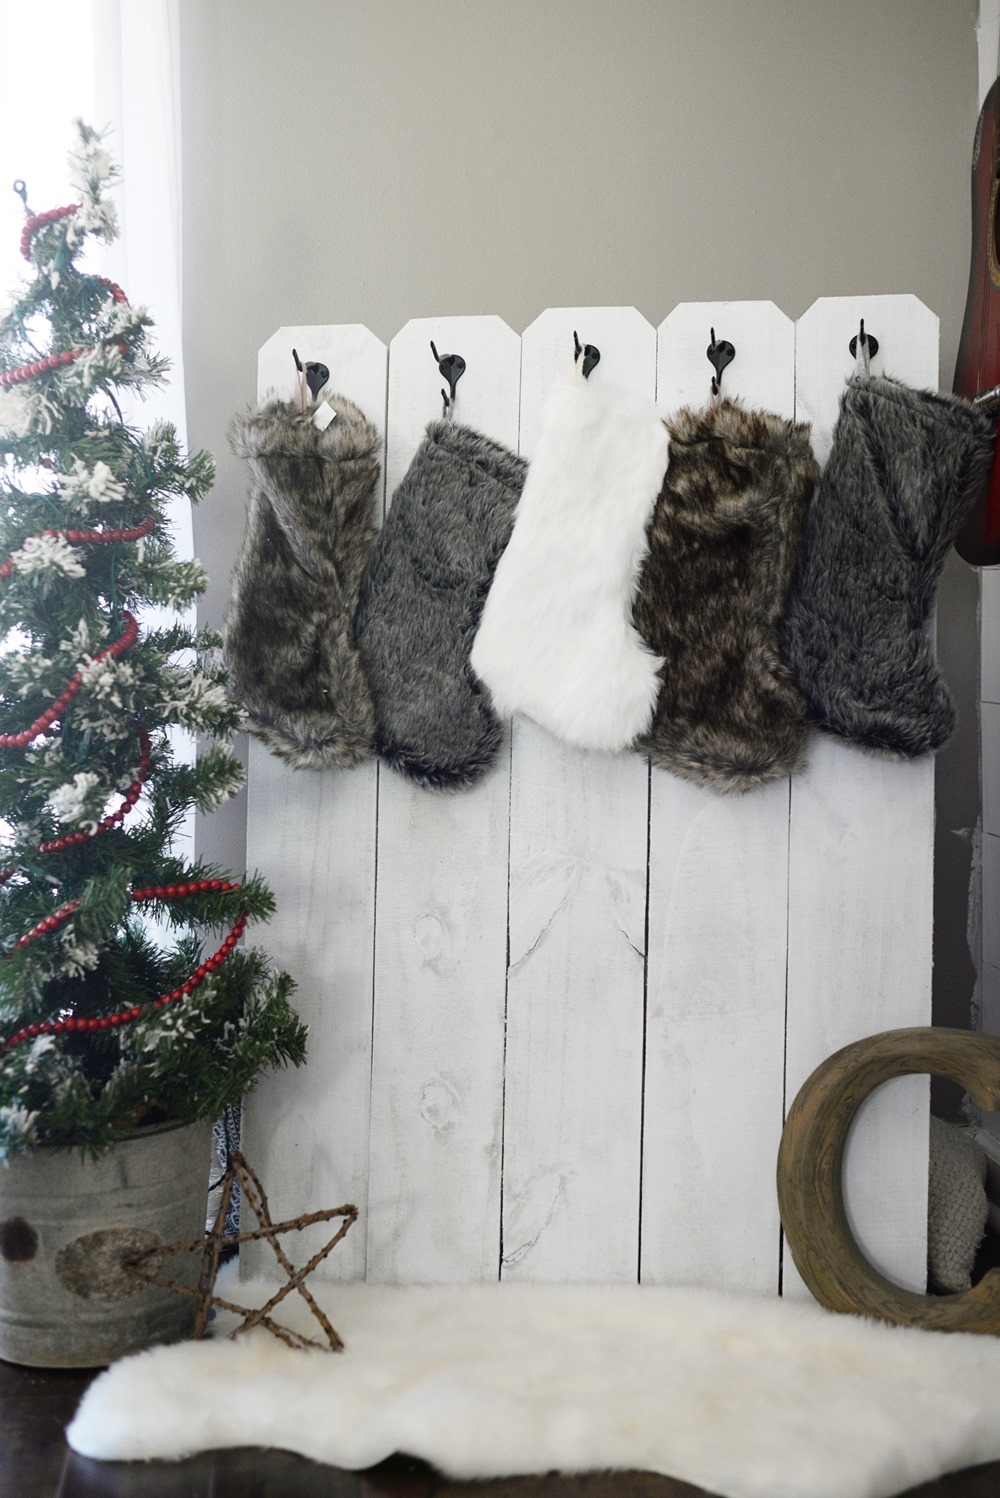
It looks so pretty in person. I think the lanterns are my favorite part. Once I had snuck some Christmas lanterns into the downstairs living room, I figured I was probably safe to add some red and green into the upstairs living room as well. We spend most of our time in our upstairs living room, and that is where we put our real tree and open presents on Christmas morning. There isn’t really any where up there to hang stockings, and while we were working on fencing in our yard, I had a great idea- why not build a stocking holder myself out of fence pallets? The boards are around $1.25 a piece, so they are a really great price for some pine wood.
Here’s how I did it: Easy DIY Stocking Holder
Supplies:
5 fence picket boards (more or less if you want to make yours smaller, we have 5 people but I used double hooks so we can use it still if we have more kids)
1X3 board- two 25” pieces (if you use a different amount of fence pickets, you’ll need to get a different length, multiply the number of boards you are using X5. You’ll need two boards that are that many inches [For example, I used 5 boards, so 5X5=25, I needed two 25” boards}). This is a great chance to use any scrap pallet wood you have sitting around. They are usually right around 24” (which would work just fine) and are the perfect size.
2X2 board– The length of these is going to depend on how straight you want your stand to stand up, mine were 10 inches long each before cutting them. You’ll need two (you could also use some scrap pallet wood here, I used 2X2’s because I had some scrap pieces of it)
5 Hooks (You can usually find these for like 90 cents each)
10 Screws- these need to be 1.25 inch wood screws
2 Screws- these need to be 1” wood screws.
White Spray Paint
Total cost of supplies if you don’t have any of this on hand: About $20.
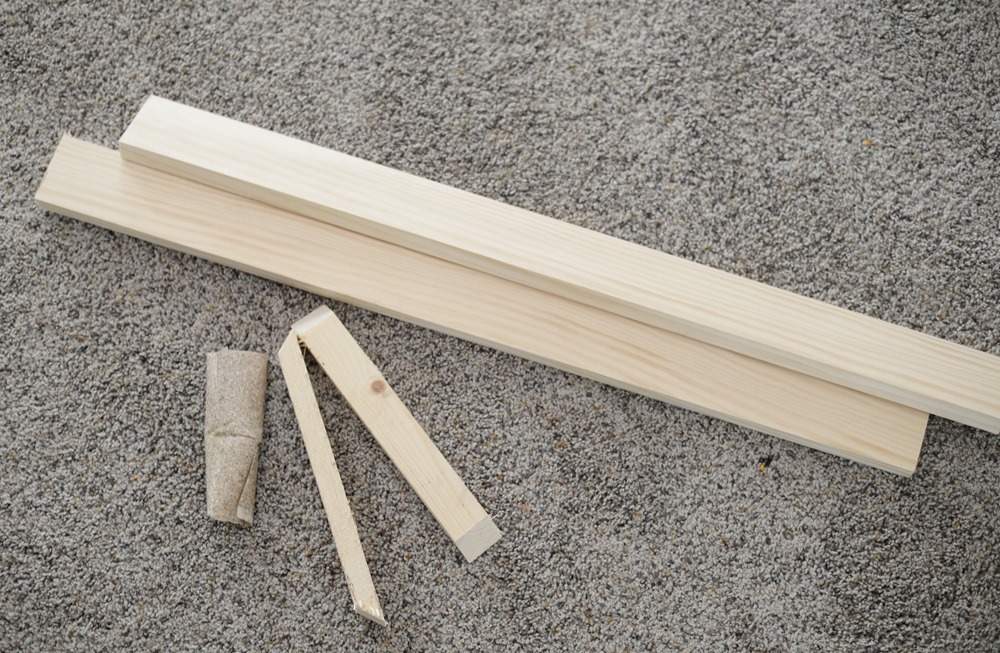
Step 1: Cut all of your boards. Decide how tall you want your Stocking Holder, and cut your fence boards that length. Mine is right at 40” tall, which is the perfect height. Make sure you are measuring from the picket down, so all of your boards have the cute picket at the top. For your 1X3’s, use the measurements above. For the 2X2’s, you are going to need to cut each end at a 45 degree angle using a miter saw or miter template. You want both of the long ends of the miter cut on the same side. For reference, look at my 2X2’s in the picture below. If you’re boards need sanding, run some sandpaper over them to get off any splinters or rough spots.
Step 2: Lay out your fence boards side by side, making sure to put all the good sides down. Level the top (I simply used one of my 1X3’s to level as you can see below) and make sure your gaps are even in between boards (I put my boards all right up against each other, it inevitably leaves a tiny gap and I liked that look).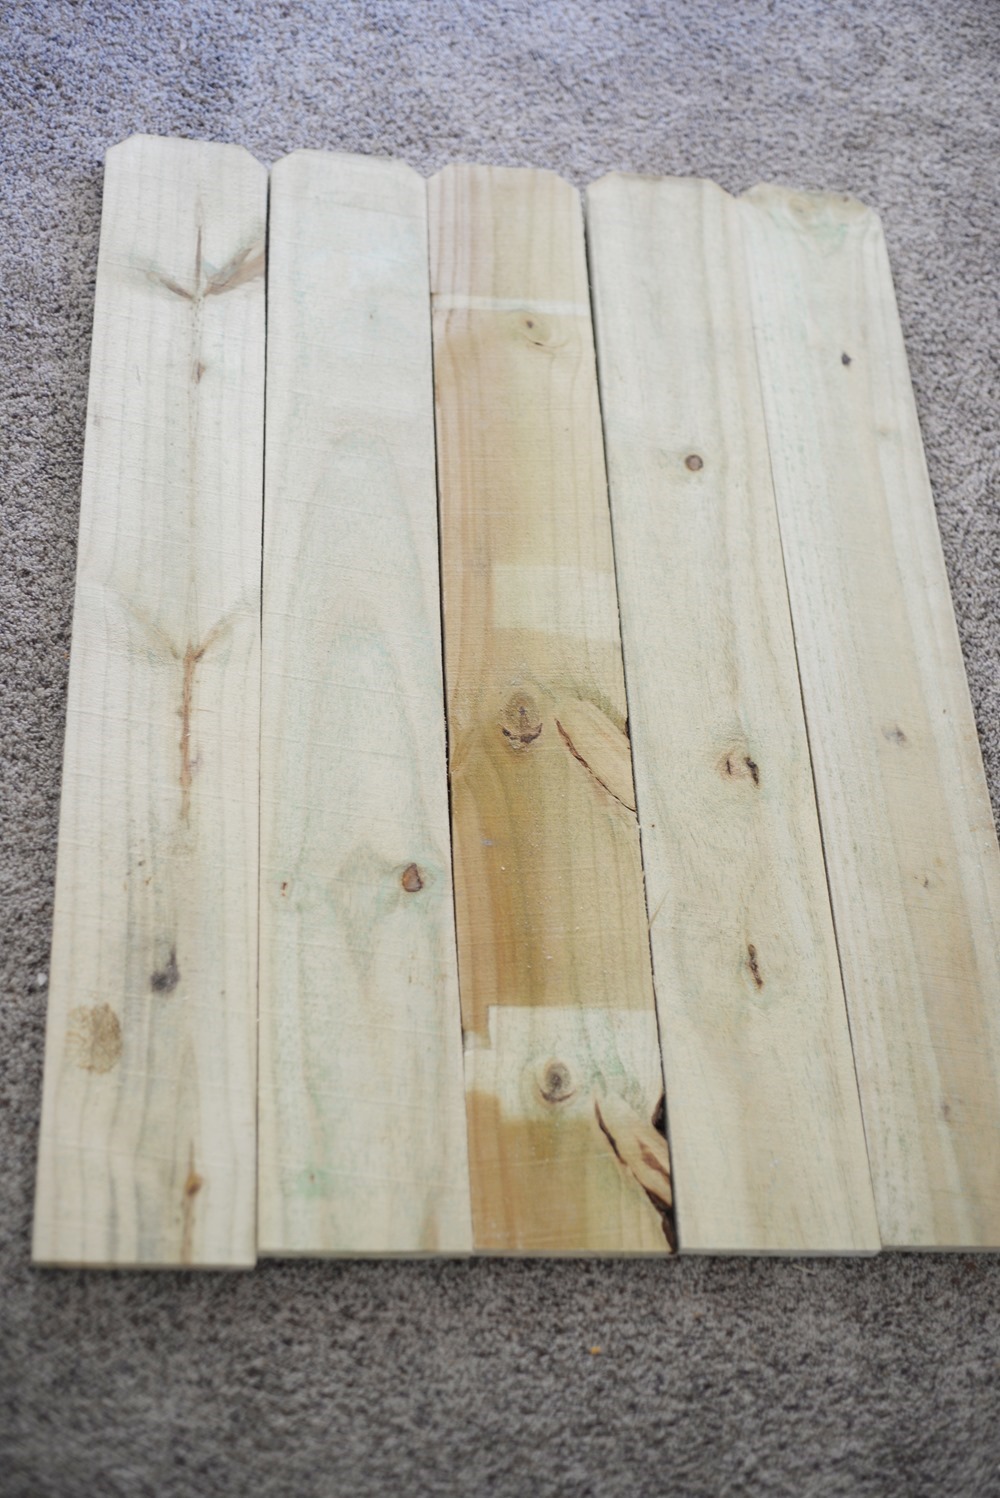
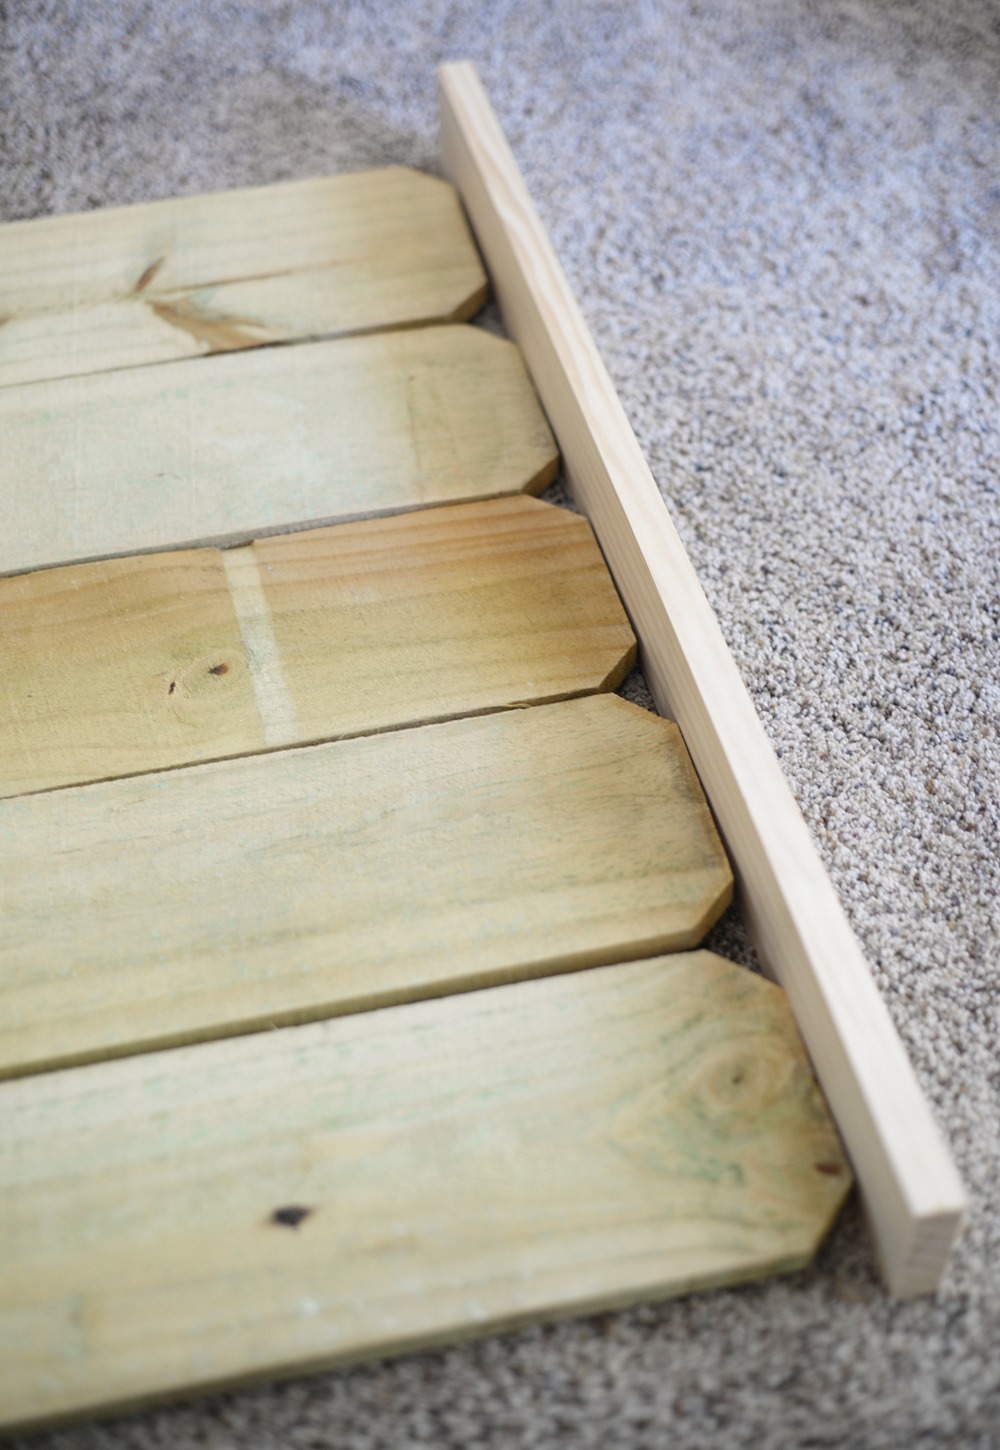
Step 3: Lay your first 1X3 across the fence boards, about six inches from the top of the pickets. Screw a 1.25” screw into each board. When you’re done, lay your second 1X3 about two feet down and screw it in to each board as well. 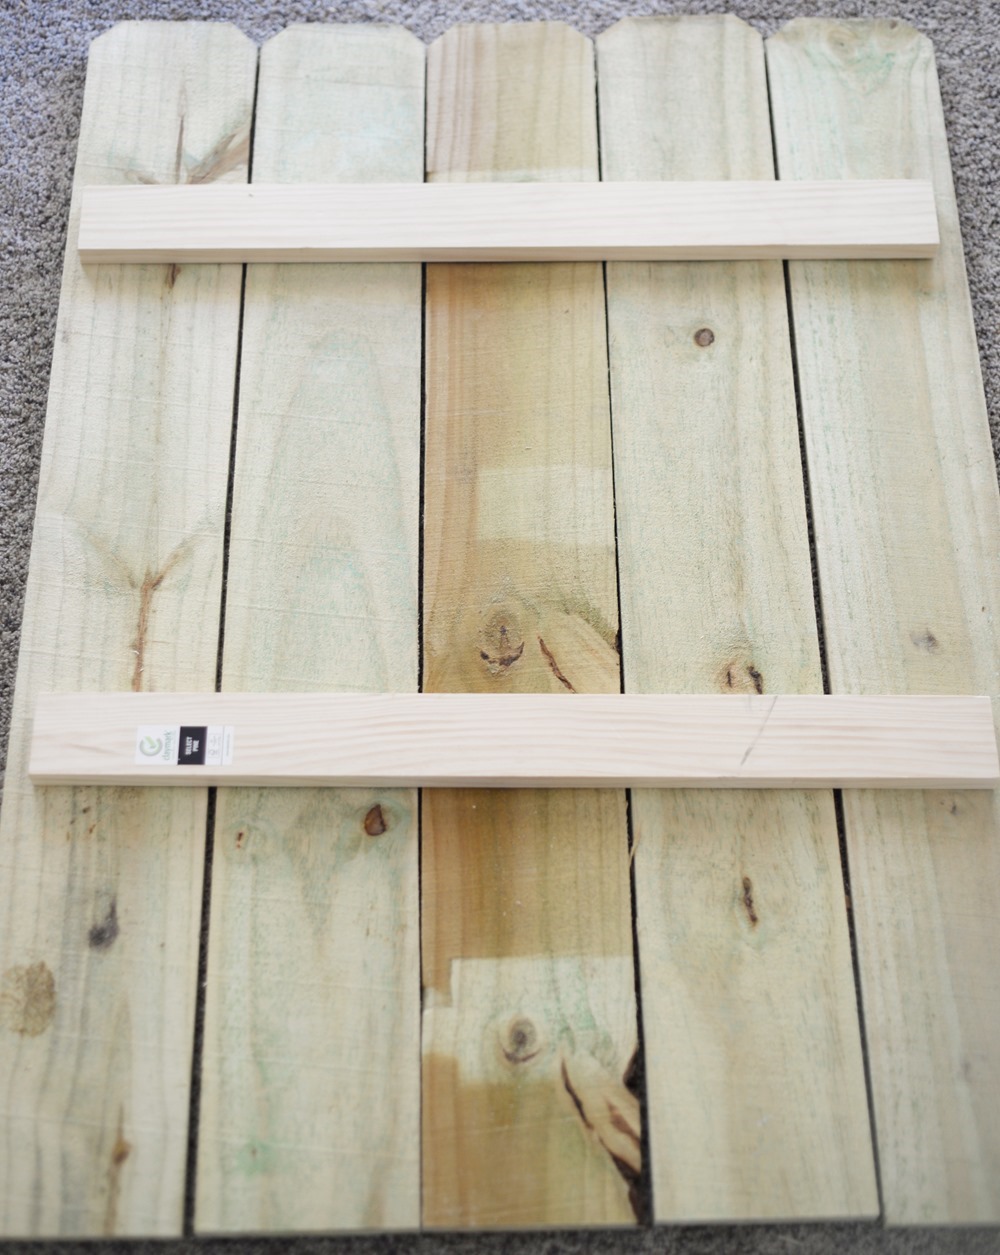
Yay! Most of the work is done! I told you this was easy! If you want to just lean your stocking holder up against the wall you can skip the next step but I wanted mine to be freestanding, so I added some legs to hold it up. NOTE: I realized later it would have been much easier to spray paint my boards at this step and put on the hooks before adding the legs. Feel free to do steps 5 and 6 now and then come back to step 4.
Step 4: Alright, you’re gonna have to really follow along with me here, because I couldn’t take pictures of myself doing it, but I think if I show you the final product, you’ll get it. It’s simple. Stand your stocking holder up vertically. Deicide how vertical you want yours to be, I wanted mine to lean back just ever so slightly. Take one of your 2X2’s, and while your board is up, slide the 2X2 up against it so that you can see where it needs to be to hold it at that angle. Draw a straight line along the top of the 2X2. Do the same thing on the other side. Now, lay your stocking holder on the ground, hold your first 2X2 where it goes along the line you drew and screw a screw about 1.5” up the 2X2 to secure it to the holder. Do the same on the other side. Stand it up and there ya go! Yes, I do realize that I split my wood on the right side, I fixed it later. I thought I could be all sneaky using drywall screws because that’s what I had, but lesson learned. Only use wood screws in wood.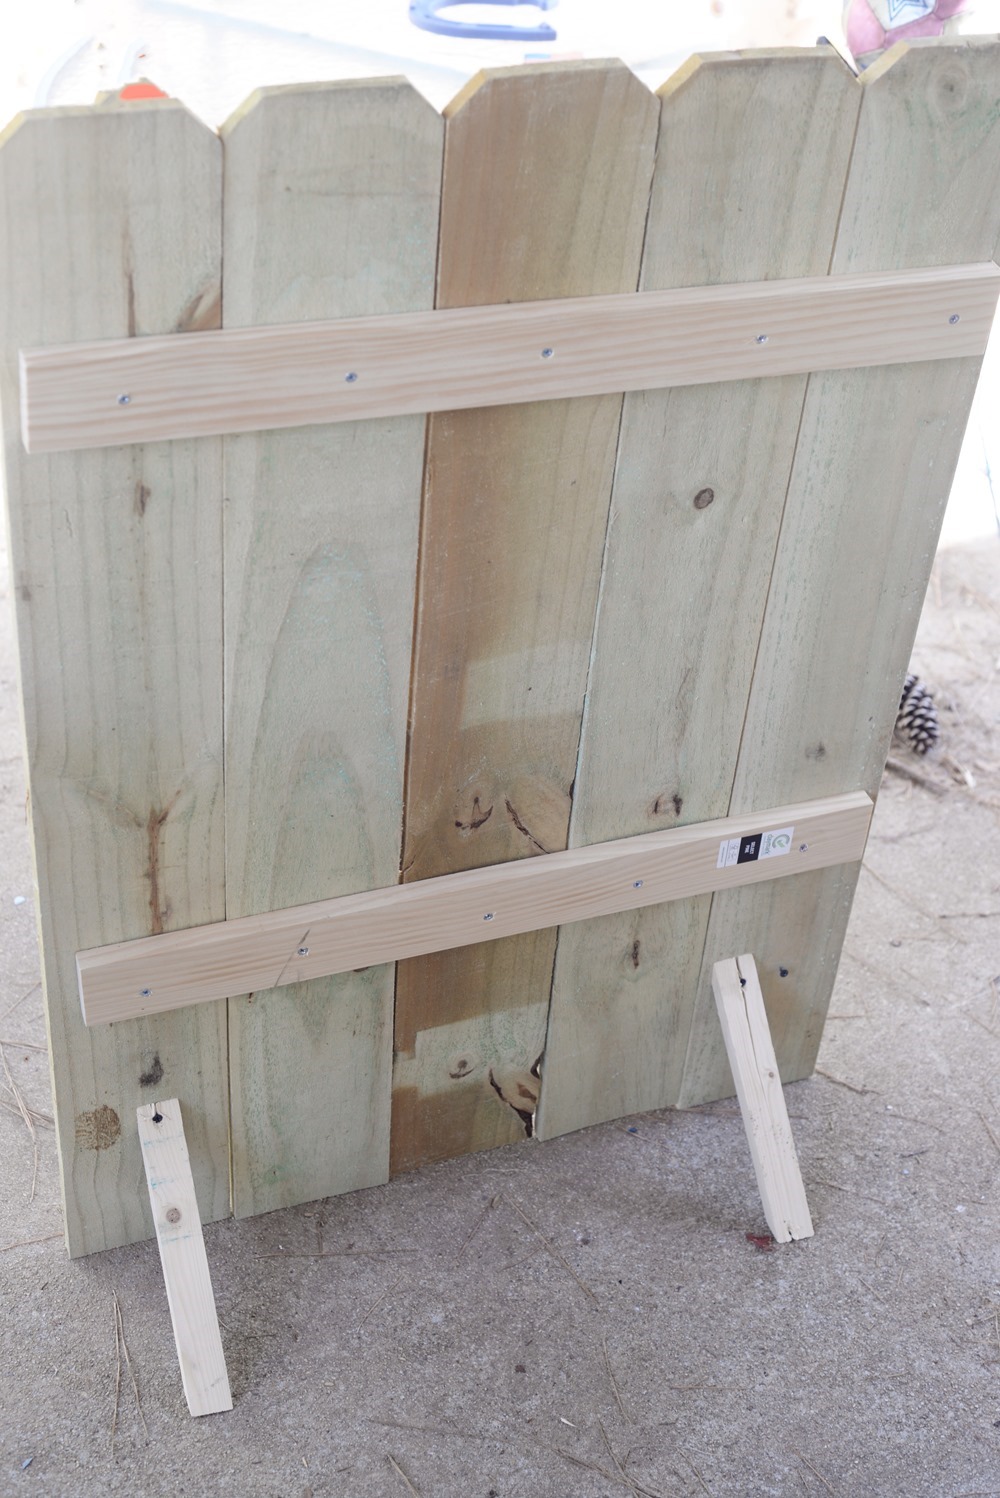
Step 5: Spray paint your stocking holder! You of course can use any white paint you have sitting around, if you’re like me, I have lots. It took me right at 3 cans of spray paint to finish this. I think rolling on some home point would work even better, but I’m all about using what you already have!
Step 6: Add your hooks, making sure that they are all even, and hanging up your stockings!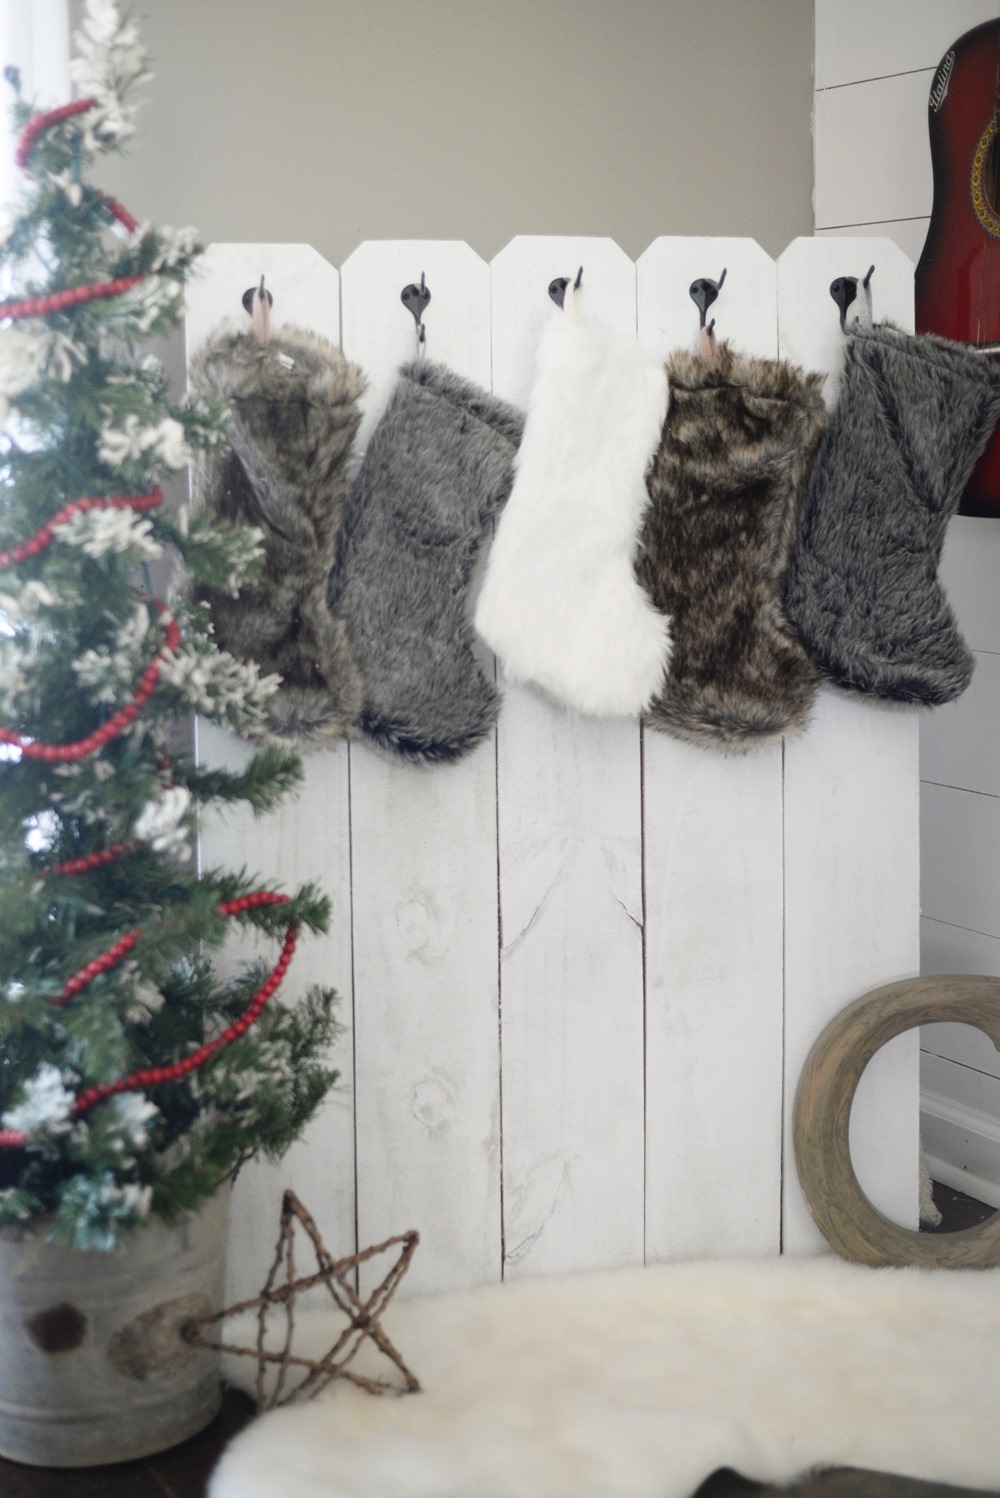
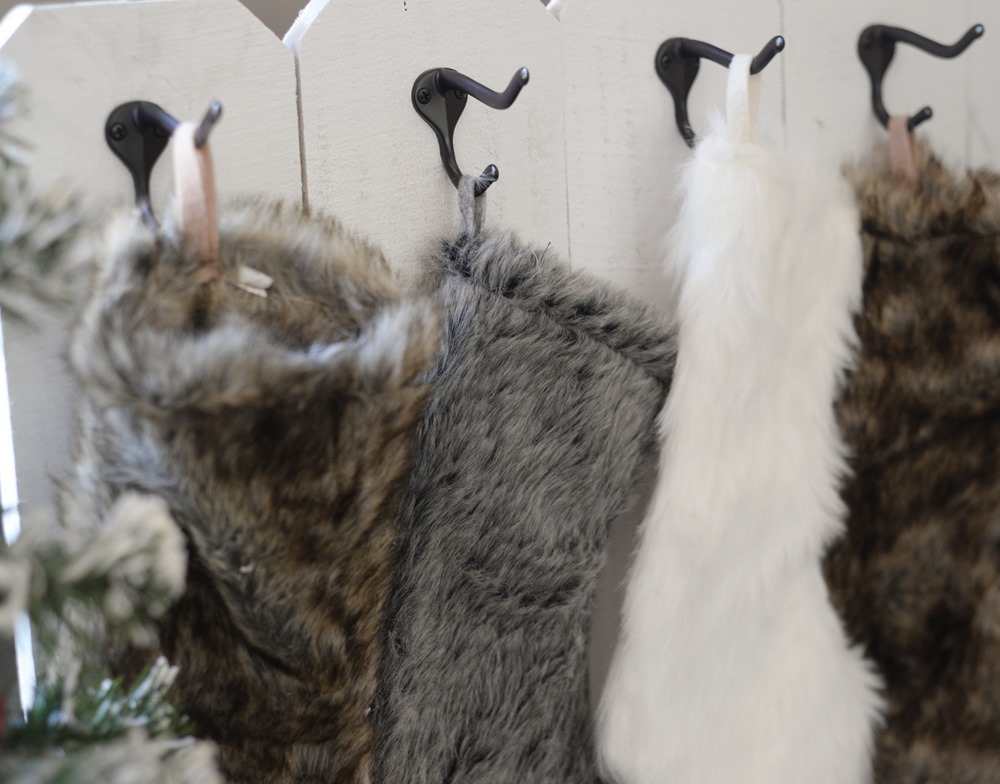
I can’t wait to see my boys faces on Christmas morning when they come out and see their stocking filled and hanging there. I love what a statement piece it makes too, and I think I’m going to use it for other holidays too. I can see little Easter baskets hanging here in the Spring.
Now you can stand back and take at look at your handiwork! I’m sure yours will turn out so cute, probably even better than mine! Add some Big Lots decorations and it’s the perfect little Holiday corner. It’d be adorable background for all your Christmas morning pictures too! So, the real questions is, how soon are you heading to Big Lots to get your décor and make this cute little display?


I’m so I love with the mantle and I would have never thought about creating a separate area for stockings! I don’t usually decorate for Christmas before Thanksgiving but now I’m completely inspired. Thanks for sharing!!
Love the mantle, I am definitely heading to Big Lots. I also love the furry stockings and the idea of how to hang them. Thanks for the inspiration.
That stocking holder is such a genius idea for people who don’t have fire places!