When we moved in our house, one of the very first projects I did was give our kitchen backsplash a makeover. Previous owners had decided to install a metal tile backsplash. It’s easy to install (goes on with special double stick tape, no joke) and is more affordable than completely gutting and retiling a wall, so I don’t blame them for using it, but the look just clashed completely with my style. The shiny-chrome look was so stark next to my more classic palette and style, however, I did love the flourish pattern on the metal tiles. It reminded me of those beautiful black and white tile bathrooms and you see in old farmhouses with the detailed tiles. I brought up painting it to a couple family members who all said that it couldn’t/shouldn’t be done, but that’s never stopped me. I had a vision and I knew I could make it work! 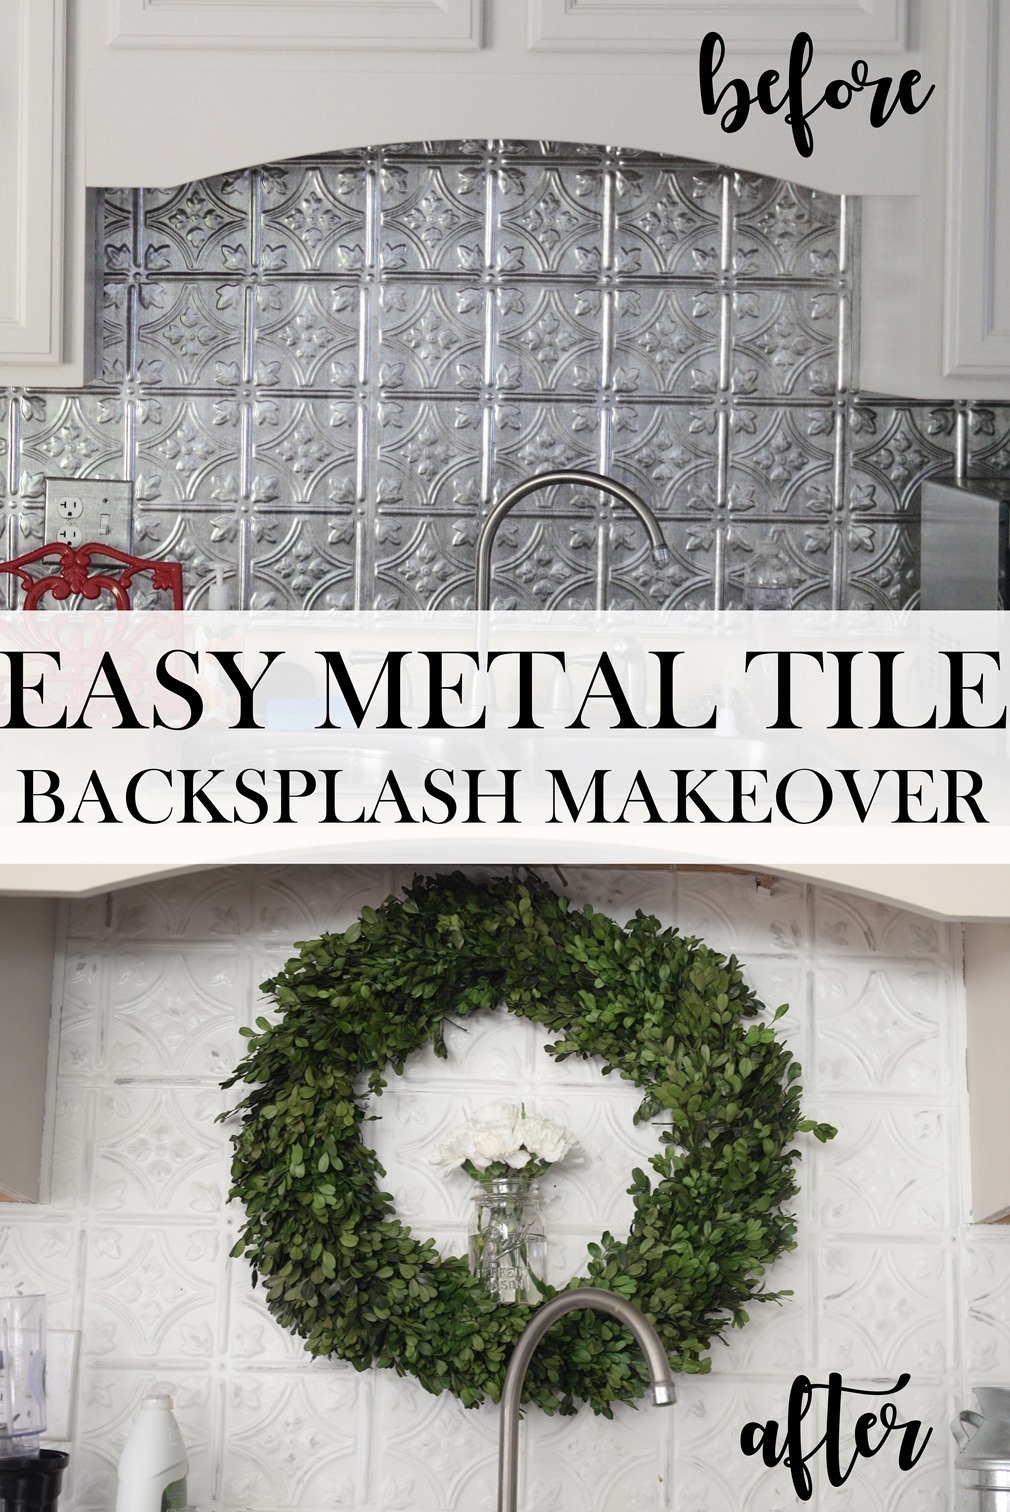
For supplies, I used the same wall paint that is on my Shiplap walls, it is Behr Ulta Interior Satin tinted to Bejamin Moore’s White Dove. For the slight hint of black distressing that I was envisioning, I wanted to use something easy to use and workable, like chalk paint wax, but couldn’t find it in black. I really didn’t want the brown, I thought it would just look dirty, and finally I came across Daddy Van’s Shadow Black Decorative Wax on Amazon. Black chalk paint wax is hard to find, but I tell you what, I love it. It has a much more crisp, antique look instead of the chippy/slighty dirty look. Don’t get me wrong, Annie Sloan is great, but this was exactly what I was looking for. Here’s what the backsplash, and the kitchen, looked like when we bought the house):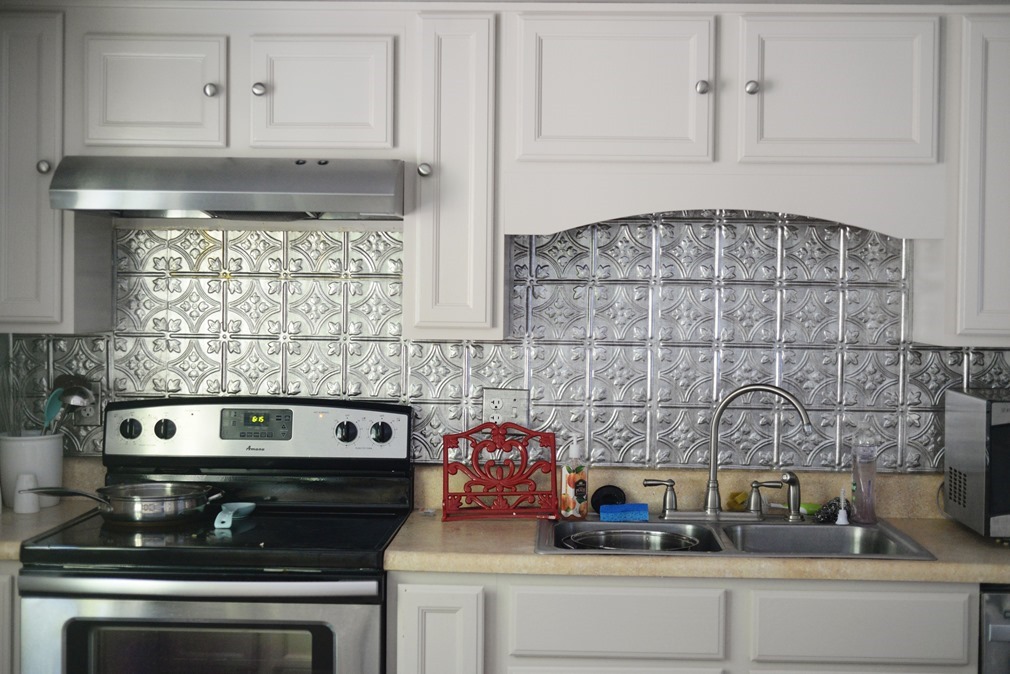
To go from chrome to white, first I taped off the edges around my cabinets so I wouldn’t get paint on them, and then wiped the tile down really well. This tile had been up for at least ten years, so I wanted to make sure it was free from grease and oils. I’m glad I cleaned it well because as I was cleaning, I discovered that they hadn’t actually taken the plastic protective coating off of most of it and was able to peel that off. Next, I simply rolled the white paint onto the metal tile, and cut in with a paint brush in the corners and tight spaces. I used thin coats, and it two would have been enough but I went with three to really make sure it was covered. 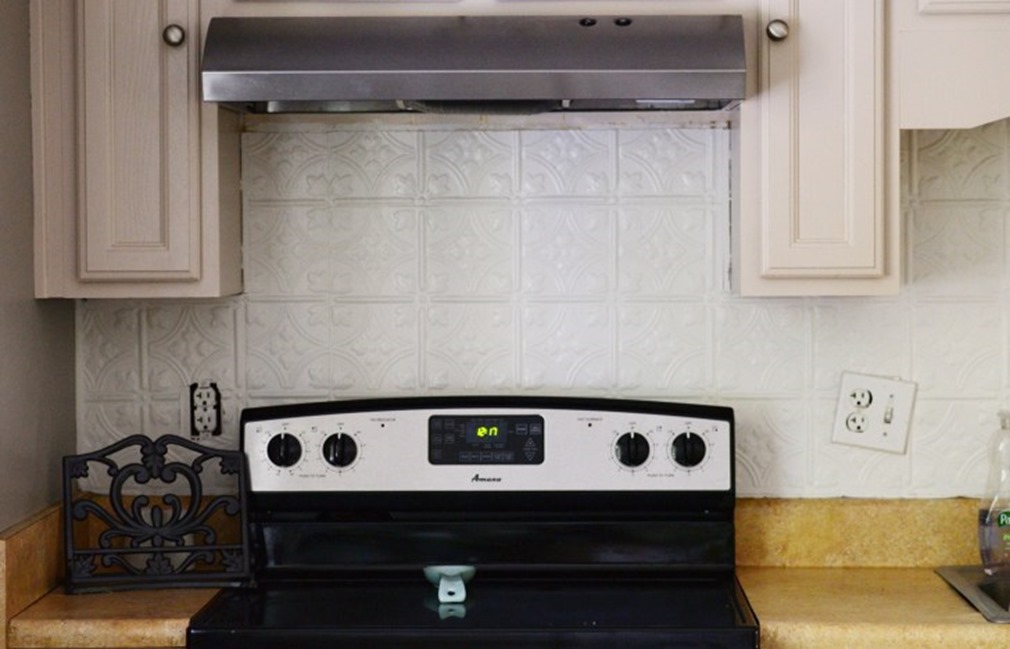
I let that dry for a full 24-hours, and then took a rag and dipped it into the Shadow Black Wax. This stuff was amazing to work with, so forgiving and so easy. I simply rubbed some on the high points of the tiles, rubbed it around some more, added some if it wasn’t enough, or wiped some away if it was too much. It dries very slowly so it gave me plenty of time to work with it and get it exactly how I wanted. I tried to do long strokes to make it look like it was black underneath and that the white had been worn away over time. The wax took about 24 hours to dry but I tried not to touch it for 48 hours just in case.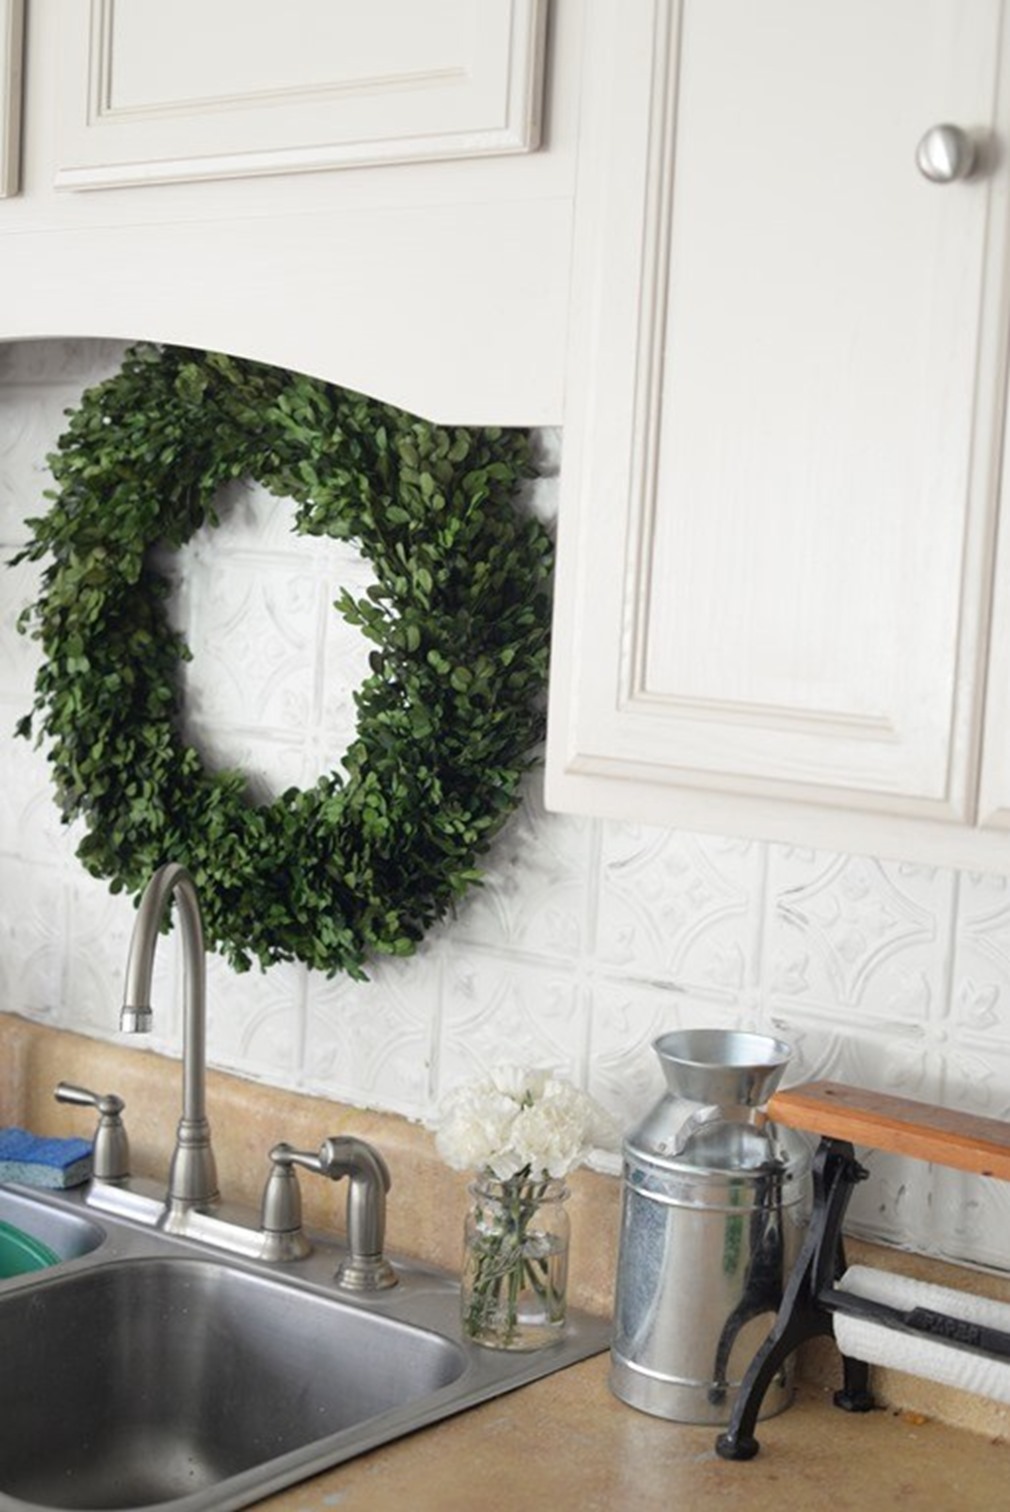
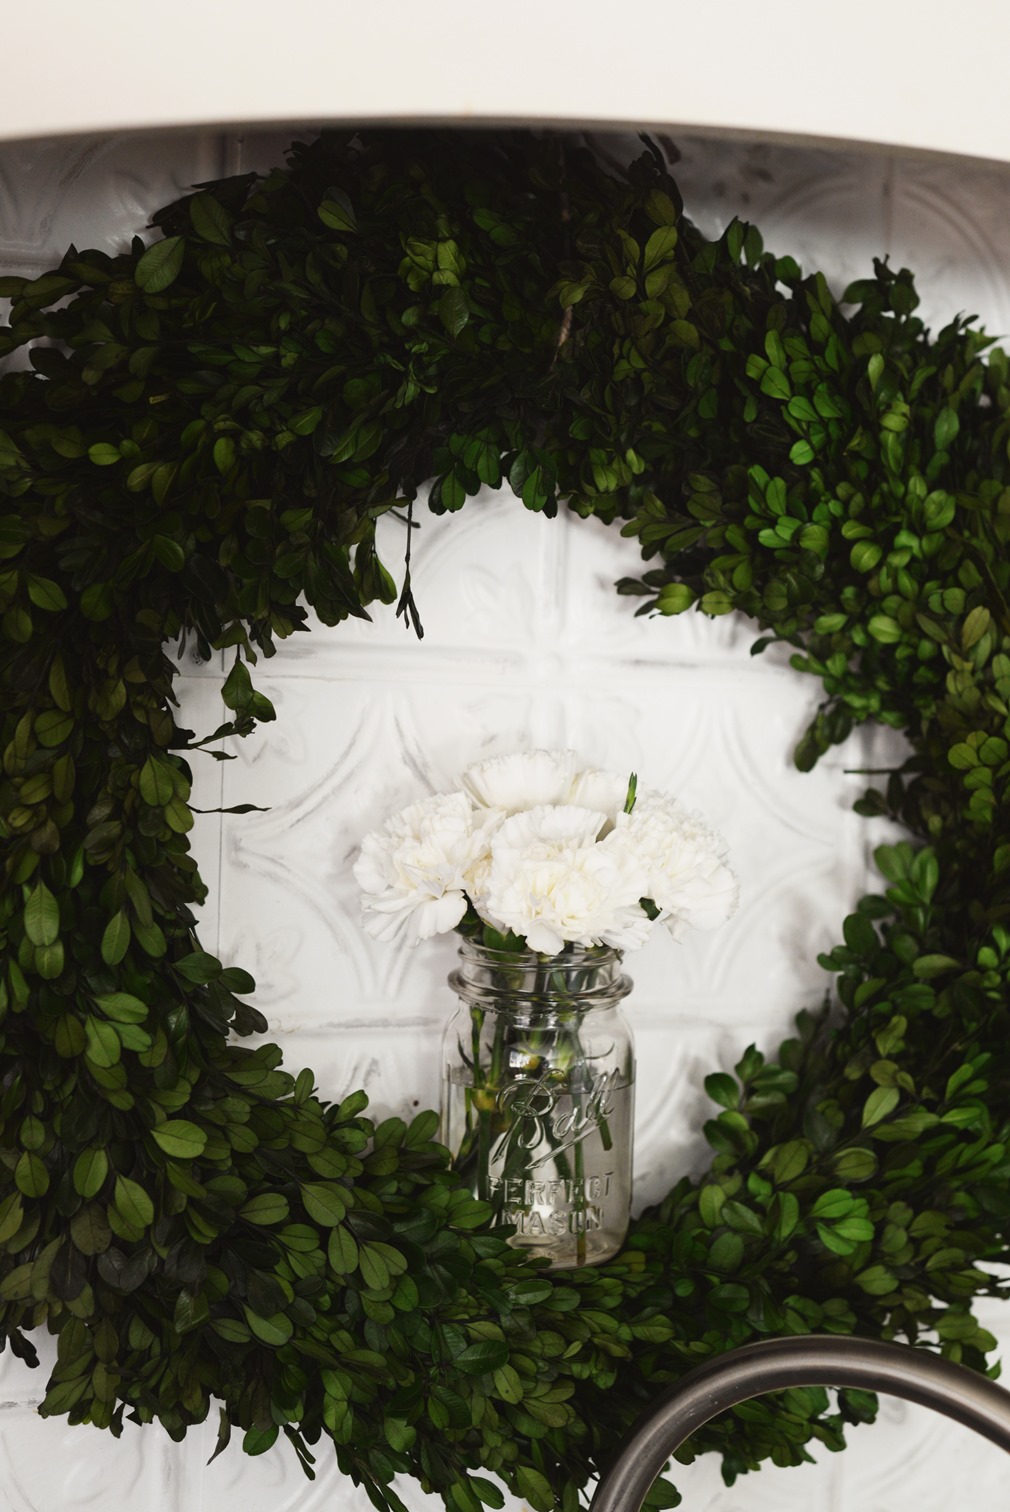
I love the finished look SO much more. This project only cost me $20 for the wax since I already had the white paint, and I have gotten so many compliments on it and so many questions about what the backsplash is. Weather you want to install a metal backsplash and then paint it, or paint over your existing metal tile, this is definitely an easy upgrade that can be done quickly and makes a huge difference. I did this project just under two years ago, and it still looks as good as new, cleans really easily (I use Windex or Clorox Bleach spray and have never had a problem), it’s durable, and the paint has never gotten scratches in it. I may add more black distressing at some point because I do feel like the black has lightened up (that might be because this area of our home gets direct sunlight most of the day) or maybe I just prefer more distressing now, but I will probably add more at some point, but it looks amazing still and I’m proud of my DIY backsplash makeover, now I just need to figure out a way to upgrade those countertops…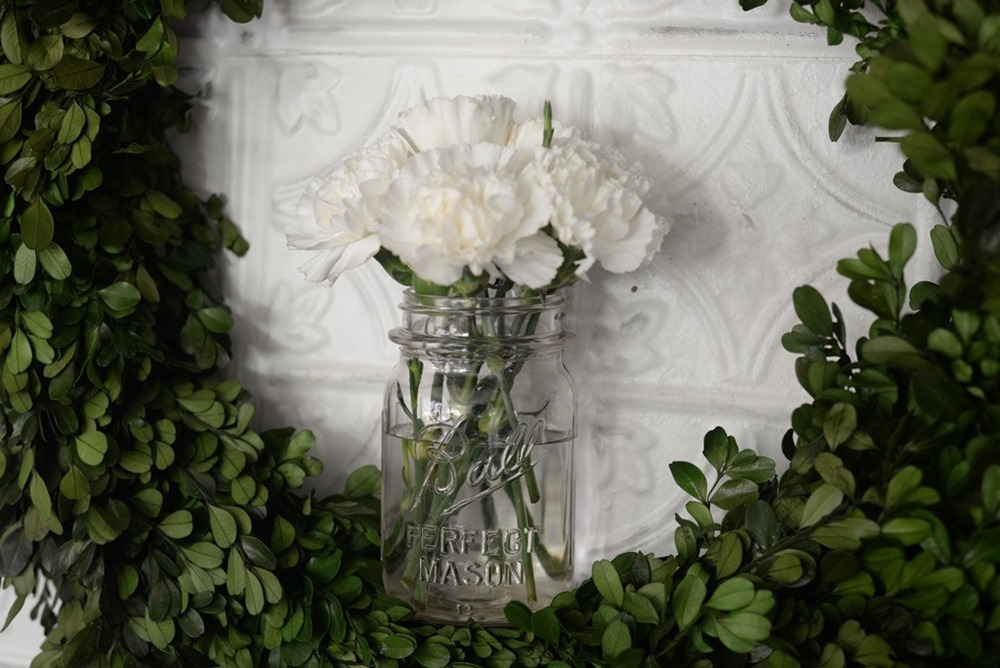
This post contain affiliate links which I get small compensation for.


Great idea, thanks