update: here is part two of the project, the roof!
Yesterday was Sawyer’s birthday, and a week ago was Rhett’s. We have been talking about building them a playhouse for years, ever since we went to a friends house who had one and they played in it for hours. I’ve been saving ideas here and there of playhouse features I loved and wanted to incorporate into our own playhouse when we got the chance as well as work in what the boys liked most about my friends playhouse. I had a sizeable stack of 2x4s left over from various projects and scored a load of free 2x6s and then got the chance to work with an awesome company (more on that tomorrow) and knew it was the perfect time to build it. I knew I couldn’t take on a project this big alone, and luckily my Dad and Mom agreed to help me, and we built this adorable gardenshed/farmhouse inspired playhouse and finished it yesterday on Sawyer’s birthday. I’m going to break it down into a three part series, so today starts of with part one-framing!
(I realize that as you read this tutorial it will look like I say a lot of “we” but doesn’t look like I do much, but I promise I helped, somebody’s got to step out to take the pictures haha but my Dad really is awesome and deserves to be in all of them like he is!)
When I went to the Magnolia Silos in Waco back in March, I saw the garden shed at the Seed and Supply Store, and wanted our boys playhouse to look just like it. The color were just right, the shape of it was cute, I just needed to translate what I like on it into playhouse form and work with those supplies I already hand on hand. I drew about a million different mock-ups before deciding on a final plan, which of course I changed again the night before (and now I’m so glad I did, the original plan was bigger and it would have been huge). 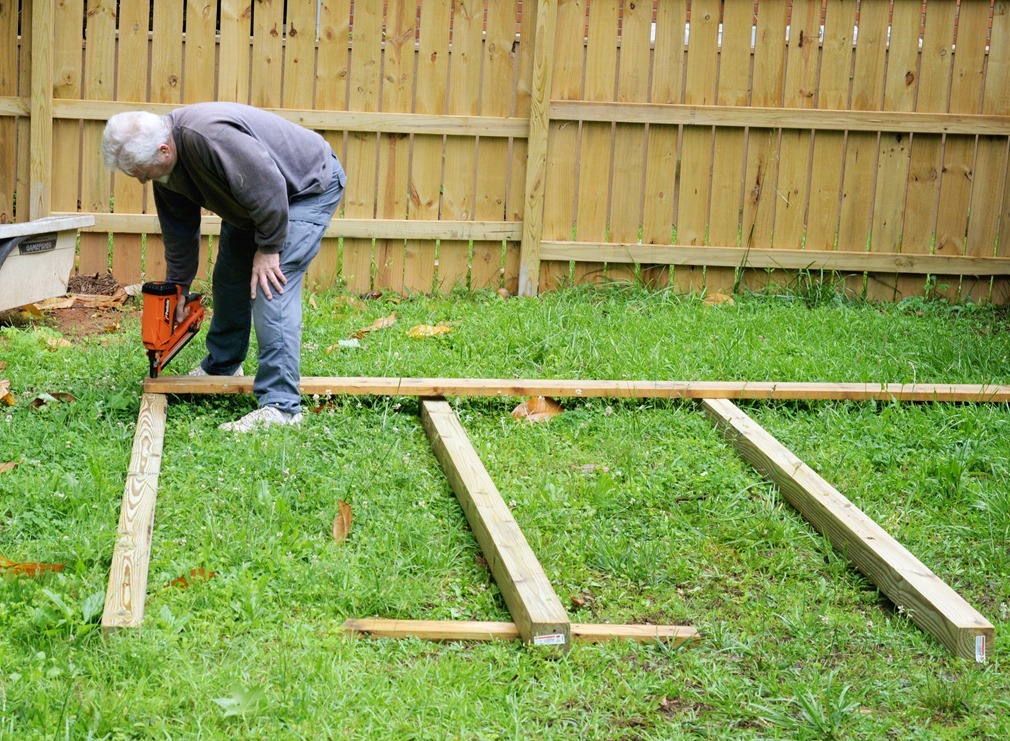
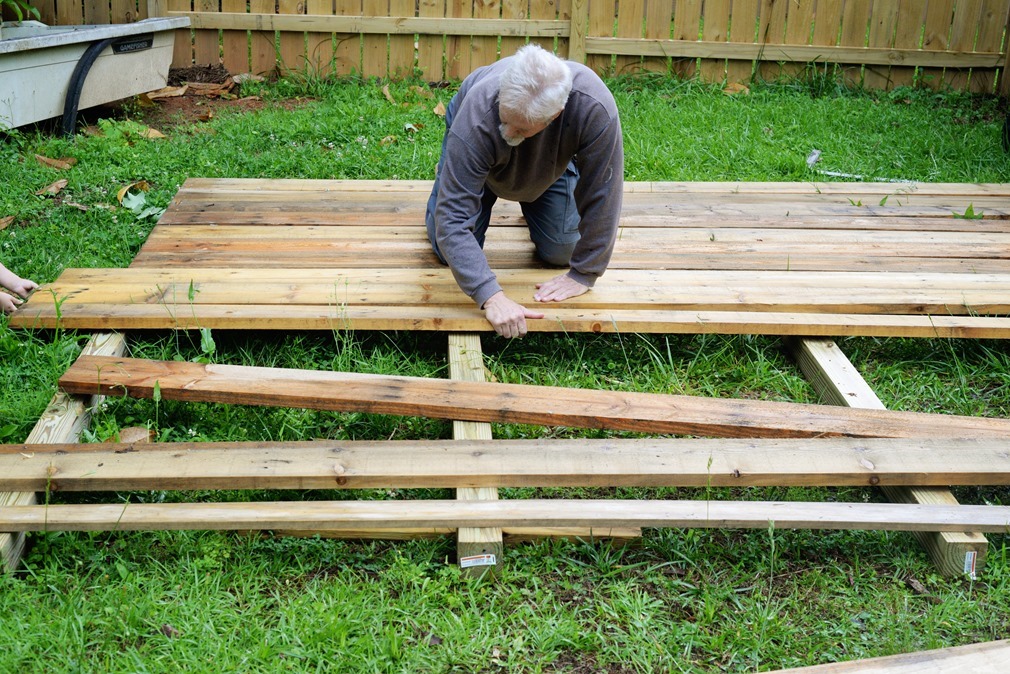
I bought three 10 foot long 4x4s that we used as the bottom of the deck. The only flat areas of our yard get flooded by water when it rains, meaning it would have to go up on higher ground where it is very uneven, so we needed to build something sturdy and flat for the playhouse to sit on. The 2×6’s that I got from my brother’s work for free were perfect for the deck floor. The playhouse is 4×5 with a couple feet of roof overhang, so we decided to make the deck 10 feet long (since we had that long of 4×4’s) and 7 feet wide. We built the deck on the level part of the yard by laying out the 4X4s where they needed to be and then nailing down the 2X6s on top of them, and then cutting off the excess wood (the 2×6’s were originally 12 feet long each). We decided to just build half of it there on the flat ground to get a solid start and then nailed a scrap board across the open end to keep everything in place and carried the platform to it’s final location. Once it was there we could add on the last four boards. We actually didn’t get those boards added on until the very end, but they can be done once it gets there. Obviously, if you aren’t moving your platform, you can put them all on right away, we just knew it’d be too heavy for us to carry with all of them on!
Our next step was framing the four walls. Our playhouse is 4×5, and the height of each wall is 4 1/2 feet on each wall. The easiest way to build the walls is to build each wall separately, and then stand them all up and attach them to each other. 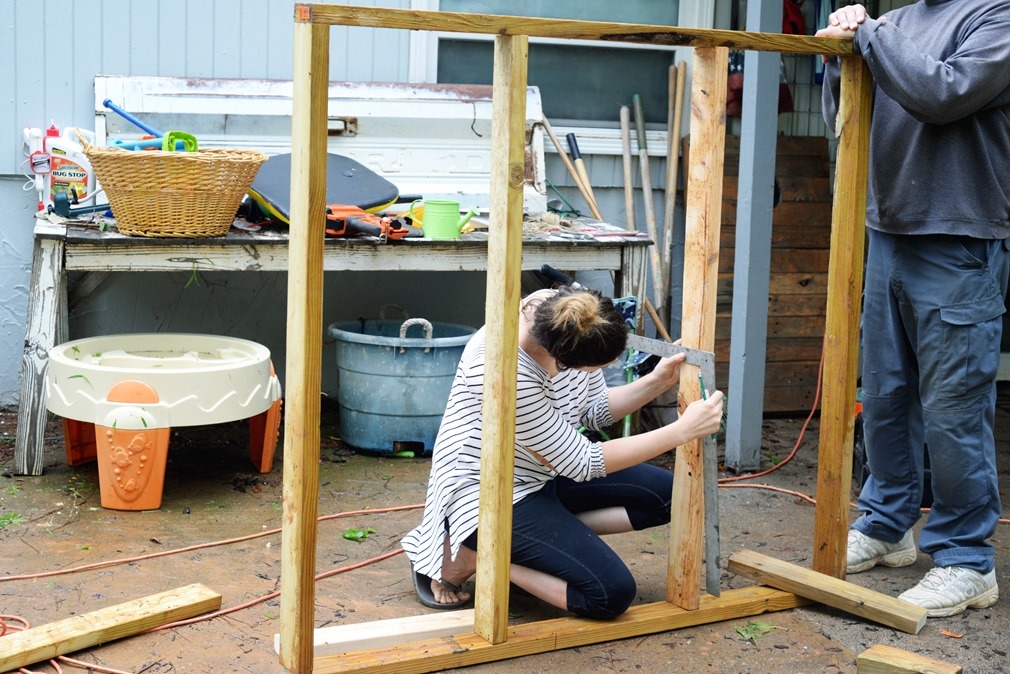
For each wall, we started by attaching the outermost vertical boards (the 4 1/2 feet ones) to the horizontal header and footer. We shot two 2” nails through each board to attach them. Once we had the basic frame in place, we added the windows and door studs. For the longer walls of the playhouse, the 5 foot ones, the back face of the house has four vertical boards, with the middle two splitter the center 20” apart with two additional 20” pieces put in horizontally to frame out the window. The front wall has a big serving window, made by having four vertical boards, two on the outer edges, and then two more with are each 18 inches from the outer edge, and a horizontal board connecting them which is 18” from the ground, which frames out the large serving area on the front of the house. You can see it’s frame in the picture below as well as how it looks when the walls start coming together: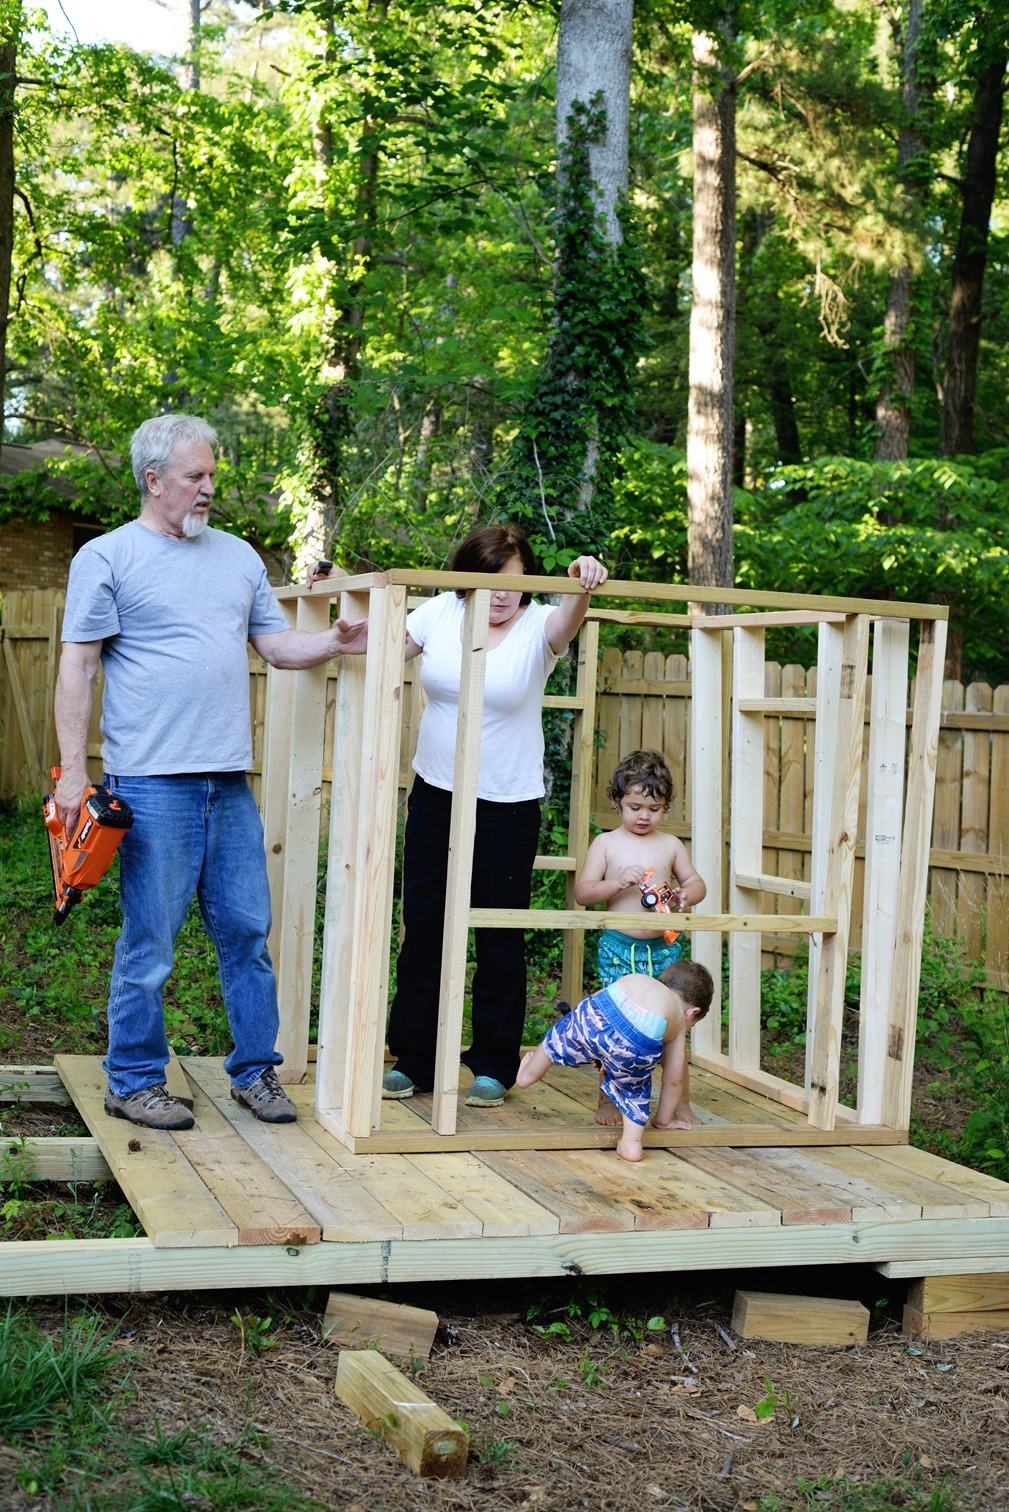
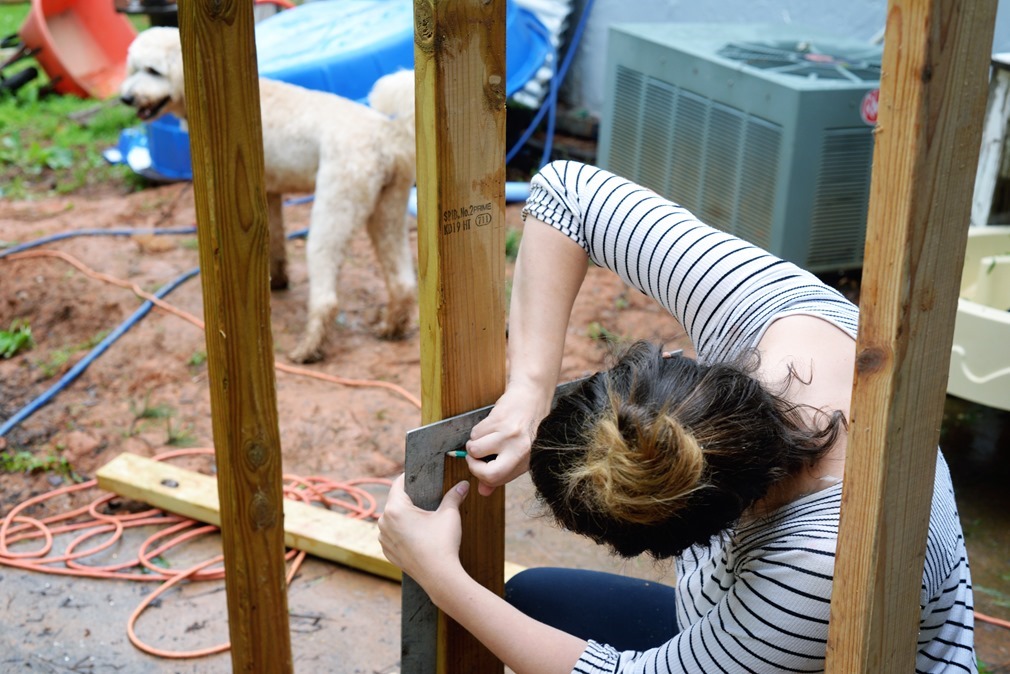
The smaller two walls, which are four feet wide each, have almost identical framing. Each has four vertical boards, with the middle two being 14” from the outer edge. This leaves a 20” space between the two vertical boards. On both, we added a horizontal board at 10inches from the top For the right wall, we also added a board 24 inches from the floor to create a 20” square window to match the one on the backside of the house. On the other, which becomes the left side of the playhouse, we took the frame, turned it over, and cut the middle of the bottom board out, between the two vertical studs. This becomes the doorway.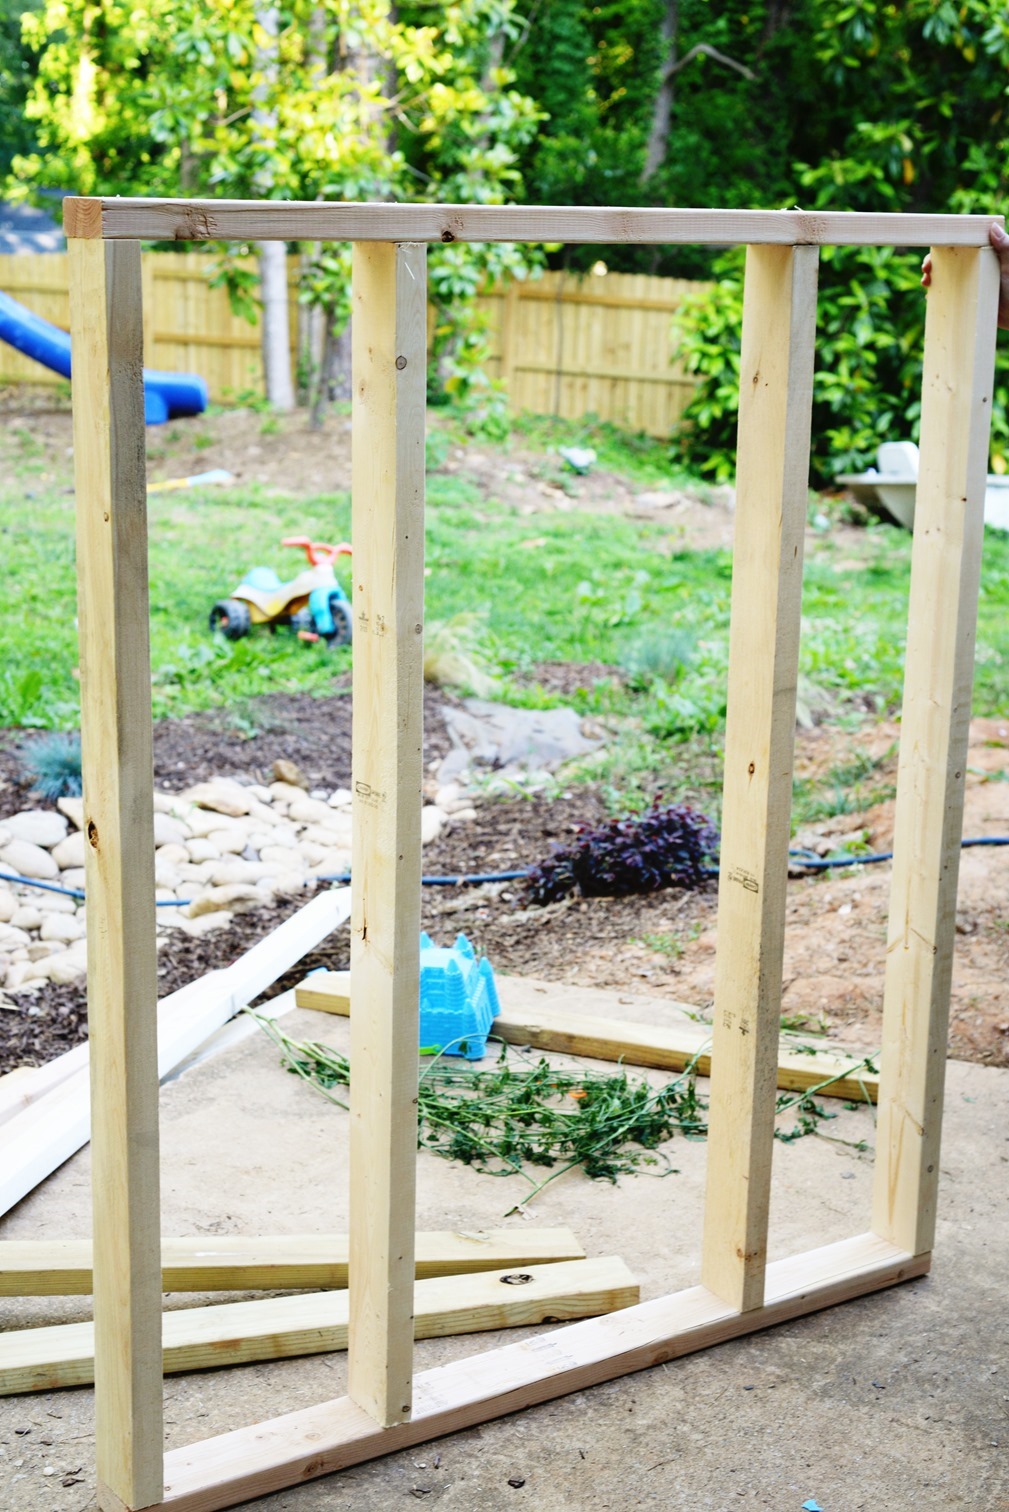
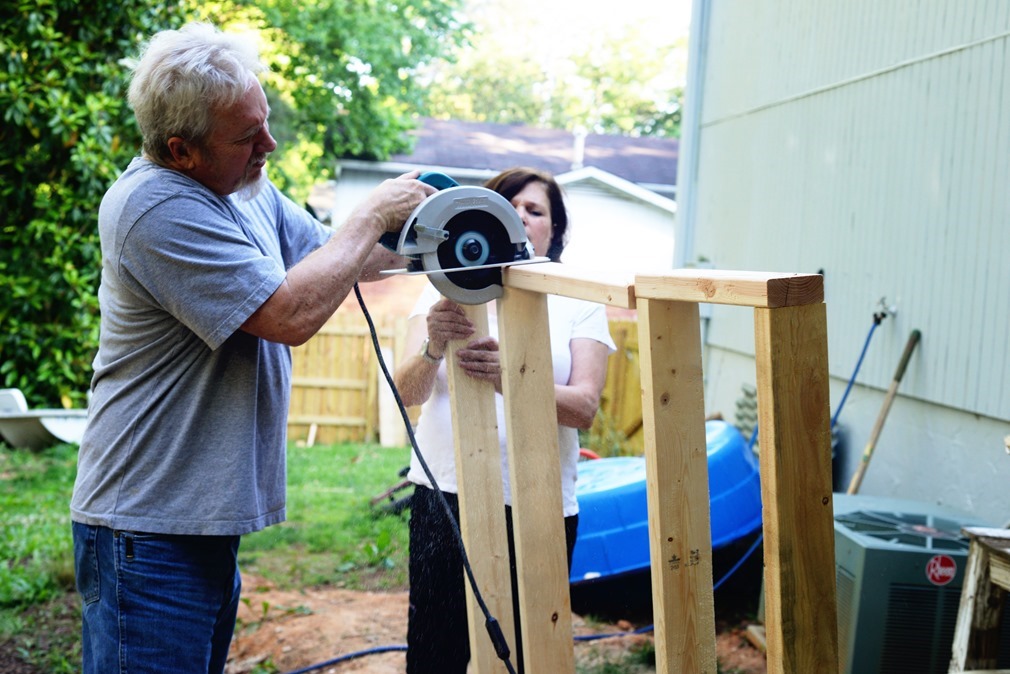
Once all four sides were complete, we carried them to the platform to attach them to each other, making the main body of the playhouse.
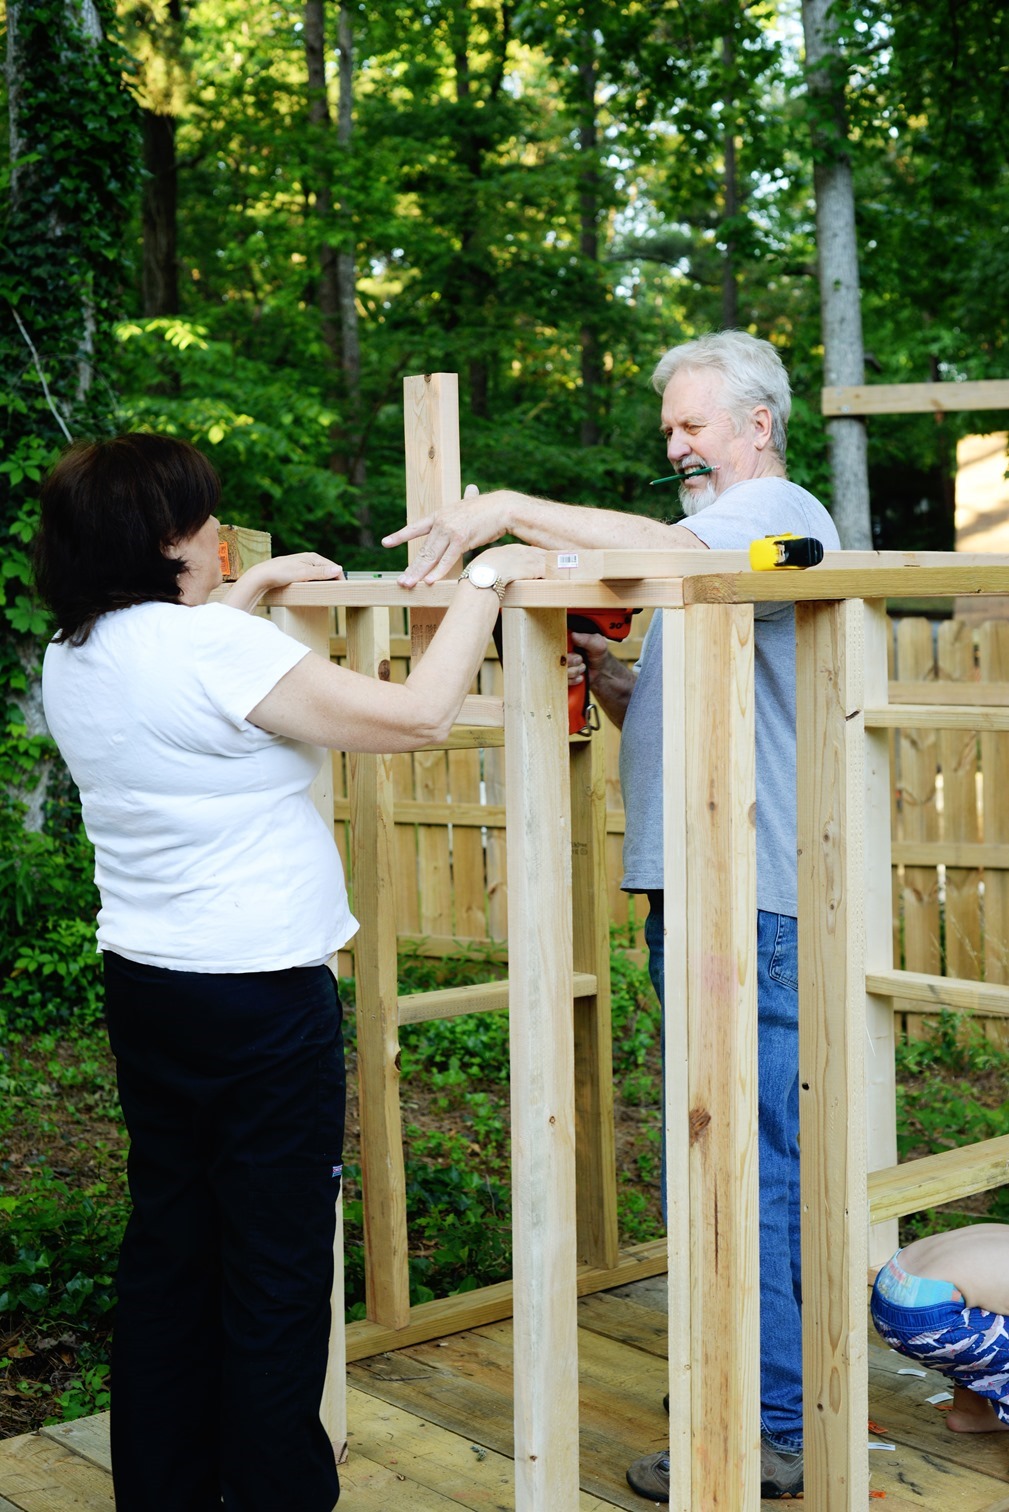
To make sure that things are staying square and level, we started by getting the pieces in place, then nailing the bottoml boards into the deck we were building on. Next, we attached the 2x4s on each corner to each other, making sure to use a level to check and make sure weren’t putting it up crooked. Of course, we had three little “helpers” who wanted to help too but as you can see if you look past Ford’s cute smile were actually quite in the way and kept trying to run off with tools that they shouldn’t have in the first place. Get a babysitter while you’re building if you can haha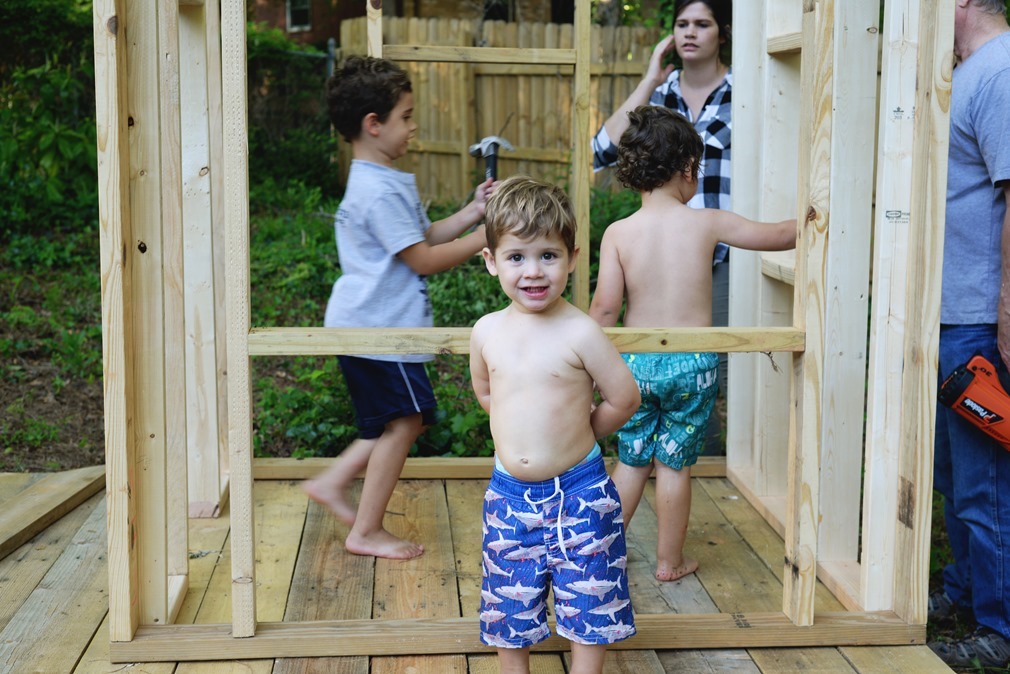
It’s important to take your time here making sure that everything is flush and straight and level. As long as you’ve built your sides correctly, everything should go smoothly when you frame it, but if you’re having problems, you should be able to push or pull the frame as you nail it, to help get it the way you need it to go. If you’re buying wood from the store, you most likely won’t have this problem, because it’s usually pretty straight, but free wood like mine is sometimes bent some from sitting outside or being cheaper grade. This is a good reason to have someone doing this whole project with you, one person has to hold the sides together while the other levels, nails, etc.
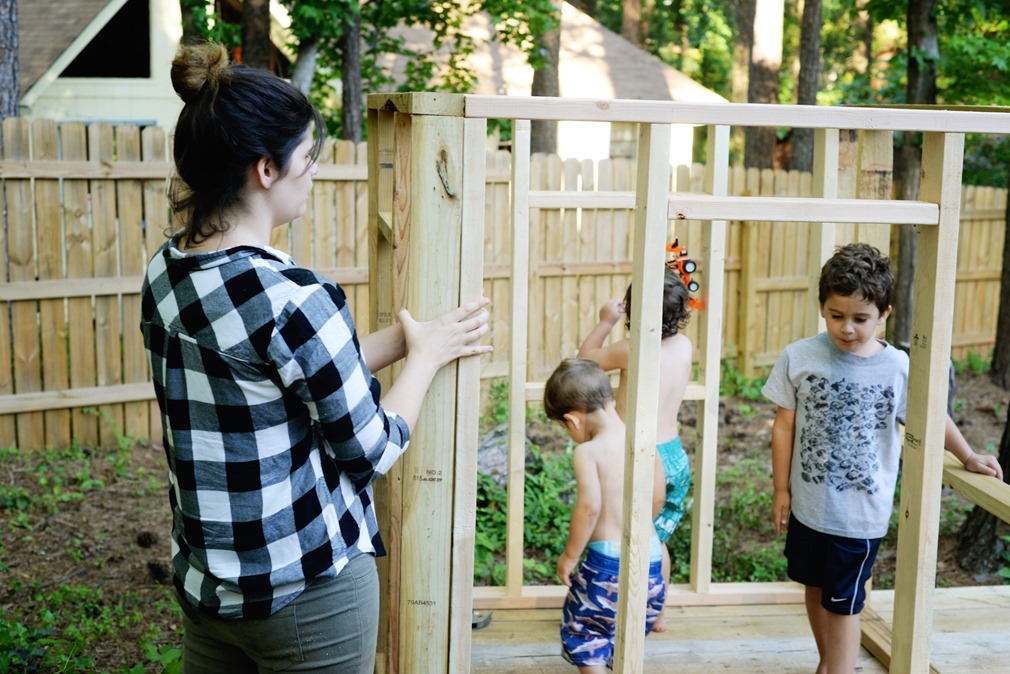
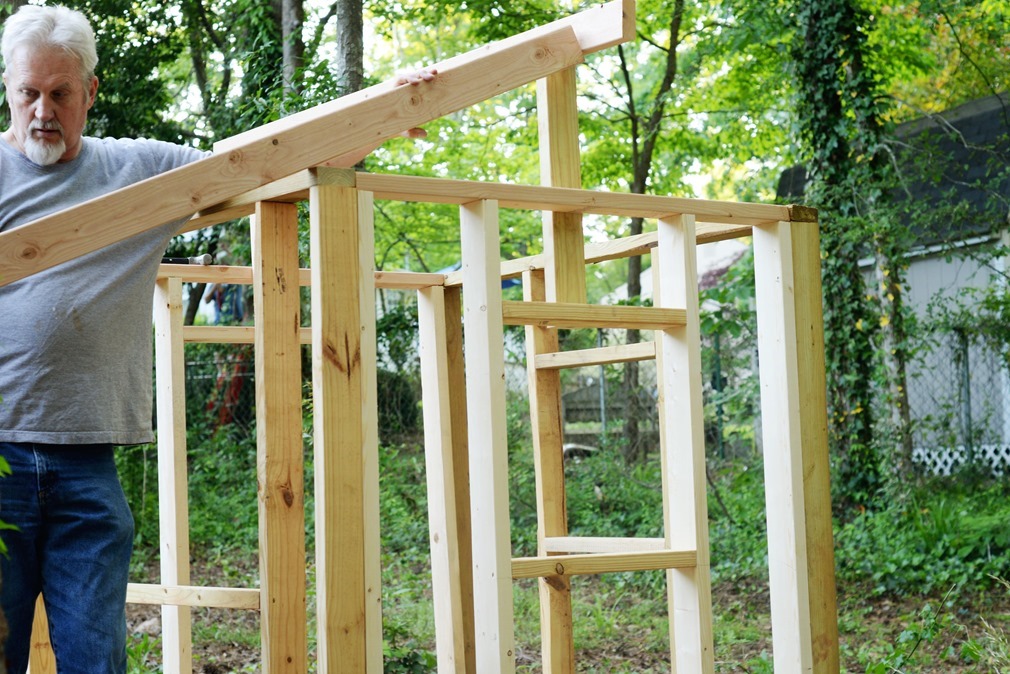
Once the walls were in place, we began to add the frame boards that would support the roof. We wanted this playhouse to have a one foot high rise from the top of our walls we had made, to the pitch of the roof. To do this we cut 2×4 boards that were attached to the horizontal studs on the right hand side of the room like you can see below. We made it easy by measuring both sides off of one, and then cutting the board for both walls at the same time (he’s comparing them in the lower picture)
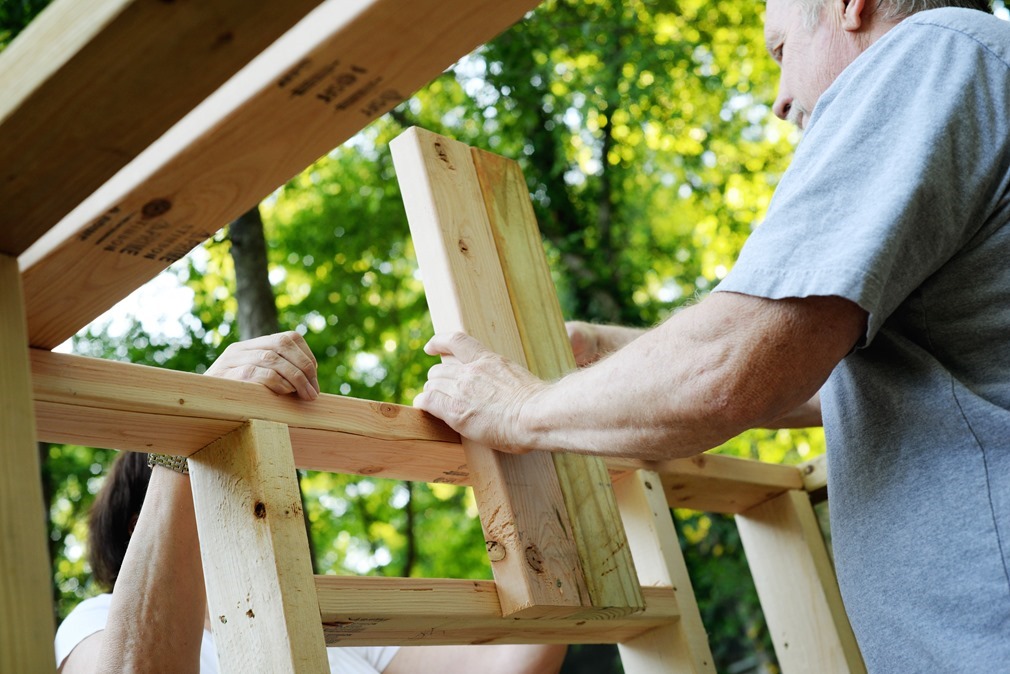
From there, we added a 2X4 which runs from one of these peaks to the other, which his longer than the house’s width because we wanted it to have an overhang. We originally planned to have a three foot overhang off of the front window, with a foot off of each other side, but when we realized that by making the over hang slightly shorter, we could use just one piece of plywood per side of the roof, we modified our plan and made the roof over hang by only a foot and a half on the front, which ended up looking better anyways. If you are building a playhouse the same size, or any thing, you want to take into account how much materials you will need. You can save a lot of money by building it to fit standard building material sizes. The peak beam is 6 feet long. 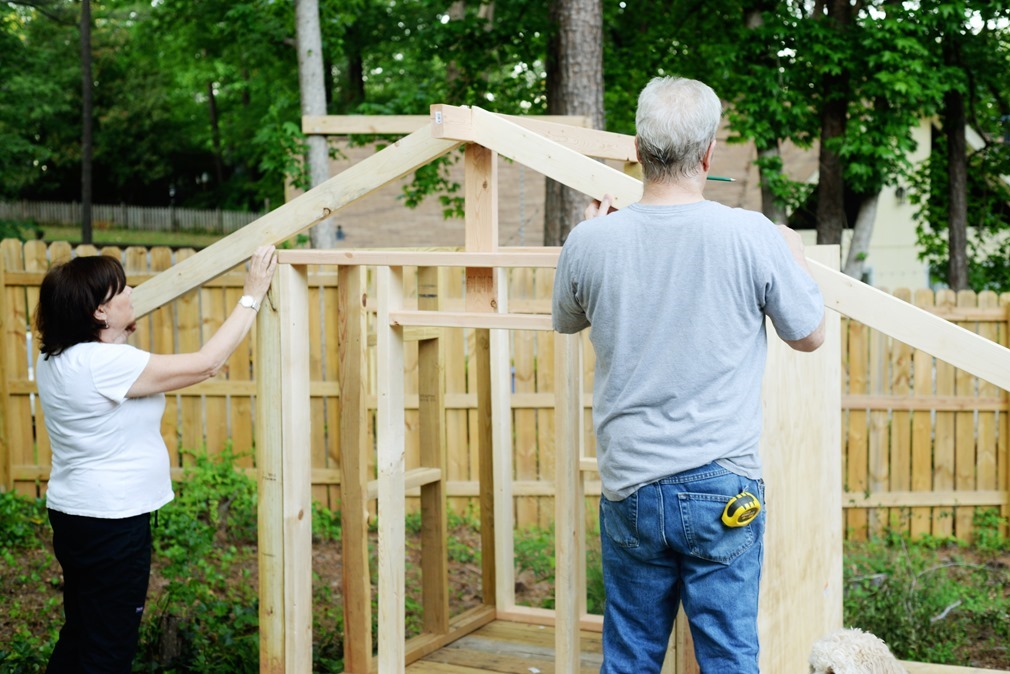
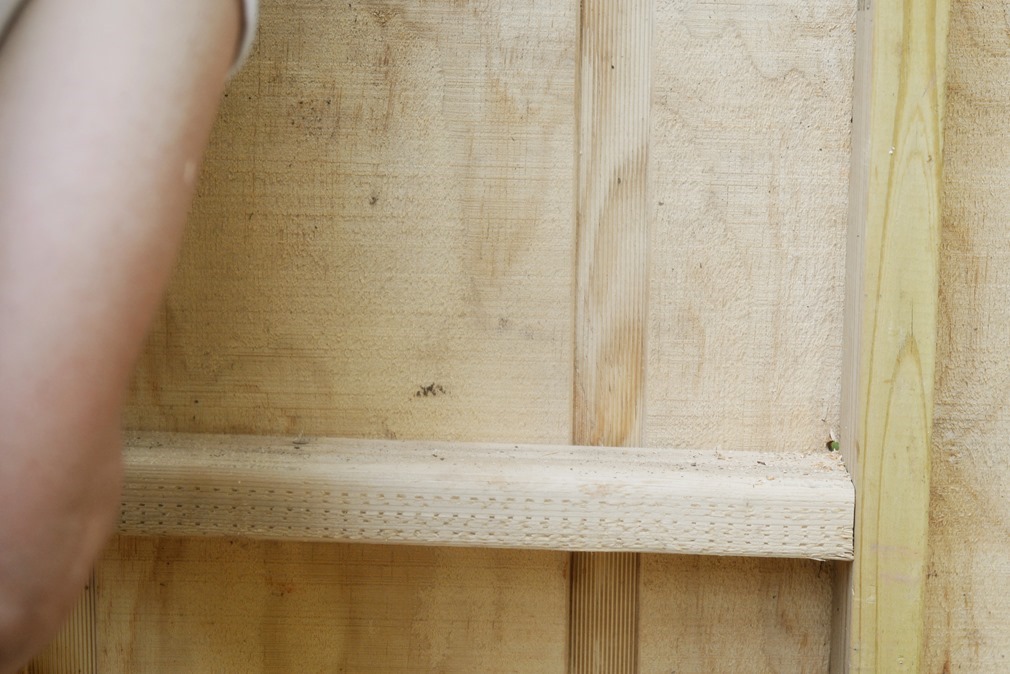
We then added a beam where each vertical 2X4 stud was to support the roof, and then because the overhang would be over the sides as well, we added a small 2×4 between each of the outermost beam and the one resting on the frame of the to support the outermost beams, as you can see if you look close in the image below.
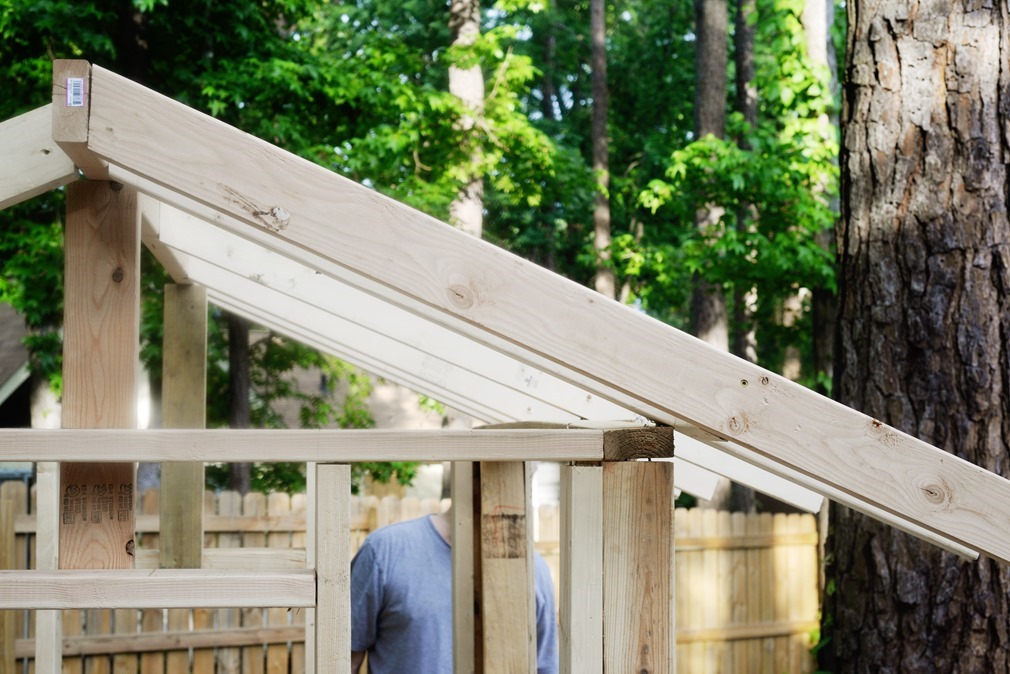
Sorry for the jump in pictures, that night we realized we needed different screws for the roof, so we started added the siding to the playhouse as we waiting on supplies, we did each thing on and off as we went. Normally I like to finish one part before I move on to the next, but we were chasing daylight.
I wanted a board and batten look, but that would be a lot of work for a playhouse, so I decided to use 1/2” plywood for the siding and then add furring strips to hide the seams and get the look I wanted. When I went to by the plywood, the store had a few sheets of T-111, an exterior grade plywood siding that has a pattern on one side, for 50% off because of some writing on it, so I grabbed that and simply put the pattered side on the inside of the playhouse. T-111 is great, durable plywood, I could get the same look I wanted, plus I liked the idea of the pattern being on the interior walls.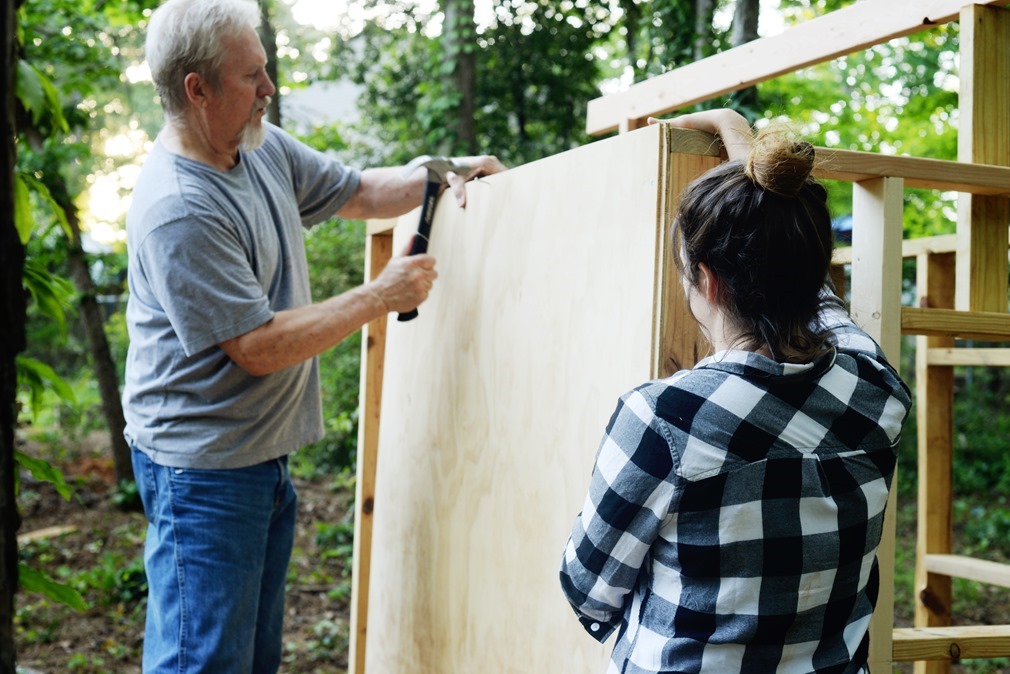
We simply nailed the t-111 boards to the 2x4s. If you’re doing faux-board and batten like me, try to make sure that you try and keep all seems vertical so you can just cover them with the furring strips later. We did end up with one or two small areas that we had horizontal seams but they can be caulked to fill and hidden with paint later on. Yes, we could have avoided that by buying more sheets of the plywood, but I definitely believe in saving money where you can so you can spend it on things that make a big difference later, and I didn’t think a few small seams would be too bad. We always cut to measure the siding to measure (which you should always do. Even if I gave you my dimensions for everything in this entire playhouse, chances are, somewhere you’d get slightly off while making it and you wouldn’t want all the things that come later nor to fit) but sometimes the boards were a little off and had to be shaved down a hair. Definitely one of the many perks of having your Dad help out, as I don’t mind using a saw but I’m not quite as confident or steady handed as he is.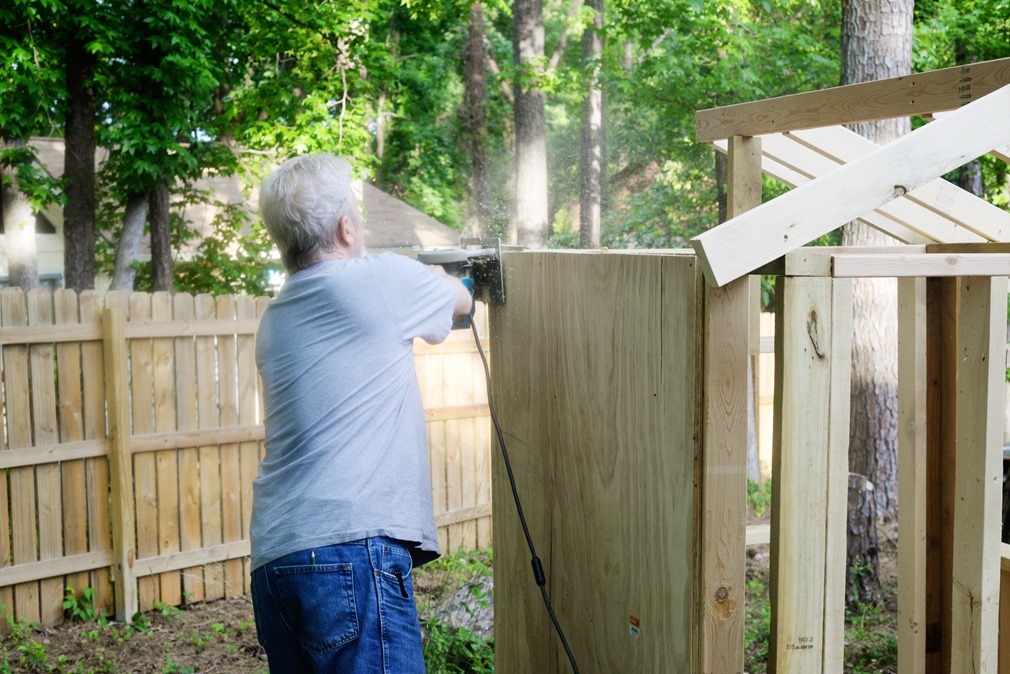
Once the siding was all in place, we needed to cut out the openings for the windows and doors. In order to make sure we were in the right places with the saw and that the lines were straight, we went inside the playhouse and drilled a hole in the corner of each window and the door. 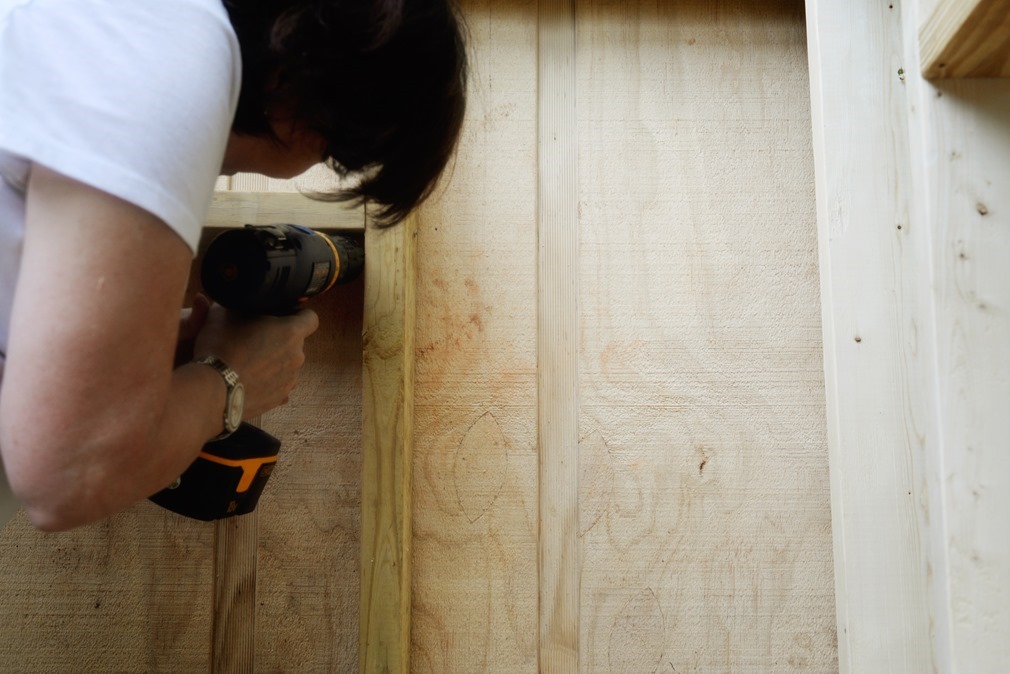
Then, from the outside, we used a straight edge to connect the four dots, and cut along the lines with a circular saw. In the corners where the circular saw couldn’t get a nice, flush cut, I used an oscillating multi-tool, and the boards fell right out. Any small handsaw could do the job just fine.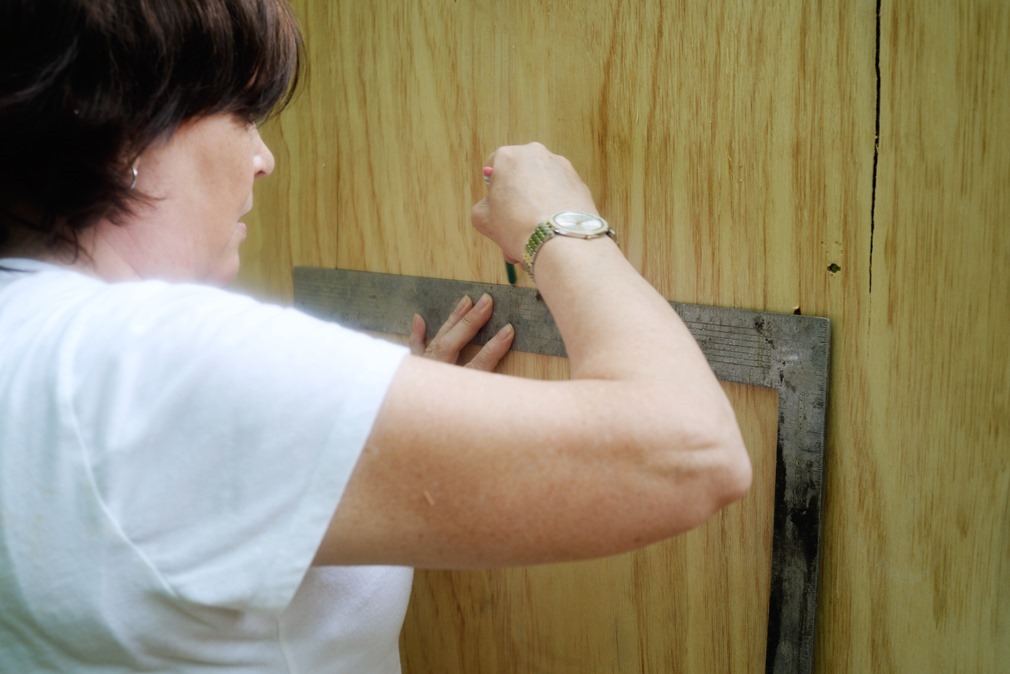
I wish I had taken a picture of the playhouse right after the windows were out and all of the roof beams were on, but it got dark and I didn’t forgot, but here’s one just one step further, with the plywood on the roof- it is starting to look like a little house!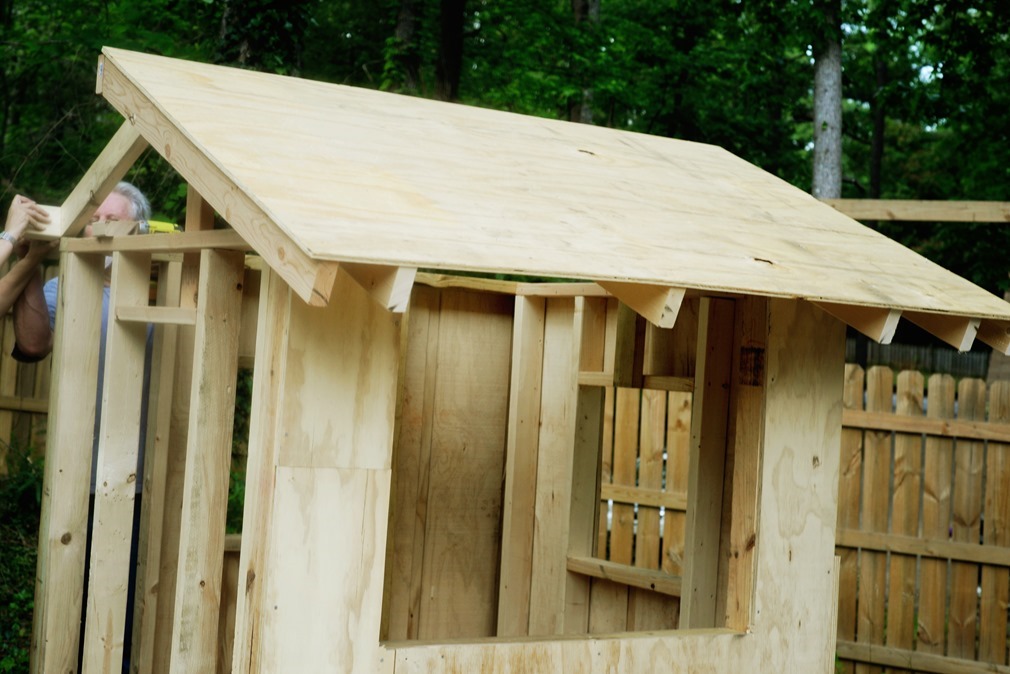
We used one piece of 4X8 1/2” plywood for each side of the roof, cut to size and screwed into the supporting beams. Pretty simple and straightforward and a great foundation for roofing a playhouse.
I’ve decided to break this playhouse build up into three post- framing, roofing, and finishing/decorating. I’ll leave you here with the frame completed and tomorrow I’ll show you how I roofed it all by myself!
Update: Here is part two -the roof!


This house is so cute! We’ve been wanting to build something similar in our backyard!
Very cute, can’t wait to read and see more