This shop has been compensated by Collective Bias, Inc. and its advertiser. All opinions are mine alone. #RoofedItMyself #CollectiveBias 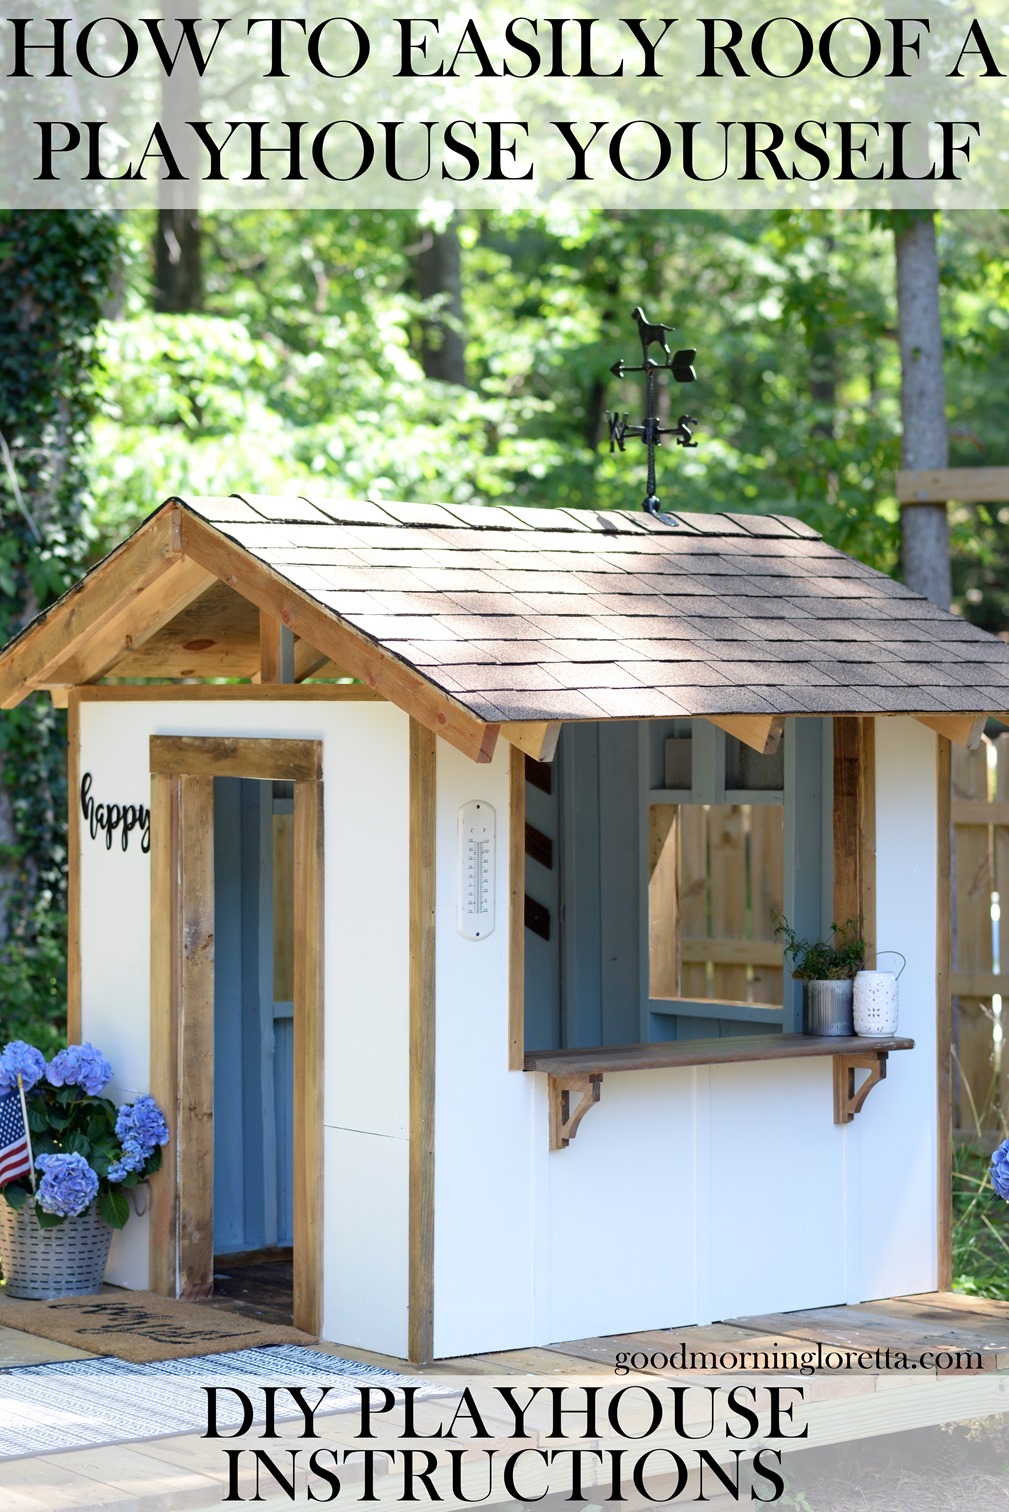
This is part 2 of my Farmhouse inspired Playhouse build how-to series. You can check out the step-by-step on how to build the deck and playhouse frame here or use this tutorial to learn how to roof your already existing playhouse or shed or doghouse or any other outdoor structure you can dream up!
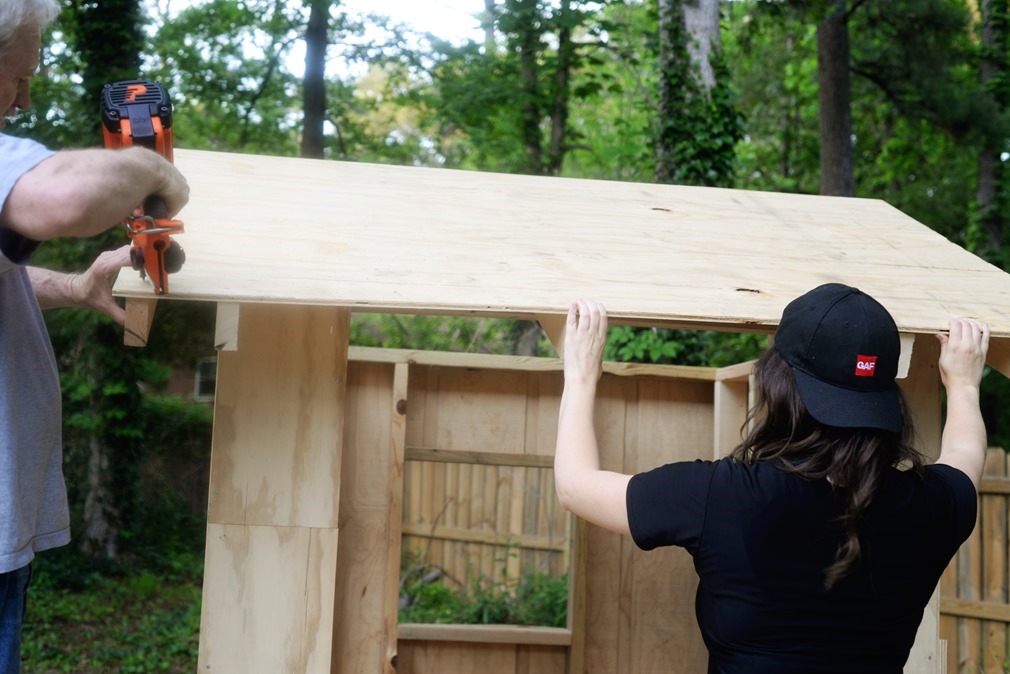
When we left off on the playhouse build yesterday, we had the deck built, the frame of the playhouse done, and we were moving up to the roof. I knew when I was planning out this project that I wanted a roof that was going to look good, but also be durable and water-tight. This playhouse will be a focal part of our backyard (because it’s adorable), and I wanted it to match the nice-ness of our home and beautify a neglected part of our yard. Many of my friends have playhouses for their kids and they have had to hang tarps above them, and I didn’t want a blue plastic tarp to be the first thing you see in our yard, I wanted a pretty, nicely roofed playhouse. I knew shingles were the perfect roofing and since my husband and brother roofed our own home two years ago, I knew that GAF shingles were the way to go. They not only look good, but are durable and will last years beyond when our children have long out-grown their cute little playhouse. I watched their online how-to videos, and decided to take the roof on all by myself while everyone else was at work.
If you’re considering roofing something yourself but are scared, go online and watch some videos. Seriously, I can do this myself, you definitely can. I made sure to shop for supplies after the plywood was on because I wanted to make sure that I measure correctly and bought enough supplies while I was there. It’s so easy to make mistakes when measuring, so measure twice so you only have to shop once!
Lowe’s Shopping List:
Plywood (if you haven’t put it down yet)
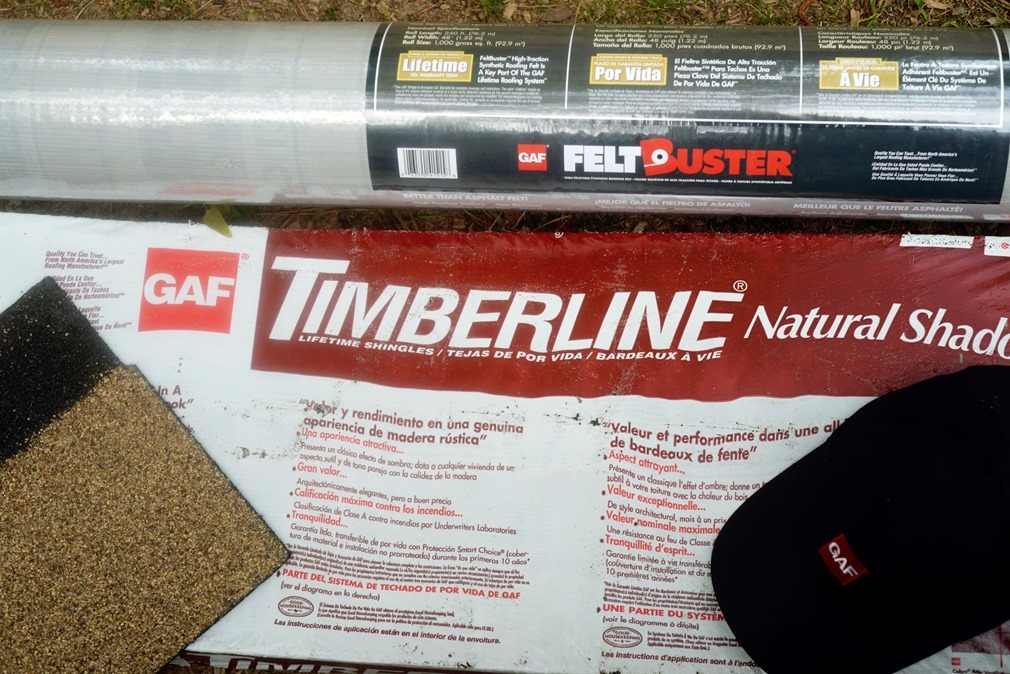
Roofing Felt- FeltBuster® High Traction Synthetic Roofing Felt
Roofing nails (at least 1 1/4”)
Plastic cap nails
Hammer
Tape Measure
Ridge Cap Shingles- Timbertex® Premium Ridge Cap Shingles
A drip edge if your project needs one
Proper clothes to be safe (gloves, closed toe shoes, etc)
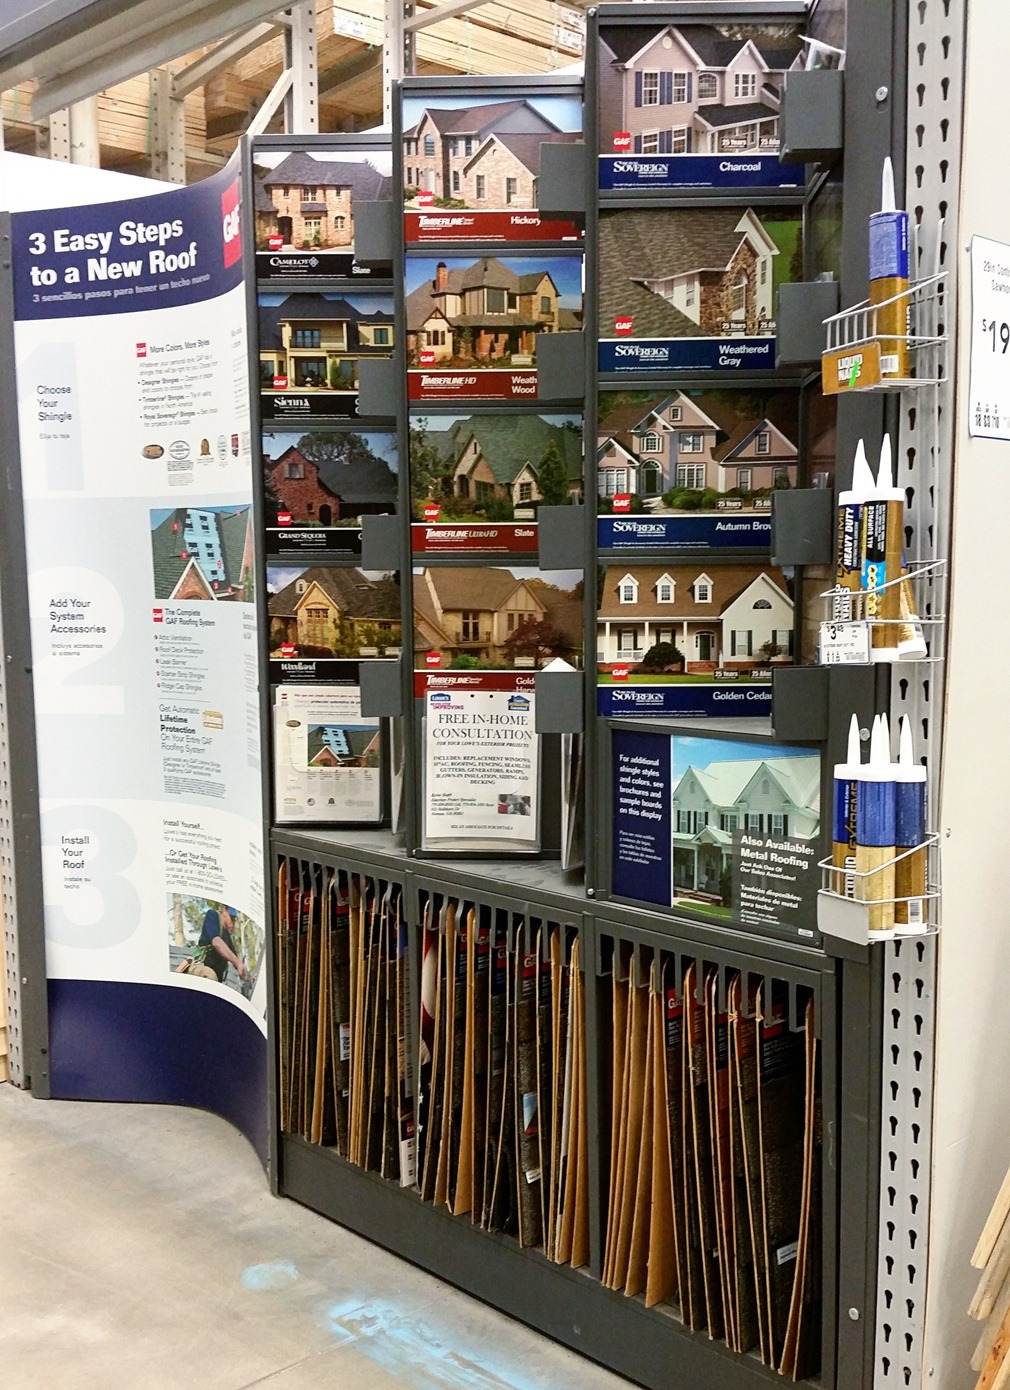
I headed out to our Lowe’s with the boys to grab our supplies. I had looked at some pictures online and thought I knew what I wanted but things can look so different in person so I was impressed when I saw the large GAF display they had with samples of every kind and color of shingle that GAF makes so you can compare and see exactly what you want. I decided to go with GAF’s Timberline® Natural Shadow® in Shakewood. It had great dimension and some nice warm tones that give that rustic farmhouse feel I wanted and would look great with the warm wood tones I’m using. I also learned while looking at their display that they stand behind their products and offer some great warranty options.
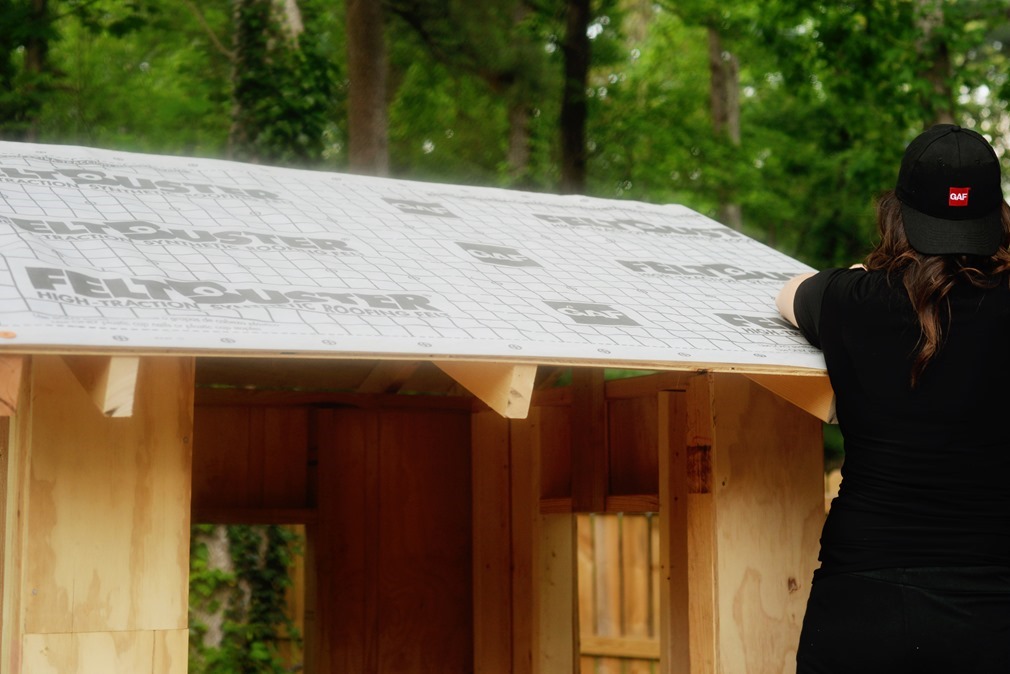
So after I got all my supplies home, I got back to work, and yall, I roofed that playhouse all by myself, top to bottom. The first thing you need to do is measure your roof, and cut enough FeltBuster® roofing felt to cover it. This was so easy because it has a grid on it for easy cutting and installation. I gave myself a few inches of extra just to make sure I had it all covered.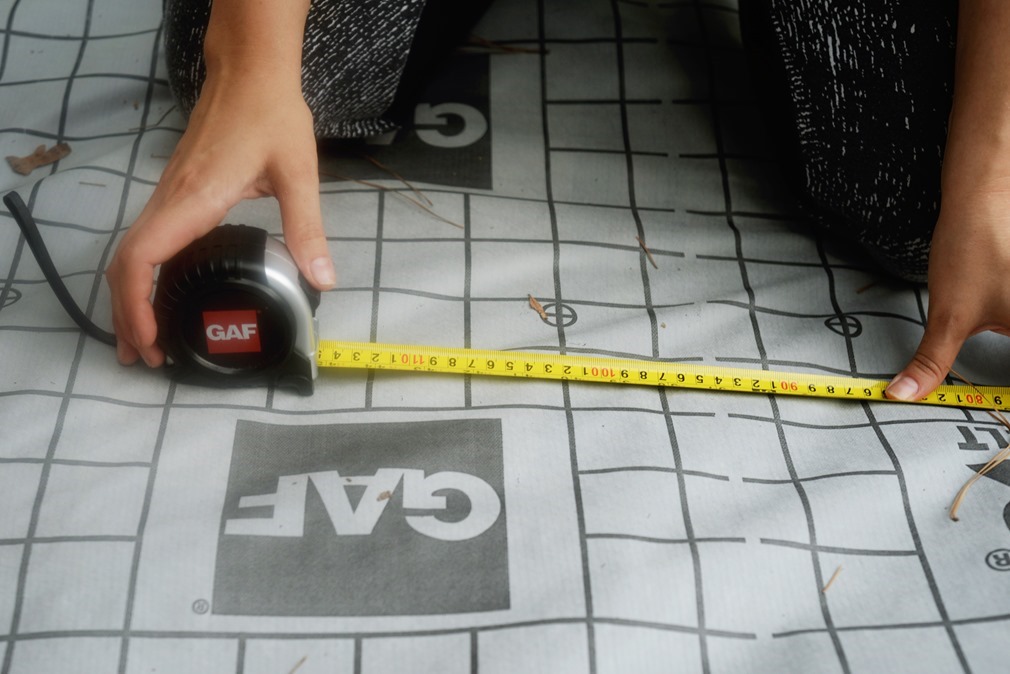
Once I had my pieces cut, I lined them up with the plywood, and nailed them in with 1” plastic cap nails. If you make sure that your felt is straight at his step, it will make hanging your shingles a breeze because you can simply line them up with the lines on the Feltbuster®. If you have any extra overhang on the sides, trim it flush with the plywood.
Next, I did a starter row of shingles. Your first row will actually go on upside down. That’s right, just grab a sheet of shingles, give it a 180 turn, and your going to nail right in between the glue strip (the black shiny line across the shingle) and the chalk line. Make sure you give at least a 1/2” overhang over your plywood. In each of your shingle sheets, you want to use four of the roofing nails.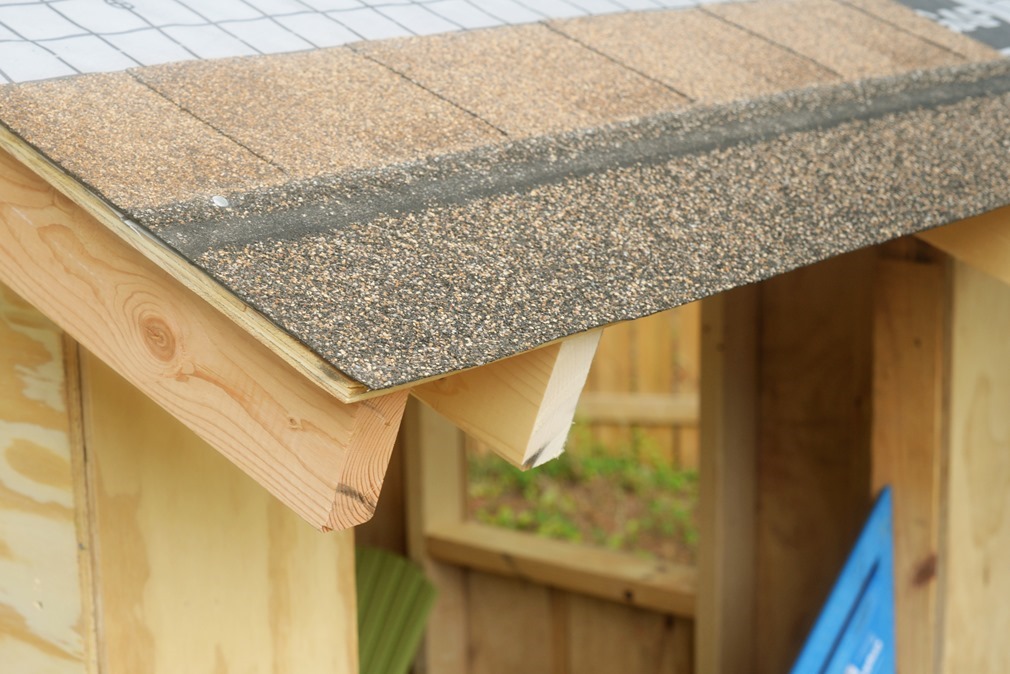
You’ll want to continue that row, making sure it’s straight, until you get to the end. You can let the extra hang off, we’ll trim it all off at the end.
You’re next row will be right on top of the starter row, but this time you’re shingles will be place the right way- this is the first row you’ll see in the finished product. You are going to want to offset your first shingles from the starter row because you don’t want the seams to match up, that will cause water leakage, so I moved down about six inches and then started nailing in my first row.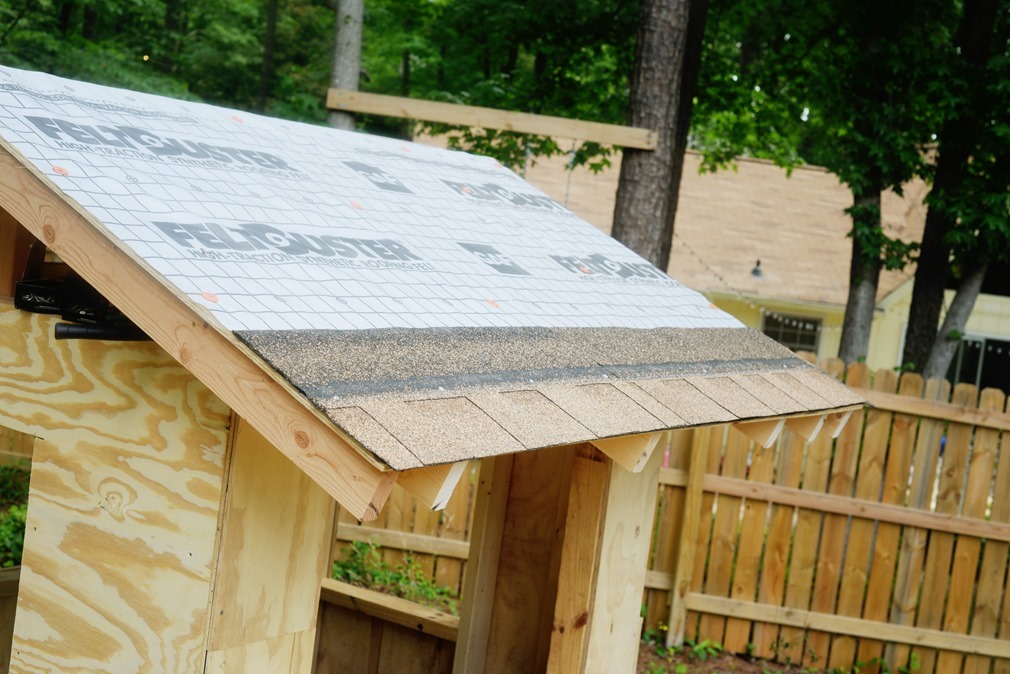
Once you’ve got that first row done, you can just keep moving up the roof, making sure to line up the next rows the same and watch your seam lines to make sure they always offset. I also tried to pay attention to making sure my rows were offset so the tabs didn’t line up either. You want it to look variegated which is easy to do because the granular technology gives it that beautiful texture and color variety.
I was really worried about getting crooked with my shingles, and that I would step back and the roof look crazy but the chalk lines on the shingles and the lines on the Feltbuster® made it so easy to make sure that I was going straight all the way across each line.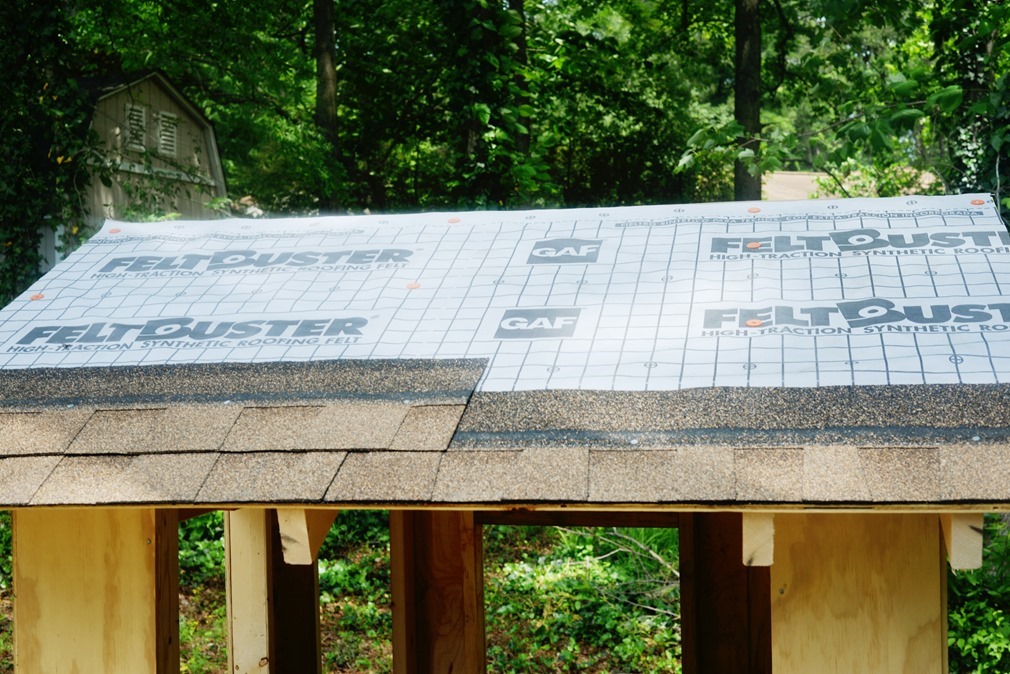
You want to make sure to go high enough that your shingles will be covered by the ridge gap, and then you can do the other side (look how good it looks!).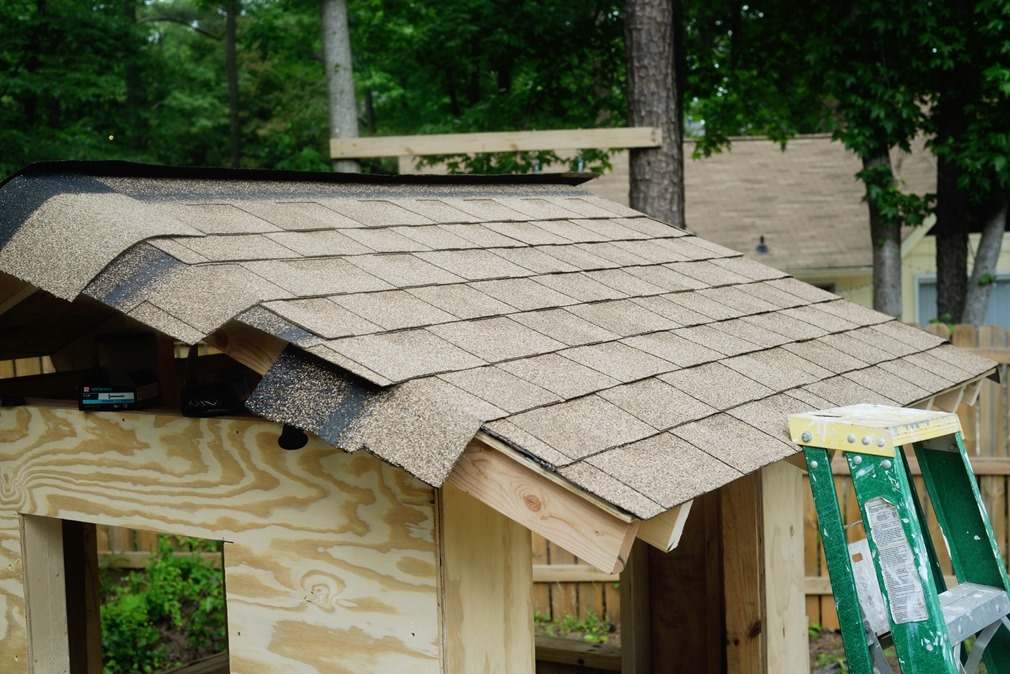
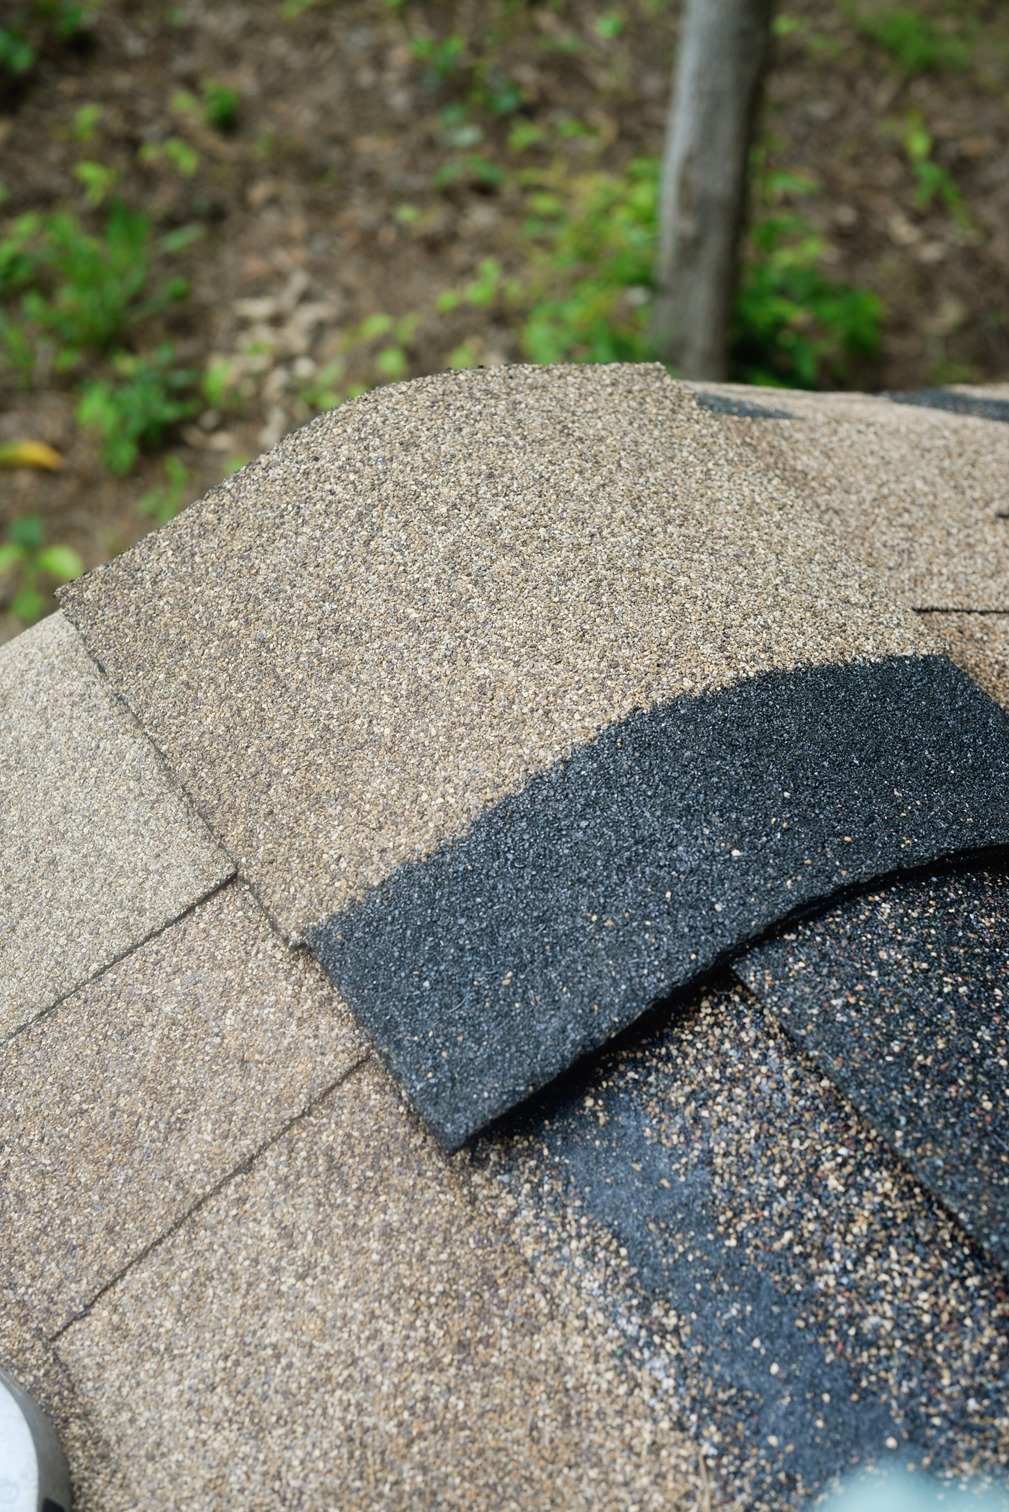
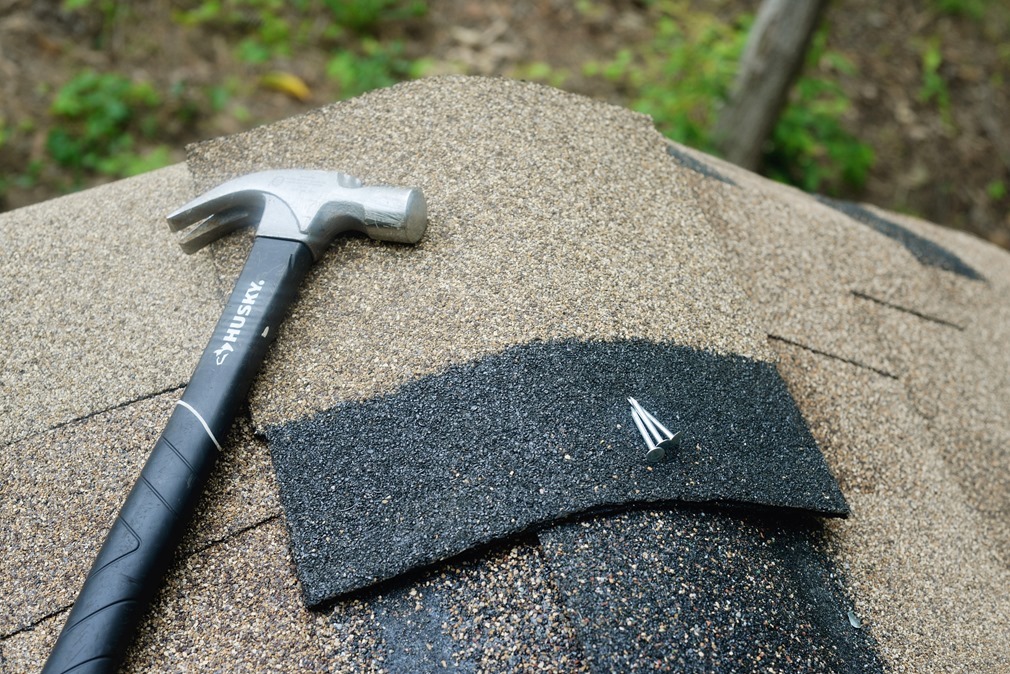
Once both sides are done, you can move on to the ridge gap. Buying the TimberTex® Premium Ridge Cap Shingles makes it so easy to do the ridge cap. Simply grab one to get started, lay it over the peak, making sure to cover the highest row of shingles on each side evenly, and lining it up with the edge of the roof, and nail in place.
Once you have it in place, you’ll put another one over the black part of it, and nail it in place, and keep going until you get to the edge of your roof.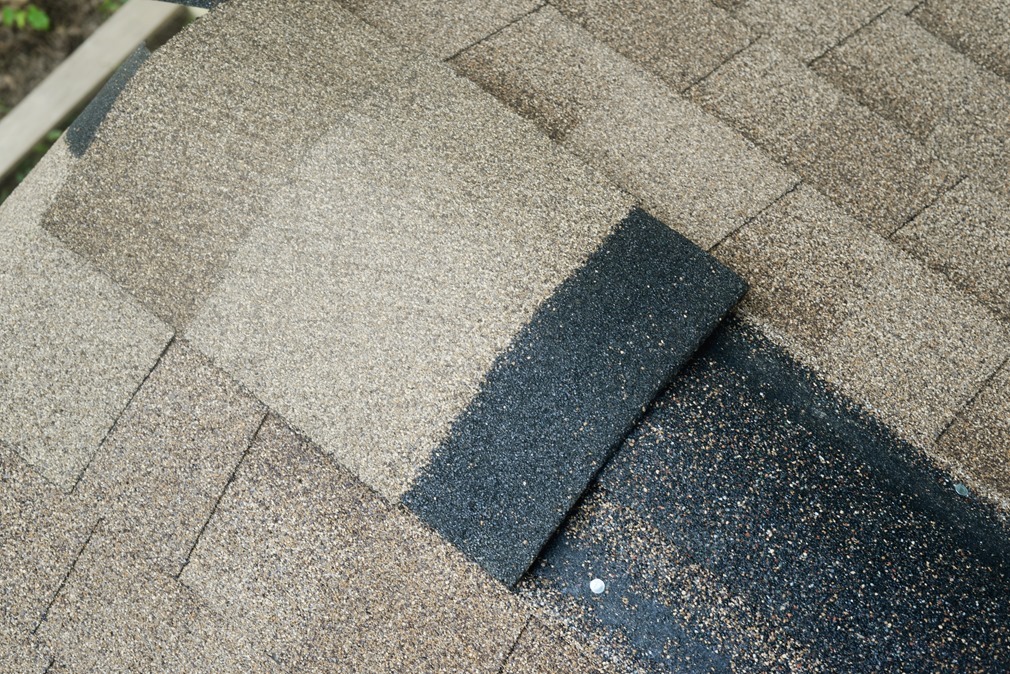
For your last ridge cap shingle, you don’t want to see the black edge, so you’ll measure how long you need it to be to get to the end, and then you can either cut it with a knife, or simply score it and bend in half a few times until it is easily torn. If it ends up being a little too long still, you can trim it when you trim the rest of your shingles. For this last piece, you will nail right into the shingle and then caulk over the nail with a roofing grade caulk to keep it water tight.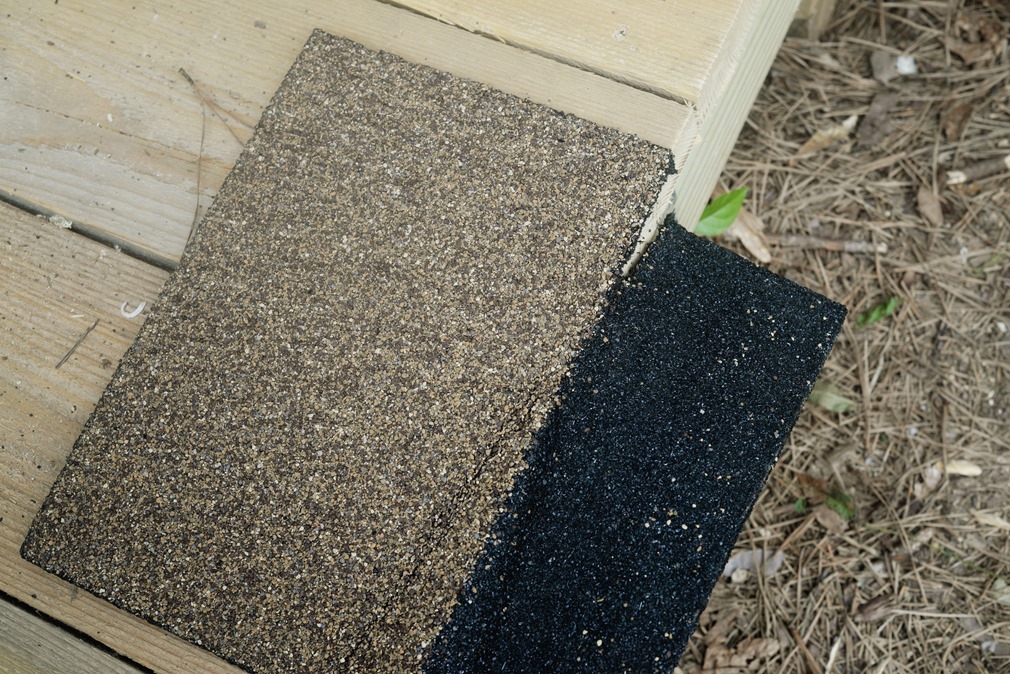
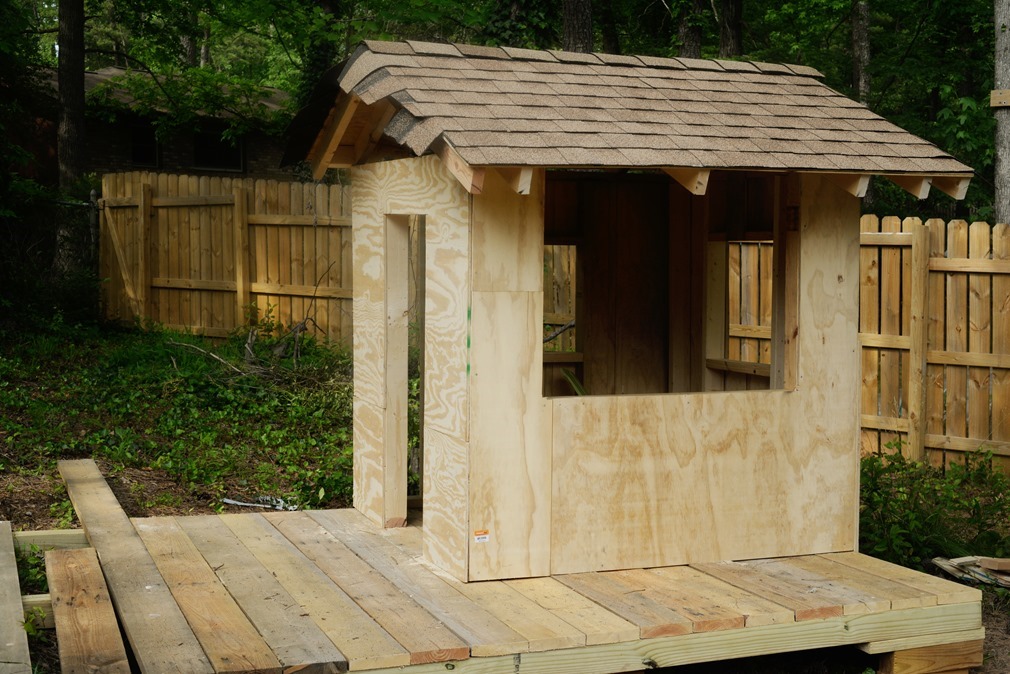
The last step is to take a hooked razor blade (or some people use a small saw, like a multi tool) and trim the excess shingles off of your roof. It is much easier to get a straight edge if you use a chalk line to mark the line of where they should be trimmed and then cut them. I know I said I did this all myself, but since my father-in-law came over while I was finishing up, I did one side and let him do the other.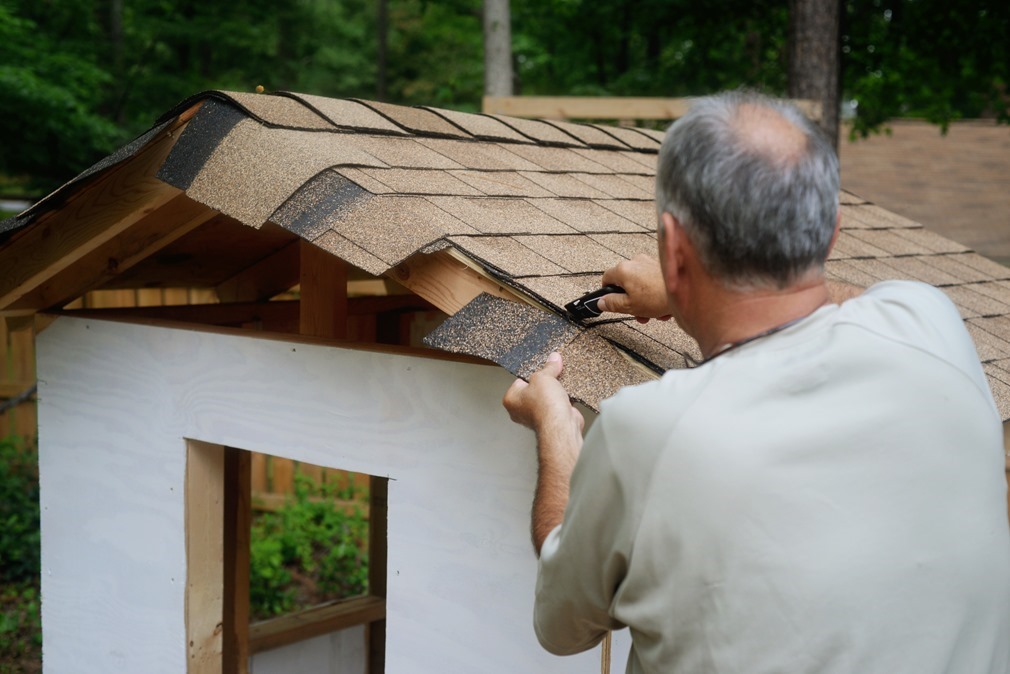
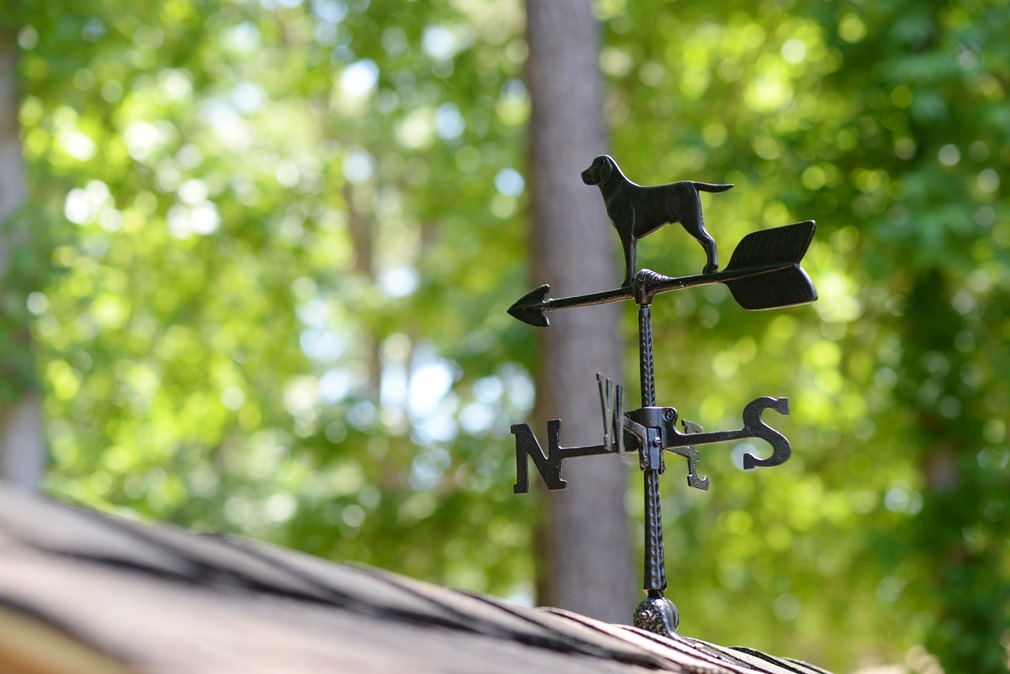
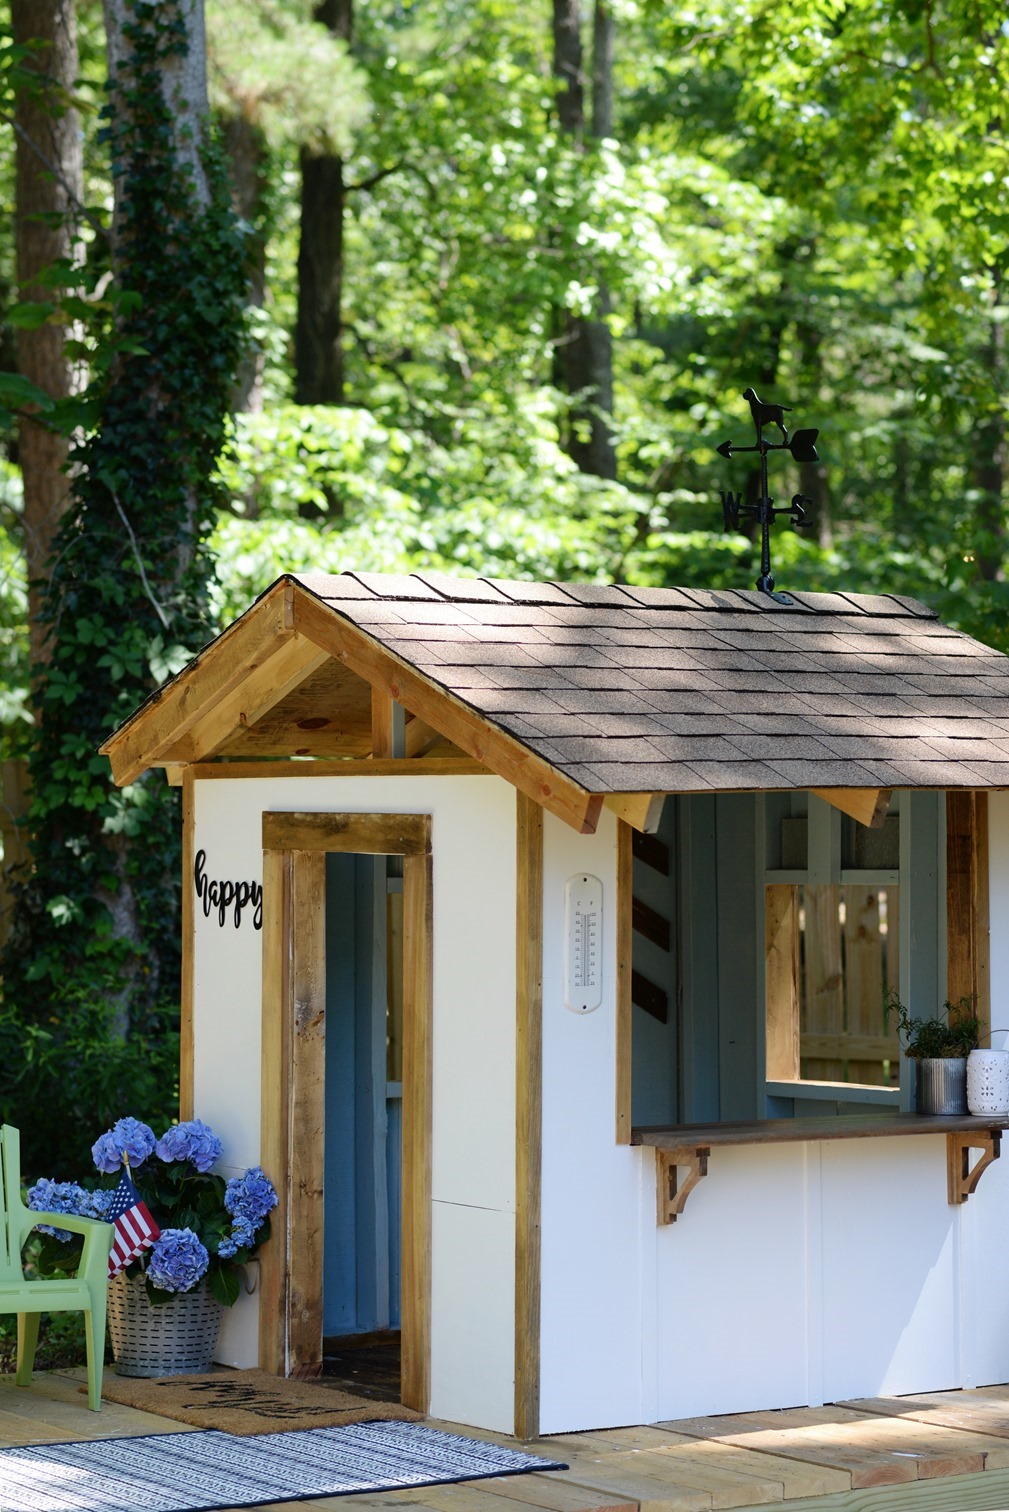
Our little playhouse wasn’t even done yet, and a neighbor came over that evening to tell me how good it looked. I loved how professional the Timberline® shingles looked, and how easy it was for a total beginner to install them. The very last step that we did for the roof was actually the last part of the entire playhouse build, but I want you to see the finished roof and the last piece-a puppy weathervane to match our cute girl we just got-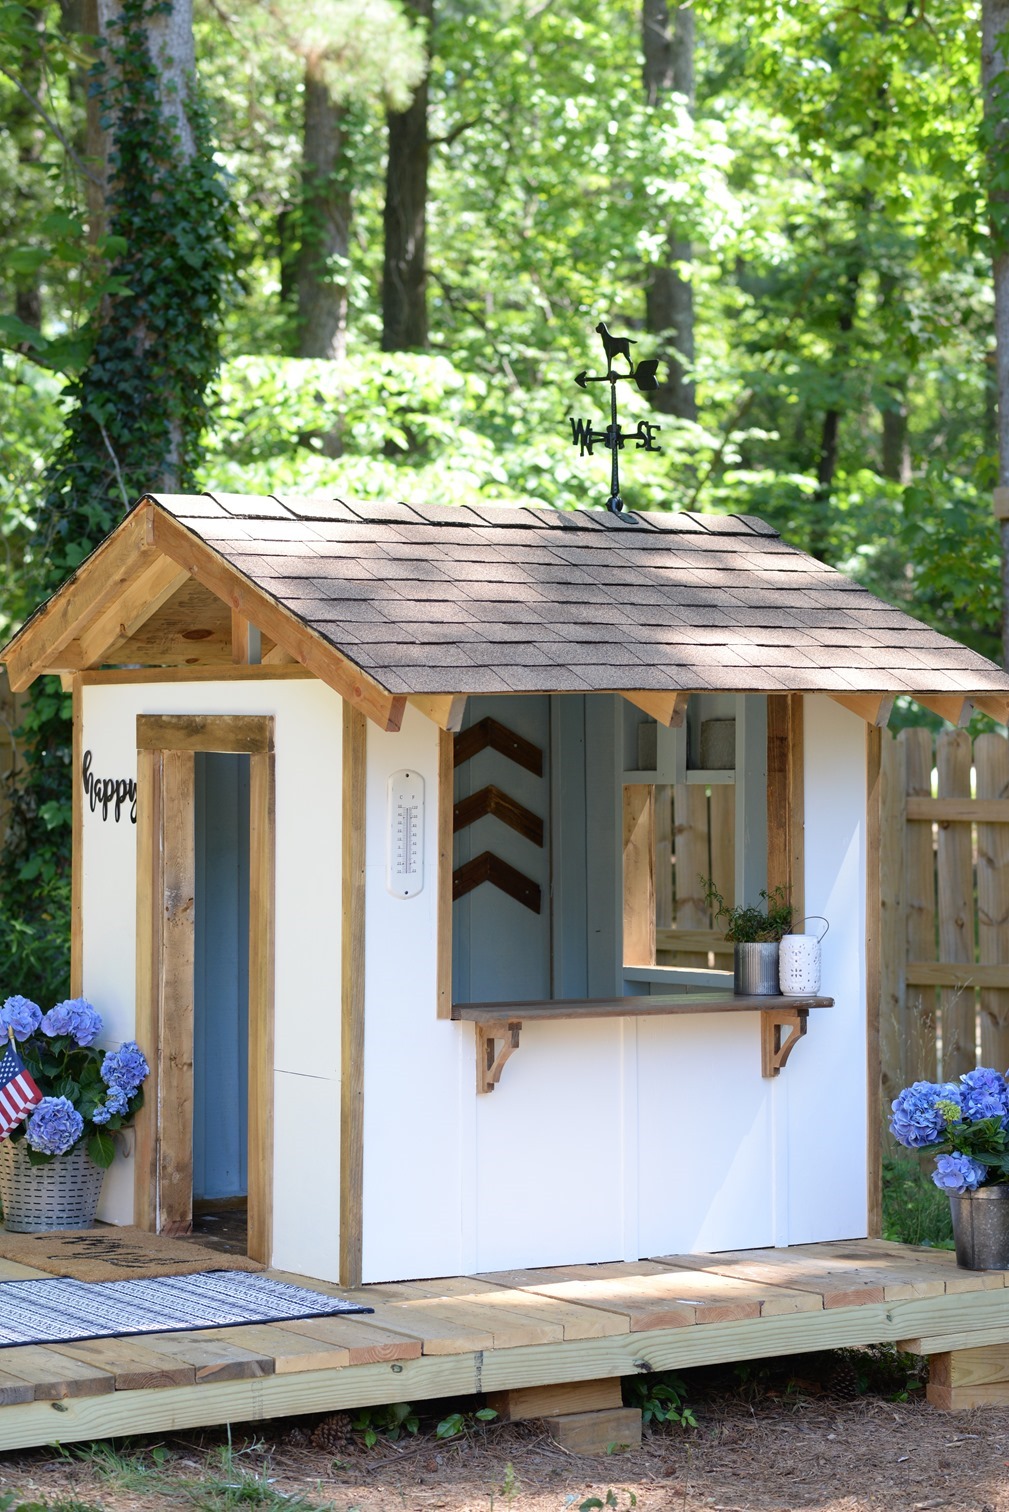
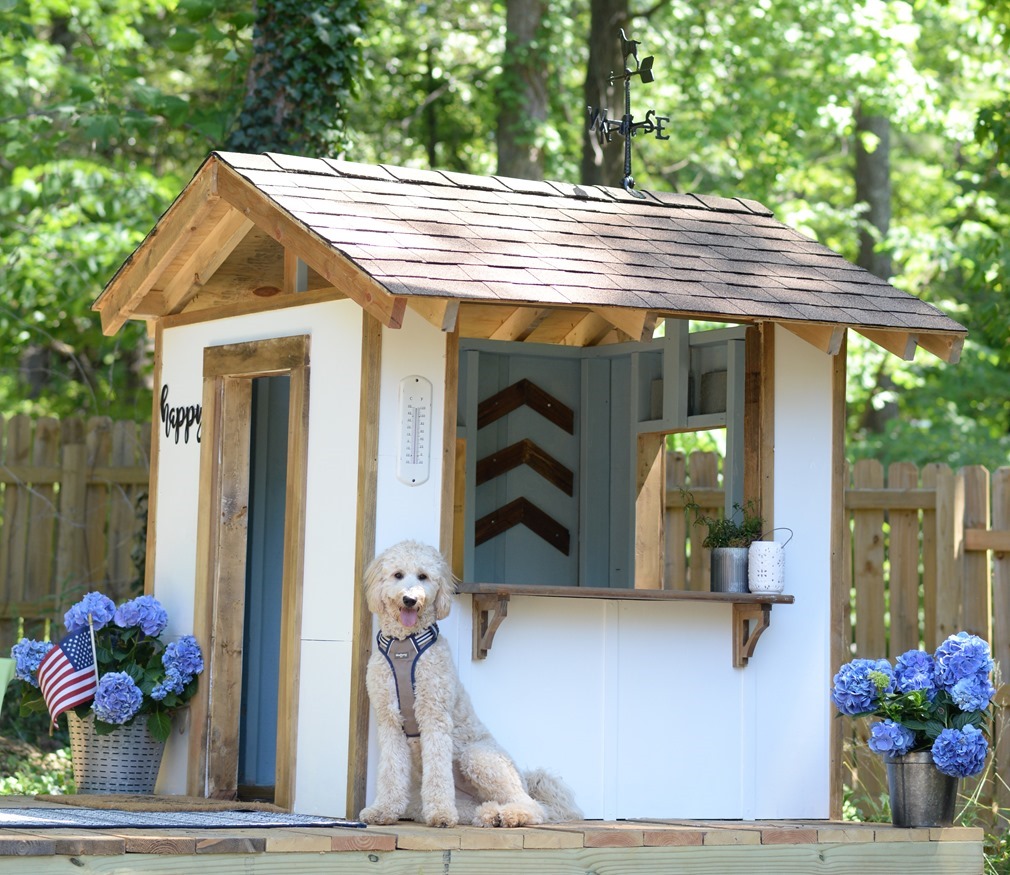
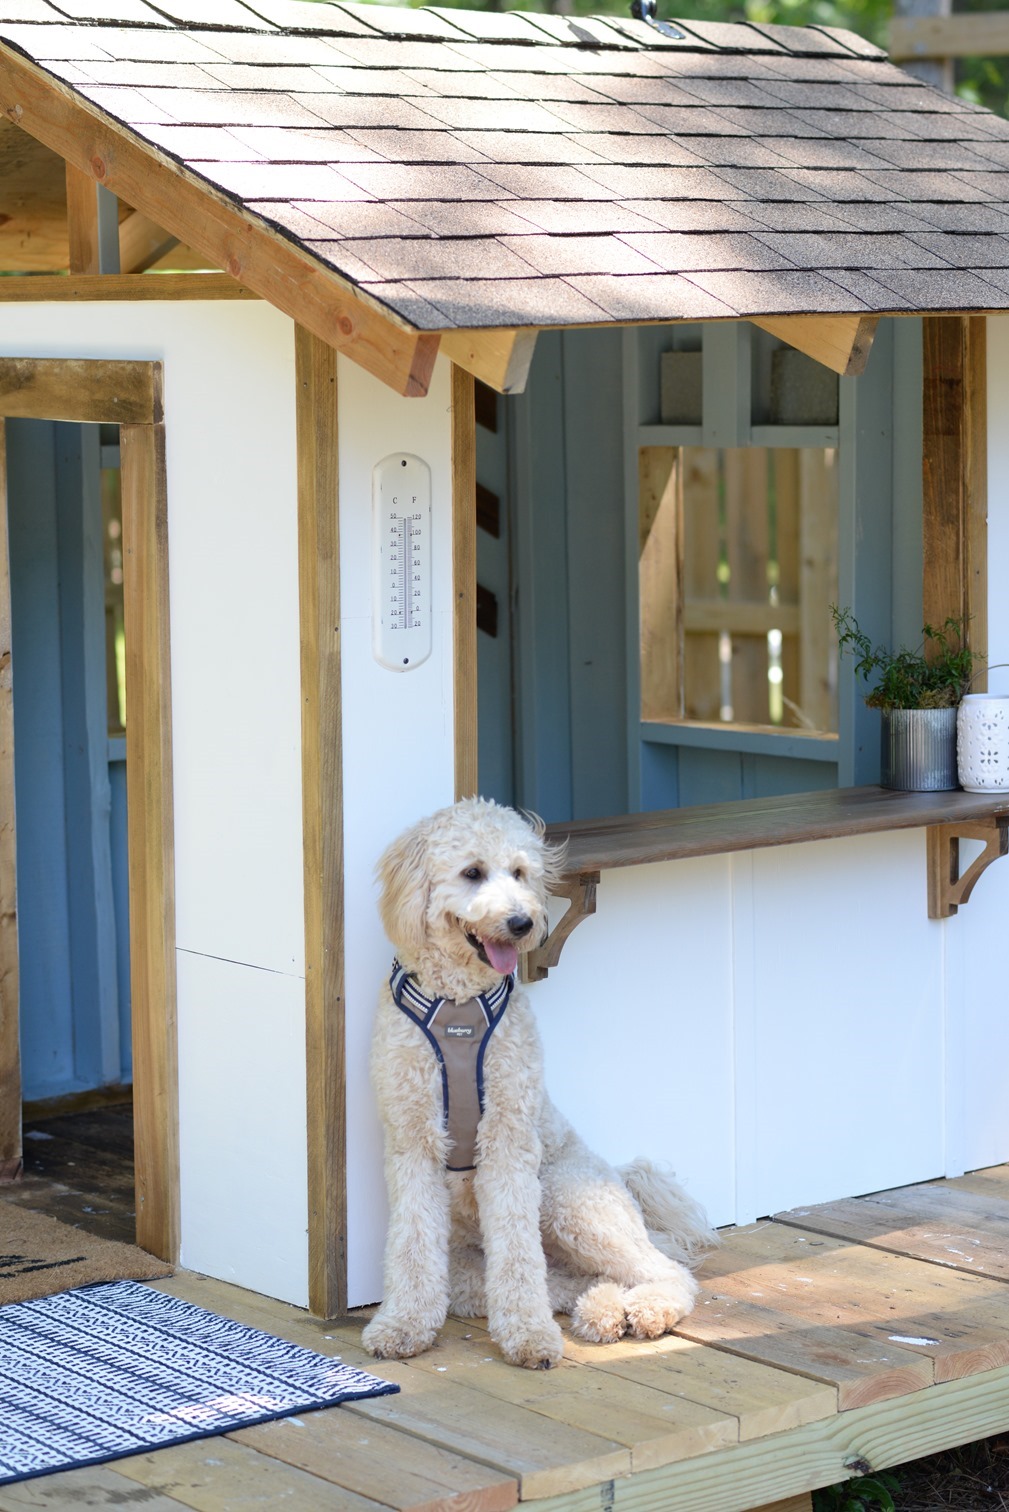
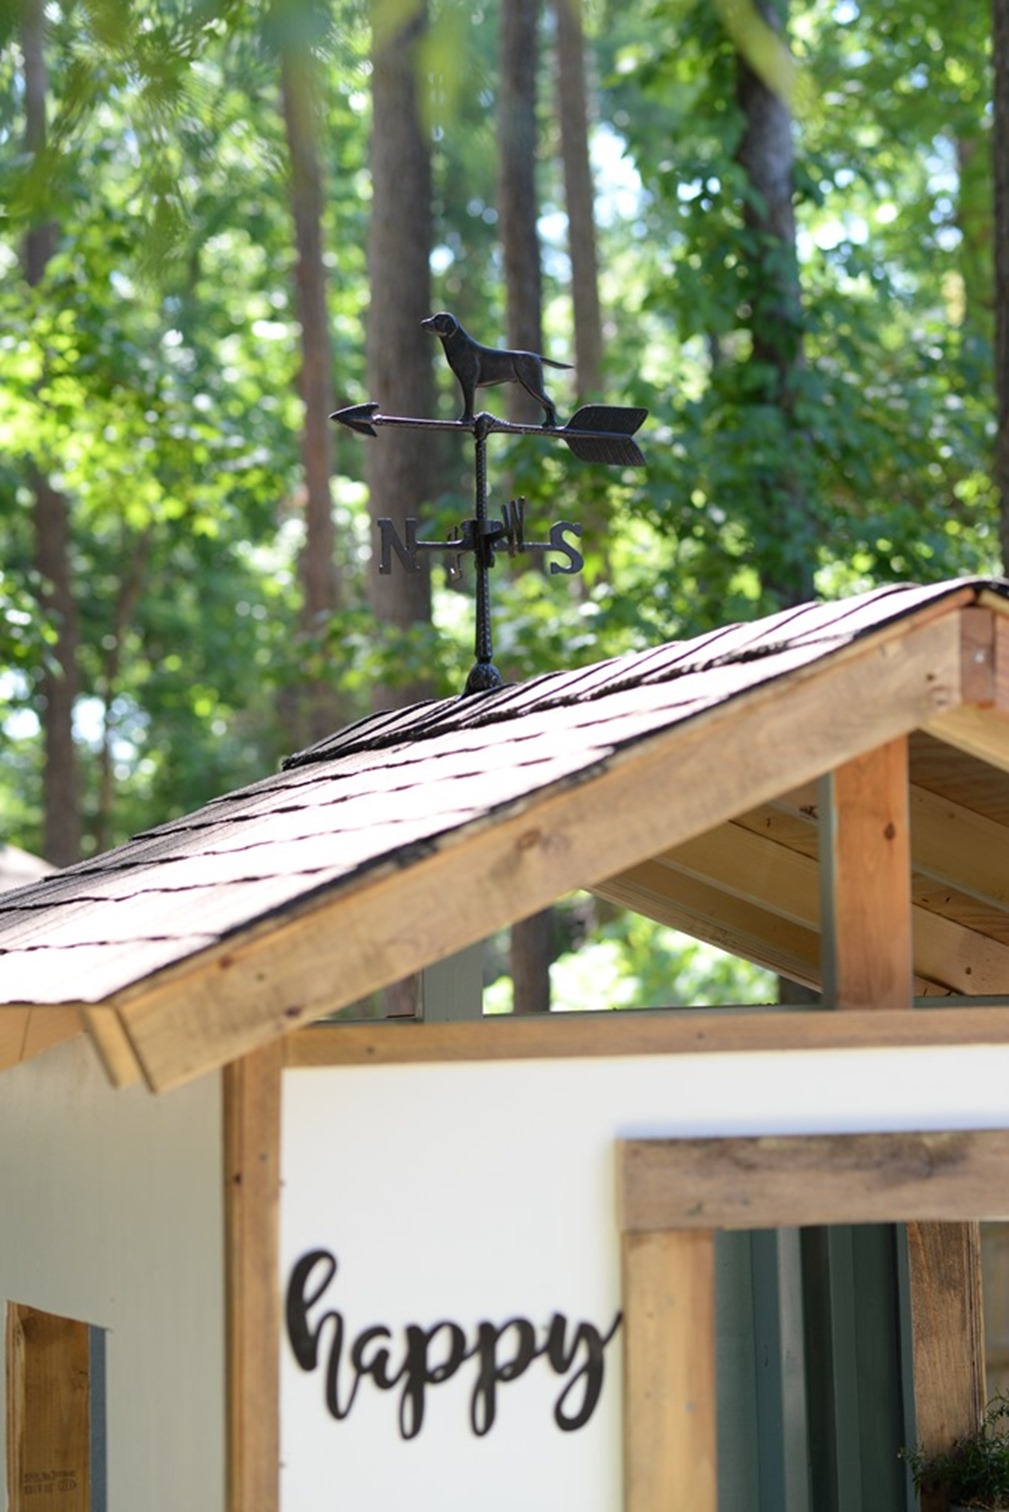
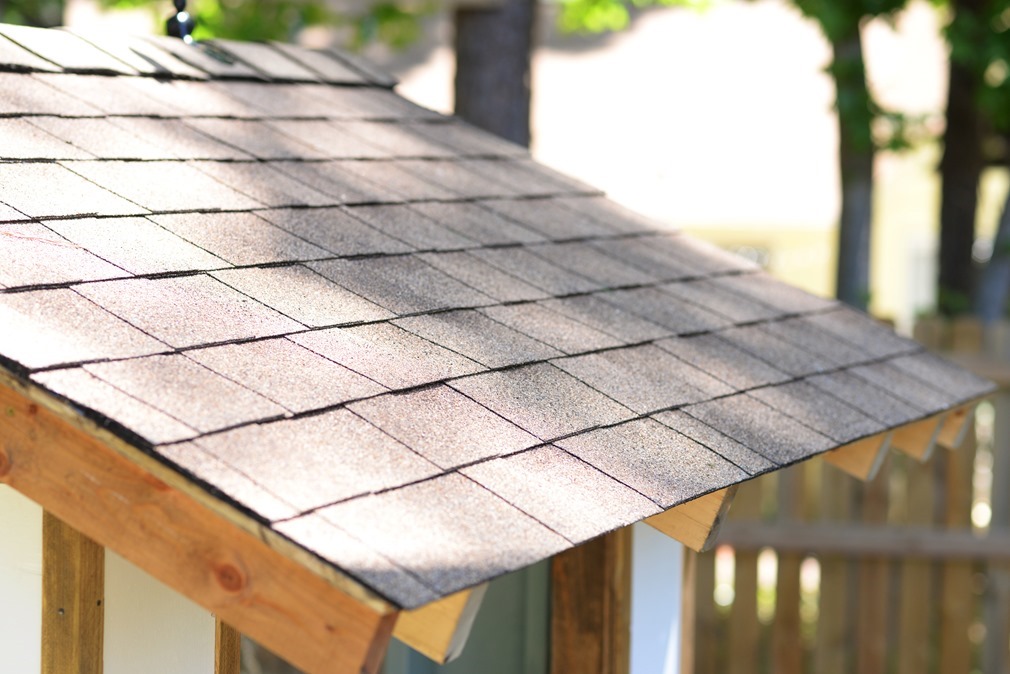
Doesn’t it look amazing? The roof really is the first thing you see and it looks sooo good! I don’t mean to toot my own horn, but can you believe I did that myself?
If you’ve been considering roofing something yourself, check out GAF’s products and do it! I was really surprised how simple it was. I did the roof myself in about an hour, and that was a couple distractions. I can think of so many fun backyard projects that I could shingle myself, especially now that I know how do-able it is and have seen the variety of supplies they have at Lowe’s. Anybody out there planning any fun summer builds or re-dos? I’d love to see them or hear what you’re working or dreaming of! Can you believe what a difference the shingles alone made on this playhouse?


Leave a Reply