This shop has been compensated by Collective Bias, Inc. and its advertiser, MARS Incorporated. All opinions are mine alone. #SpookySavings #BOOItForward #CollectiveBias
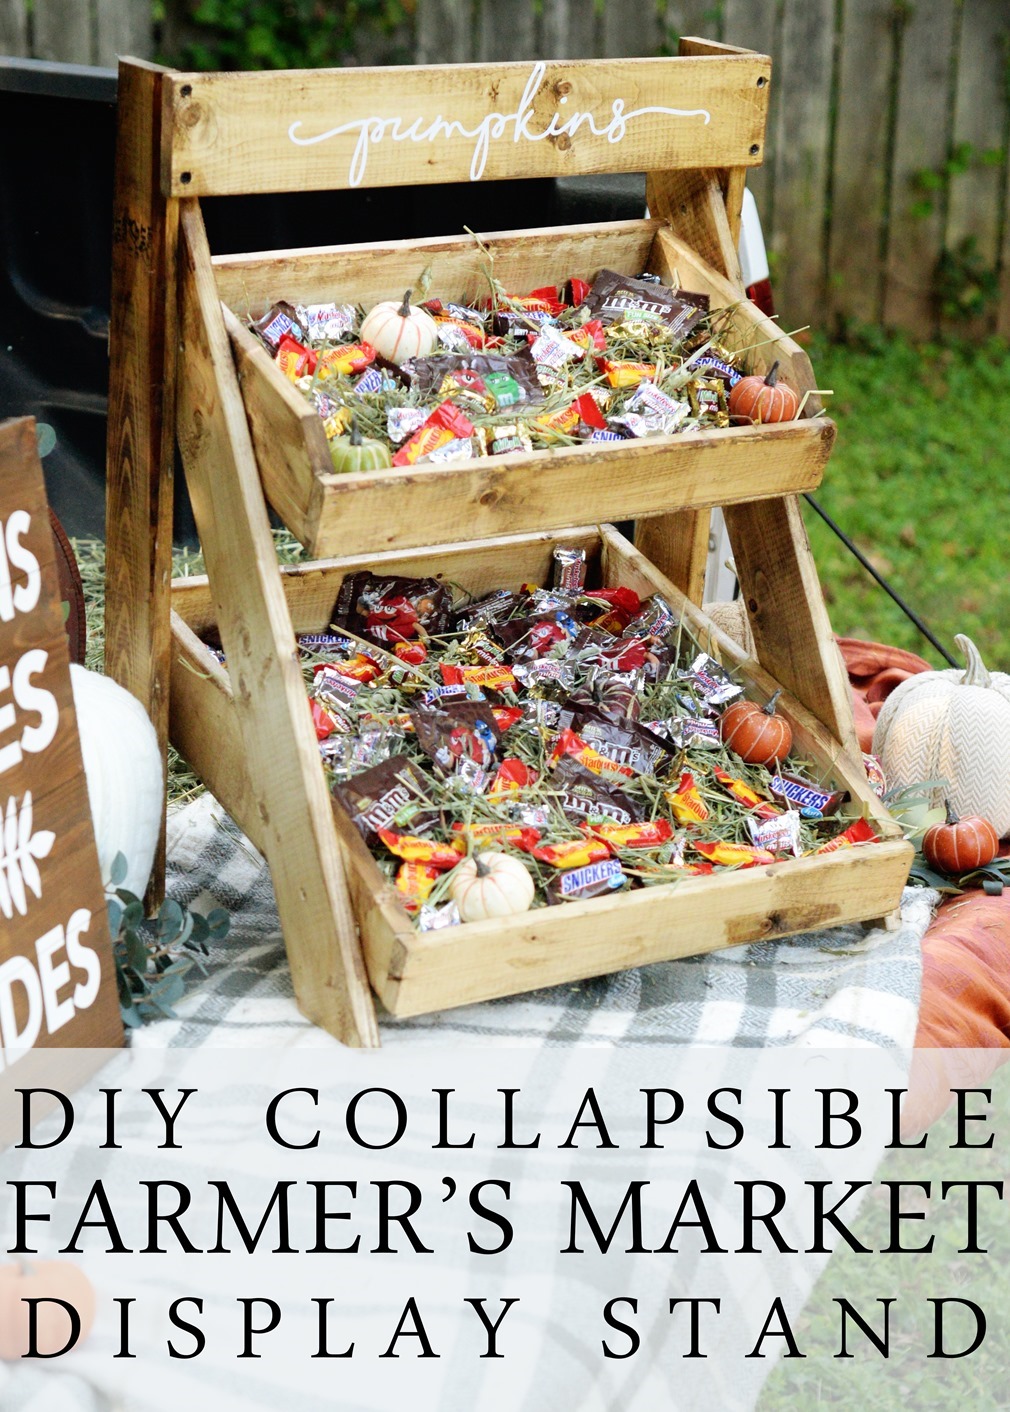
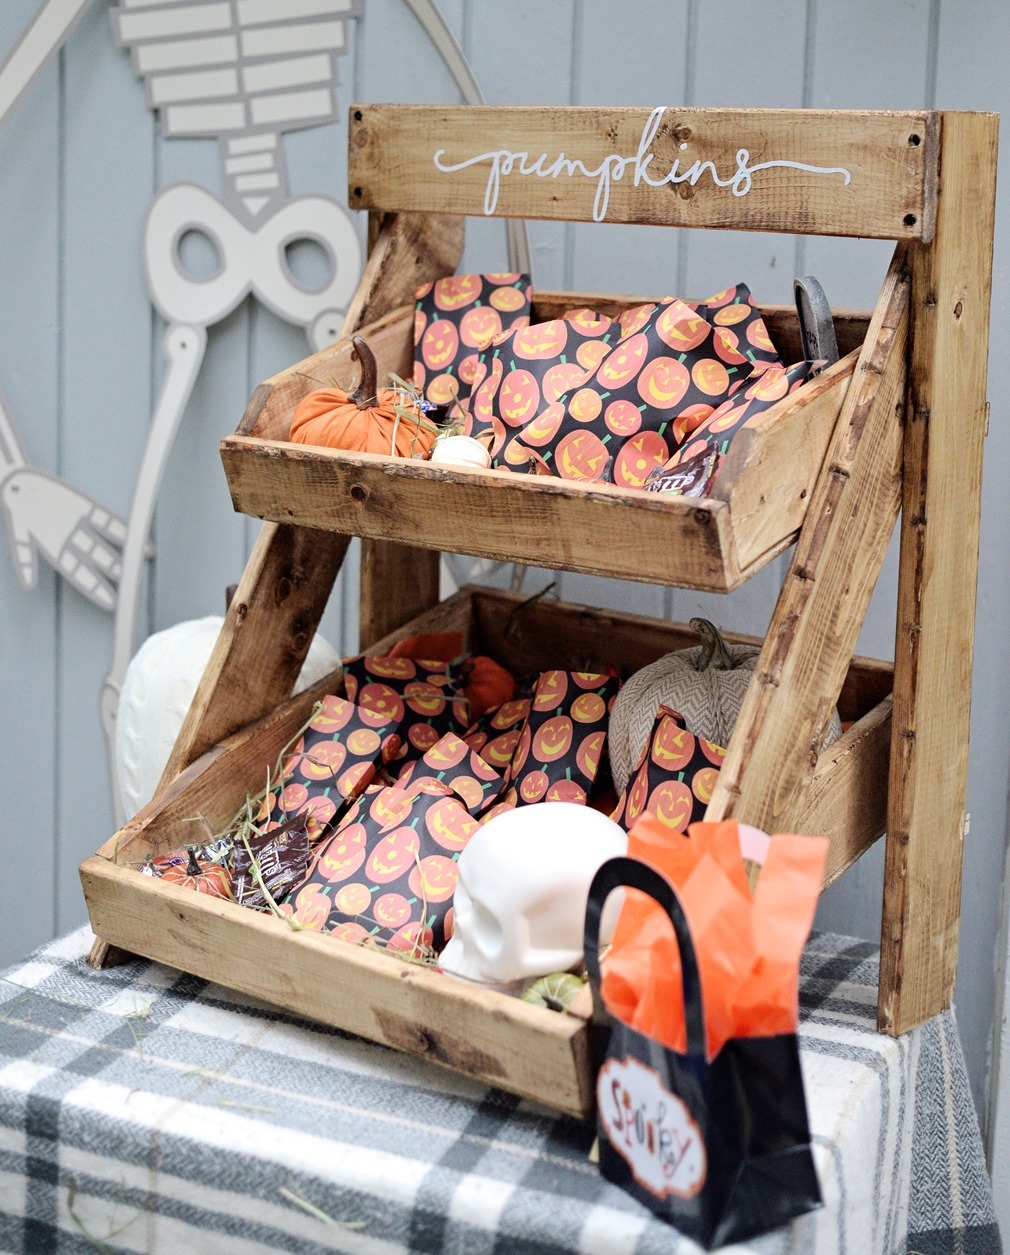
Want to take all the awards at Trunk-or-Treat this year? It will be easy with the awesome fall farm stand that Brandon and I designed and built for all of our Halloween parties this year! We even made the stand collapsible so that it’s easy to store away when not in use, and if you wanted to use it for a market display, it would be easy to transport it, set it up, and take it back down. It’s freestanding so that it can go on a tailgate at Trunk-or-Treat, on a food table at a party, a desk at an office, or anywhere else your holiday imagination runs. This display has room for you to BOO all of your co-workers, neighborhoods, or friends, and Sam’s Club is my favorite place to buy Halloween candy in bulk because you save some much money buying it in their club. Hover over the image below to shop their bulk candy before they run out!
For our Halloween decorating and for Trunk-or-Treat, I wanted to go with a Pumpkin Patch theme, which is how we got the Farmstand idea. Most of us have some pumpkin decorations in our homes for fall, and I love being able to shop in my house for decorations for events. When I went to buy the wood, I bought the 1X4’s that are considered “lawn edging” wood, so instead of being $12 a board, they were only $2 a board for an eight food board. We used three (with some excess) so this whole project only cost us $6 (we had a few supplies before, check the list below). Decorating with pumpkins you already have, using a cheaper (but not any less strong) wood, and getting your candy in bulk at Sam’s Club means you can set up a display like this for less than $20 including the candy! To get the step-by-step instructions, just keep scrolling to the end!
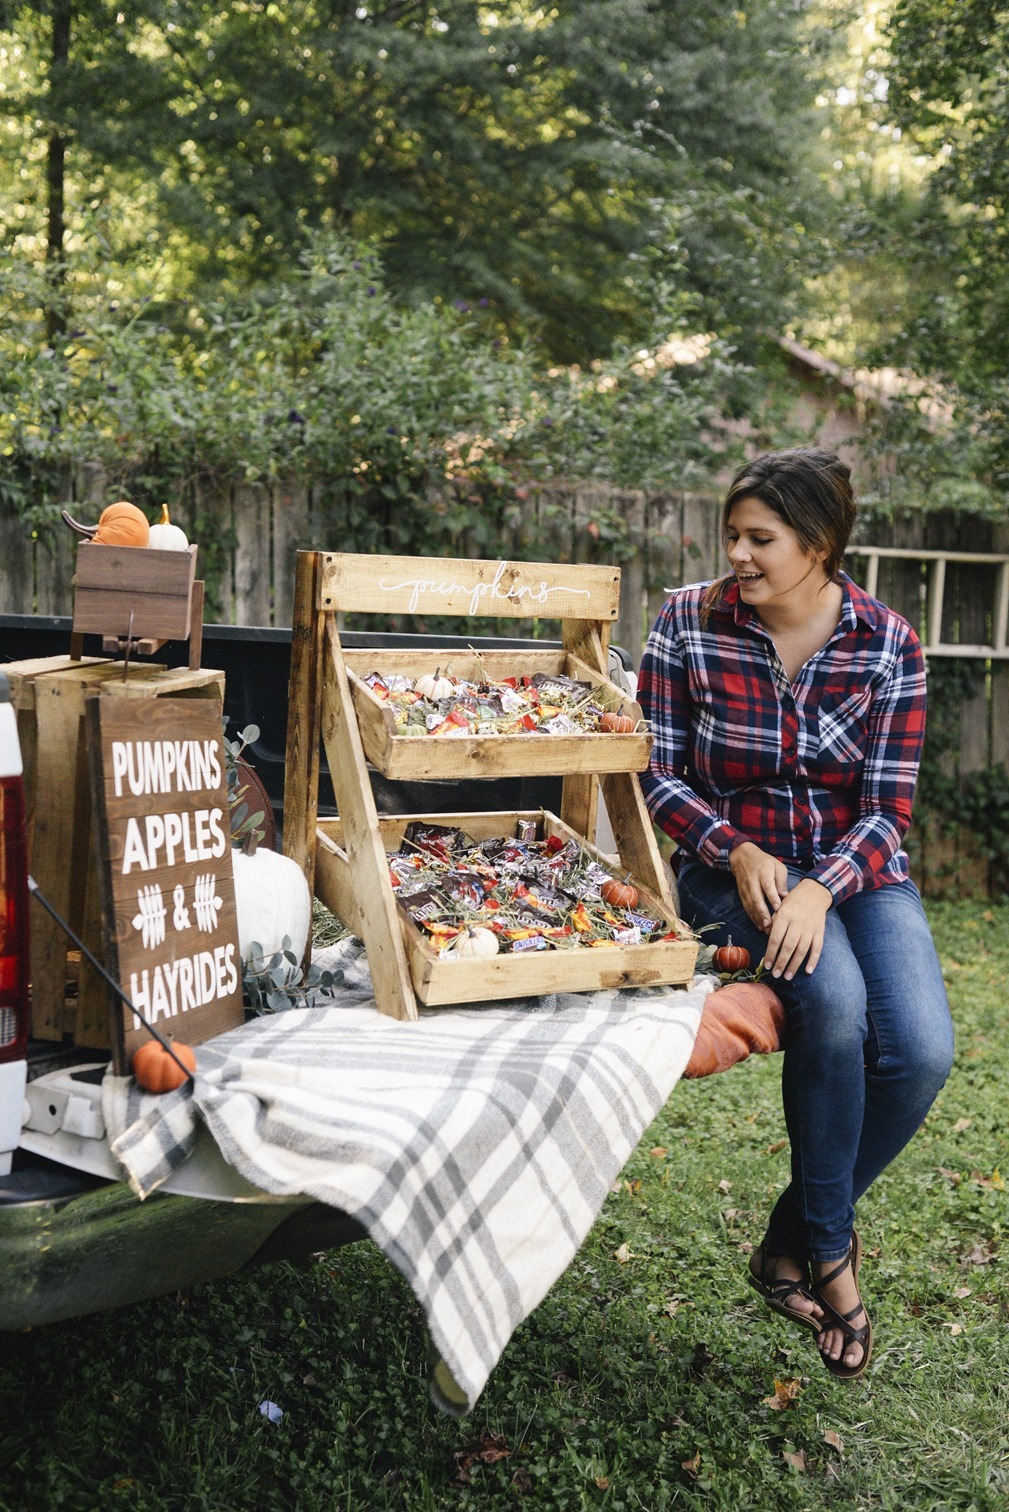
To decorate our tailgate for trunk-or-treat, I started out with some fall colored blankets, and then added the cute farm stand.
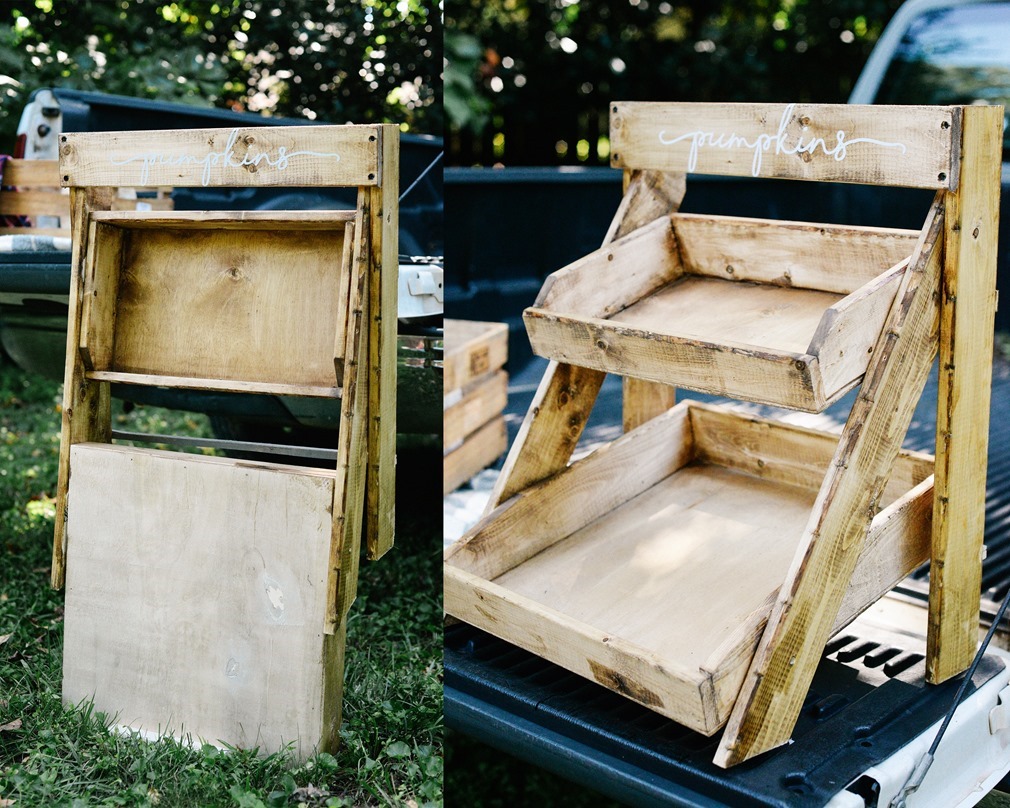
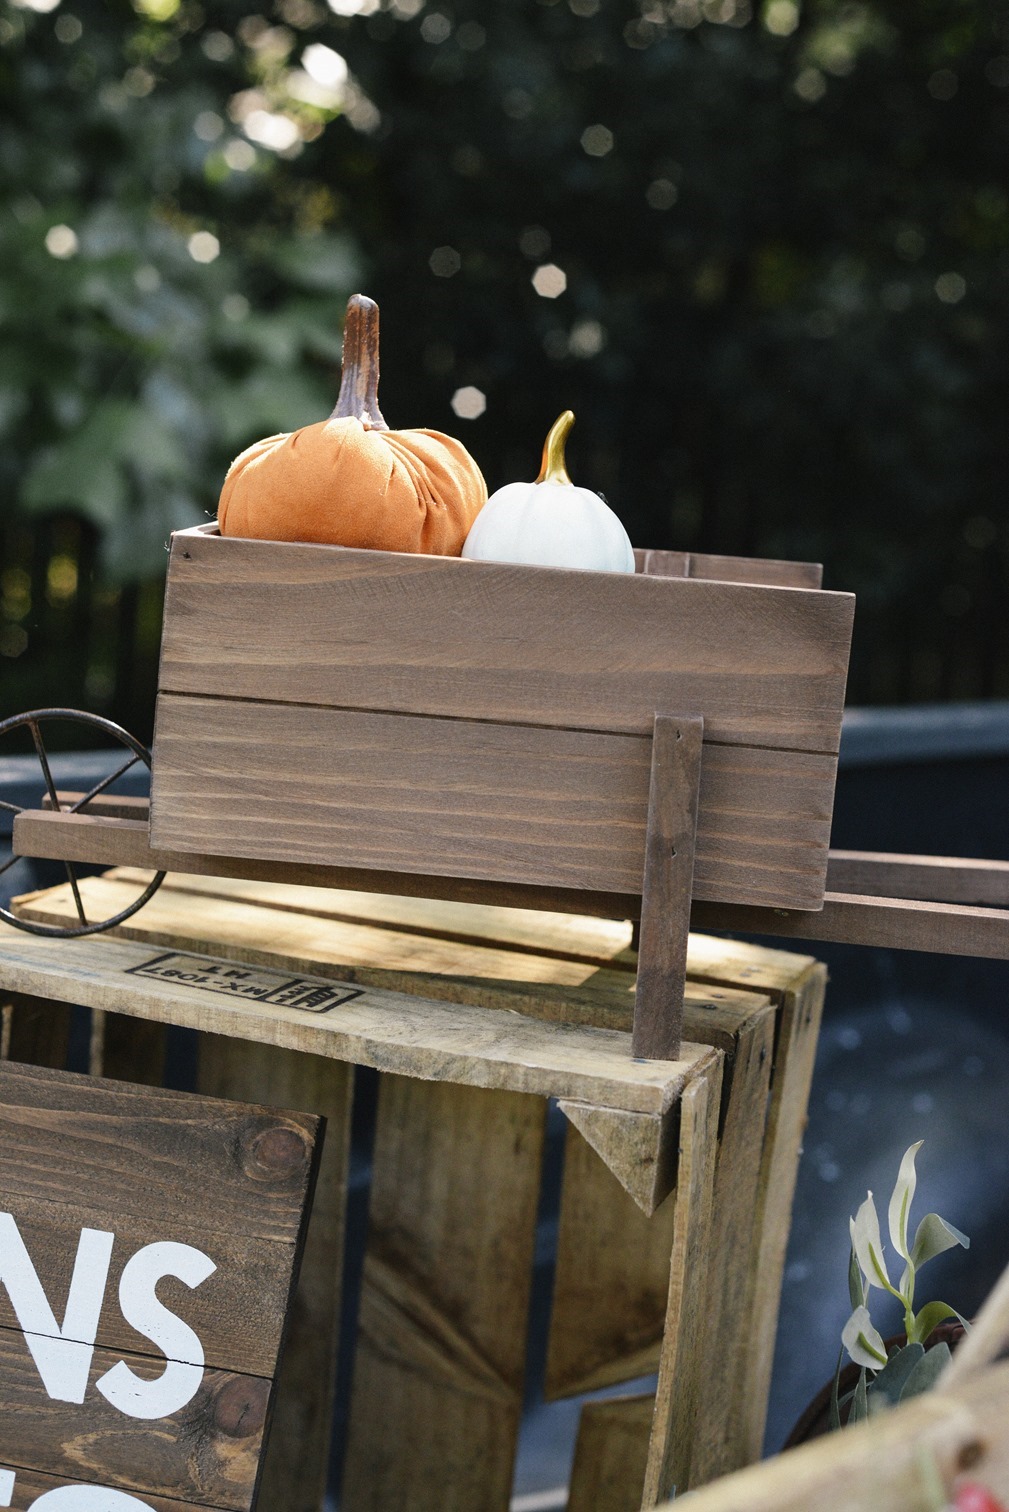
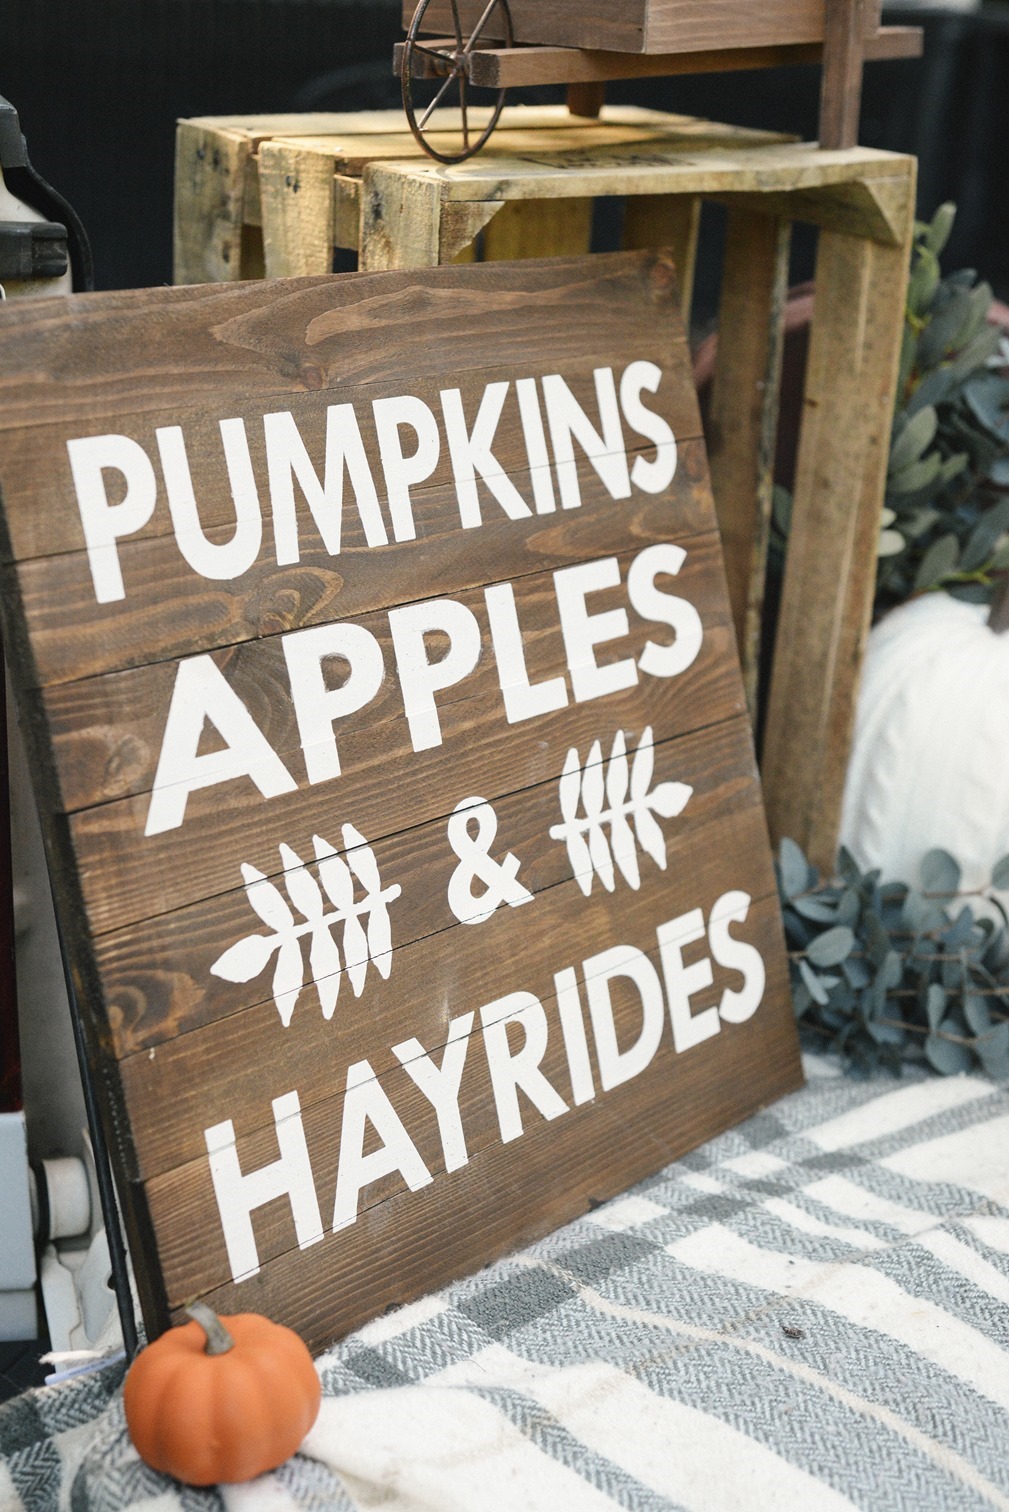
It is almost flat when collapsed, and totally sturdy when set up! I love it! Next, I added a farmer’s market crate, some fabric pumpkins, a fall sign, and a cute little wheelbarrow, all to add to the Farmer’s Market feel.
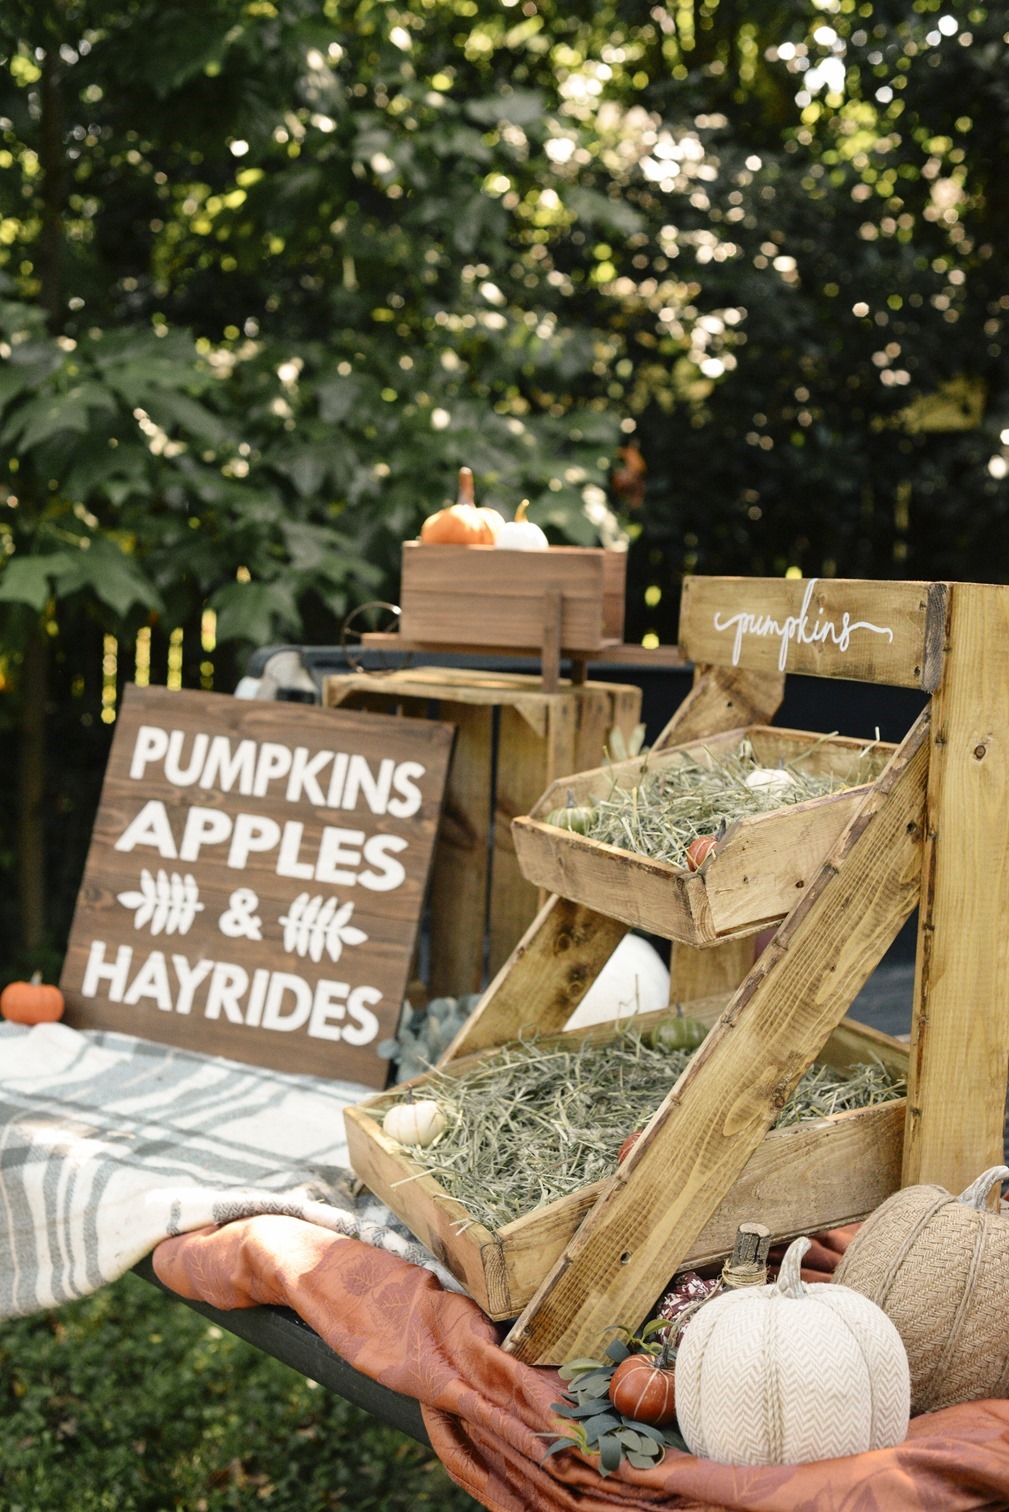
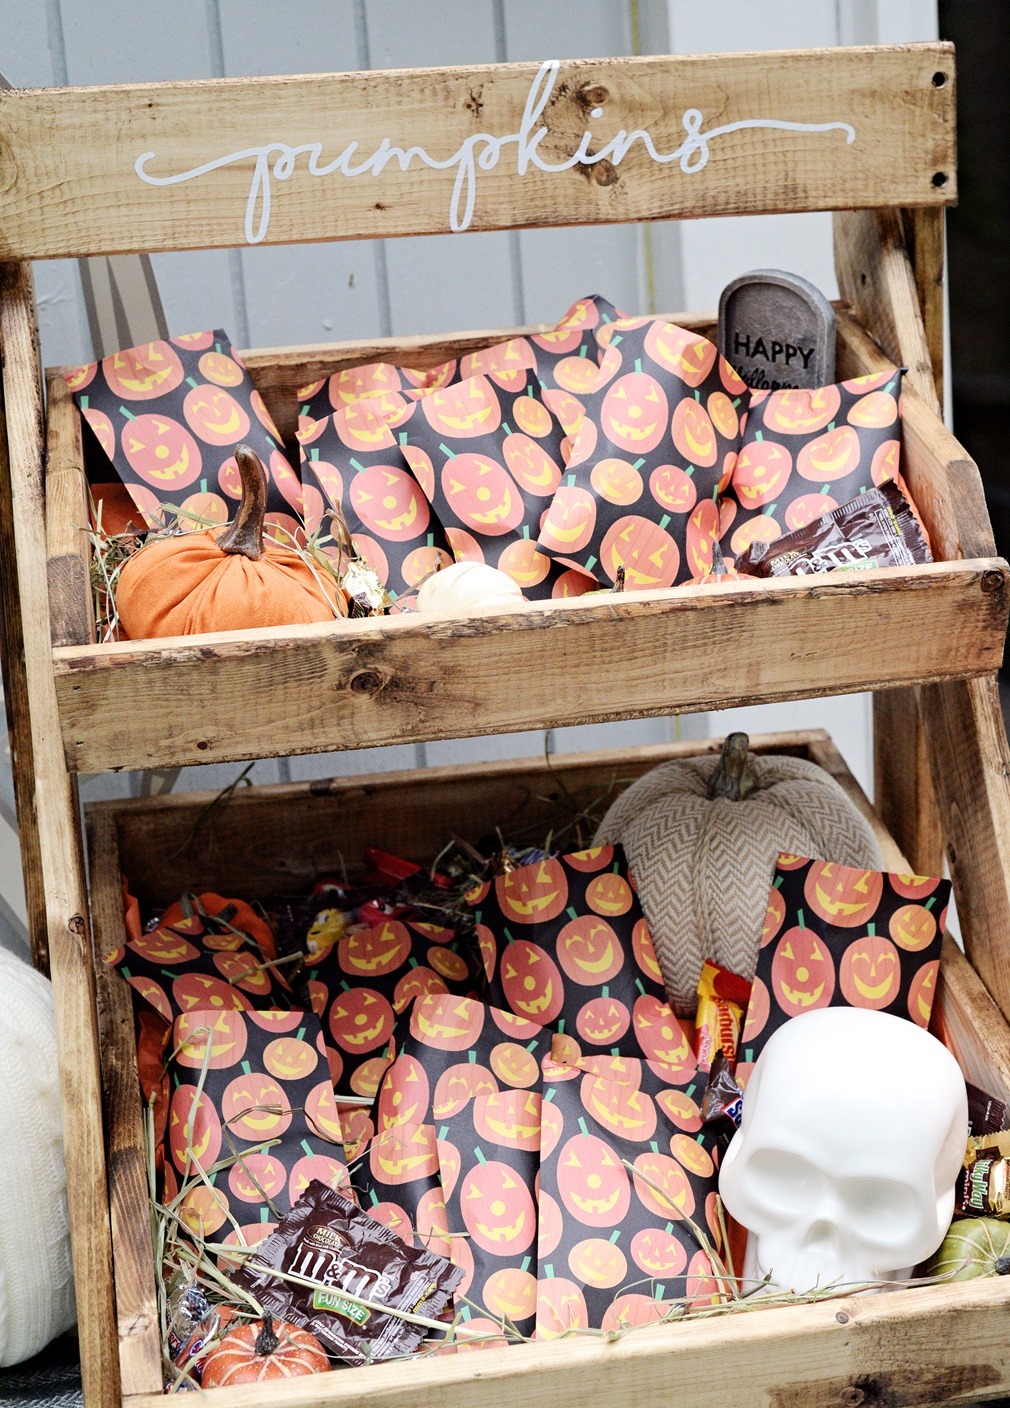
To style the farm stand, I used hay (you can get green hay in the rabbit feed section of stores) to line the boxes. I wanted the market stand to look like a little pumpkin patch where you could pluck out your pumpkin (or candy!). Once the hay was in, I opened up my MARS® Mad Scientist and Skittles® / Starburst® Bag from Sam’s Club to fill it up! Their bulk bags make it so easy to have a great variety of candy and stay within your BOO budget. They are available with all of your favorite MARS and Wrigley products, keep your eye out for two specially marked Halloween bags in the aisles of your local Sam’s Club. 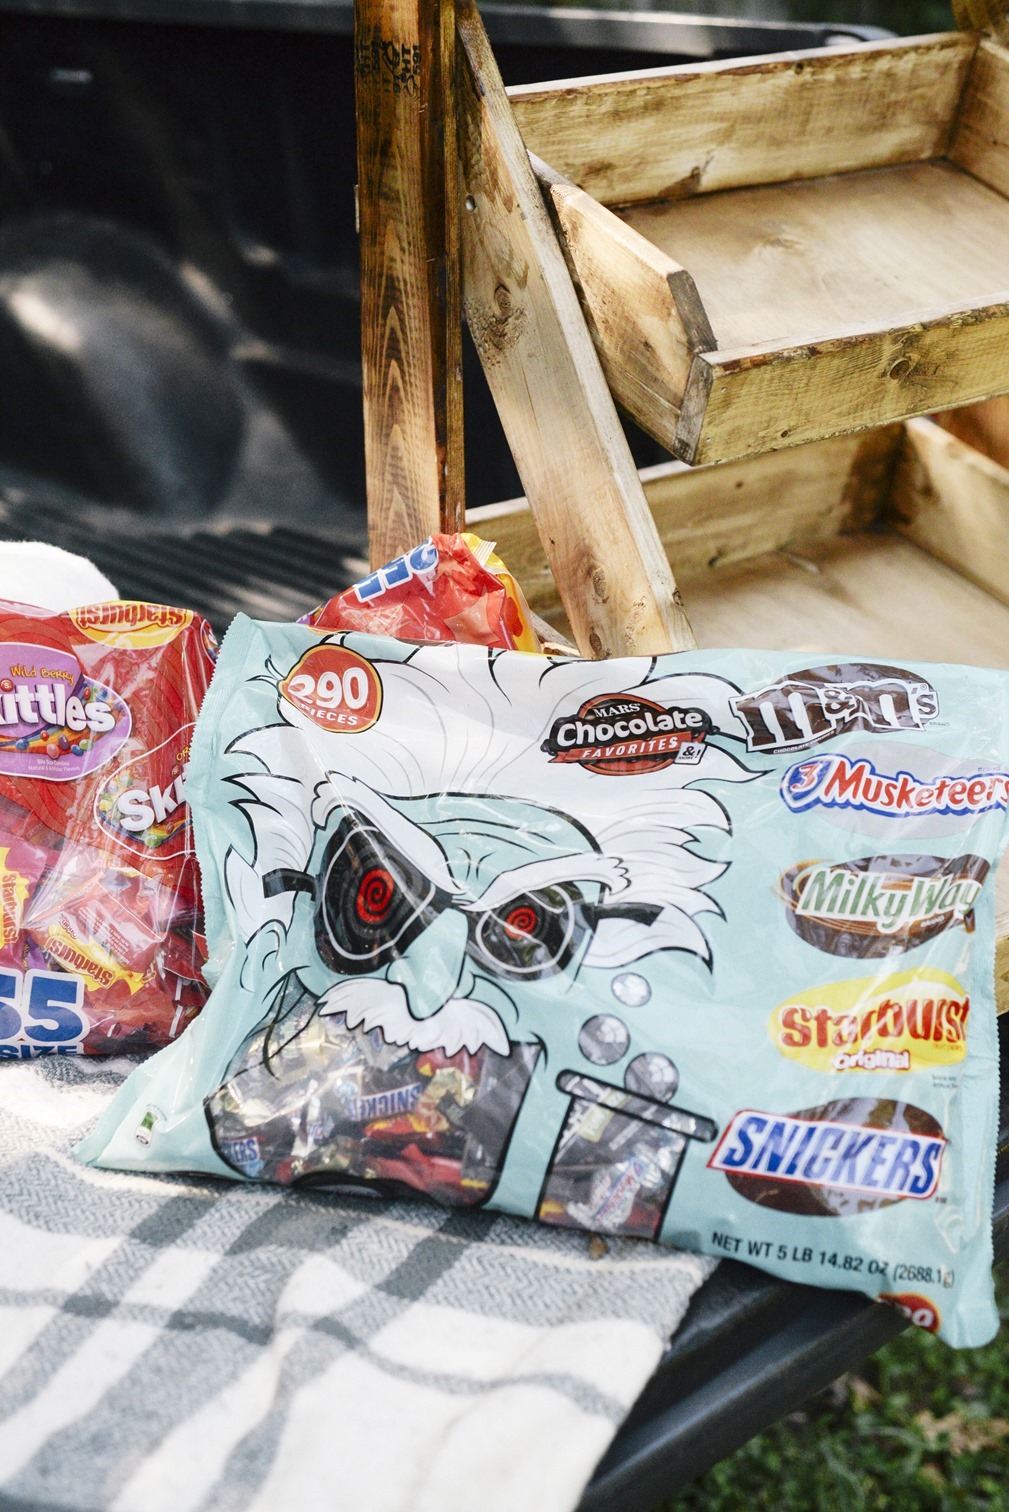
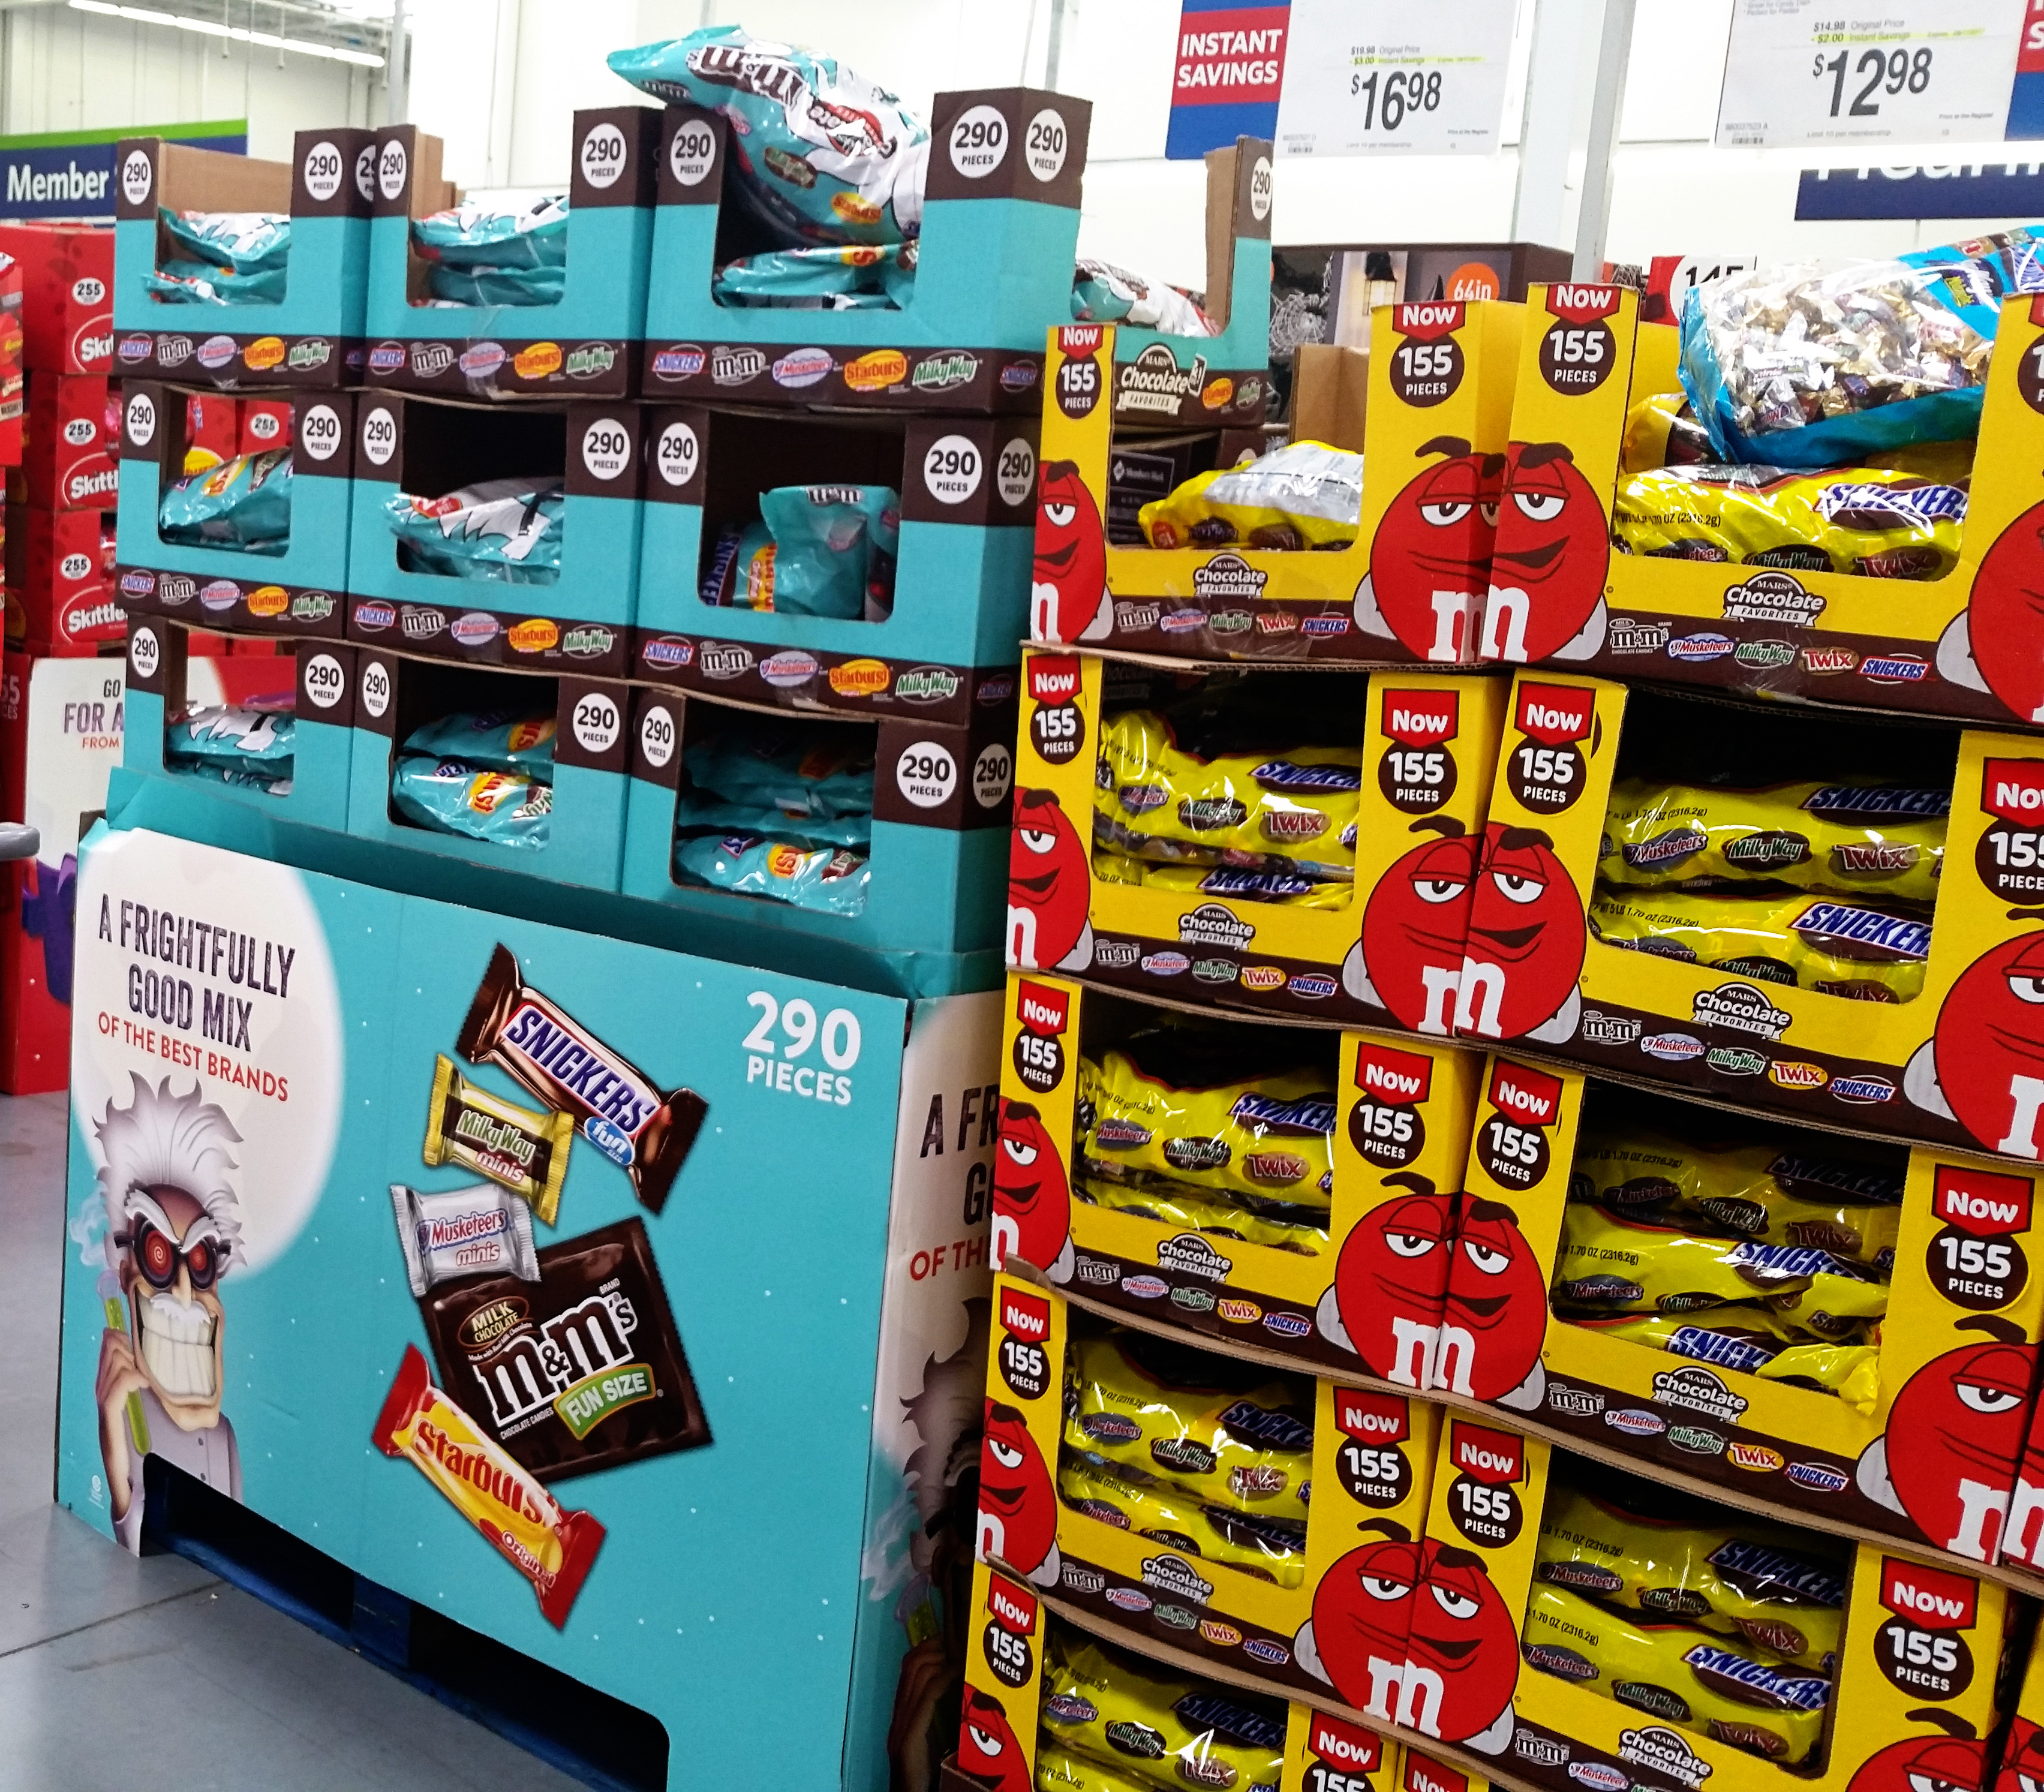
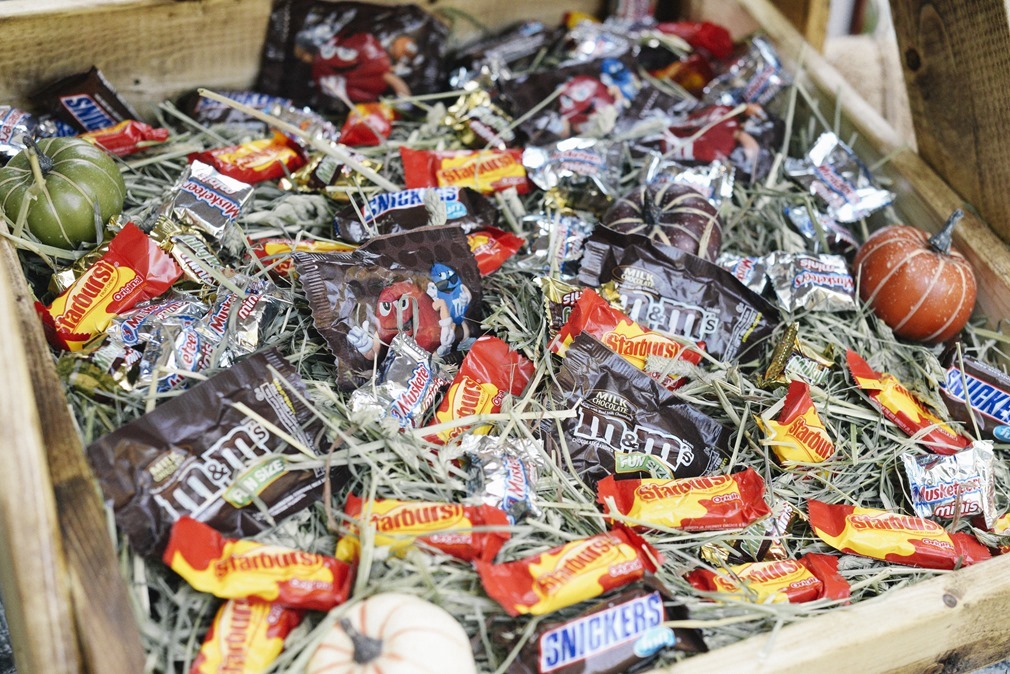
It’s got all of my favorites! After filling the boxes up with candy, I added some small foam pumpkins to finish off the pumpkin patch look and it was ready for all my fall BOO-ing! I can’t wait to share it with all of our friends and neighbors!
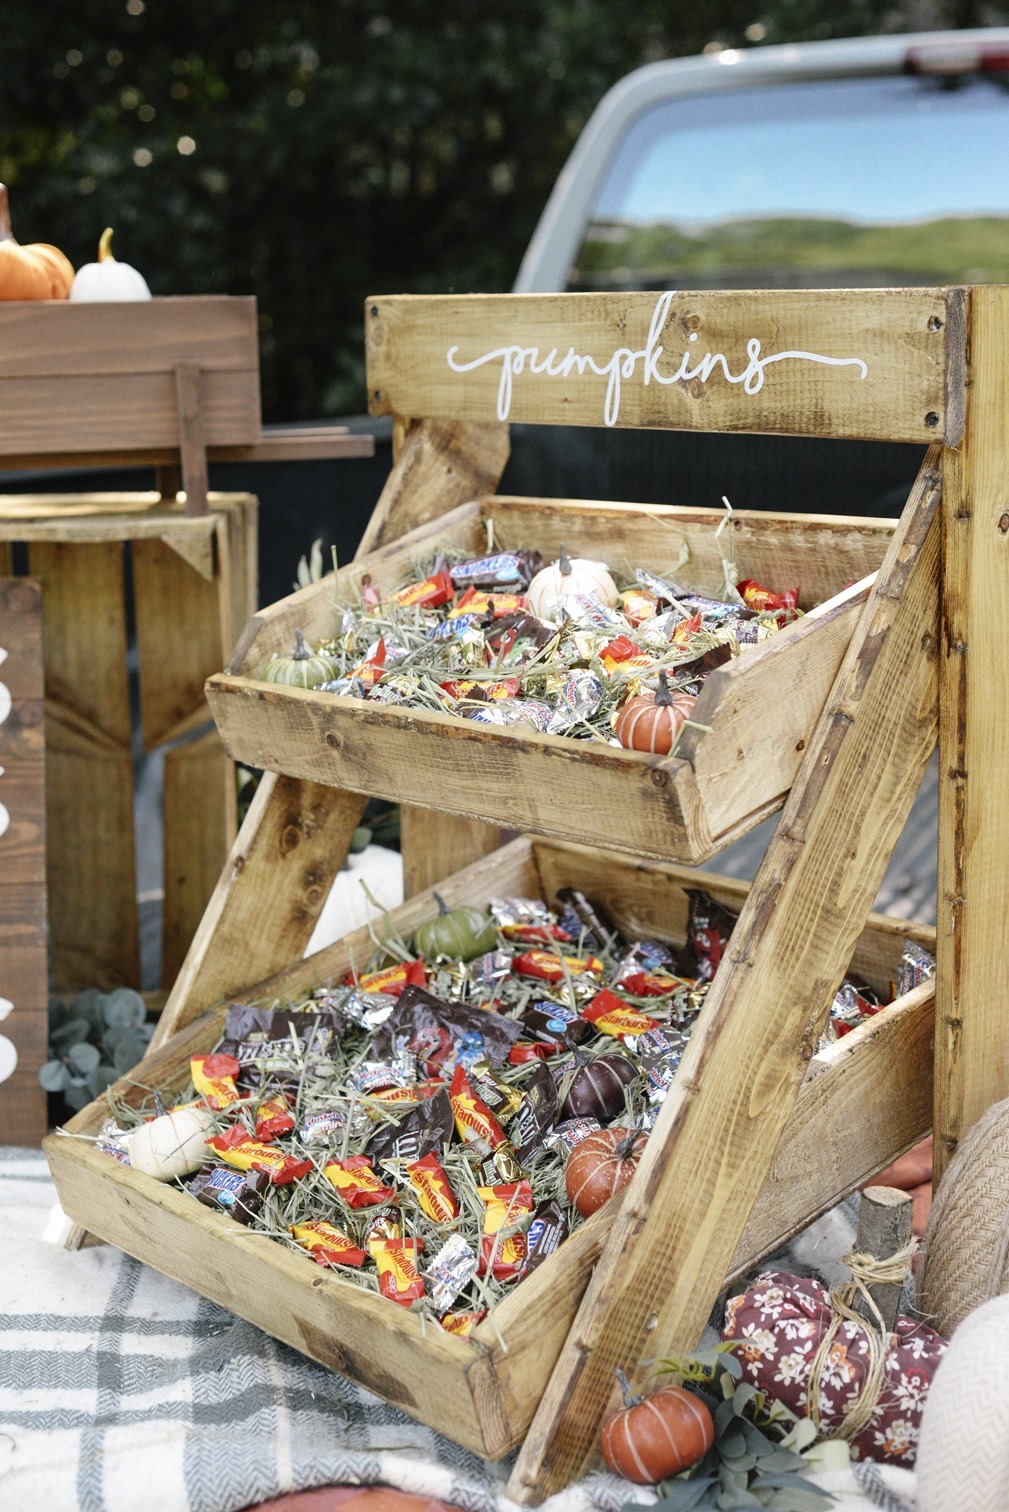
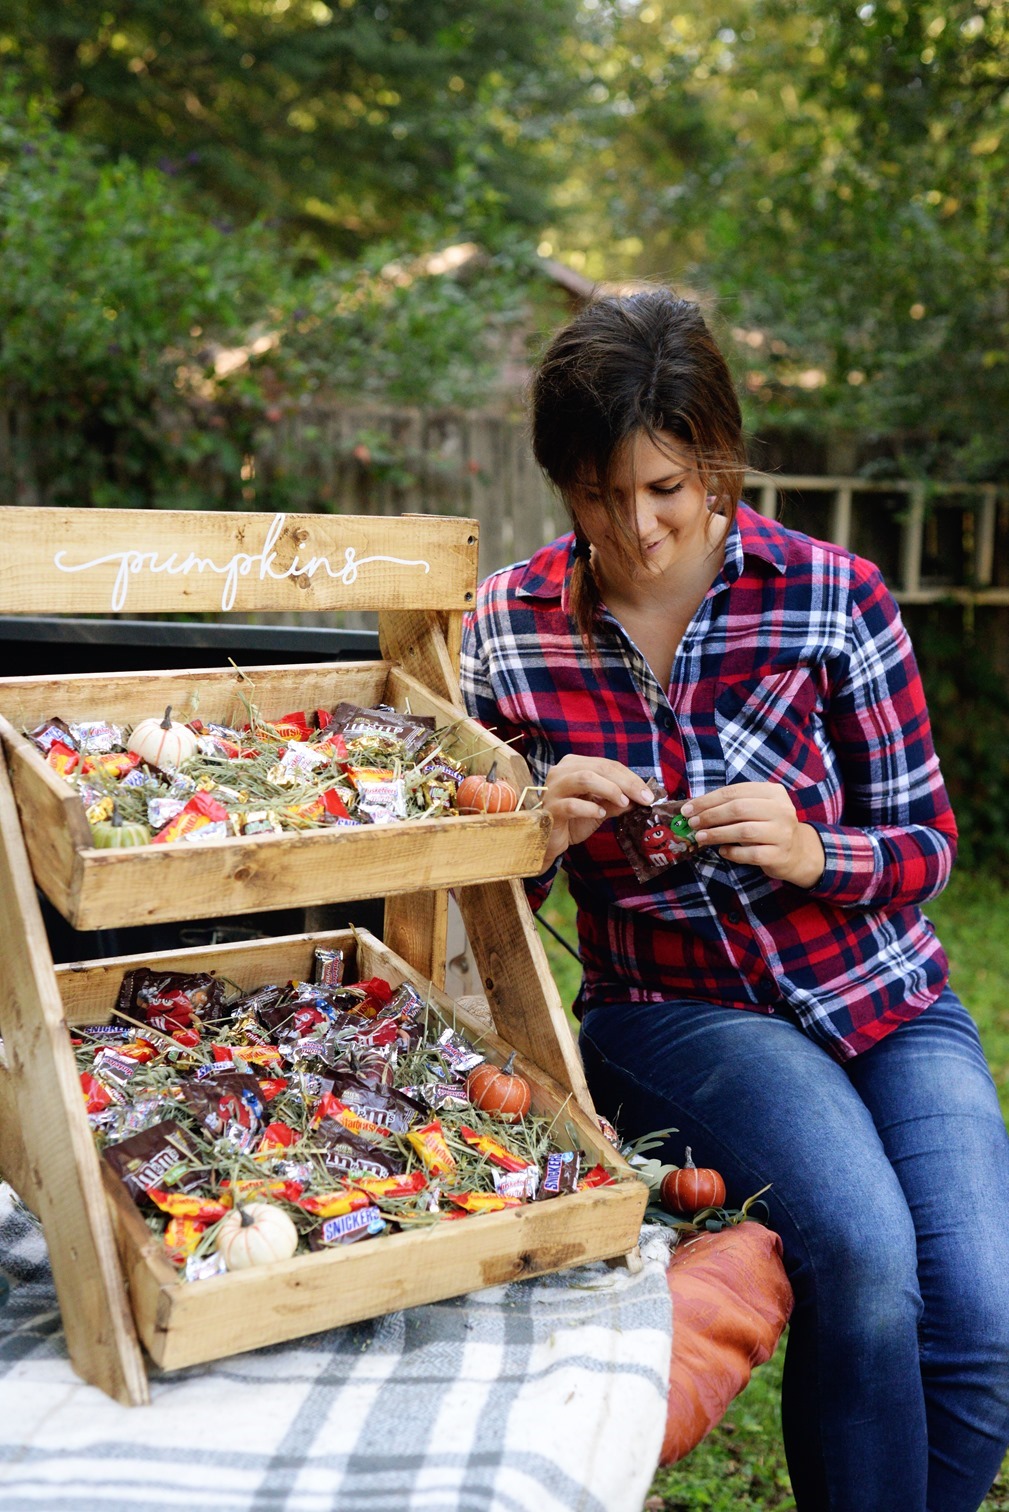
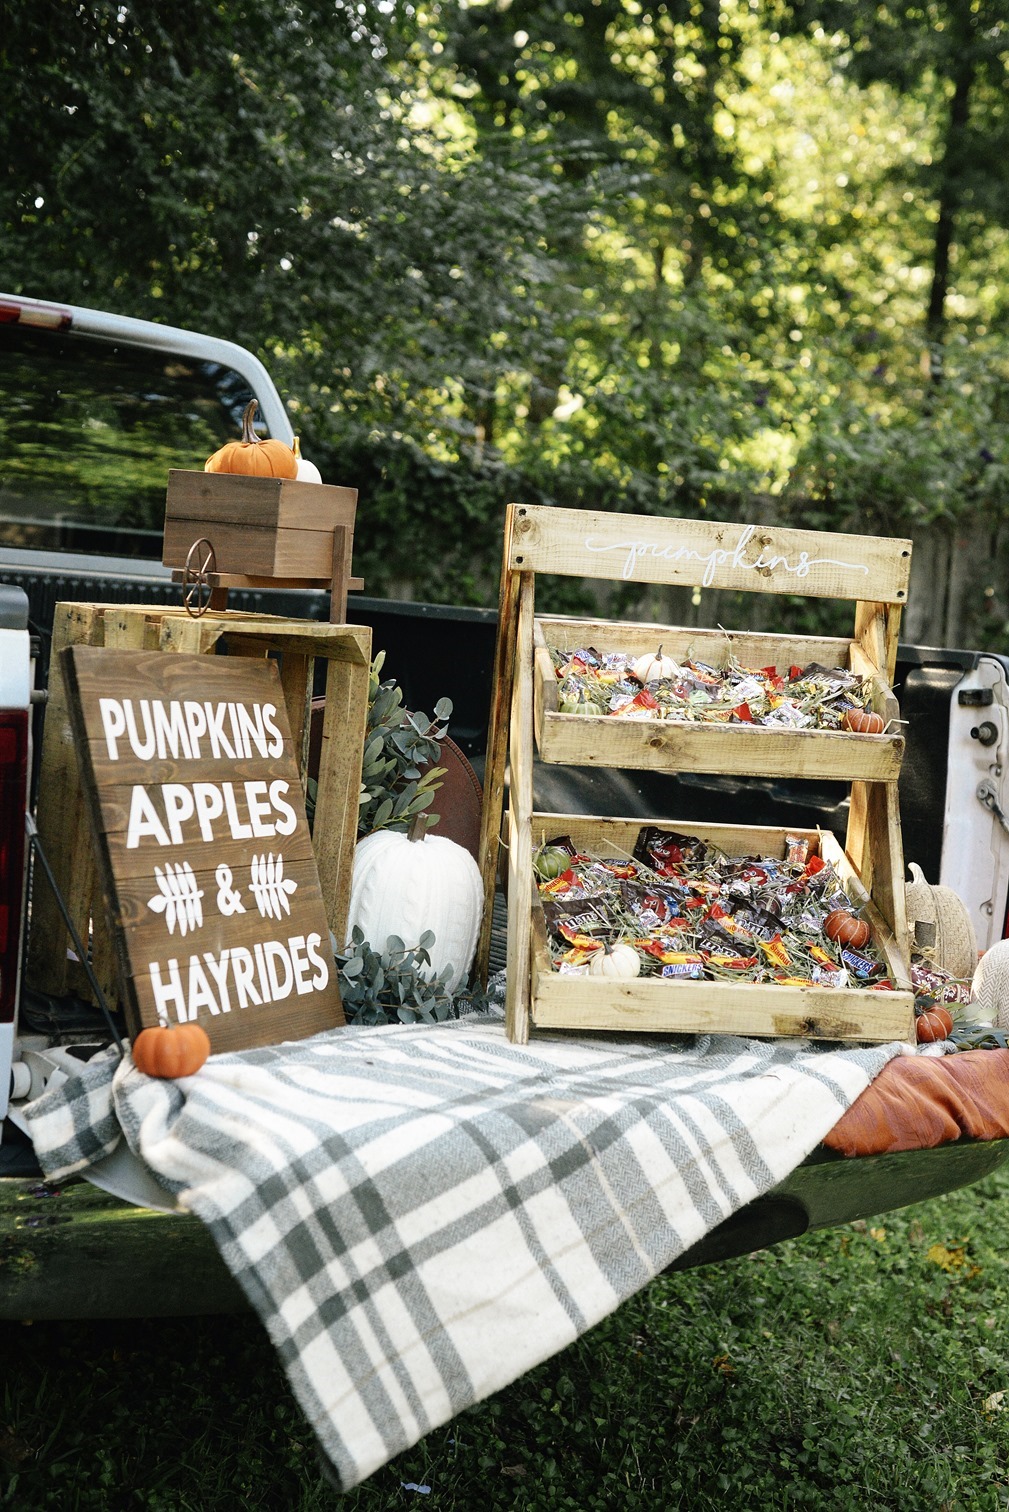
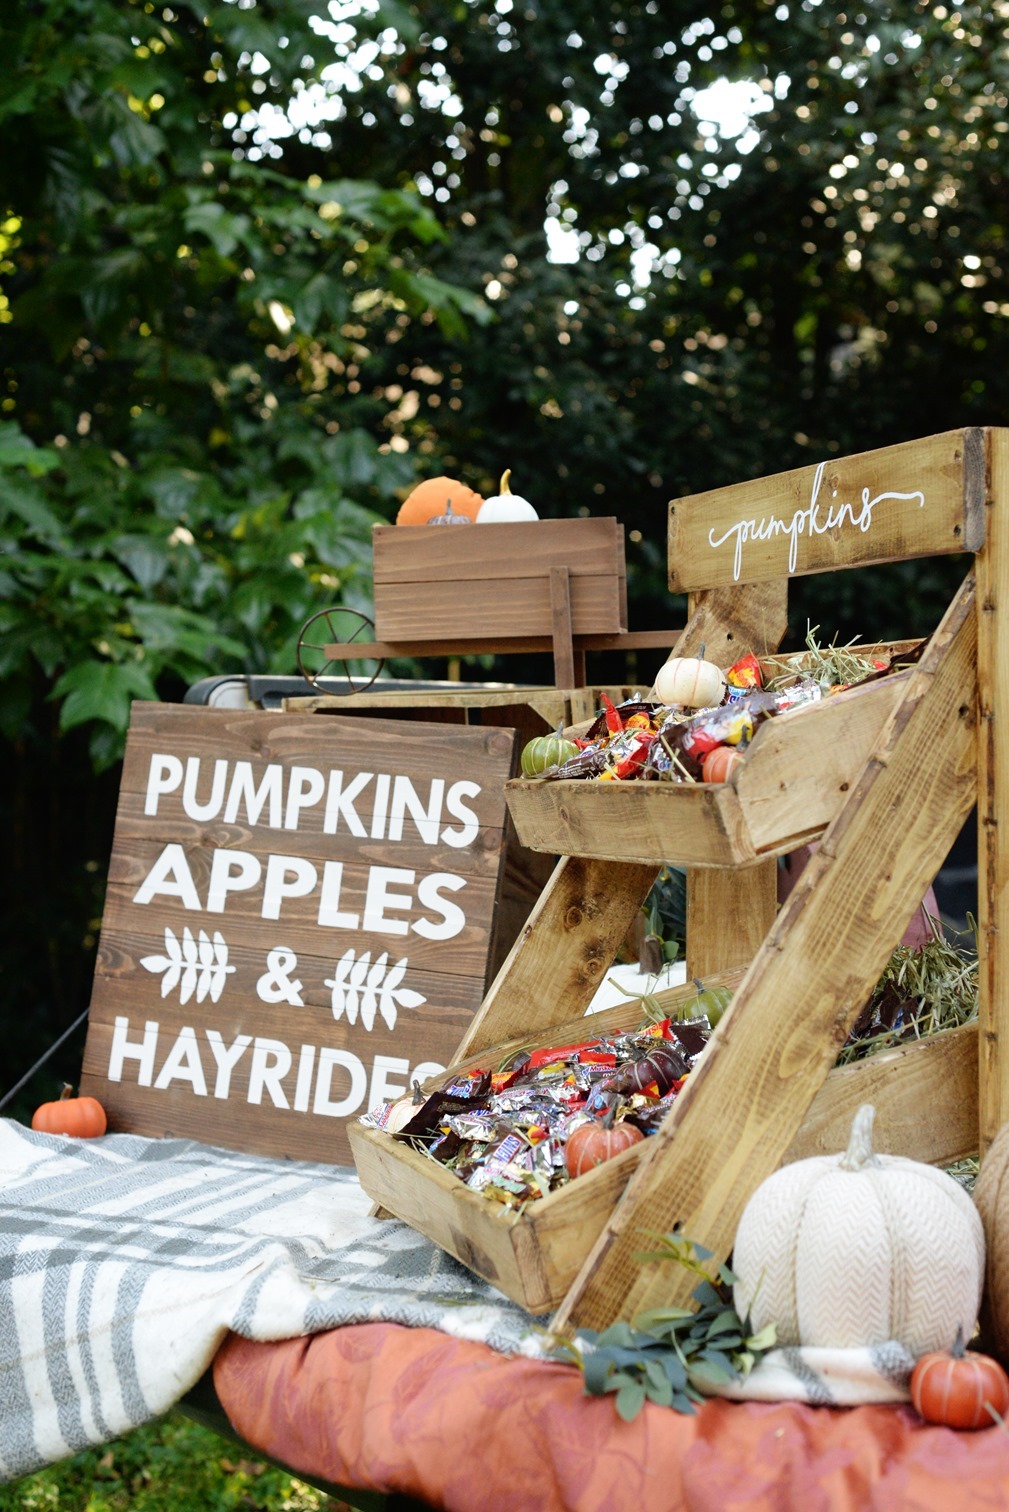
I know it’s going to be a hit at our Trunk-or-Treat! This stand is also a great place to hold lots of treat bags for people. We love BOO-ing at Halloween time, and we can BOO in bulk by buying lots of candy, making the treats bag up ahead of time and keeping them here to give out to friends and neighbors!
Brandon gets the credit for designing most of this cute stand so I had him write out the instructions for me:
SUPPLIES:
1X4- if you don’t mind the rustic look, landscaping 1X4’s are much cheaper
1/4” or 1/2” plywood
Wood Stain
Screws
Two pieces of thin scrap wood, or a 1X2
The following boards should all be cut to length for the frame:
– Two identical 1×4’s for the back legs
-Two identical boards somewhat longer for the front legs. The length depends on how deep you want your shelves to be. This measurement can be made through some sort of geometry or trigonometry, but I just held one of the boards up where it looked like we wanted the leg to be and drew a line so I could cut both boards the same length.
– One board cut to the total width of the stand, outside to outside for the sign across the top.
– Two smaller pieces of wood (a 1X2 is great) cut to the total width of the stand, outside to outside, to support the backs of the shelves.
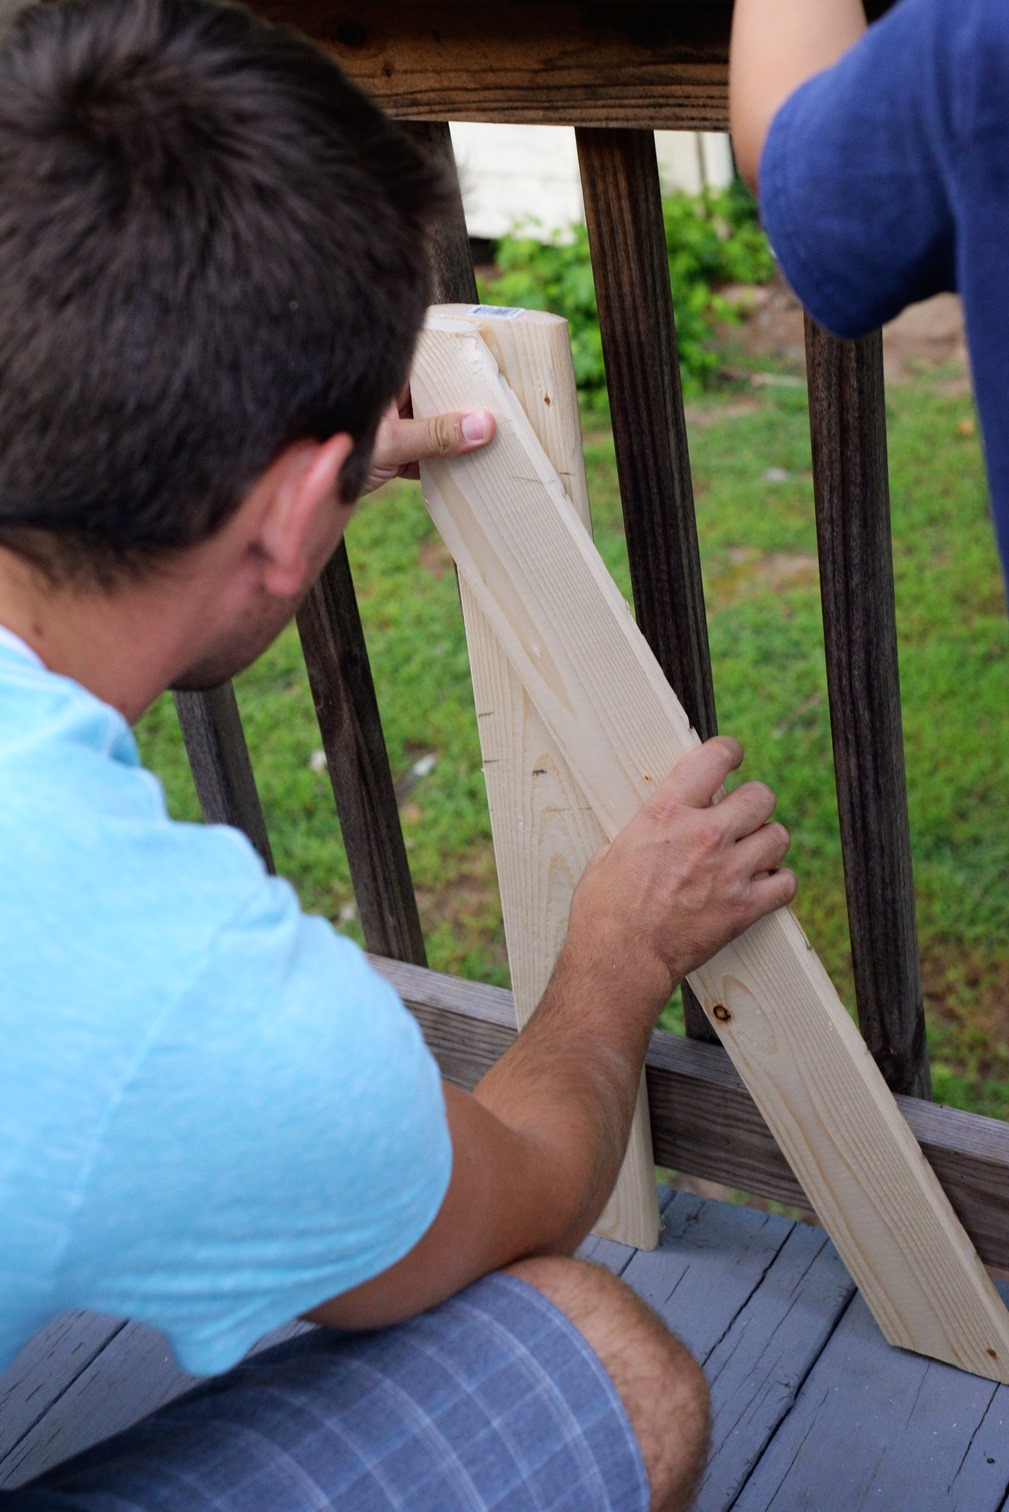
When all the boards are cut measure where you want to put your screws to attach the front legs to the back legs. This hole should be measured to the desired height (once again this was eyeballed) and centered in the board. When you have made this mark, drill a hole approximately half way through the back leg with a bit the same width as the head of the screw you are using. When those holes have been drilled use a drill bit the same width as the screw threads to drill a pilot hole the rest of the way through the back legs. These holes will allow the screw to spin freely in the back legs without pulling through. 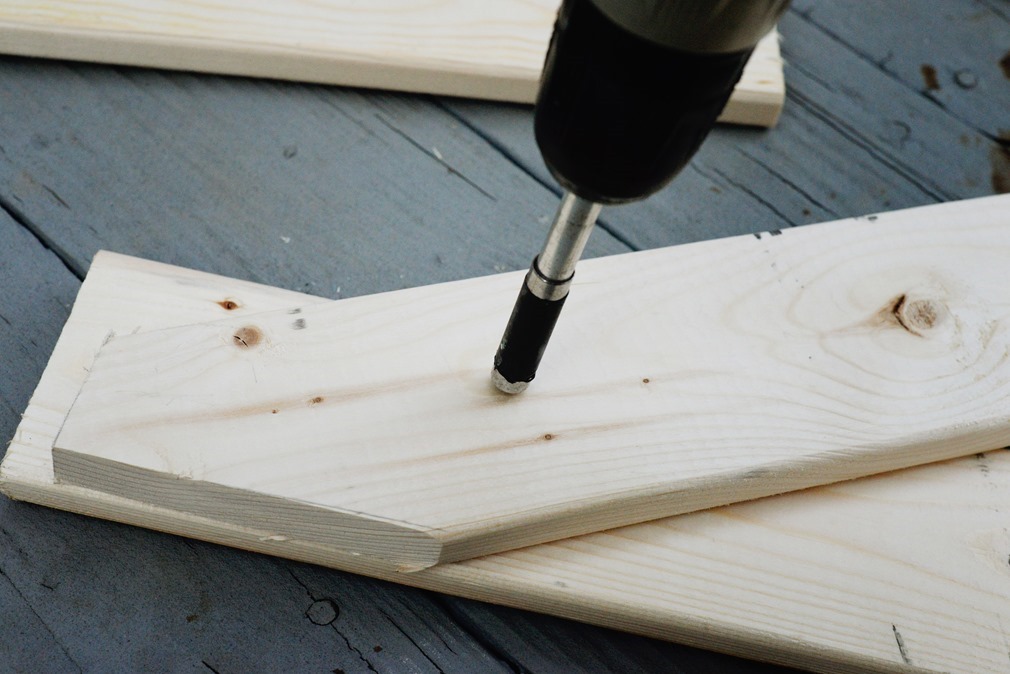
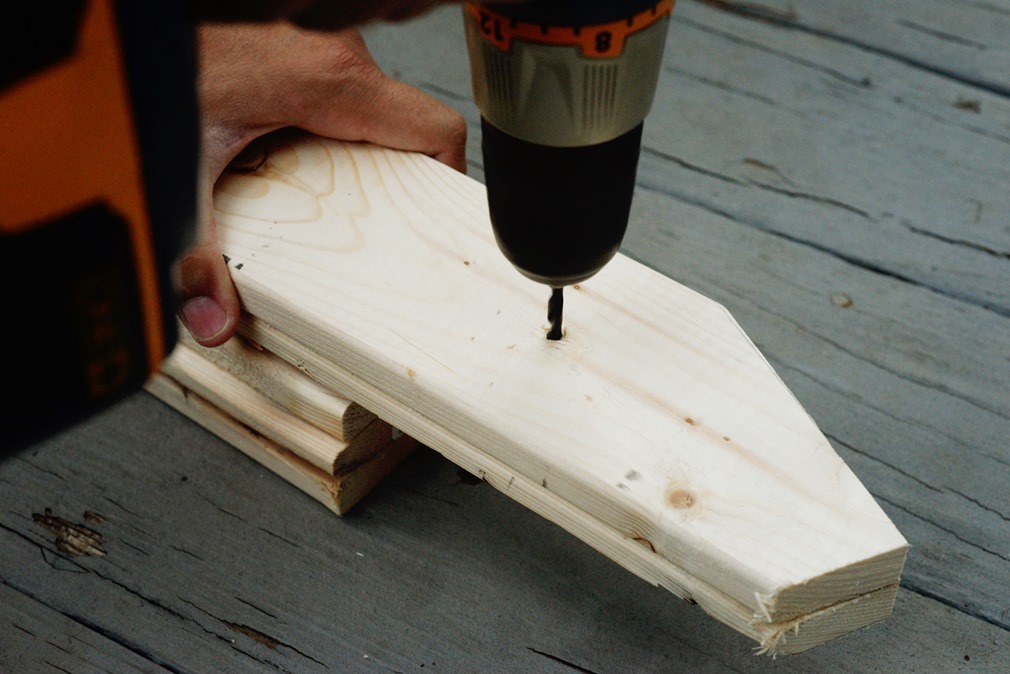
When these holes have been drilled, line the front legs up underneath the back legs so that when you put the screw through the hole in the back leg and screw it snugly into the front leg underneath it the legs are able to swivel freely and when they are collapsed, they line up perfectly behind each other.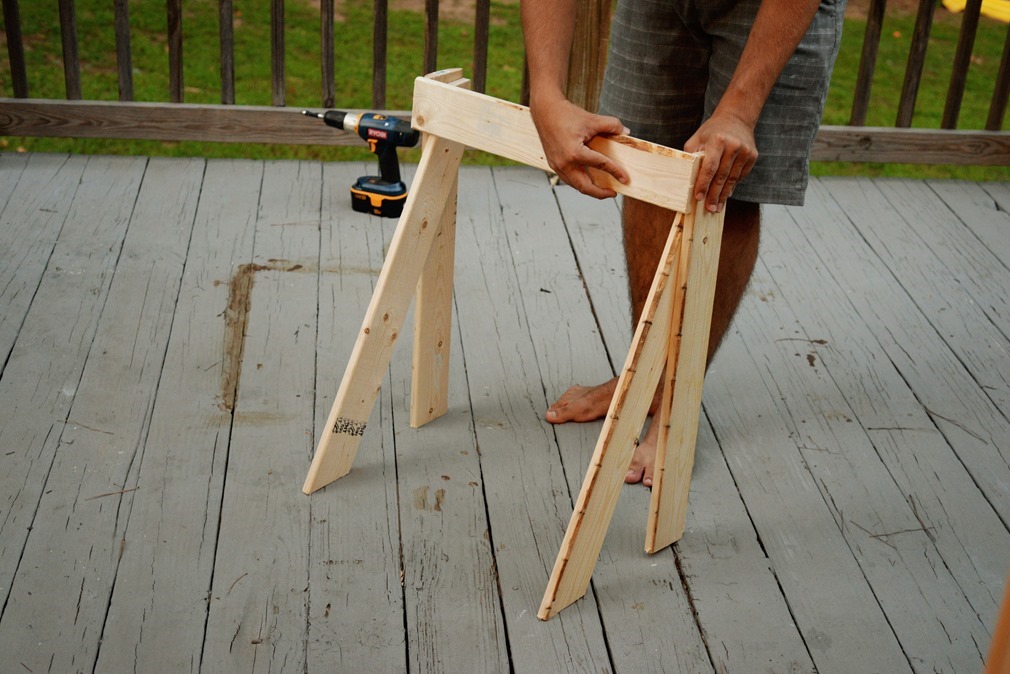
When both sides have front and back legs screwed together, screw (or nail, your preference) the board cut to the total width of the stand into the very top of the two back legs so that when the two front legs are extended, the sign is atop the stand facing out from the front.
Next to build the shelves the following boards should be cut to length:
– Four boards the width of the stand inside to inside (measure between the inside of the front legs)
– Two boards cut to the desired depth of the bottom shelve. (Once again, this measurement was made by holding a board up and eyeballing what looked like a good length)
– Two boards cut to the desired depth of the top shelf.
– Two thin sheets of plywood. One the area of the top shelf, one the area of the bottom shelf.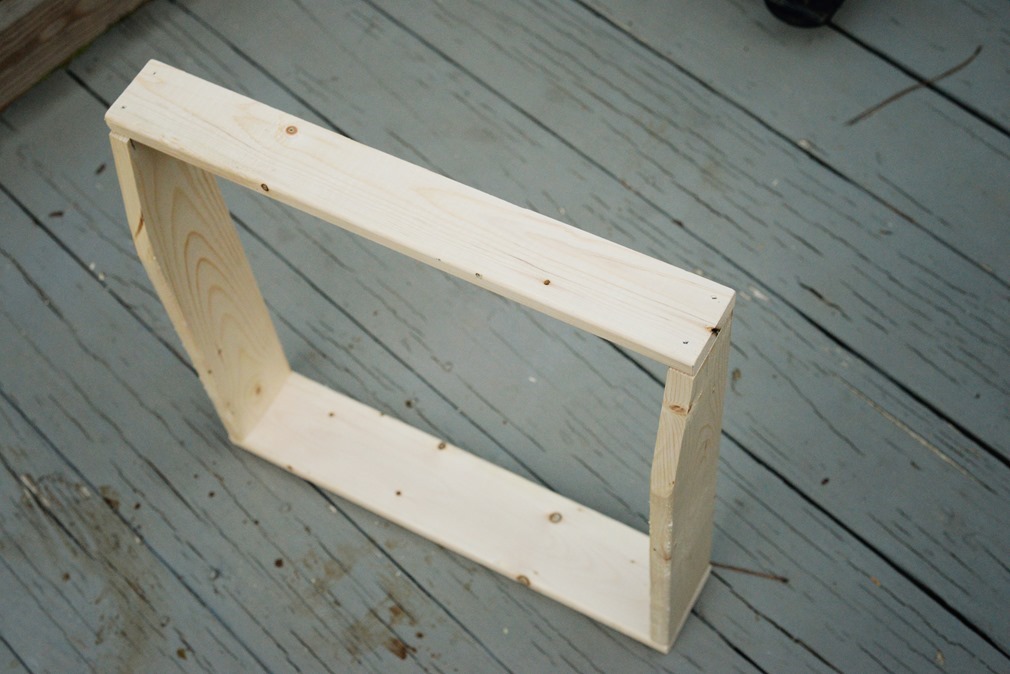
The shelves are assembled simply by making two boxes, one the depth desired for the bottom shelf and one the depth desired for the top shelf. We used a finish nail gun to nail the boards together, but if more structural integrity is needed, a Kreg Jig would work well to attach the corners. Then the plywood is attached to the bottom of the box. We used the finish nailer for this but if the shelves are to hold heavier objects, thicker plywood attached with screws may be preferable.
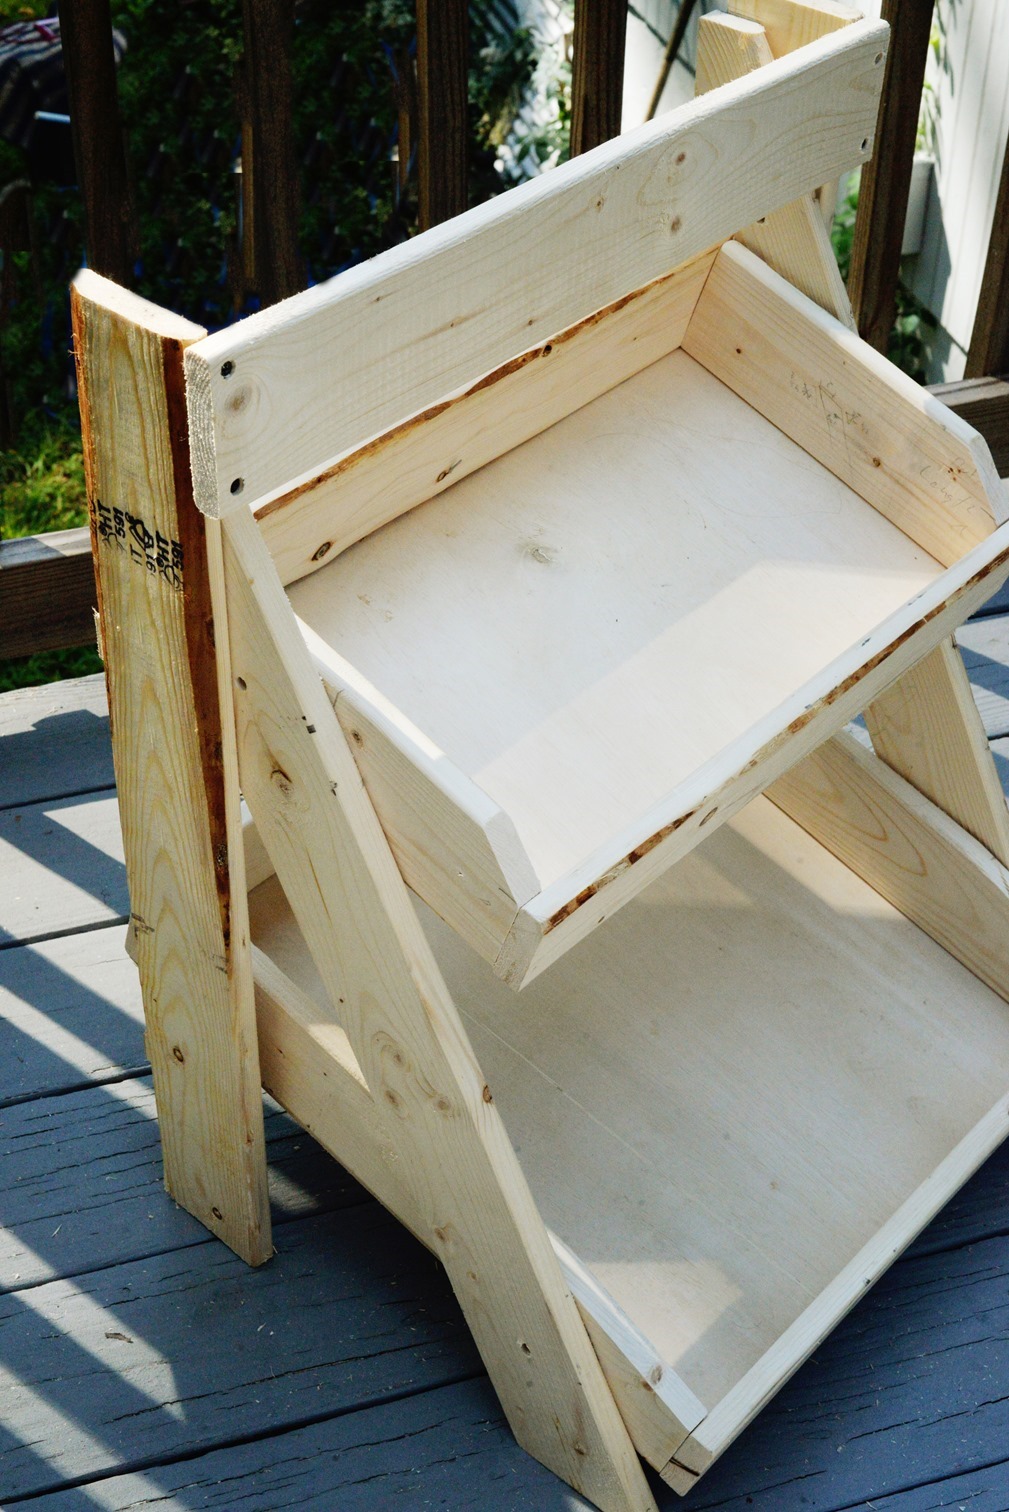
After the shelves are assembled they are screwed into the front legs at the desired height using the same method that the front legs were screwed into the back legs, allowing the shelves to swivel and collapse inside the front legs.
When the shelves have been attached to the front legs it is time to attach the back slats to hold the shelves at the desired angle.
Start with the bottom shelf by holding the shelf at the desired angle and marking the back leg where the bottom of the shelf crosses the leg. Do this on both sides and then nail (or screw if needed) the slat into the back of the legs.
With the top shelf you can do this the same way if the height of the shelf allows it, but ours required a different approach since the screw attaching the shelf to the front leg was further toward the back of the shelf causing it to tip forward rather than back. Because of this the same mark was made on the back leg to mark the desired angle for the shelf, but instead of putting the slat beneath the line, it was attached above the line. Then another small slat just a couple inches wide and a few inches long was nailed into the bottom of the shelf, sticking out an inch or so so it would catch the back slat as the shelf tried to tip forward and keep it from tipping too far.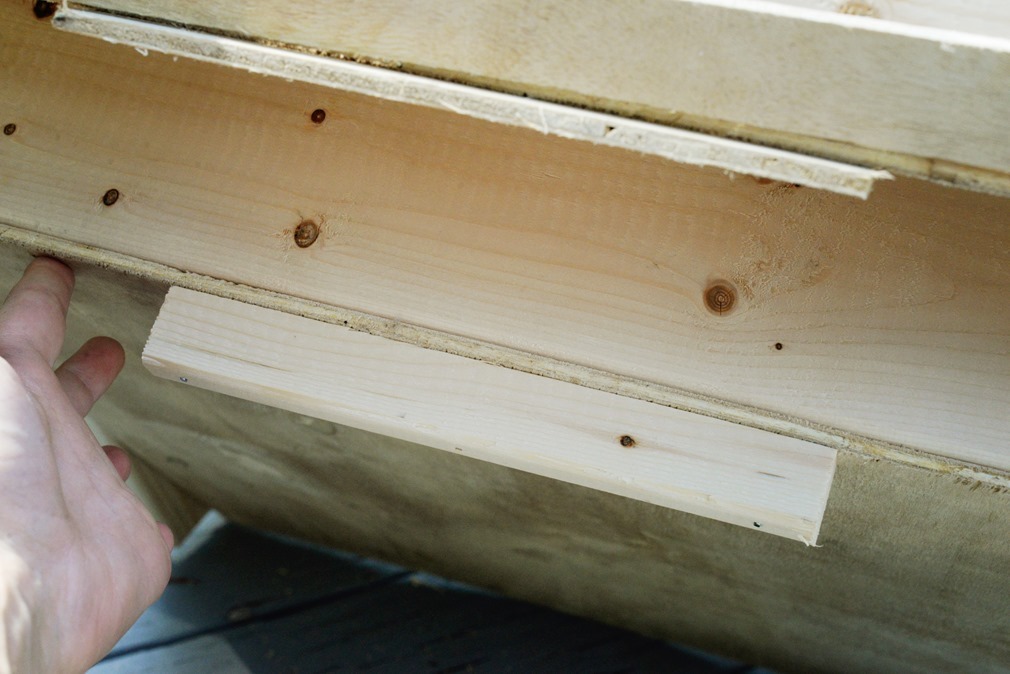
Also for the bottom shelf a small piece of wood was nailed to the very back of the underside of the shelf. This keeps the legs from spreading apart when the shelf is down. I finished the stand by staining it with one coat of “Weathered Oak” and a second coat of “Provincial” and added a vinyl decal I cut that says “pumpkins.” If anyone wants the cut file, comment below and let me know! Now it’s all ready and I love how easy it is to carry! 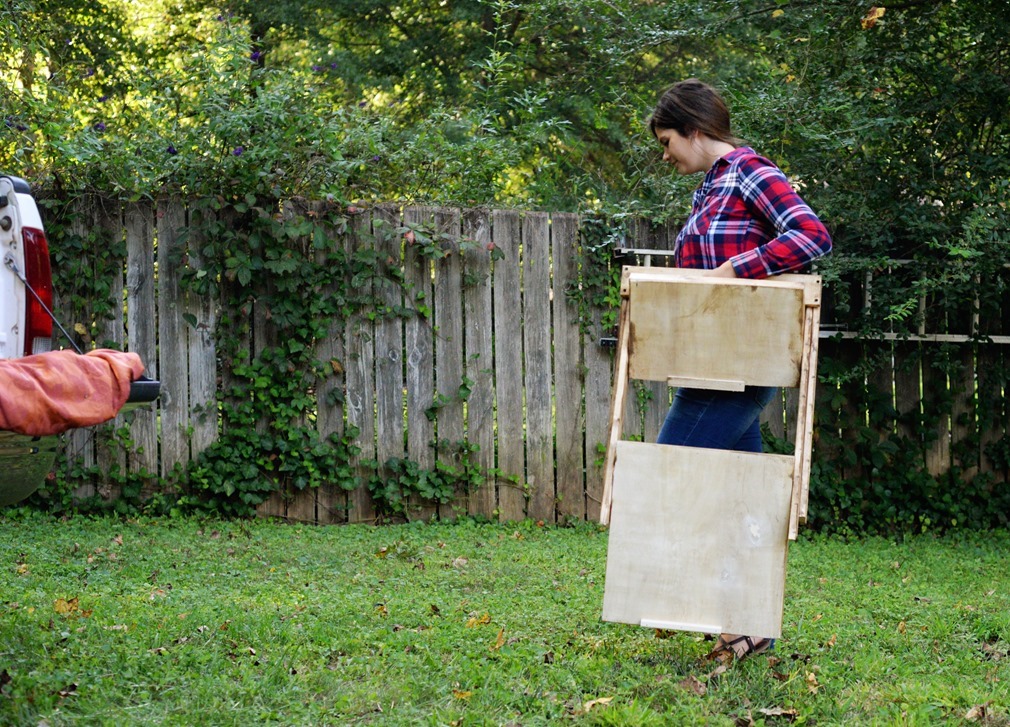
Ever since making this, we’ve all been so excited for Halloween here, but I am so lost on Halloween costumes! What are your kiddos being this year? Are you doing Trunk or Treat (don’t forget the candy!)? I need ideas, and if you make one of these cute stands, please tag me so I can see!


I love this! So versatile! I can see it full of cupcakes, Easter eggs, you name it!
This is such a fun and cute idea! And I agree with Liz, you’ll be able to use this all year long!
Hi! This is an awesome stand! Can you give me an idea of about how tall the back legs are that you started with? I think I can wing it from there, but it would be helpful to have a starting point!
Thank you!
Hi! I love this stand. It would be perfect for just about anything display related. I
My husband and I go to thrift stores to put together outfits for special shows and Halloween.
$3-$10 for an outfit, yeah!