This shop has been compensated by Collective Bias, Inc. and its advertiser. All opinions are mine alone. #UnbeatableComfort #CollectiveBias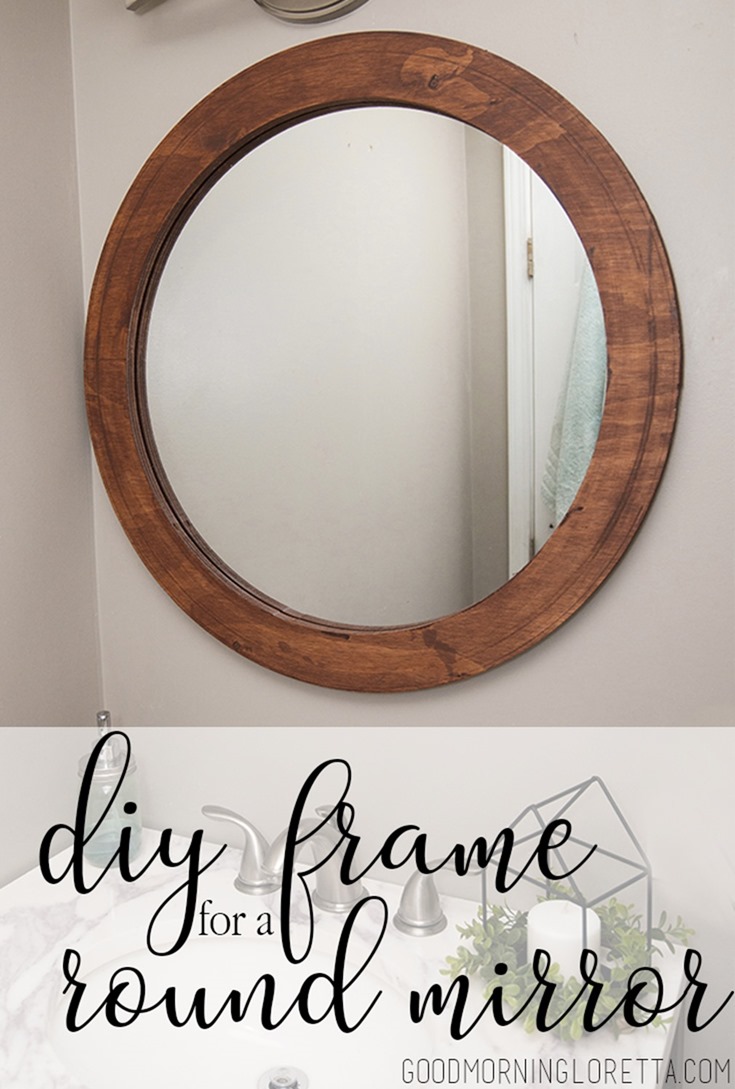
I’m excited to bring a new DIY to you today that incorporates on of my favorite new trends. If you follow the world of interior design, or social media really, you’ve probably noticed that round mirrors are really popular right now. Entry ways, bedrooms, bathrooms, everyone’s heading to a more modern sleek look. I recently looked into getting one to upgrade our bathroom. After dreaming about a pretty, wood framed circular mirror, I started shopping but couldn’t believe how expensive they were! After doing some research, I found out that it is so much cheaper , and totally affordable, to buy an unframed one and frame it yourself! I couldn’t find any tutorials on the internet, so I’ll take you through how to frame out a circular mirror for yourself to get that pretty, wood barrel frame look.
Supplies Needed:
–Un-framed circular mirror. I bought mine from a home improvement store for $29.99. If you can find an old one that you don’t like the frame of at a thrift store, go for it! Just take the old frame off and start over! I needed a very specific size to fit our vanity, so mine is 28” across. If you don’t have a home improvement store near you, here is a similar one on Amazon, it’s just slightly smaller.
– 1” Plywood. When choosing the wood to frame your mirror, you are going to want to go with a higher grade, sanded plywood. I chose a pre-sanded pine board with really pretty grain. I wanted to make sure it looked really nice after it was stained. You can also choose a thinner plywood if you’d like you don’t want the frame to be as deep as mine.
–Wood Stain. My mirror will be stained “American Walnut” which is very similar to the color of our bathroom vanity, but obviously you can make this whatever color you choose!
–Mirror Adhesive. Make sure you buy the mirror type of liquid adhesive for attaching the frame to the mirror.
–Router and Spare piece of plywood. To do this project, you’ll need a router tool and a spare piece of plywood that is about four inches wide and half of the diameter of your mirror long. (My extra piece was 3X14)
Here is the mirror that we originally had in the bathroom when we bought the house and the mirror that we bought to frame and put up: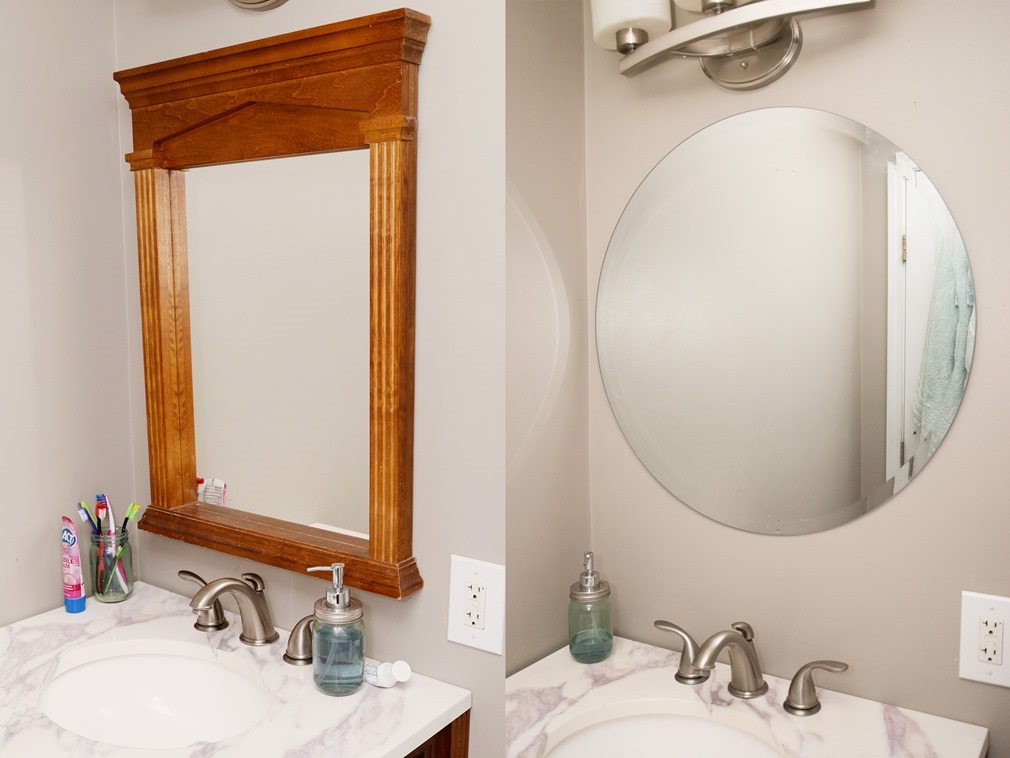
The first mirror was definitely not my style, and while the round mirror is so much better, it is still pretty plain. Let’s make a frame!
Instructions:
The first thing you are going to want to do, is cut your piece of plywood down to size if you haven’t already. We had the home improvement store cut ours down to a 29” square so it was just a little bigger than the final cut. We wanted it to be an inch wider than the mirror. In order to cut it down from a square to a circle, you are going to need to make a holder called a “jig” to cut a circle. It works along the same concept as a compass. The jig will hold the router at the same distance from the center while it cuts the circle. We made a jig from a scrap piece of 5mm plywood that measured a 14.5 inch radius circle. Flip your board over so the bad side of the board is up and the part you want to show when it frames your mirror is down. Put a screw through the jig into the center of the 1” plywood and screw the other end of the jig to the bottom of the router. 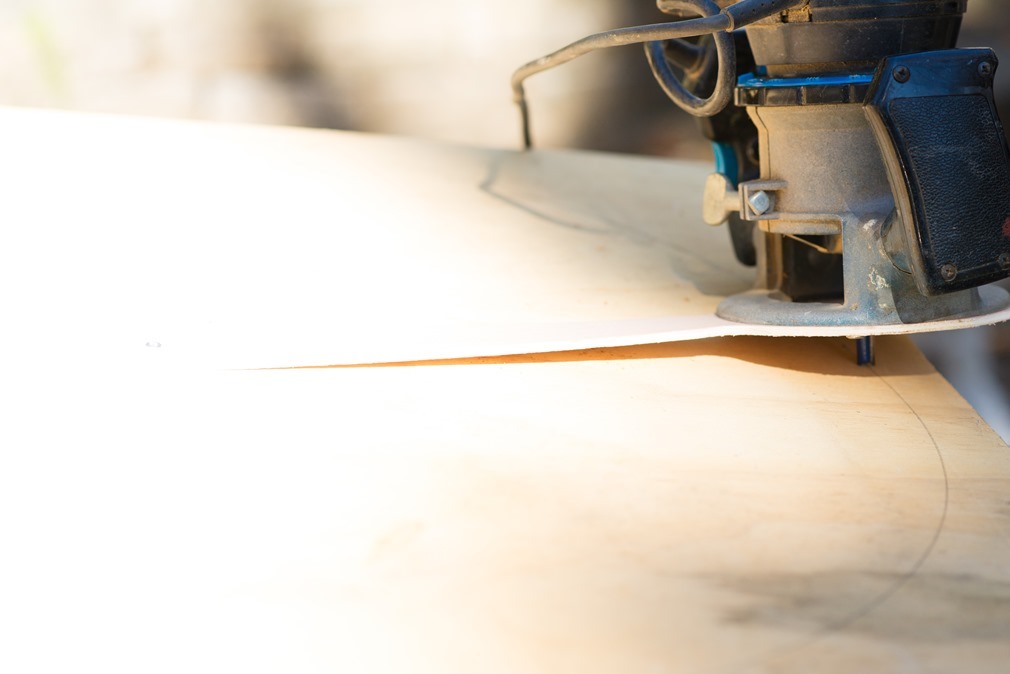
Next, you can either drill a pilot hole with a drill, or place the router at the point where you are going to start cutting, and drill down into the board so you are cutting into the board and at the starting point of the outer edge of your frame’s circle.
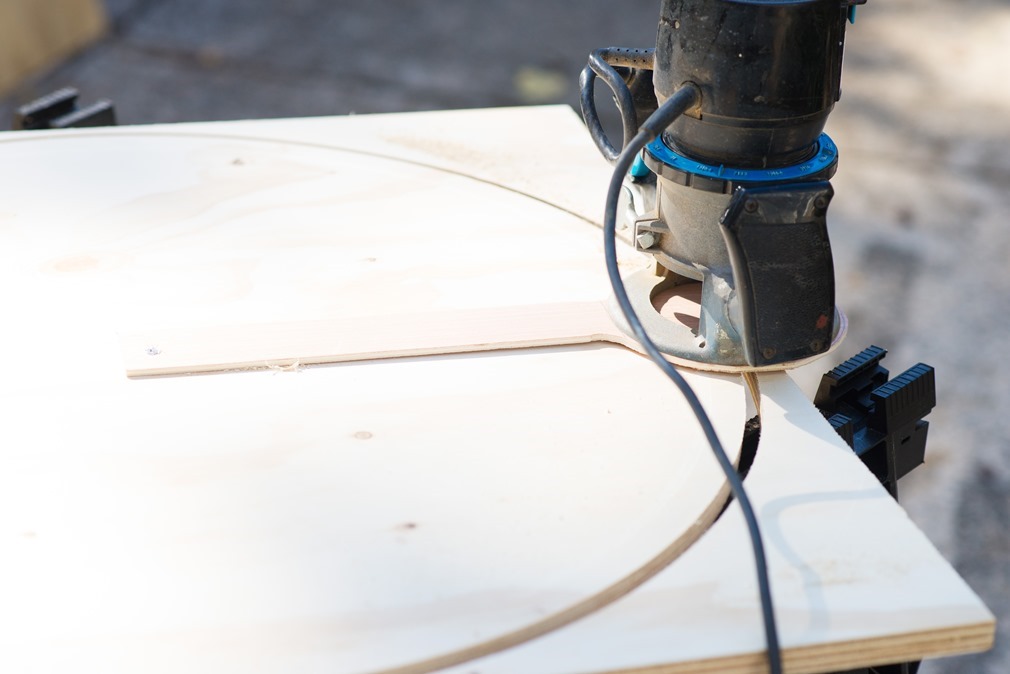
Next, push the router around the circle. The jig will hold it a perfect 14.5 inches away from the center.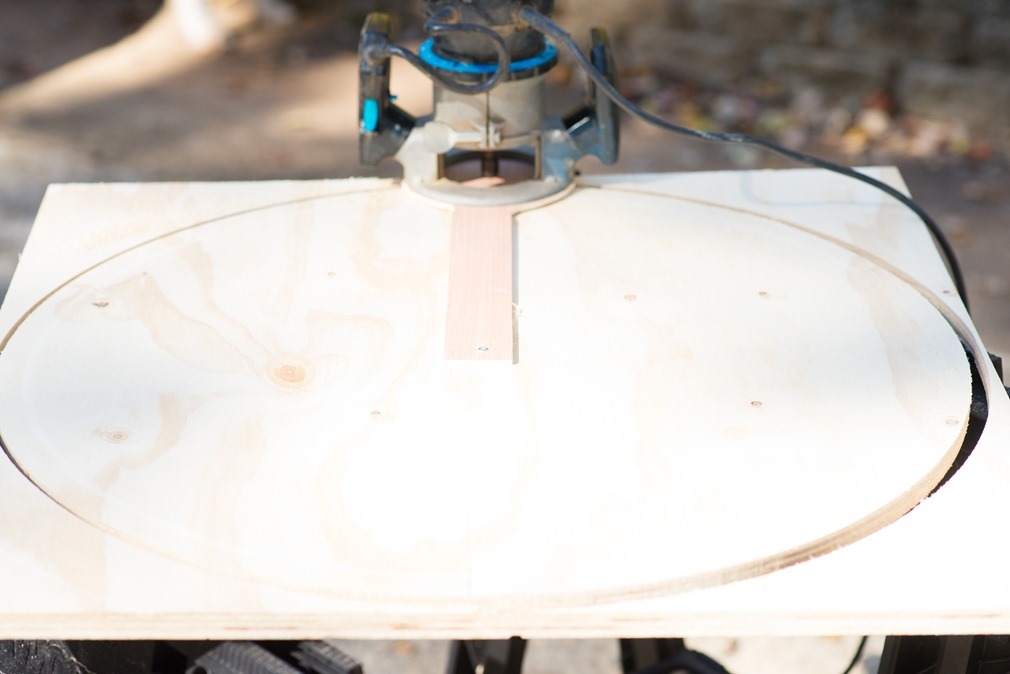
Once the outer edge of the frame is complete, you can shorter the jig to make the inner cut. I wanted our frame to be 3” wide, so we moved the screw 3” down the piece of plywood so that we now had an 11.5” radius.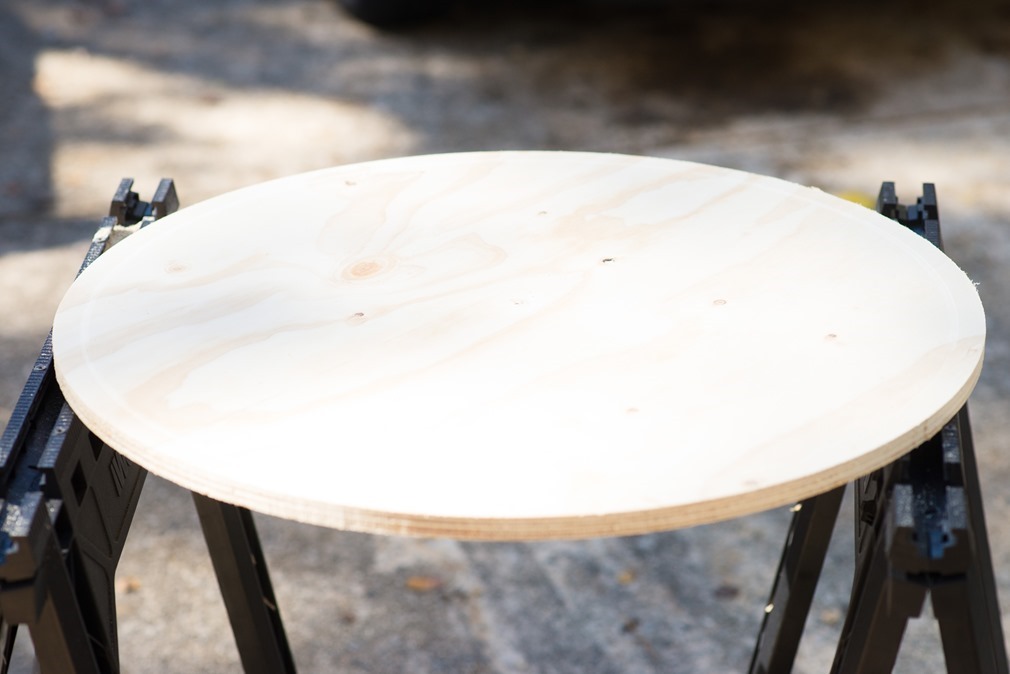
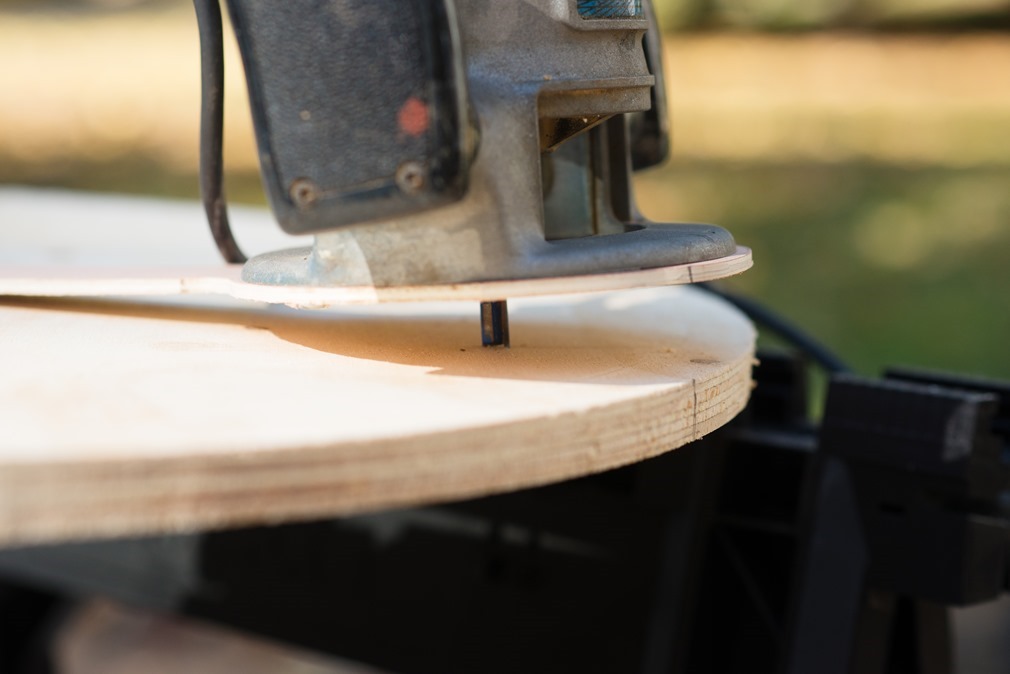
Just like you did before, drill the router down into the place where you would like to start, and then cut your inner circle. Your finished product will be a 29 inch around frame that is 3” wide.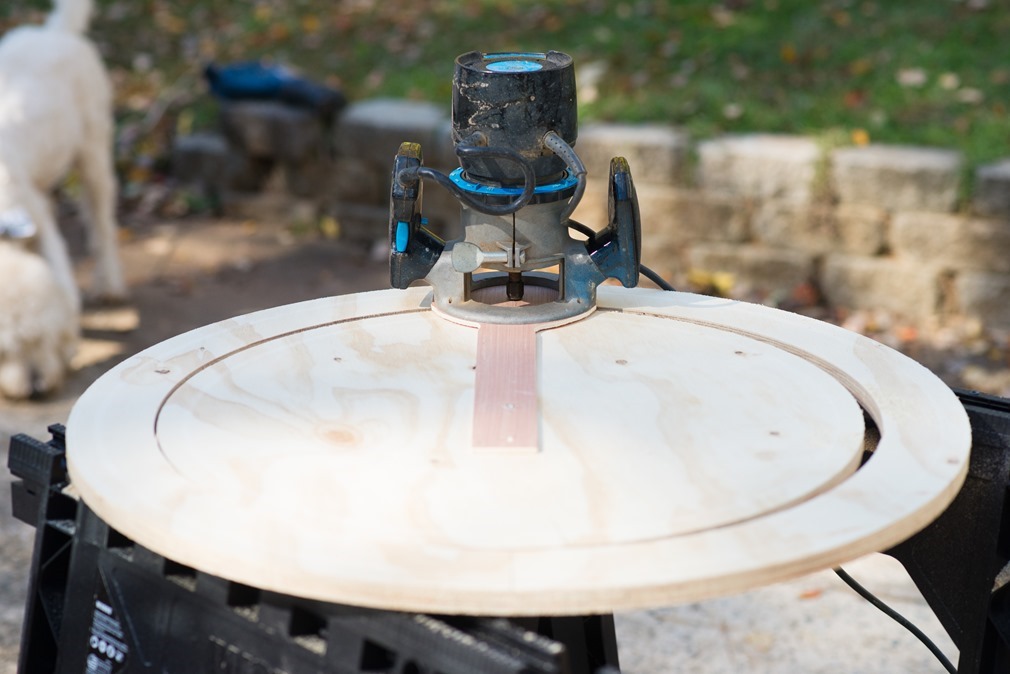
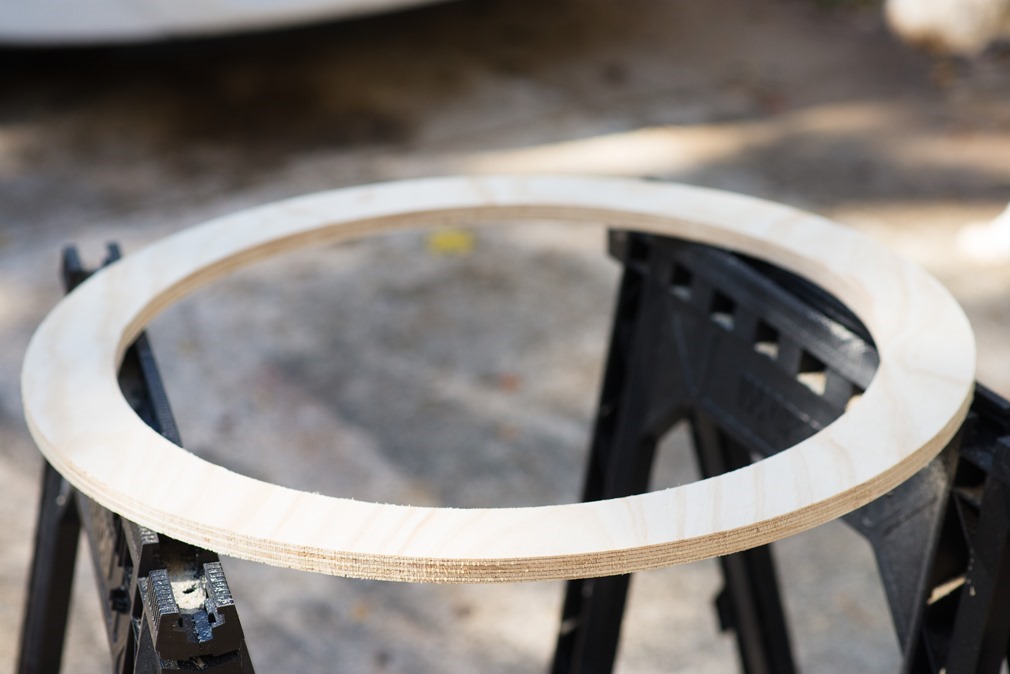
Once the board is all done being cut, sanded the edges with a fine grit sandpaper. Now you’re ready to stain! I always use a wood conditioner for an even tone on my wood. I used two coats of stain and let it dry. Make sure you stain both sides of the frame as you’ll see a small reflection of the backside of your board in the mirror just at the edges. While I was staining, I actually fell in love with the character of the backside of our wood. The router added a small groove that the stain took to really nicely and I decided to use that as the front of my mirror, but no matter which side you decide to hang out, stain them both!
Once the stain has dried, you can glue the frame to the mirror. You’re going to want to put Liquid Nails Mirror in a line around the mirror. Because my mirror had a slight bevel, we ran one line along the flat part and then more along the beveled edge. Press your mirror down and leave it for 48 hours. If you’re picky like me, make sure that the grain of your wood is lined up so that when it is hung, the grain will run horizontally and not at a weird diagonal or vertical.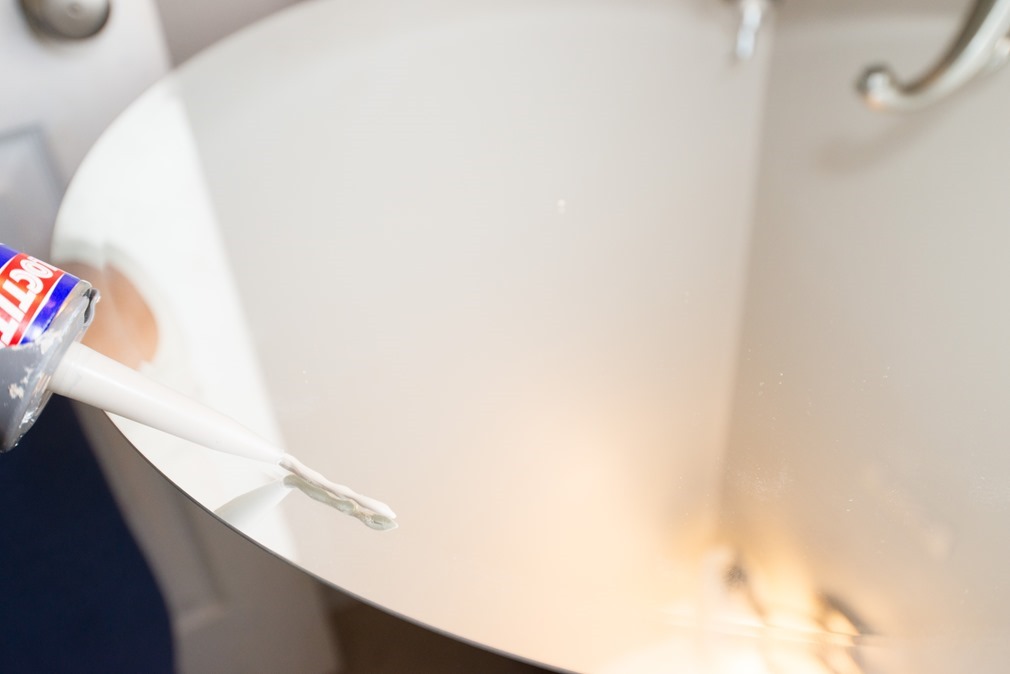
Last but not least, hang it up! We already had the hanging equipment installed, but if you don’t, you’ll need to make sure you hang it with the appropriate hangers for the weight of your mirror.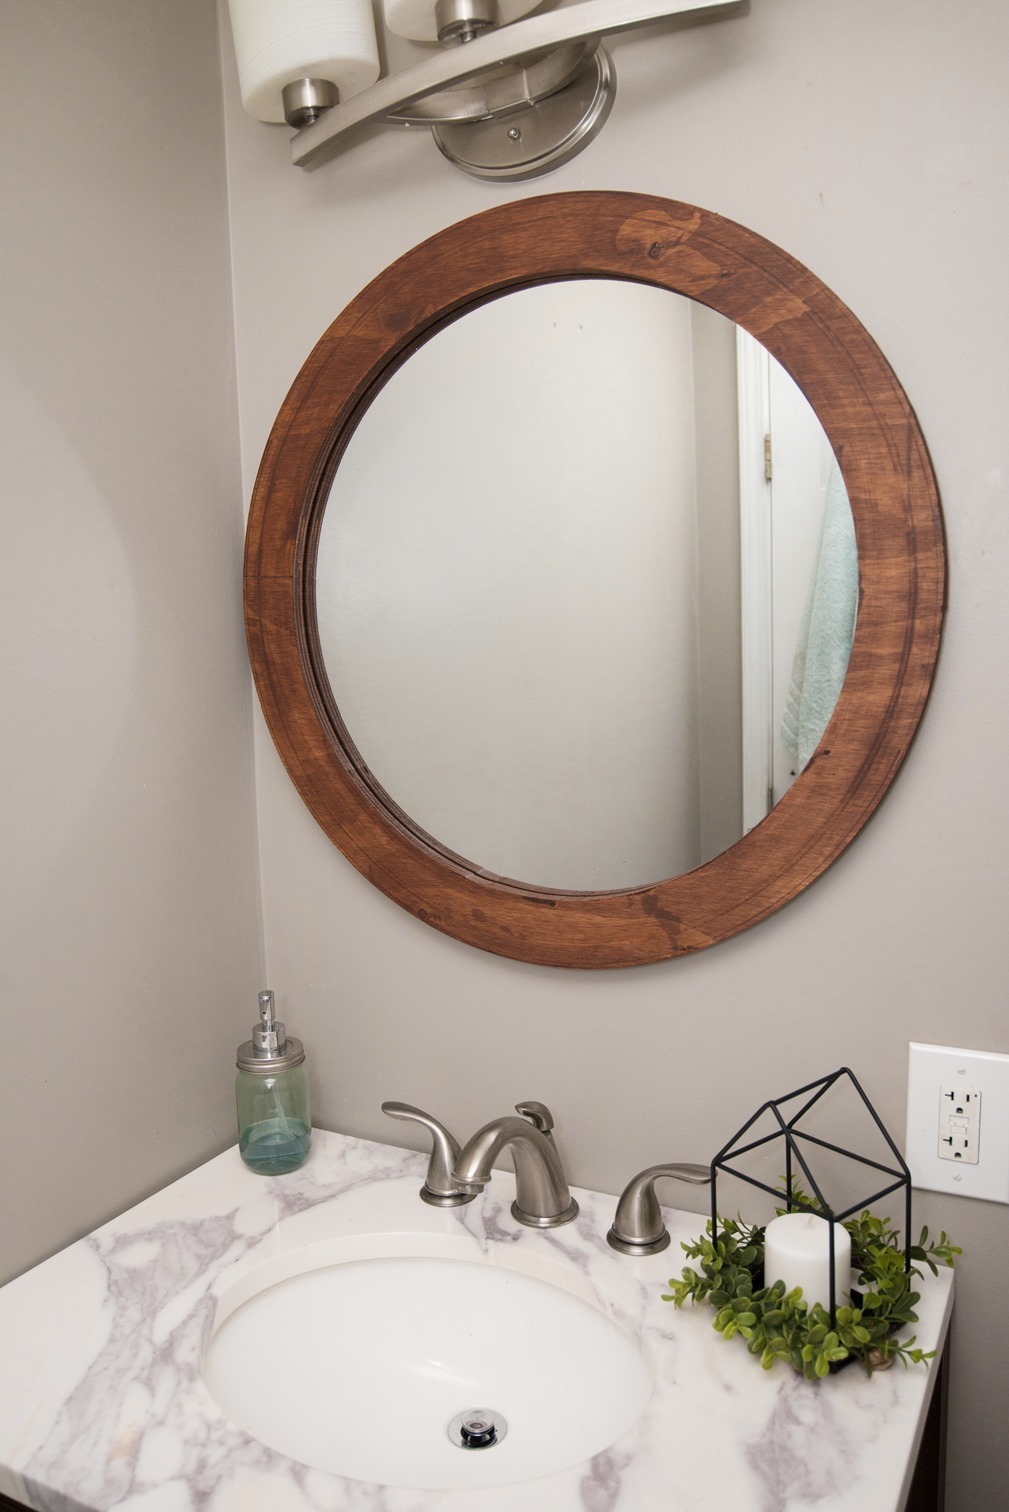
Ta-da! My bathroom just got a major upgrade, and for way less than I would have paid for an already framed mirror. With the holidays coming up, I like to get all the rooms ready for guest, including the guest bath, and I’m excited for this modern upgrade. Along with adding a new mirror, I’ve been adding a few hints of the holidays like greenery and candles as well as stocking up on must-haves like toiletries and toilet paper.
Last time I was at Family Dollar, I stocked up on Scott® ComfortPlus™ Toilet Paper, the 24 count packs. Scott ComfortPlus is tested for strength, but designed for comfort. It’s better than the competition (just like my DIY mirror) and is soft, strong, absorbent, thick, and clog-free. 
Scotts ComfortPlus used to be called Scott Extra Soft, but the new design is 3X stronger. From November 18 through the 25th, these packs will be on sale for $7.95 (instead of the regular $10 per pack). It’s a great time to stock up for the holidays! You can locate the Family Dollar store closest to you using this link.
To finish out my mini-bathroom makeover, I added some cute decorations I’ve picked up lately.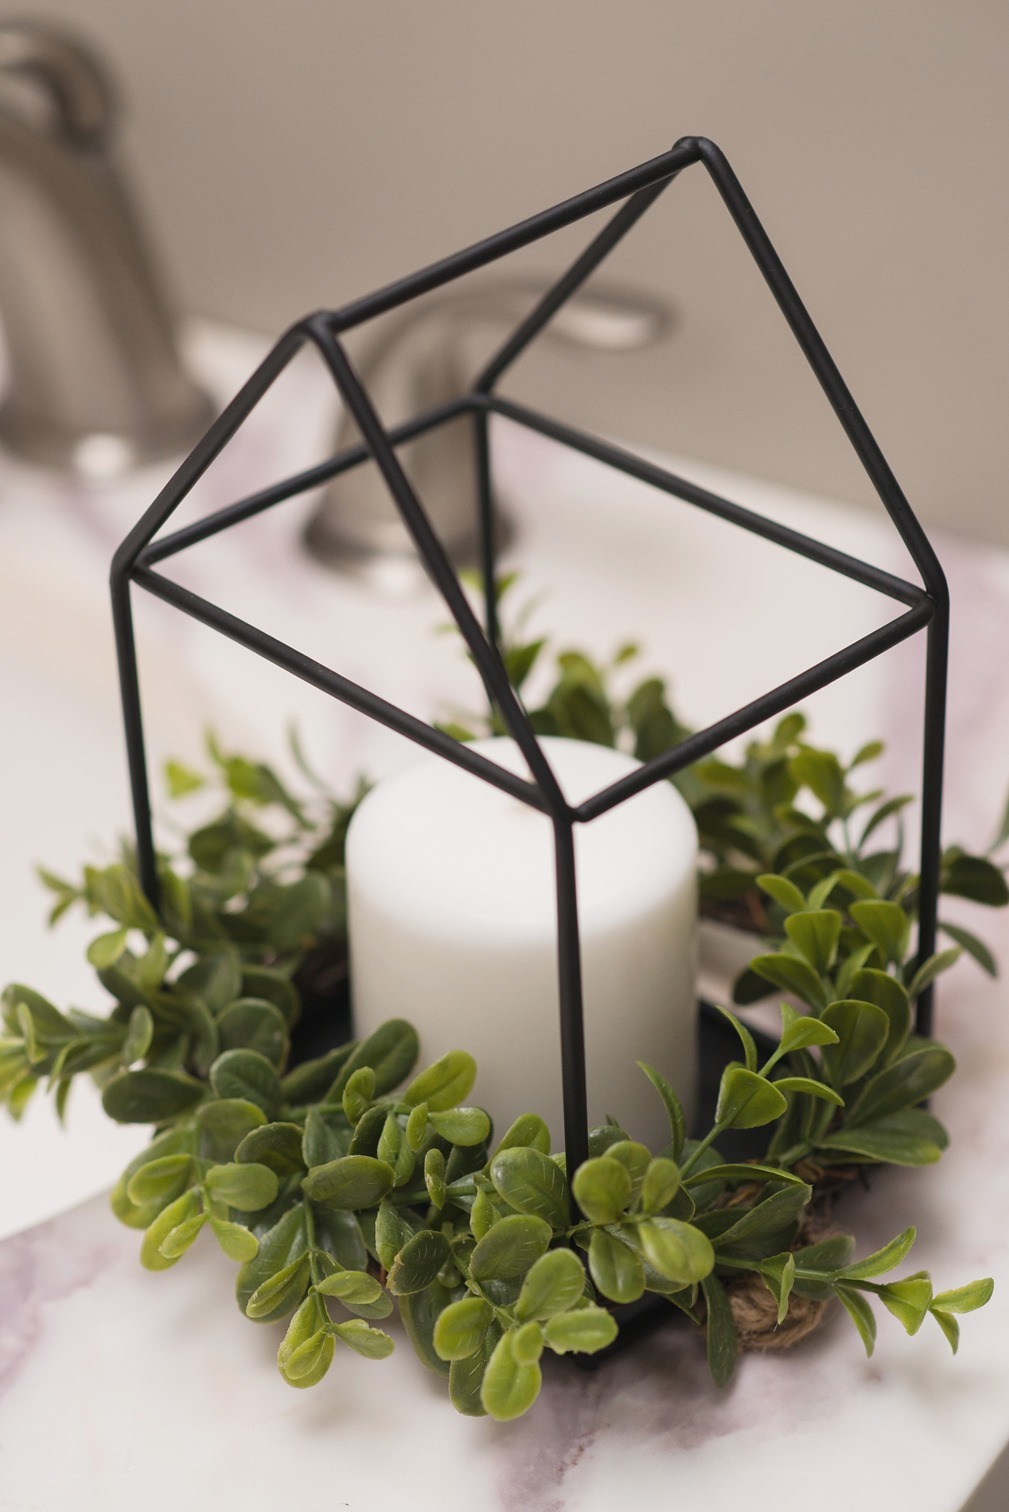
This cute tray holds the toilet paper on the back of the toilet. I don’t want guest coming in and not being able to find what they need! 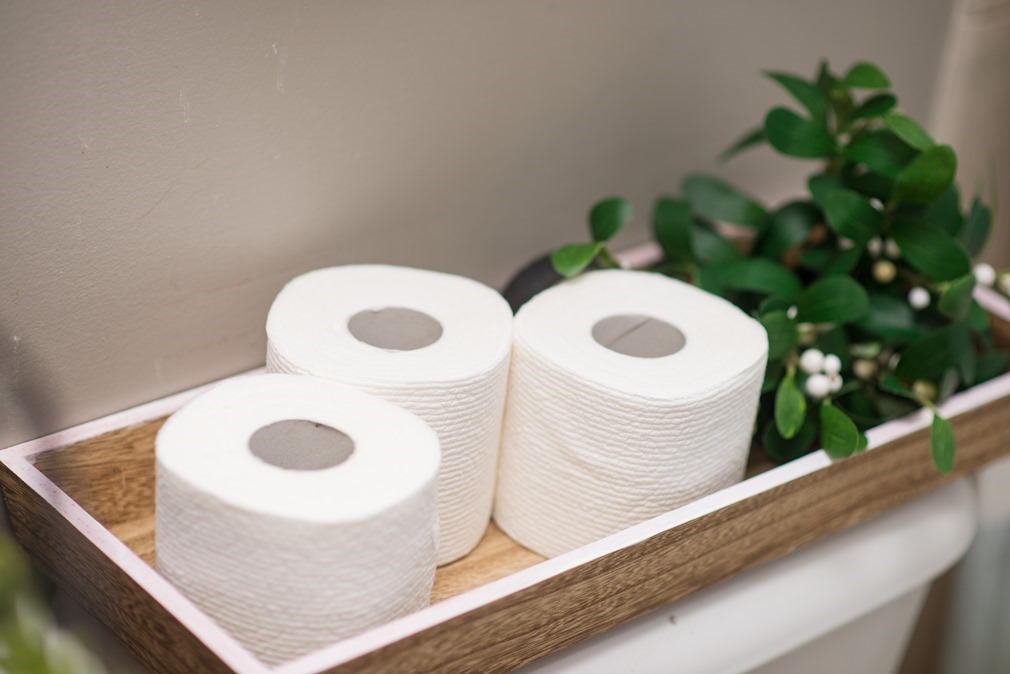
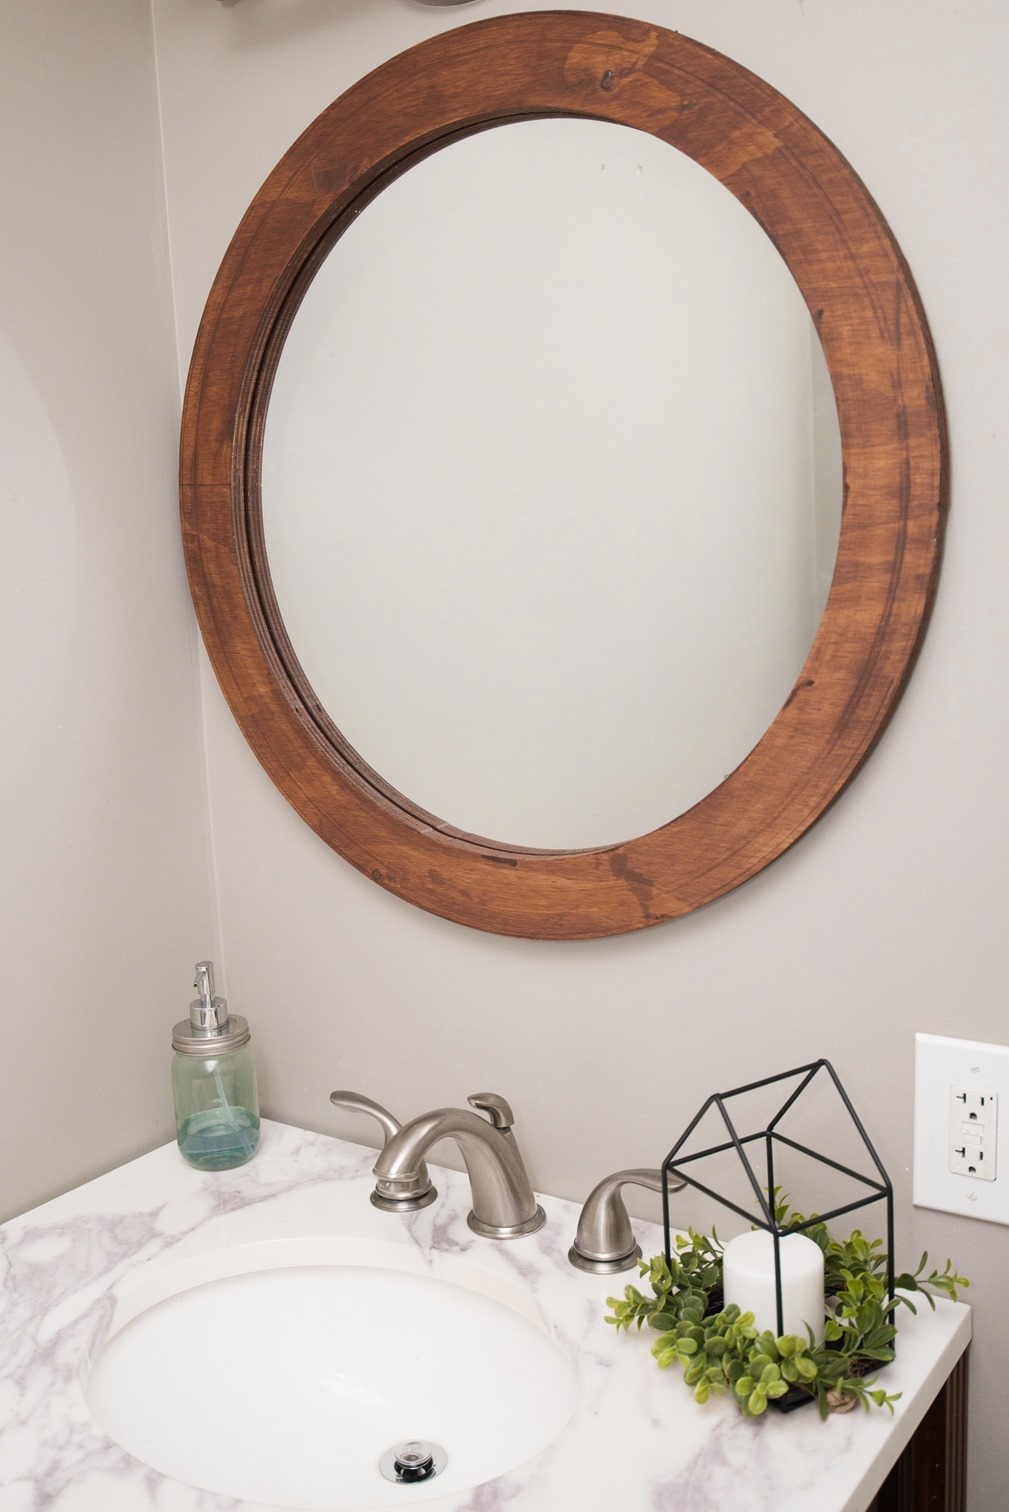
I can’t believe what a difference it has made having a pretty mirror in there! 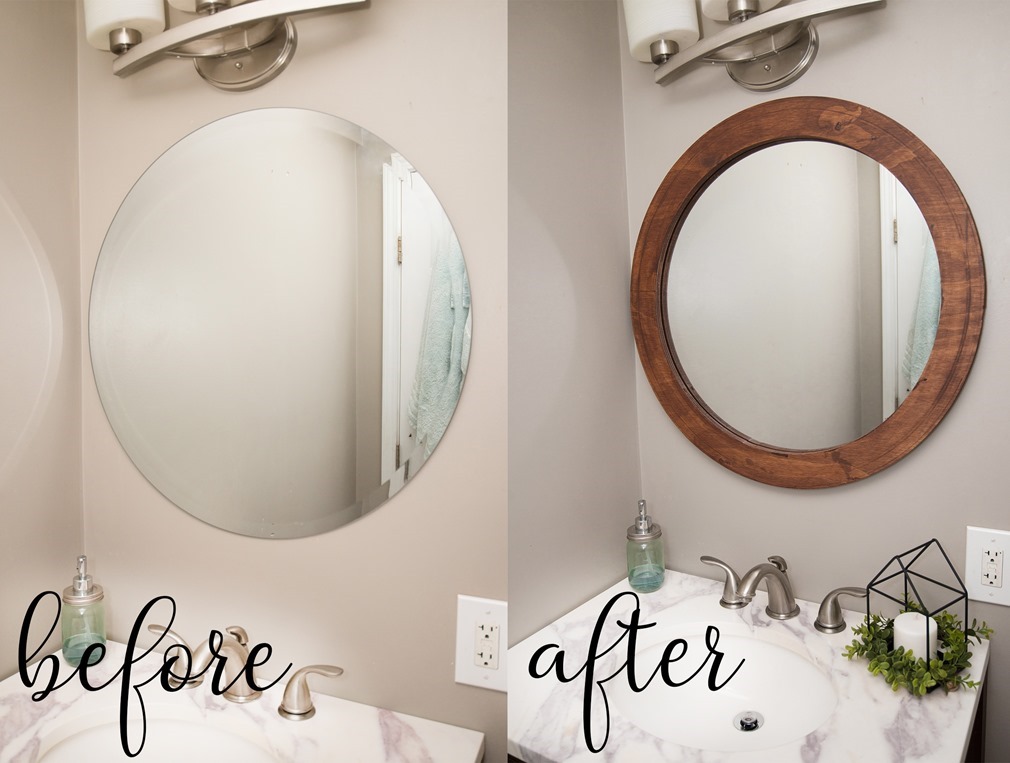
I hope you enjoyed this tutorial and I would love to see your work! Don’t forget to head to Family Dollar to stock up on Scott’s ComfortPlus Toilet paper for all your holiday guest!



Thanks for sharing this awesome Idea about Bathroom Design. It’s an amazing design. These round mirrors are really beautiful. I want to decorate my bathroom like this.