This post has been sponsored by Rubbermaid®. All thoughts and opinions are my own.
Today, I’m excited to share a great DIY project for those of you who have been looking to add a shed in your backyard. When we bought our house, it had a scary looking two-story storage shed that was on the verge of falling apart. We never stored anything in it and tore it down as soon as we had a chance. We had always wanted to add a more dependable storage space to our backyard and had looked at the sheds at the store many times. When we got a chance to get a Rubbermaid® Outdoor Storage Shed from Walmart, we were excited to add it to our backyard and wanted to build a foundation for it to sit on to keep it off the ground and make it fit in with our yard landscaping and outdoor living decor. There weren’t very many tutorials out there online for foundations or platforms for plastic storage sheds, so we made our own!
Supplies: The supply list will change depending on what size you choose to make your storage shed. We wanted ours to be just a hair larger than our shed, which is 7×7, but you’ll need to read through the instructions once first to determine how much wood you will need. You will definitely need concrete deck blocks, Pressure Treated 2×6’s (we used 9), 3” exterior wood screws, Pressure Treated Plywood, and Pressure Treated 2×4’s if you’re going to need a ramp.
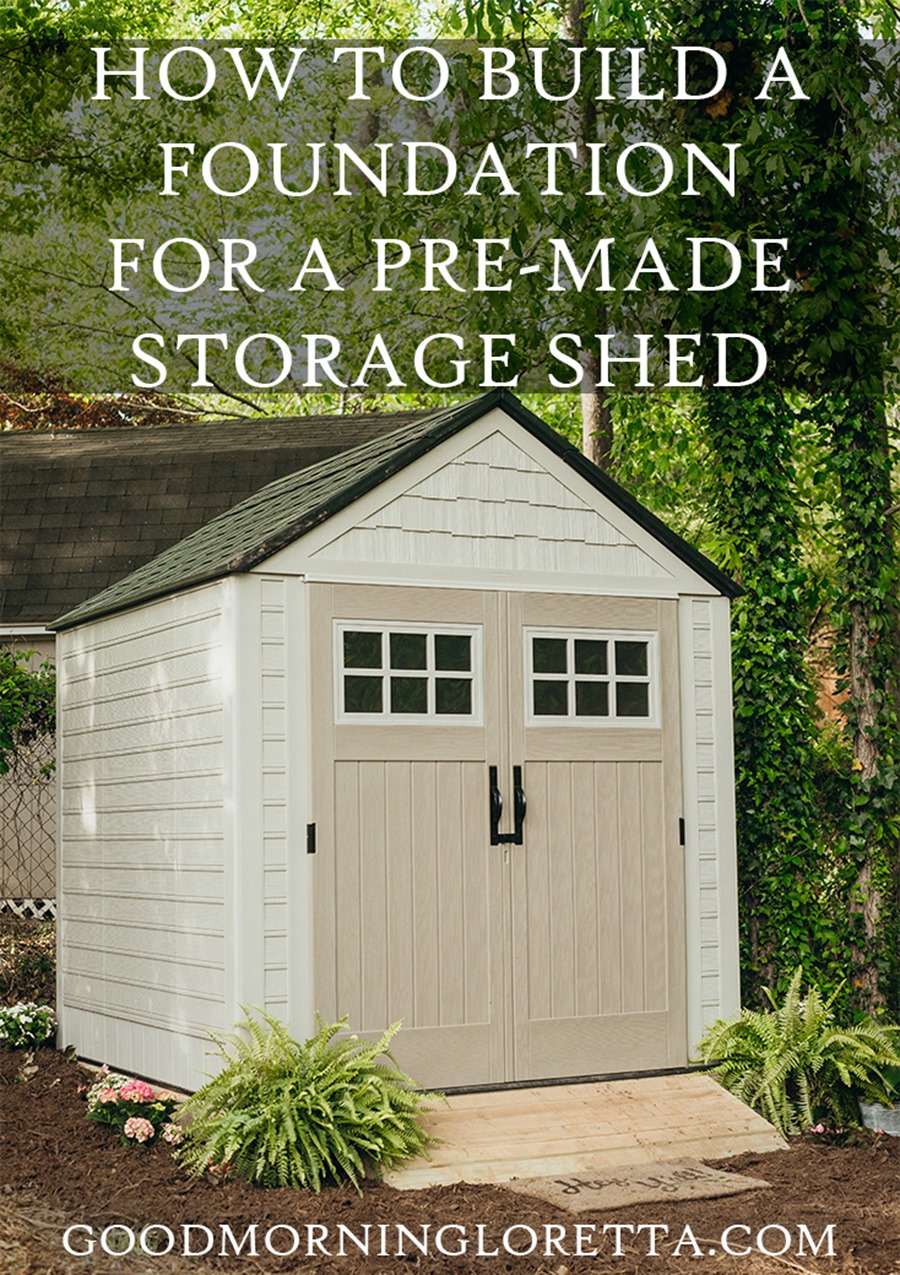
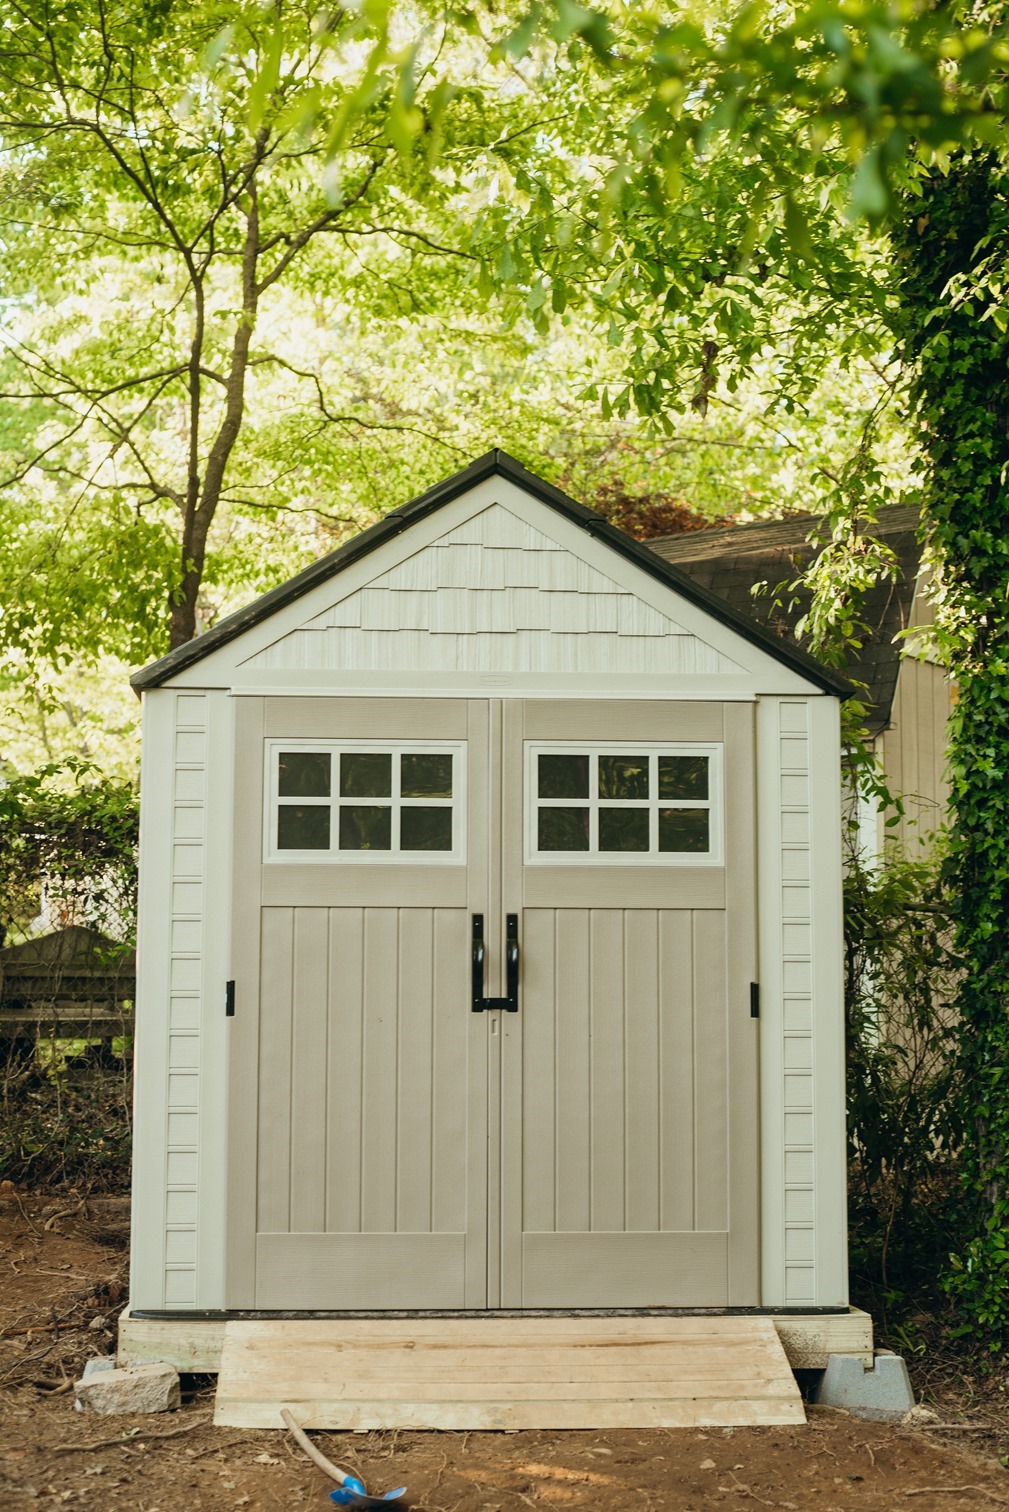
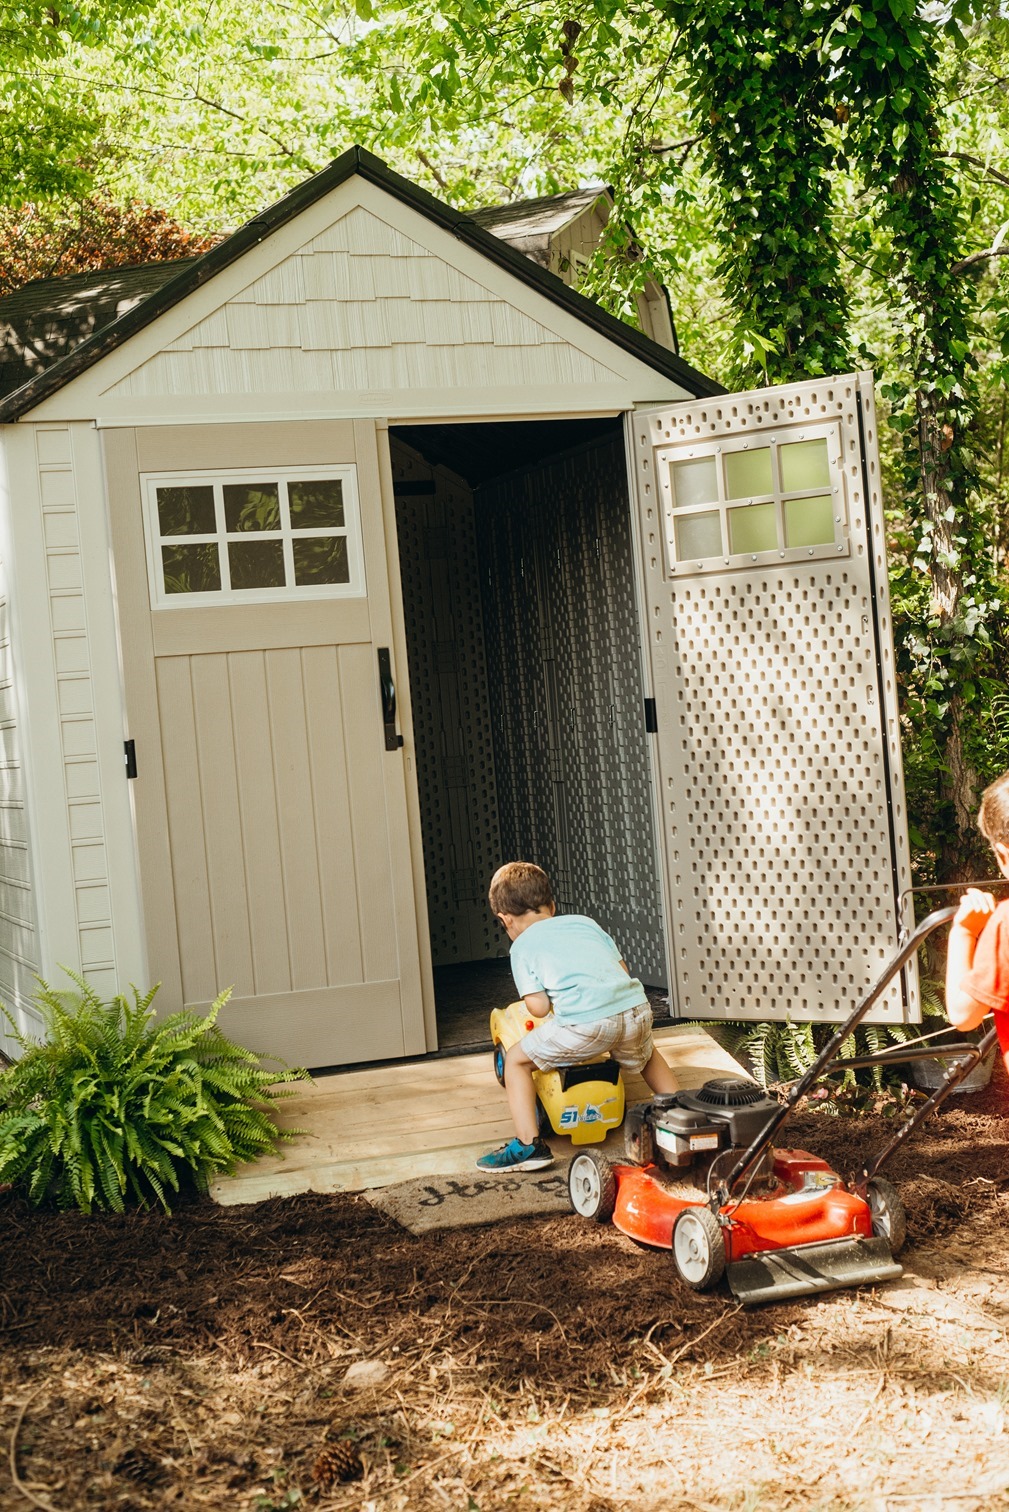
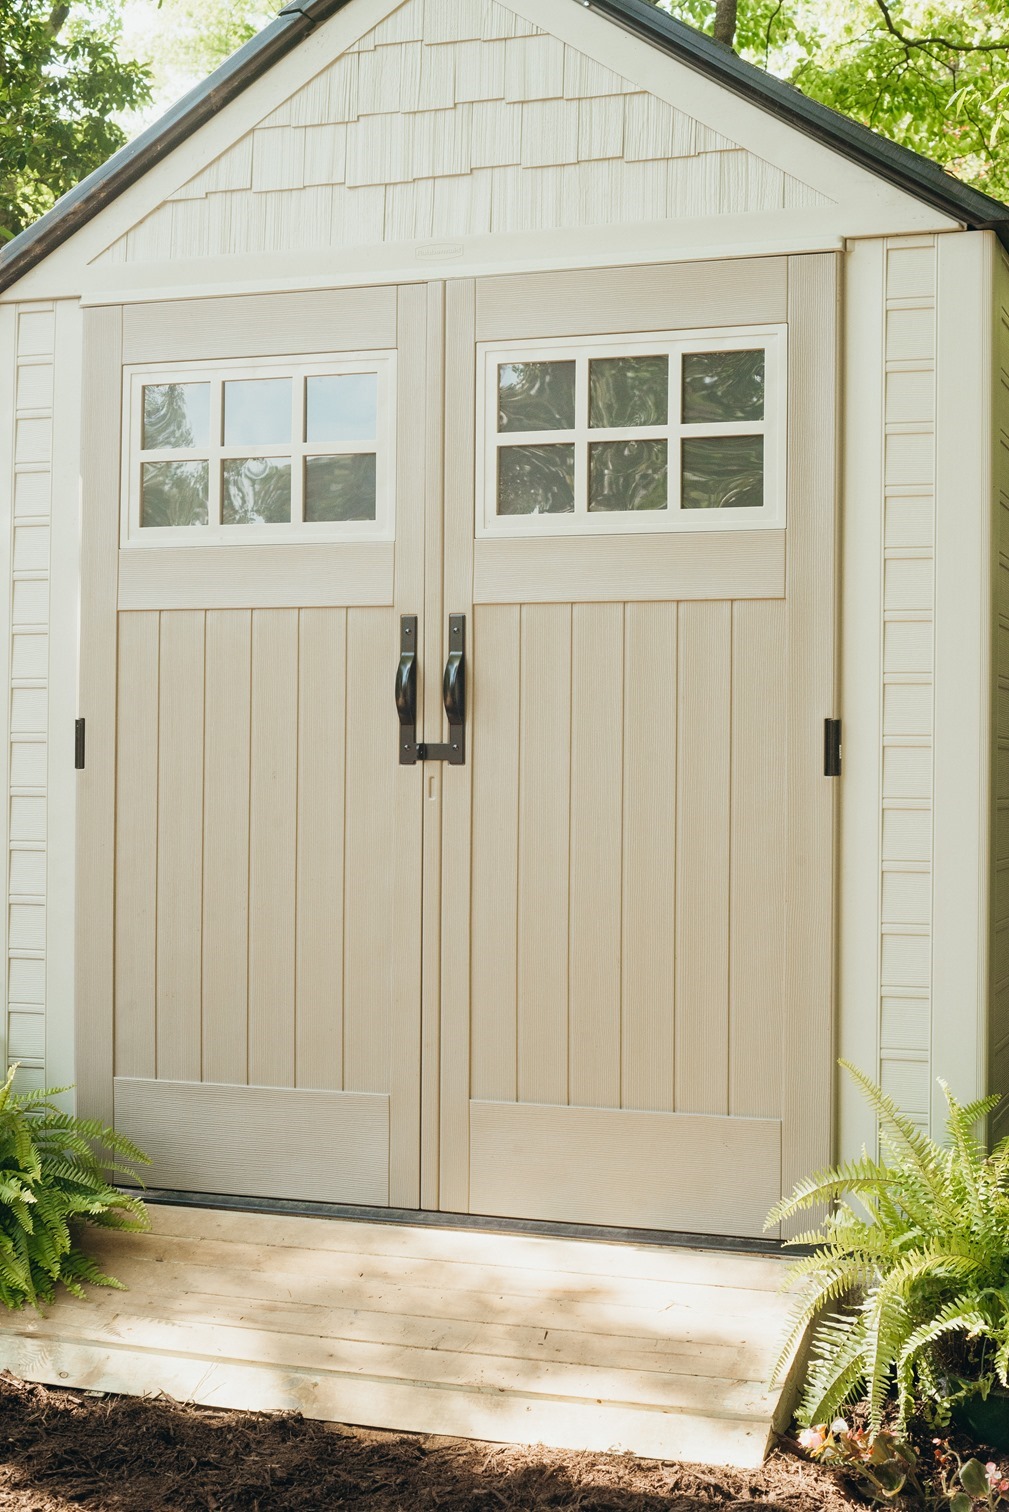
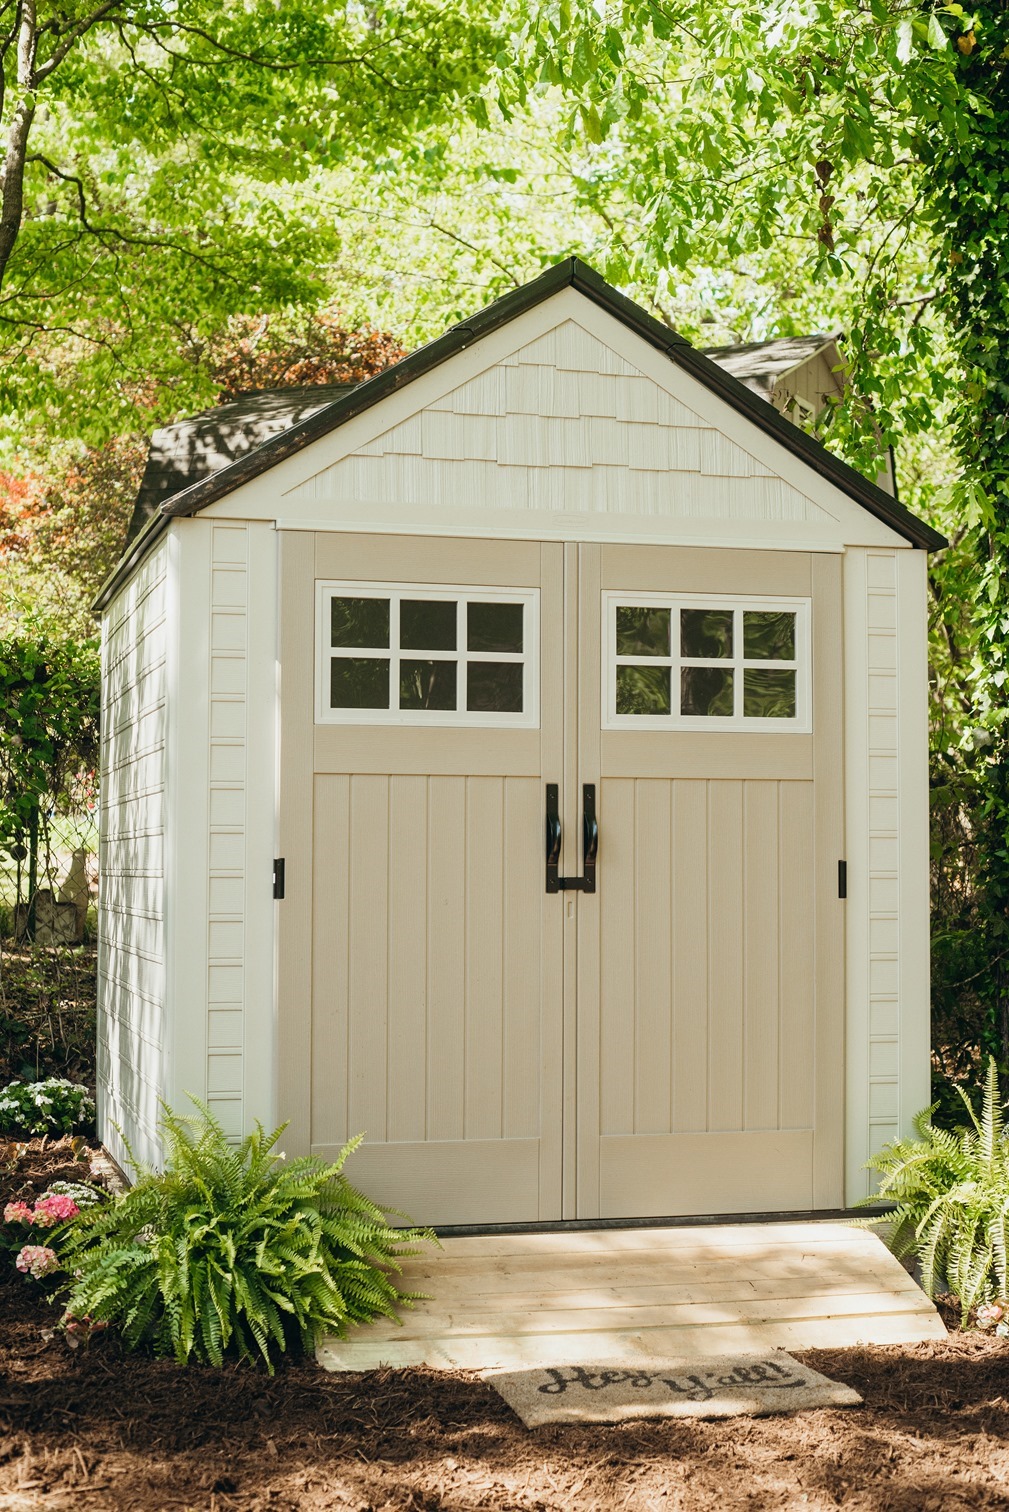
Most of all, you will need a shed! We got the Rubbermaid 7×7 Vertical Storage Shed from Walmart. This shed is the perfect size and fit for our family. The first thing I loved when I saw it was the shake shingle look and cute design. This shed is plenty roomy enough to fit our lawn mower and yard tools as well as the boys’ bikes and outdoor toys. It drives me crazy having the boys’ toys all over the yard, but we haven’t had enough room for them in the garage either. With the no-drill storage accessories, we will have plenty of places for hanging rakes and shovels plus all the kids’ outdoor toys.
One thing I love about plastic sheds is that they are easy to assemble and low maintenance once they are up! They are made to withstand weather, and the durable walls and security will keep our lawn mower and items out of the weather and protected from rain and sun. In case you aren’t already sold, check our how cute the sheds are over on the Walmart website. They are online only so if you love shopping online like I do, then you probably shop the Walmart website regularly. You’ll love being able to see all they have to offer and order at the click of a button!
Now that you’ve got your shed picked out, you’re ready to build a platform foundation to keep your shed off the ground. Although the Rubbermaid shed comes with a floor, our yard can be very wet during the rainy season. So we wanted to keep it off the ground and build a cute little area for it in our yard.
When gathering supplies, you’ll definitely need 2×6’s and 3” exterior wood screws. For our shed, we used 9 eight-foot 2x6s.
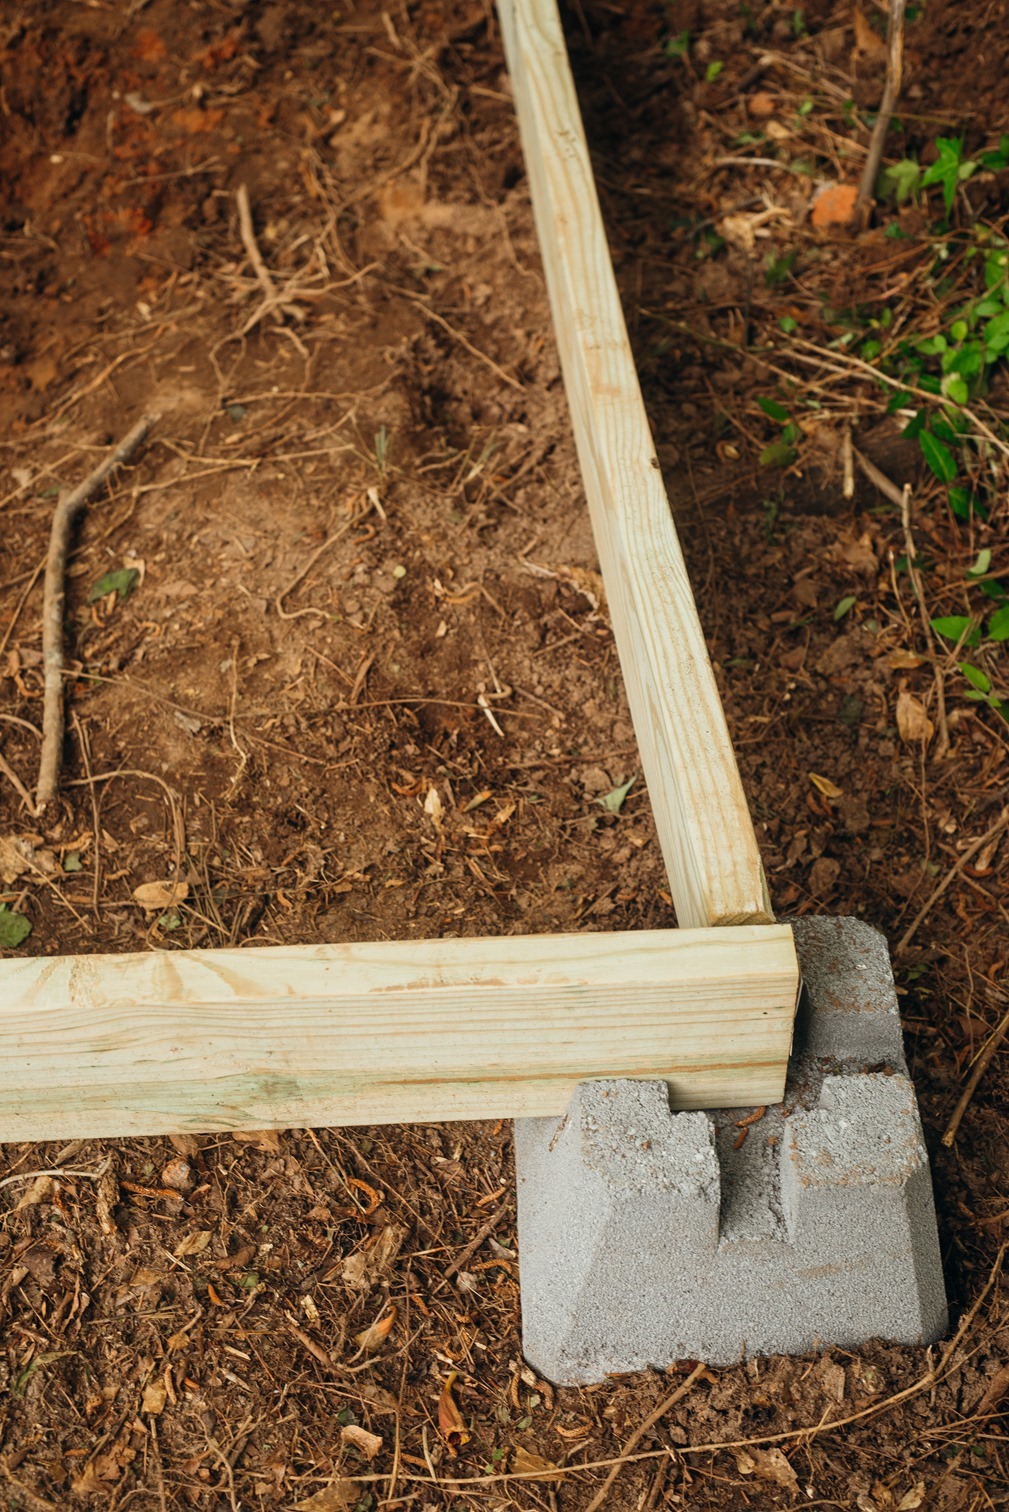
First up, put 4 deck blocks in the corners of where you want your shed to be (we’ll fine tune where they are at in a minute). Get the dimensions of the prefabricated shed you are building. Cut 2 2x6s to at least the width of the shed. (This will be the width of your foundation so if you want your foundation bigger than your shed, make the boards longer.) Get 2 more 2×6’s; these boards will need to be the depth of your shed, minus 3” (If you want your platform to be deeper than your shed, add the desired amount of inches.) So for a 7×7 shed, you would cut 2 2×6’s 7 feet each, and 2 2×6’s were cut to 81 inches.
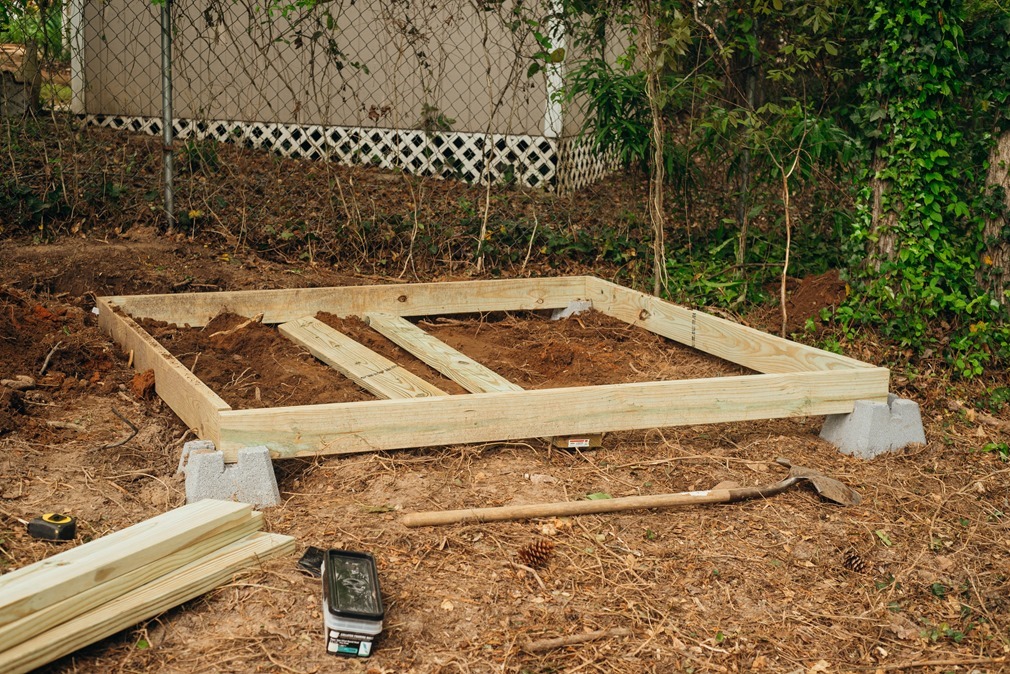
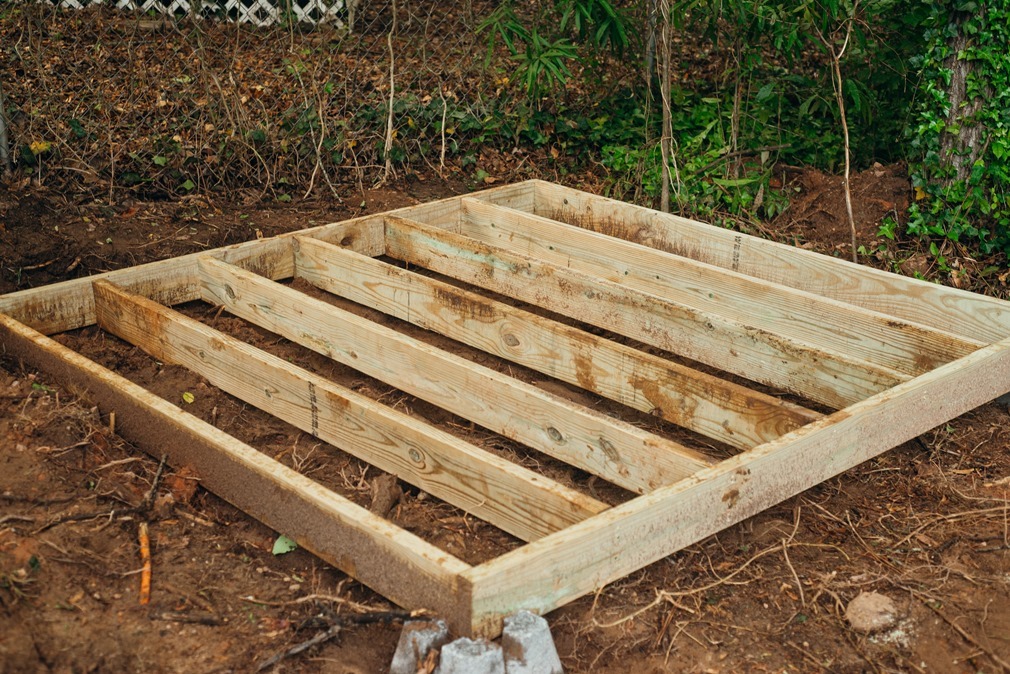
Now you’ll start really preparing the foundation. If you’re building a larger shed, you might need additional blocks in between but for our shed, we only needed four—one in each corner. Take the four boards that you have cut for the outer edges of your foundation and use them to lay out the boundary of your shed foundation. The deck blocks will ensure that your boards are nice and square
You’ll want your shed level. To do this, start with the block at the lowest elevation and dig out your other three corners to be level with that block. You might need to dig out the areas in between the blocks to ensure that your boards can sit flat on them. You can put the boards on top of them in their notches to set a level on to ensure that your entire platform is level. Once the blocks are in place and level with your four outer boards in place, nail or screw them together with a 3” nail or screw. We put two screws at each place where the boards met.
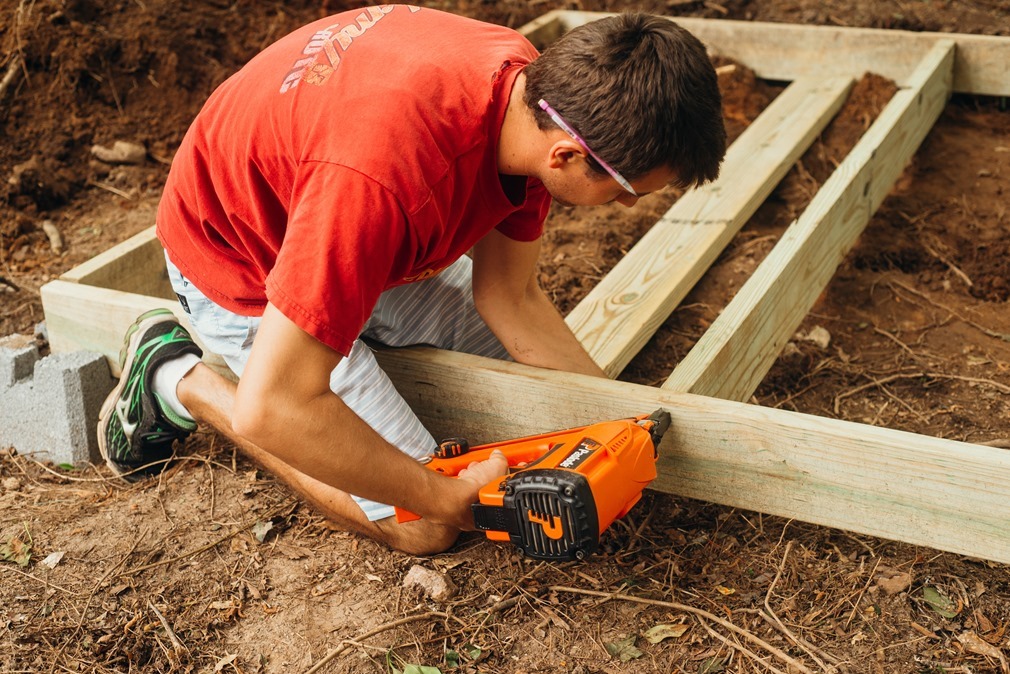
Next, you’ll cut your beams so they are ready. You’ll need to calculate how many beams you want to add to make your floor secure. We put our beams 14” apart. To find out how many beams you will need, take the width of your platform and divide it by 14 (or your desired distance between boards). That should tell you how many beams you will need. We used 5. Measure the distance from your front board to your last one and cut your beams to fit inside it.
Next, we measured out the equal increments for the beams to go, marked them, and screwed them in place with two screws (nails will work, too, but you should use three or four if you are nailing).
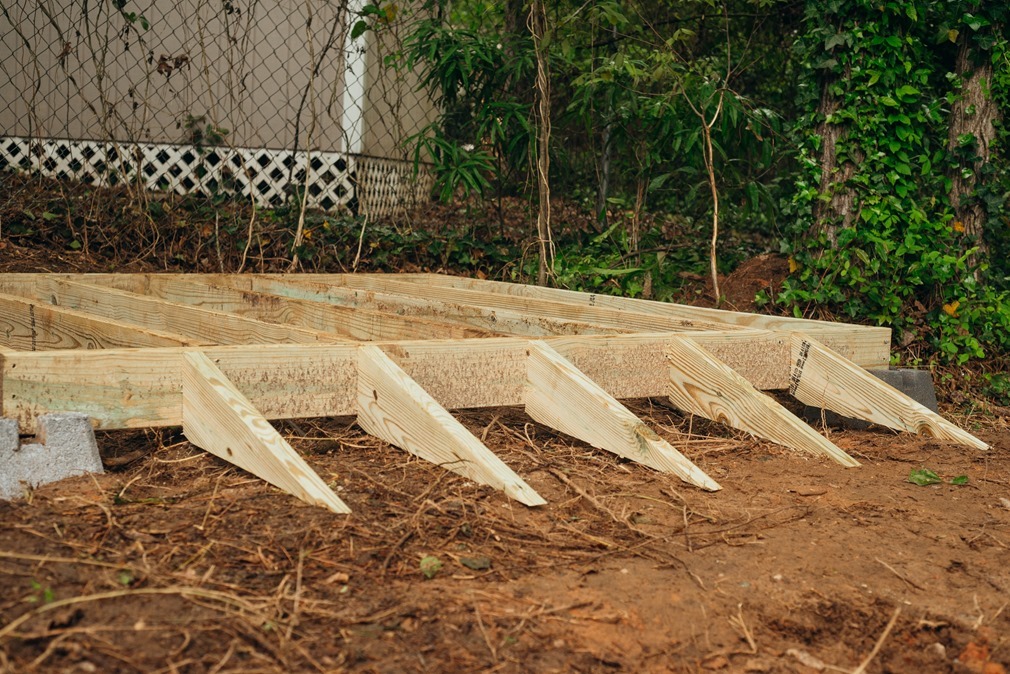
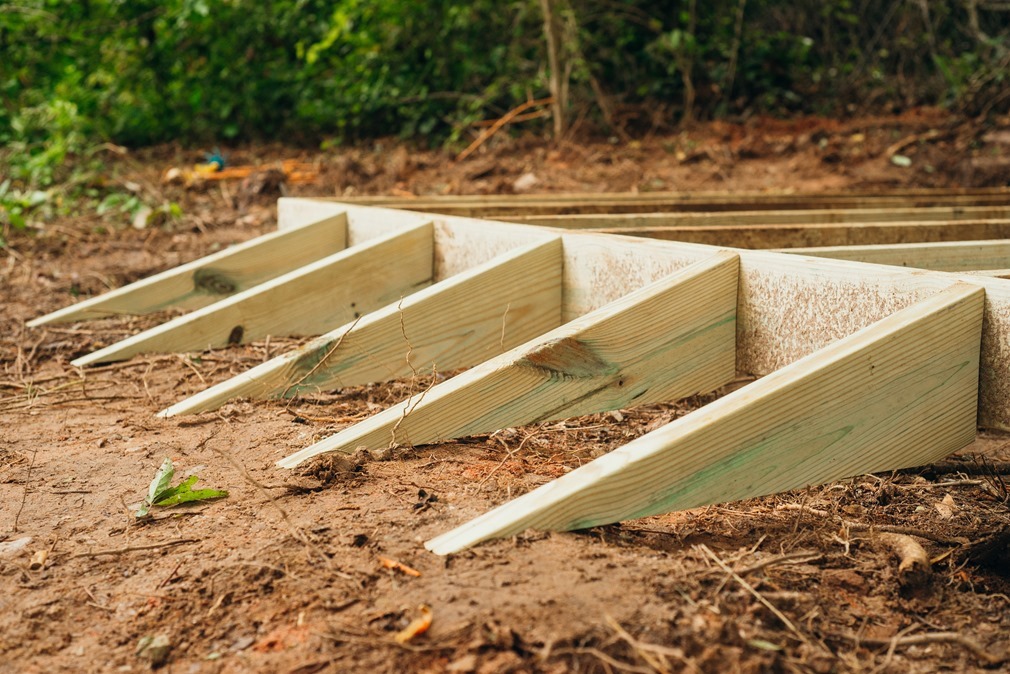
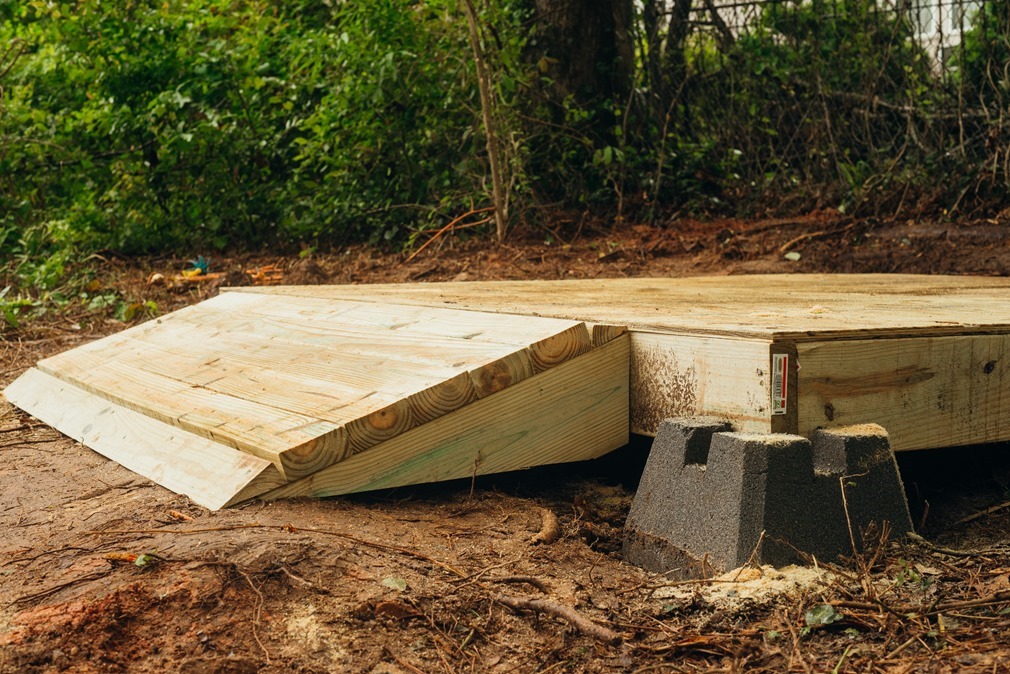
If your shed needs a ramp, this is when you’ll want to add it. First, we used some of the dug out dirt to make the area in front of the shed level. Then, we measured the width of the door for our shed, which was 61”, and marked where the door would be on our front beam. We then divided the width of the door to see how many supports we would need on the ramp (we used 14” again). We used 5 boards as the beams for the ramp.
Decide how steep you need or want your ramp and what length you want it to be. We decided that a 75 degree angle was a good angle for our ramp and that we wanted it about 2.5 feet long. One end of your board will go against the shed. The end of your board needs to be cut at 75 degrees using a miter saw (which is the 15 degree mark on a miter saw). Measure two feet from the longest point of the board, mark it, and you will then cut a 15 degree cut so that the board will sit flat on the ground. This number will be different depending on how high your shed is off the ground and how long you decide to make your ramp. No matter what your measurements, to make the ramp sit flat, your two angles will always equal 90 degrees (how’s that for a geometry lesson?).
Once you have all the boards in place, you can screw them from the inside of the shed foundation into your front beam.
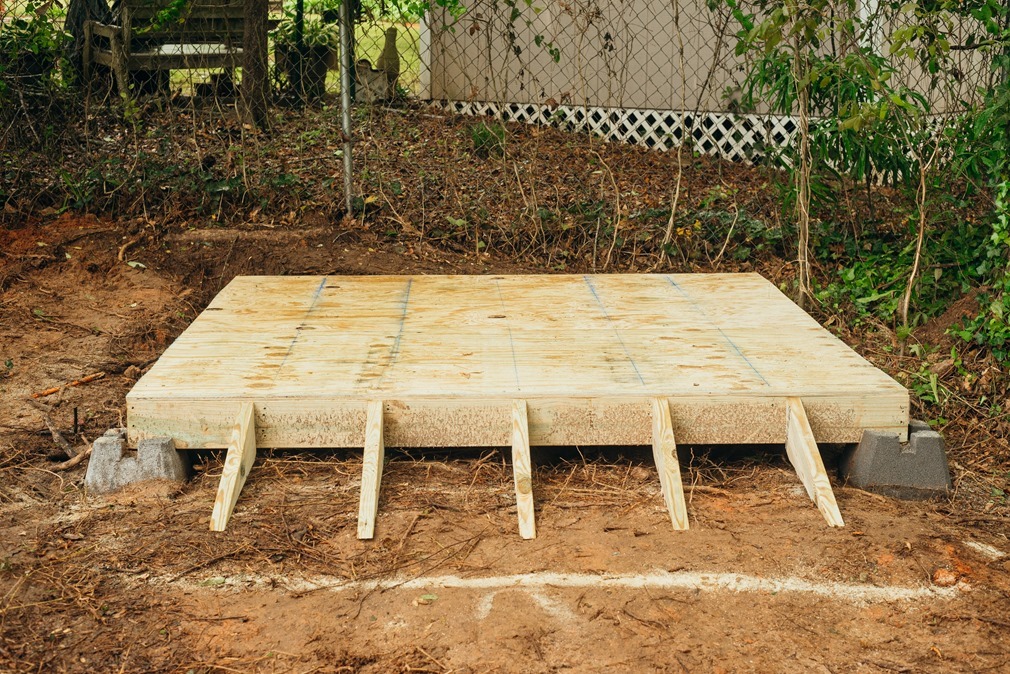
Next, we put one 4×8 sheet of pressure treated plywood lined up with the back corner, marked how much excess there was with a chalk line, and cut off the excess. We then put it back in place and nailed it to the boards it crossed in three places per beam. Next, take your second sheet of plywood (if you need one depending on the size of your shed) and lay it down, mark the excess, cut it, and nail it in place.
Finally, we will be adding the top of the ramp. First, you’ll want to cut 2x4s to the width of your ramp. It took seven 2x4s for our ramp.
Because we didn’t want my ramp to start 2 inches off the ground and end 2 inches above the floor of the shed, we needed to angle the first and last board. We screwed all the boards but these two in first. Brando used a table saw to rip the first board diagonally end to end. The top board took a little more figuring out, so we laid the board in its place, drew a line down the length of it at the height of the deck floor, and ripped the board from that line to the opposite top corner with a table saw. Once the boards are ready, you can nail them all into place!
Then, we built the shed! Most of it, Brandon was able to actually do by himself. But, there were a few parts that took both of us. It was pretty easy to assemble, but it did take an afternoon. Now that our shed was up, it was time to fill it!
Our yard looks so much better without the kids’ toys everywhere, and our lawn equipment will last longer now that it’s out of the elements and put away. We’ve wanted this for so long, and getting a Rubbermaid Shed made it so easy to add so much storage space to our yard.
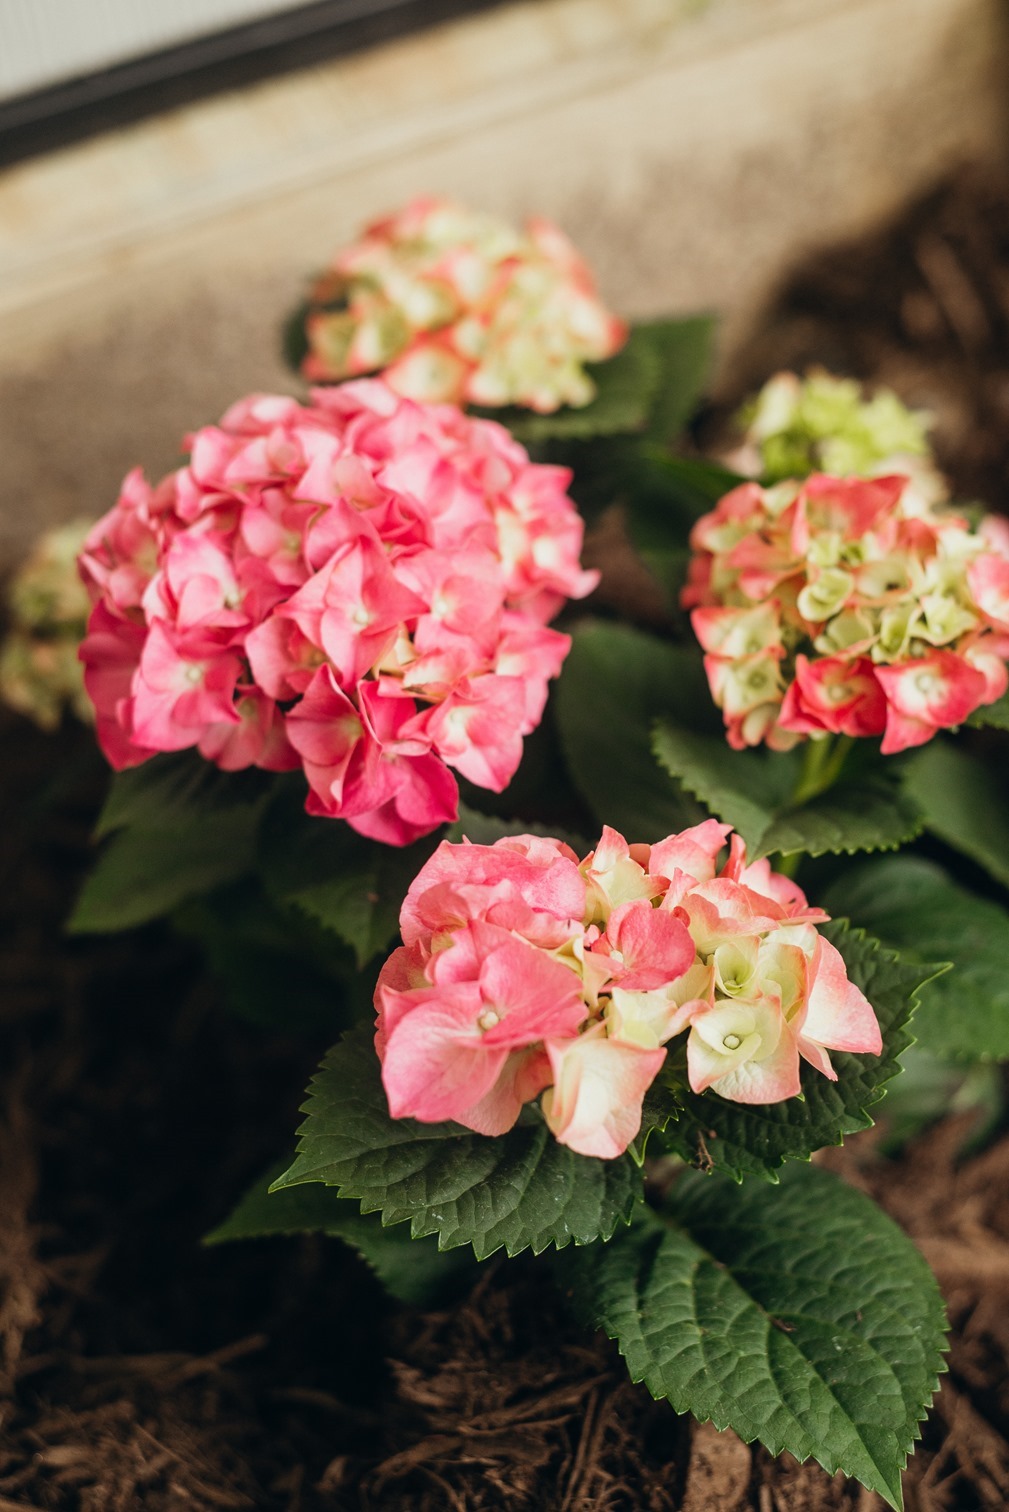
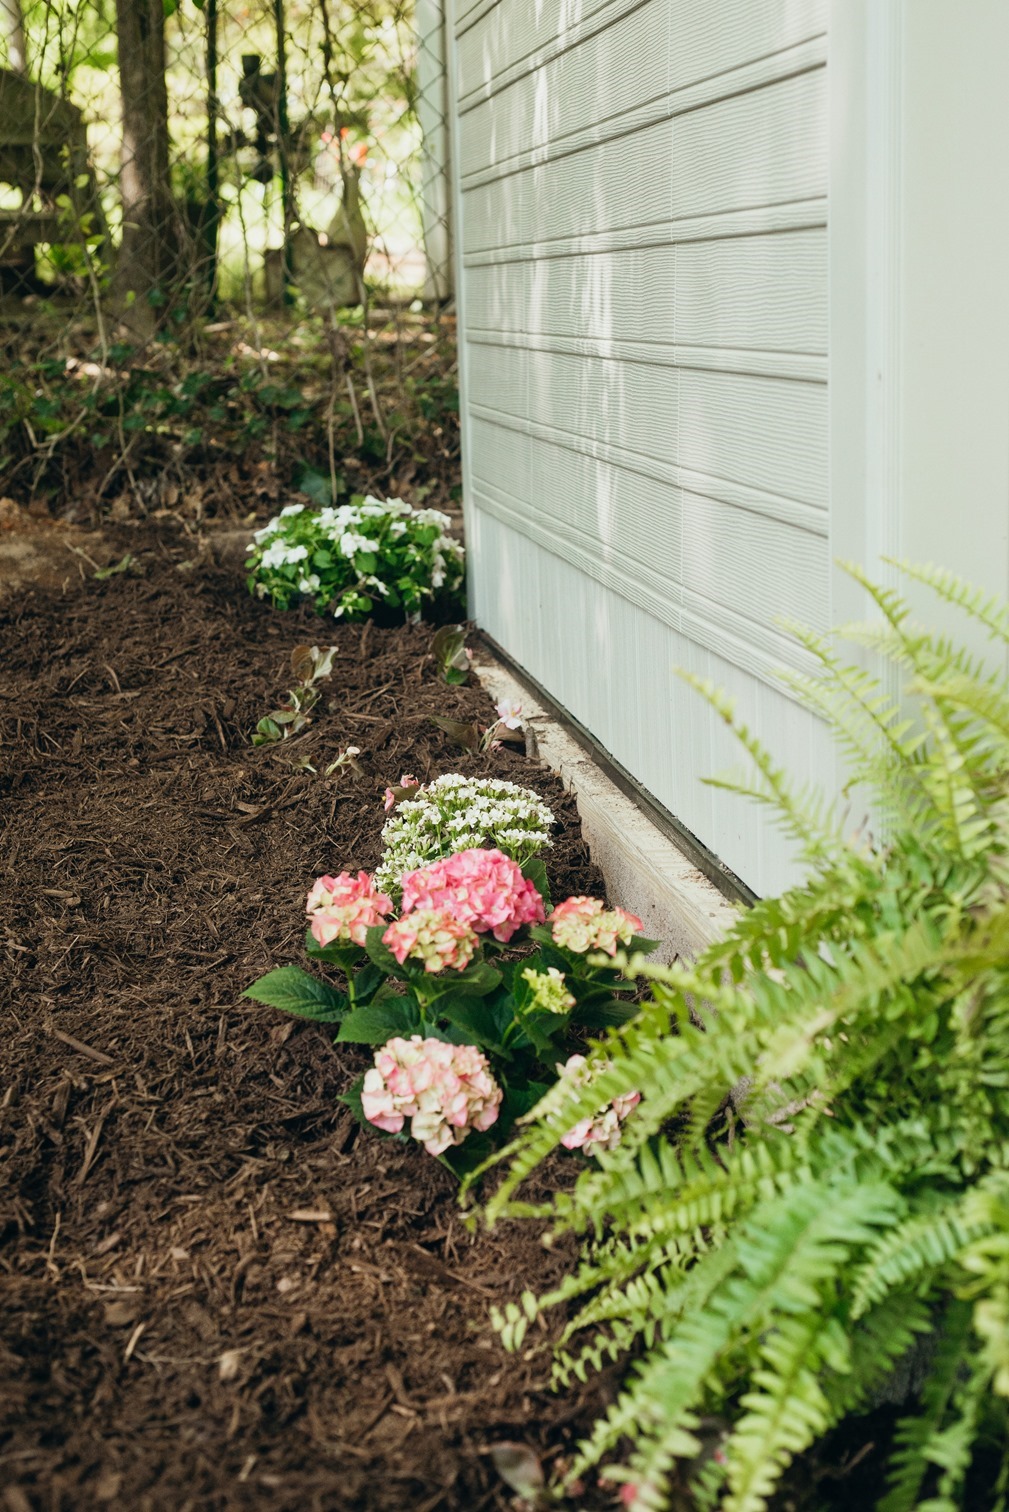
For the sake of being extra (because why not?), I really wanted our shed to fit in with our existing lawn decor and landscaping. We added a few pretty plants along the side and mulched around our shed. Our long-term plan is to grass seed where the mulch ends so our yard will go right up to the shed, but it will have pretty flowers around it when these ones grow a little more!
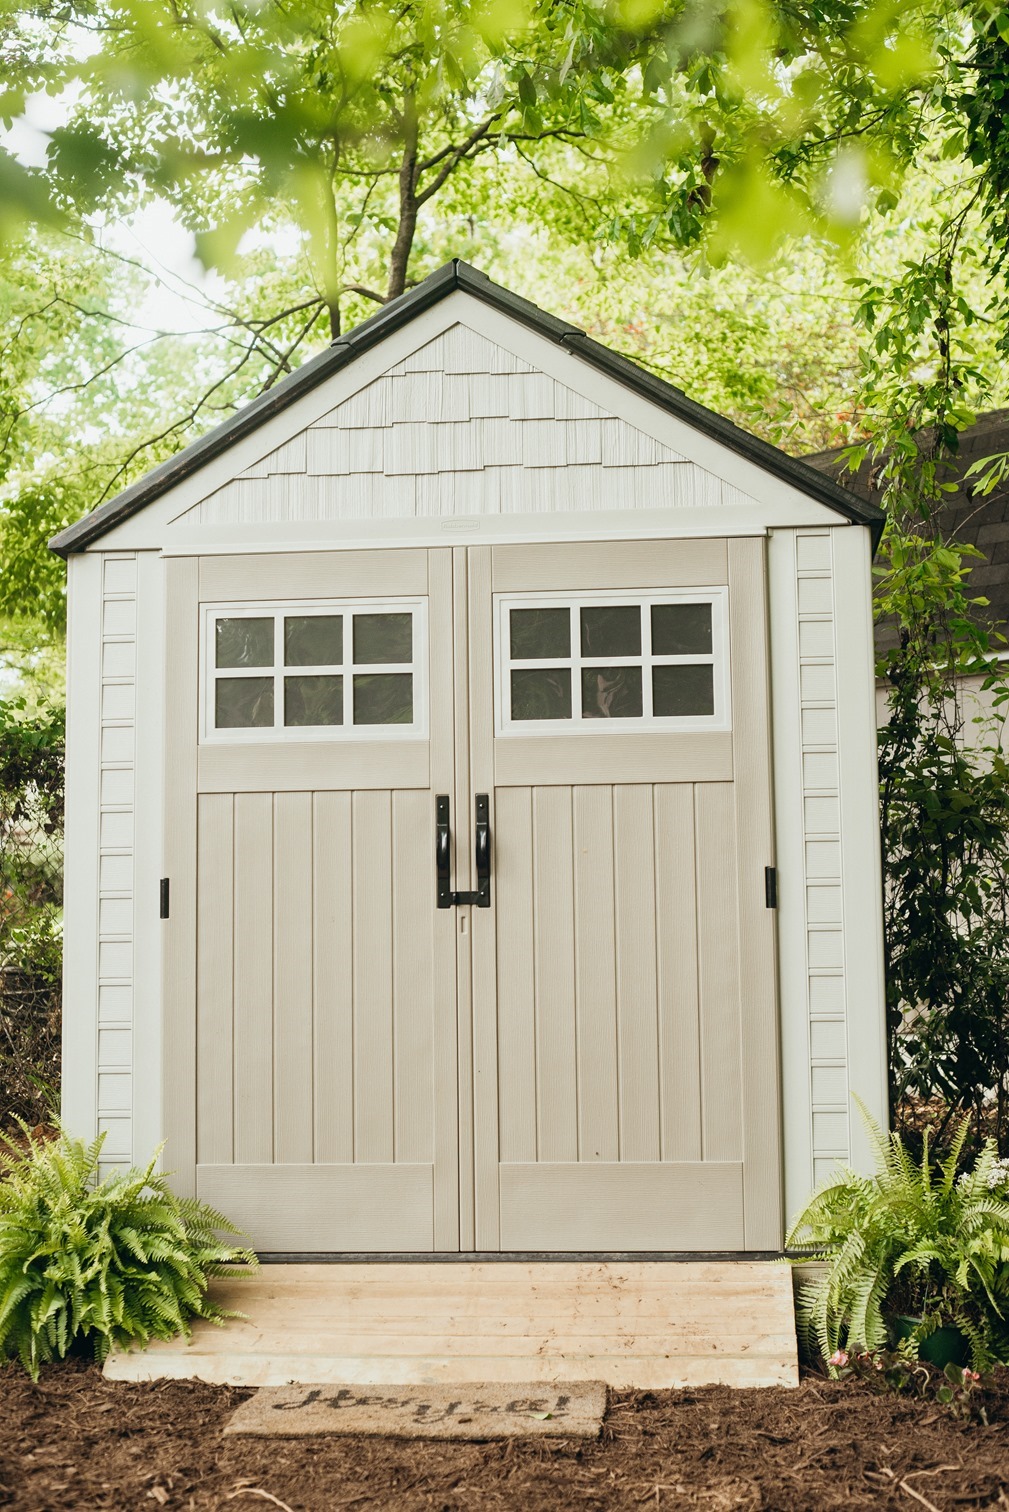
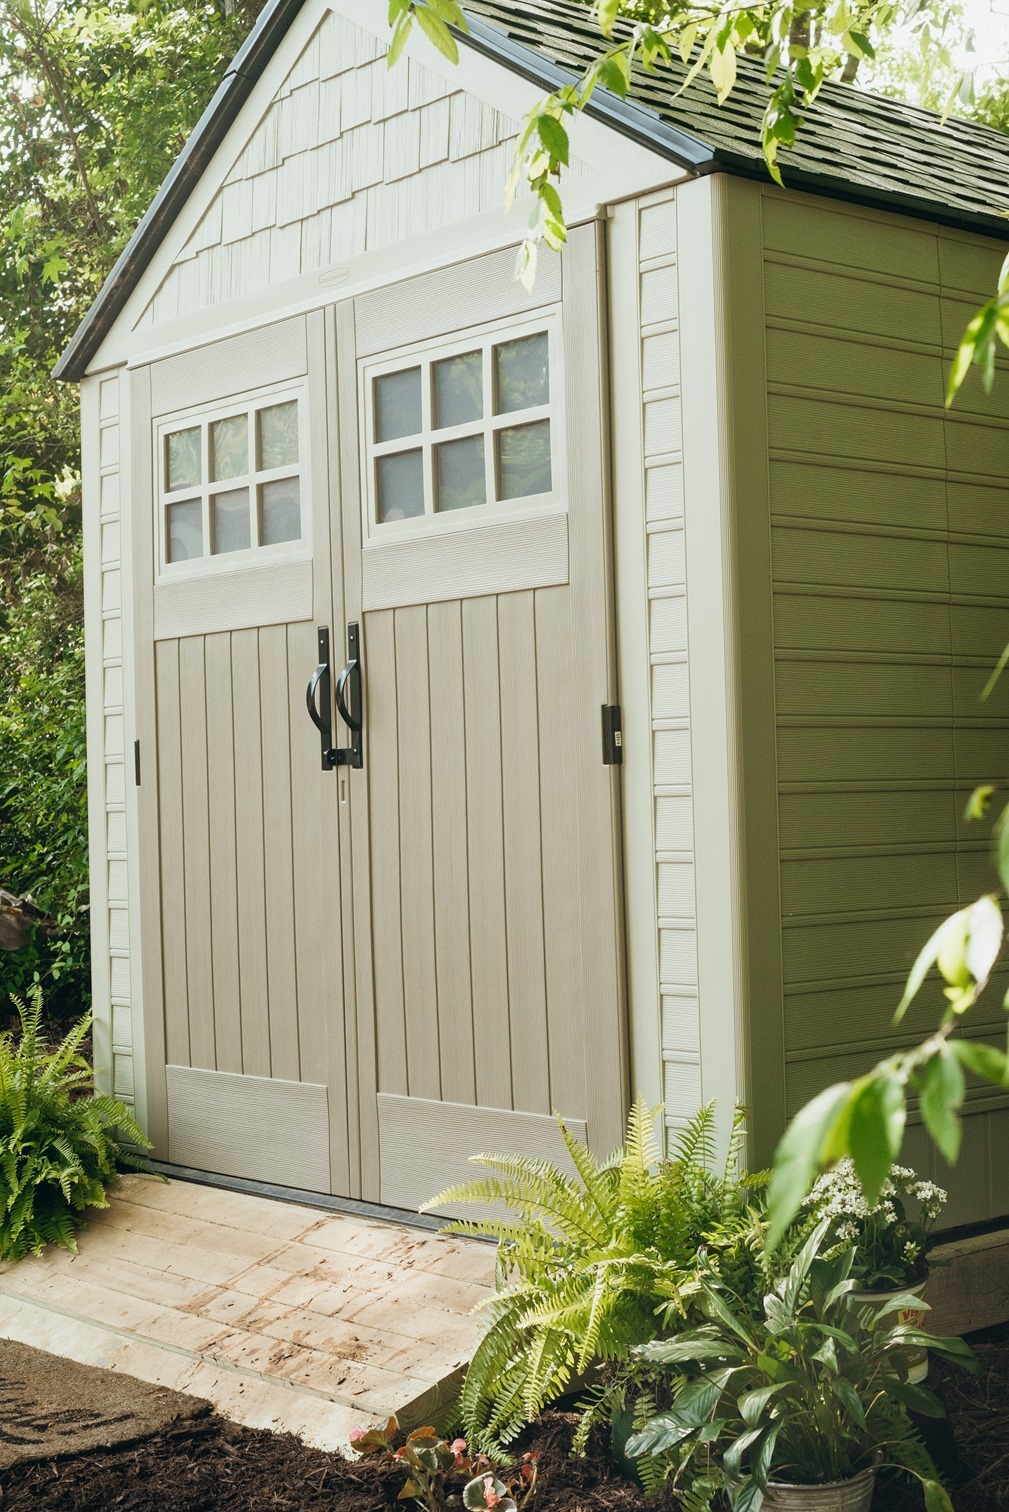
I even added a cute little doormat (similar here) because, why not?
Our new Rubbermaid Shed is so cute and makes the perfect addition to our yard! With it’s cute style, I’m proud to look out into our backyard and see a cute shed instead of stuff all over the grass! Head to the Walmart website to learn more about their sheds and why they are perfect for adding attractive and durable style to your backyard! Rubbermaid’s full line of sheds and deck boxes are available on Walmart.com and for a limited time you can you the promo code to “Rubbermaid19” to save 10% on select SKUs!


The shed looks great, I will have to check them out. I could use one in my backyard and the tutorial will be very helpful.
Used this to make our foundation. Thank you for the help. I could not figure out how to make the ramp, past my skill level.
Hello! Thank you for sharing!! I found this website when trying to decide which shed to purchase. I purchased the shed and now I am building my shed foundation per your instructions and it is coming out just purchased. Only problem I have run into is finding 4×8 treated plywood, but I bought regular pine 4×8 plywood and I am treating it myself. I can’t wait to see my finished project, I am so excited. This post has been very helpful. Thank you again for sharing, Brunie!!
Hi. I think you need to take some time and take a quick tour of Woodglut website to find out how to do this.
This is very helpful! Thank you so much! Your shed and foundation all look great! I plan to build my foundation just like this. I needed to see it all planned out, and now I feel like I can do this.
Did you put gravel under your cement blocks?
This is very helpful! Thank you so much! Your shed and foundation all look great! I plan to build my foundation just like this. I needed to see it all planned out, and now I feel like I can do this.