Thank you to Collective Bias, Inc. and it’s advertiser for sponsoring this post. This blog has been compensated by Collective Bias, Inc. and its advertiser. All opinions are mine alone. #FallGlamping #Glamping #CollectiveBias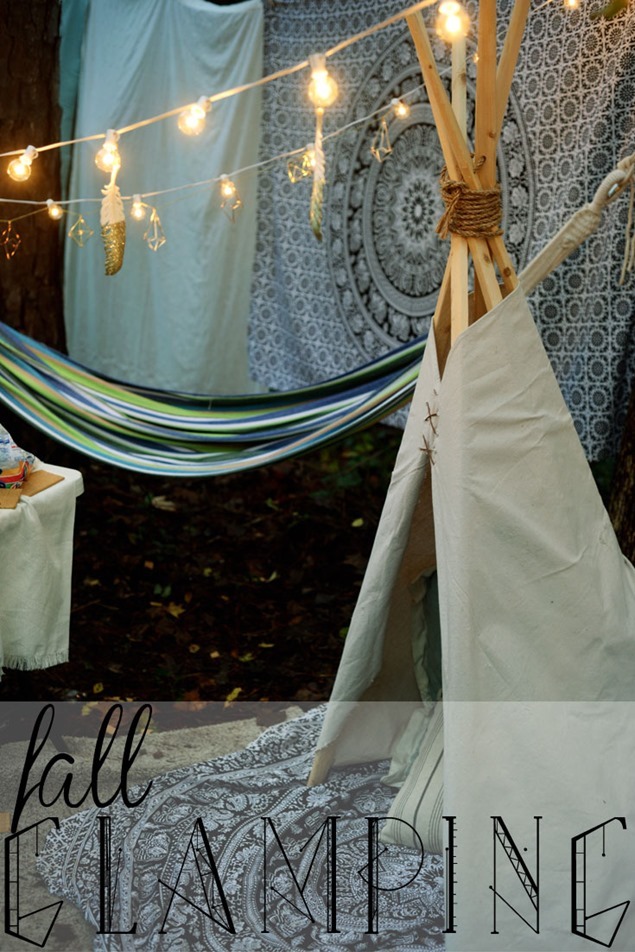
For the last few weeks we’ve been trying to take the boys camping but at least in our neck of the woods, it has been nothing but non-stop rain this fall. Lucky for us the rain has also brought 80 degree weather so we decided to make the most of it and go glamping right in our own backyard. What’s the difference between glamping and camping? Glamping means not giving up all the comforts and luxury of home (ex: real bedding, good food, pretty décor, etc.) but still enjoying the beauty of being outside. I probably lean towards glamping every time I go camping, I mean, the last time we went camping I brought our actual mattress and a tower fan. I can definitely hold my own when we go camping at the lake (we’re talking primitive, on an island, no electricity or bathrooms. It is all natural) but I’m more of a glamper at heart. My Pinterest is filled with images of pretty camping spots and campers. Taking something plain and making it pretty just does my heart good.
Who says you can’t have pretty things when you go camping anyways? I’ve got nothing against the plastic, plaid tablecloths, but it’s just as easy to throw on a pretty one. I took our Glamping experience to the next level with comfy surroundings like real chairs and plates, a teepee, pretty lights, glittery décor, and great food- Freschetta Pizza with garlic butter dip and an amazing 5-chocolate S’mores dip (spoiler alert: you’re family is going to love it). I’ve included the recipes and how-to’s later on.
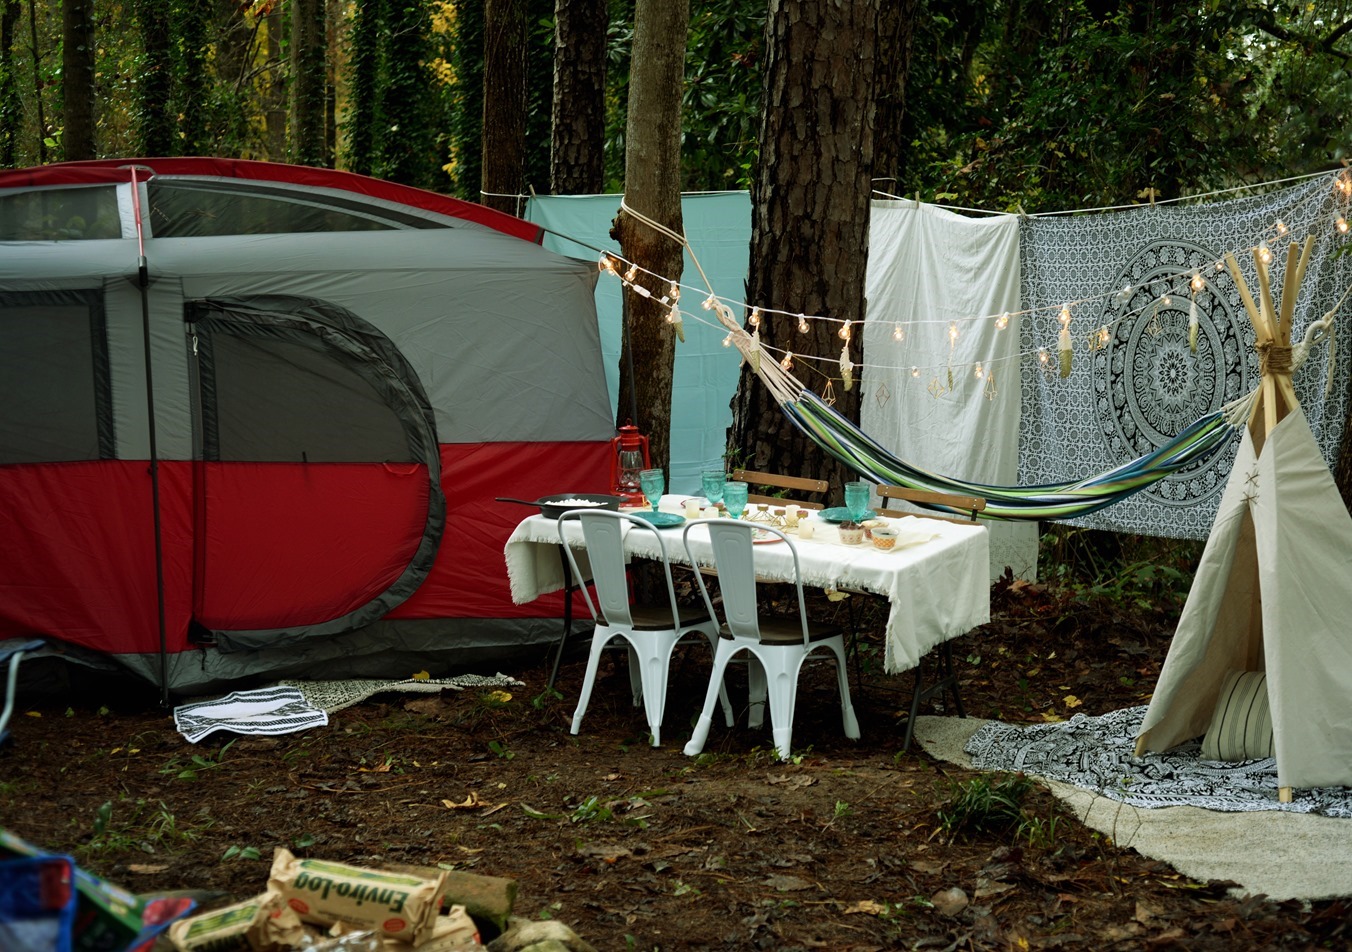
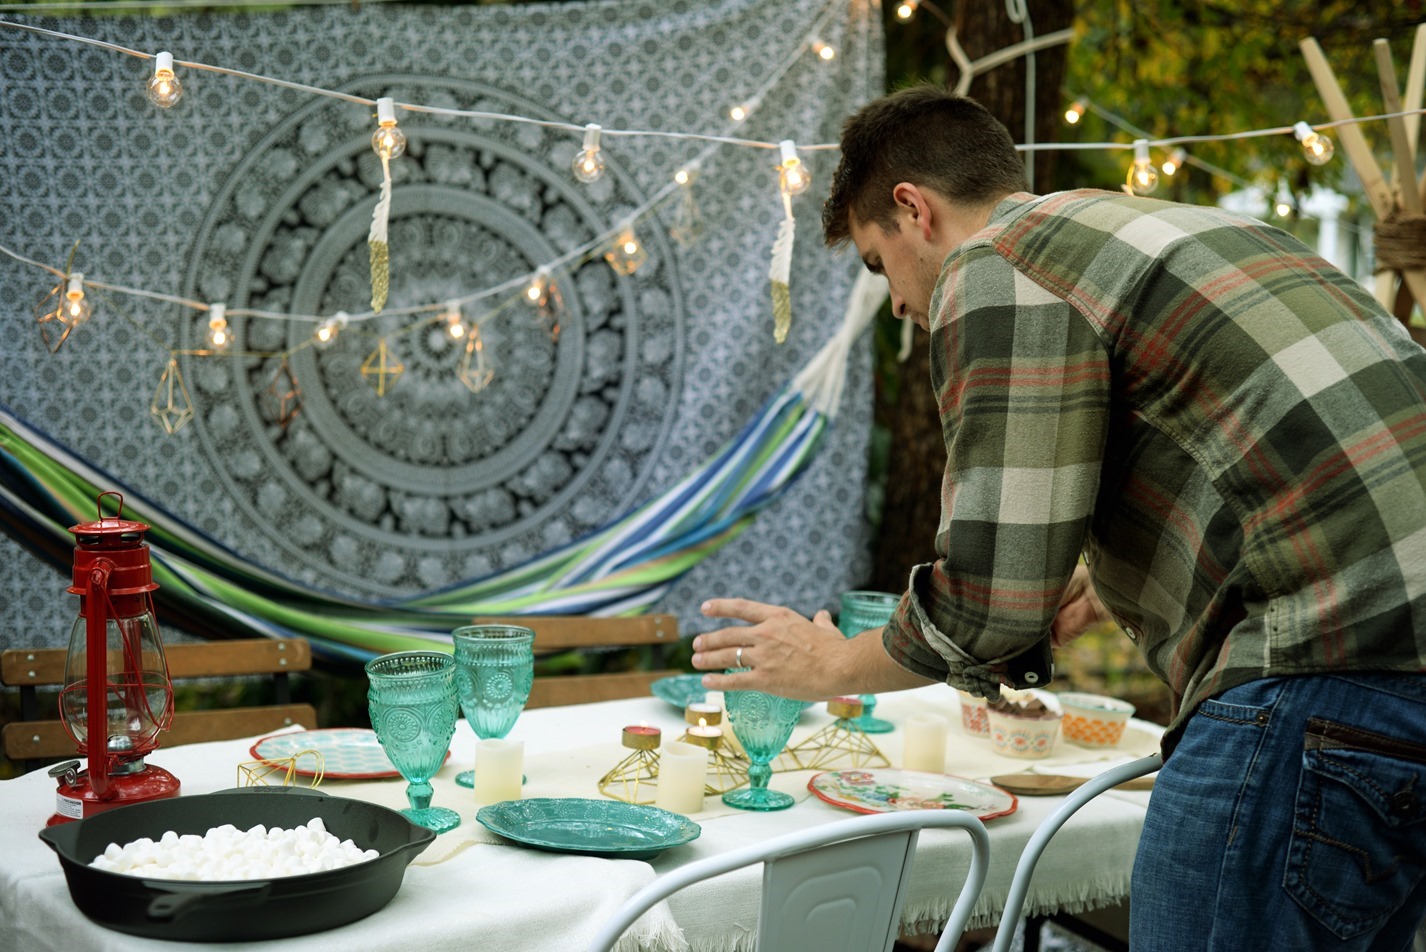
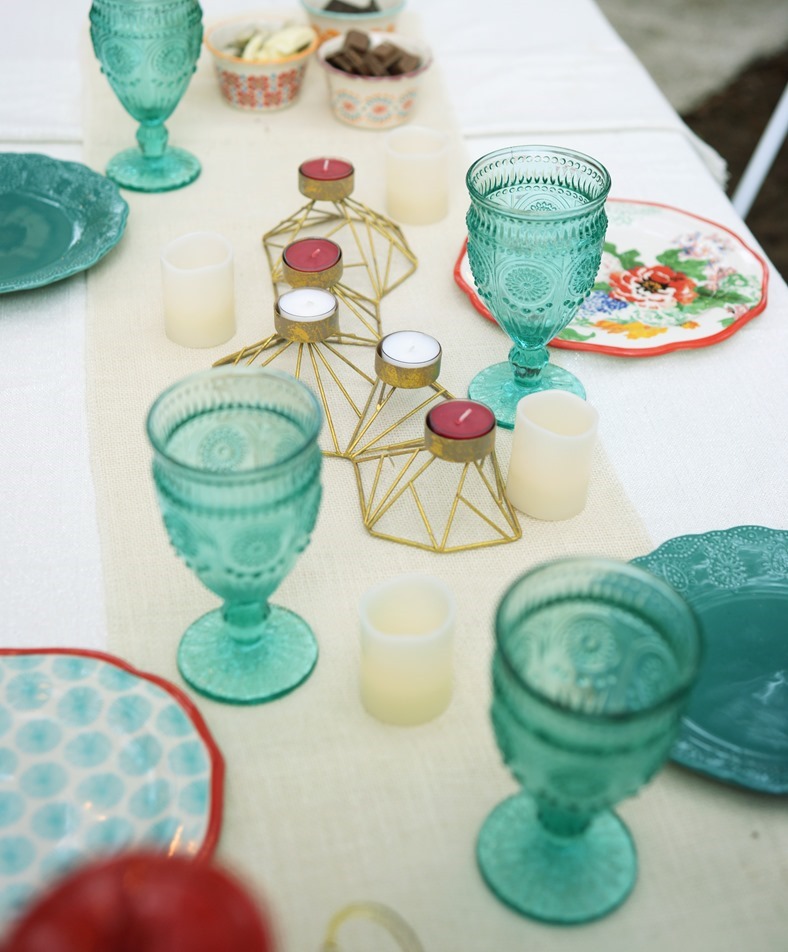
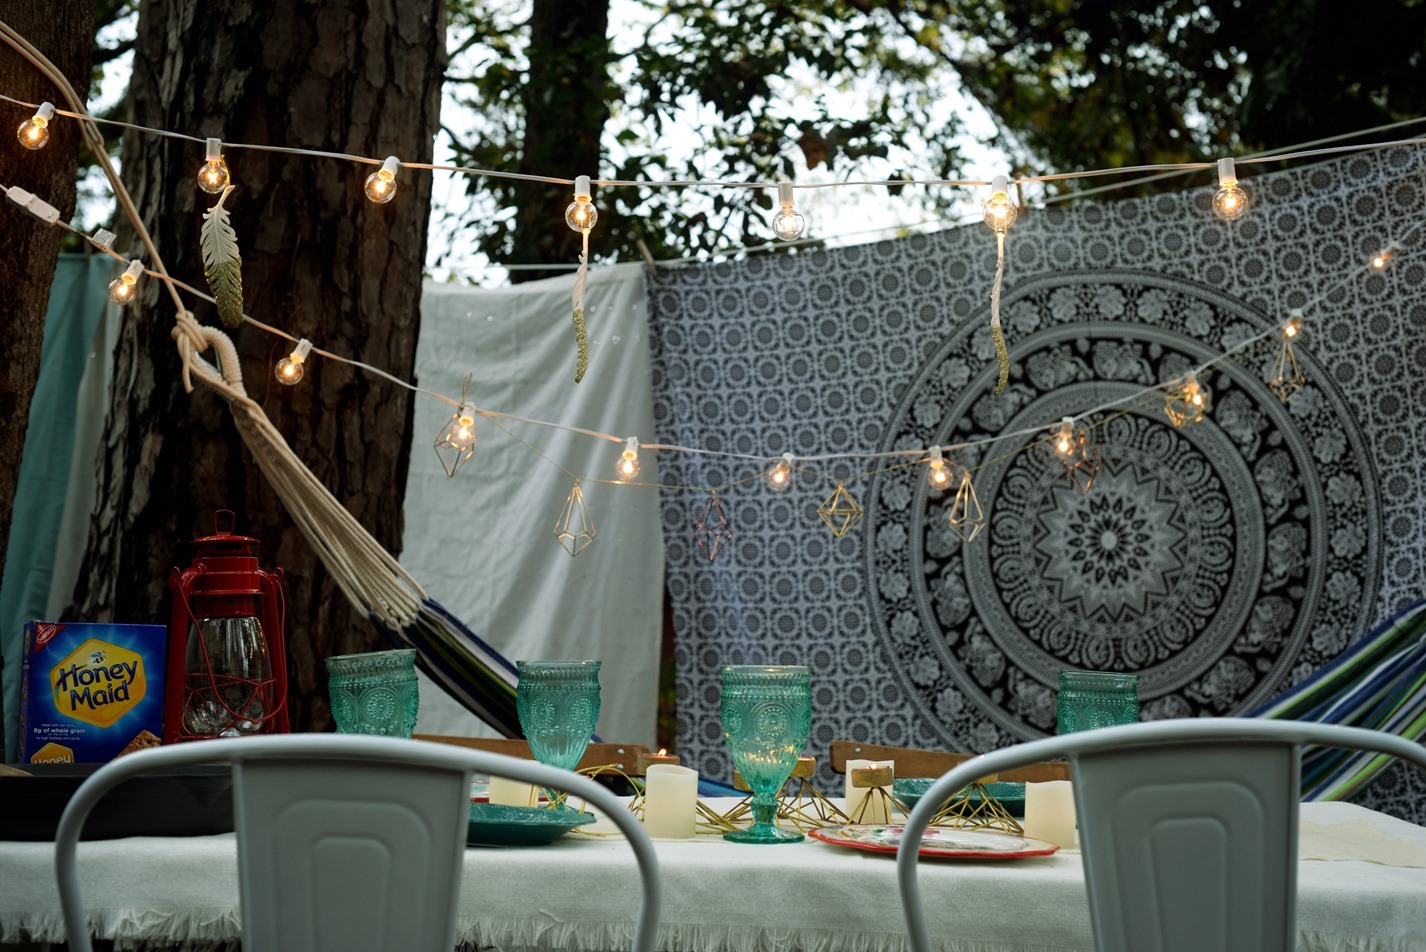
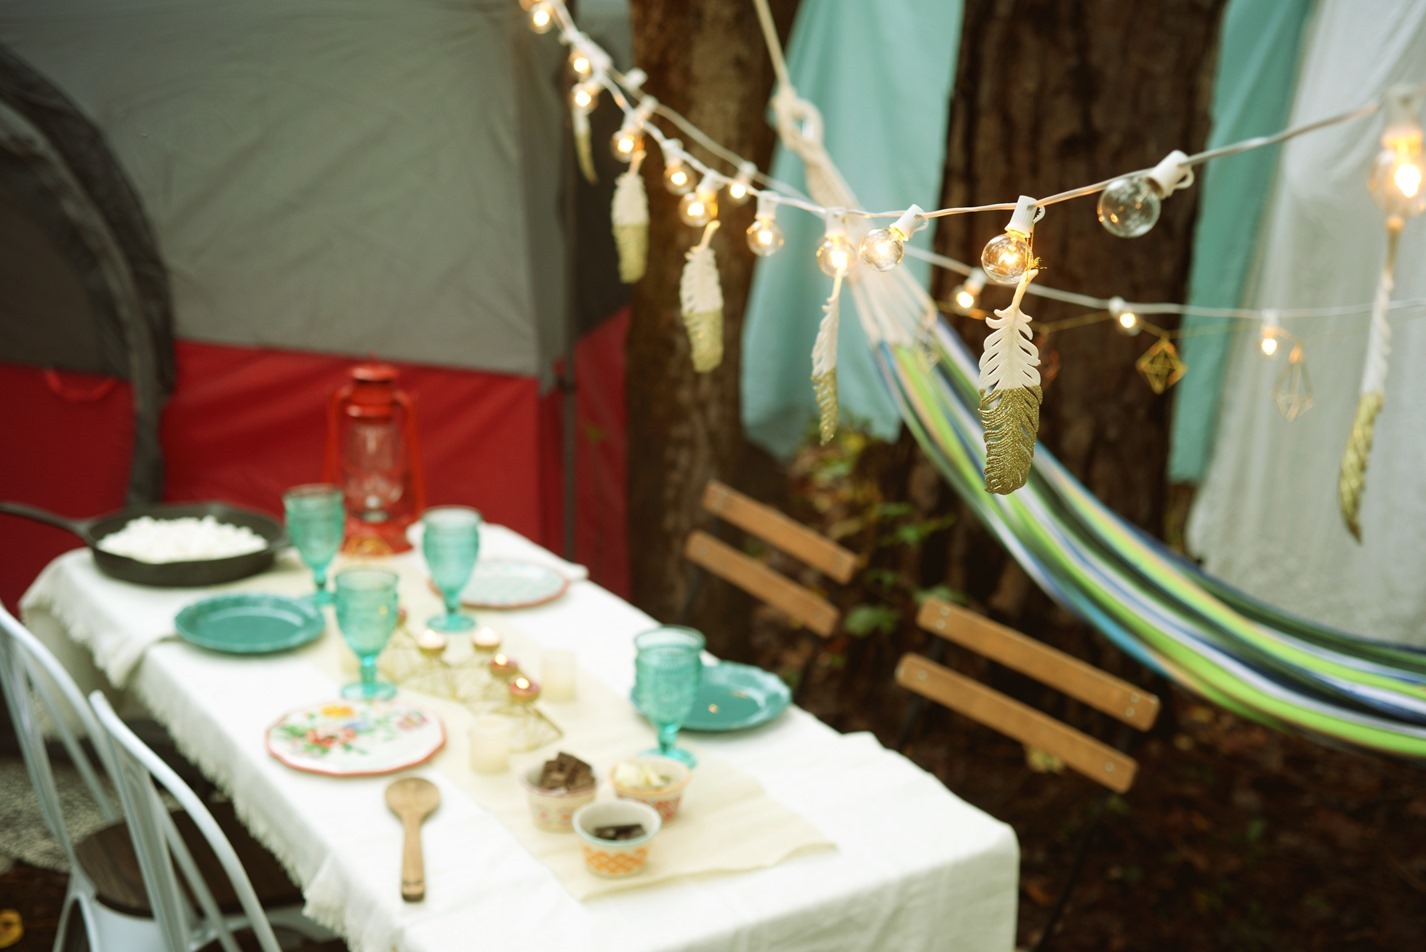
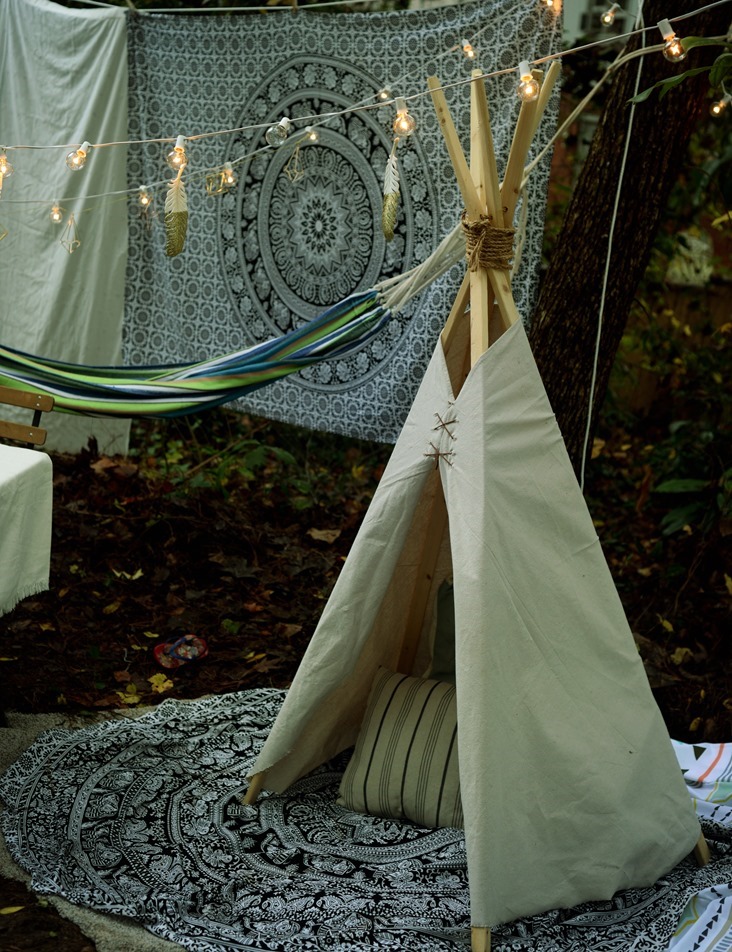
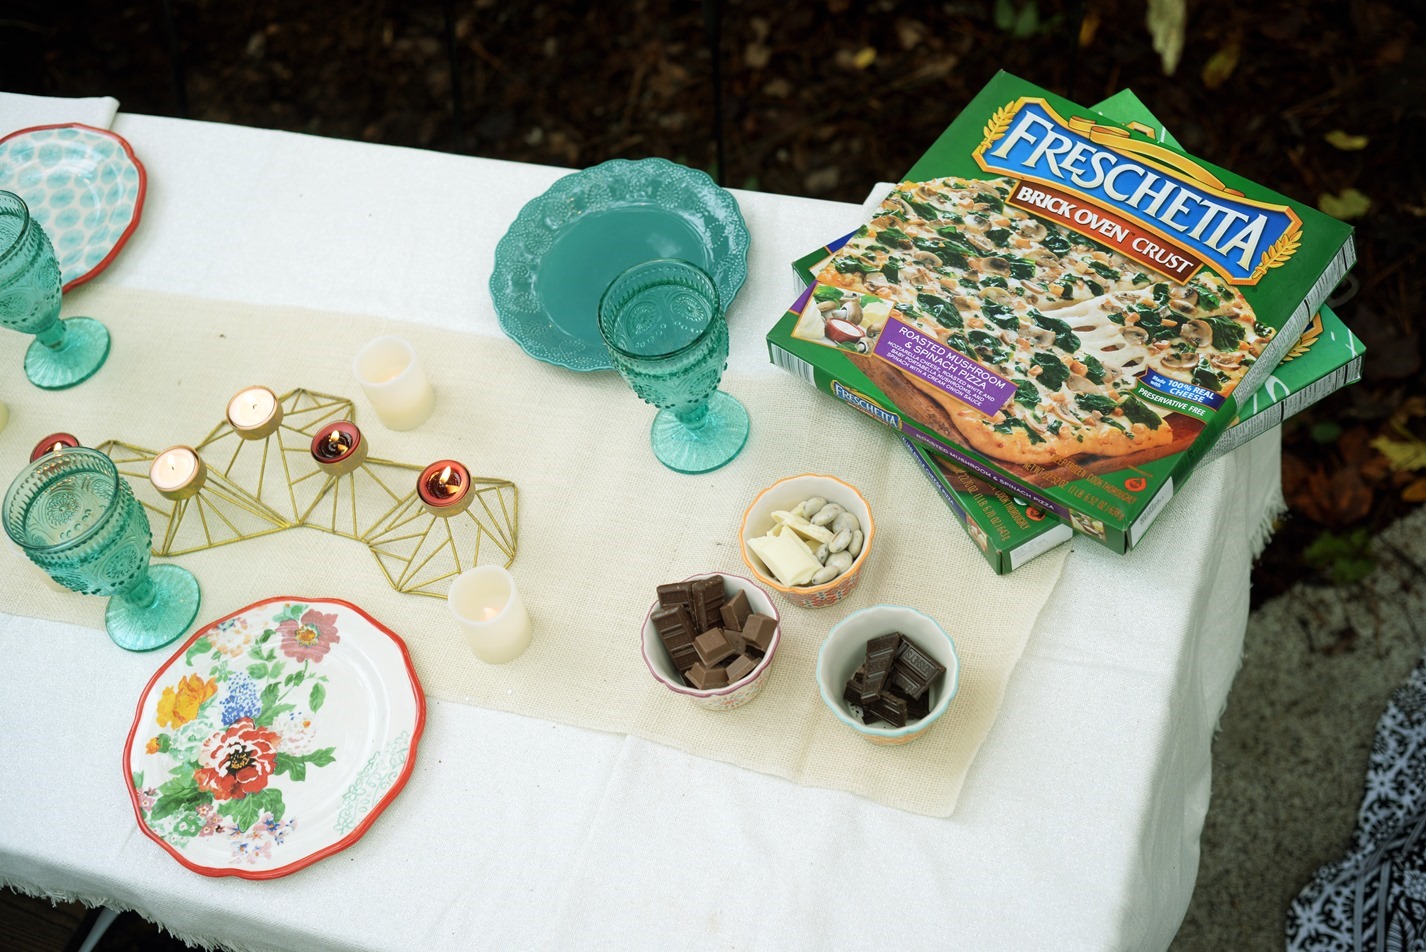
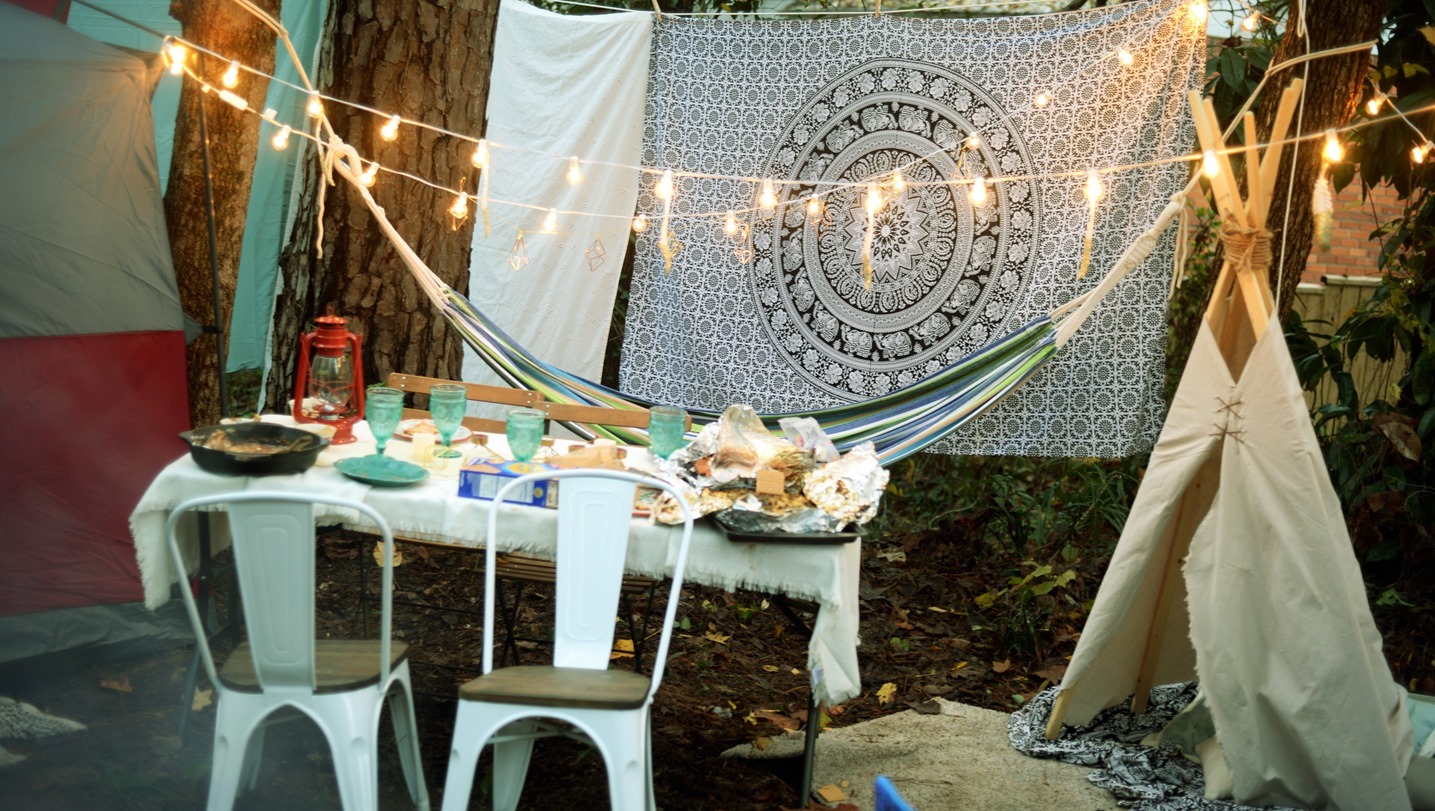
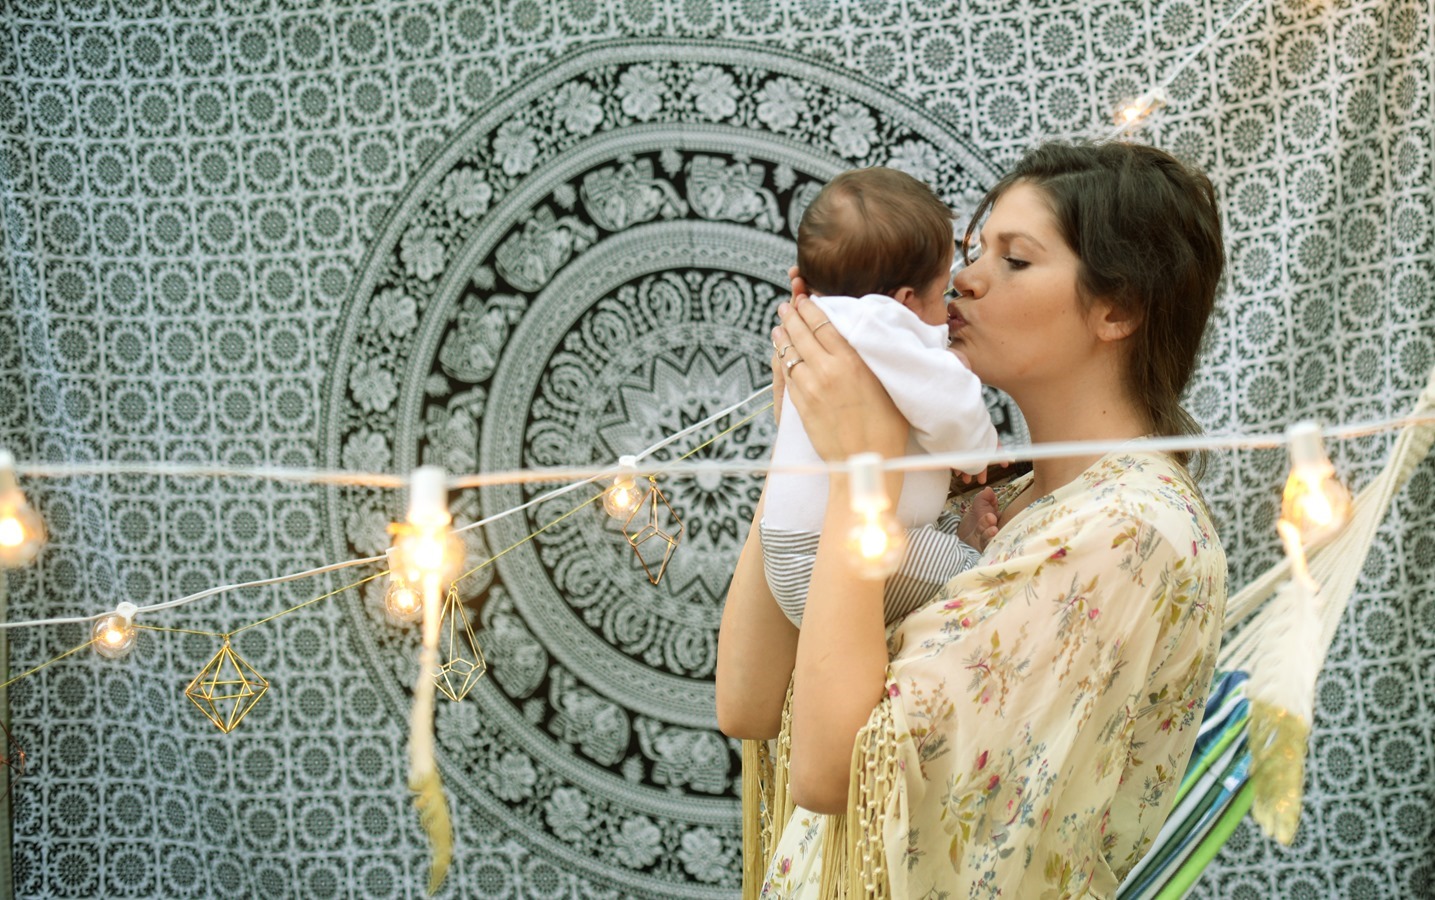
We chose a spot in between the two magnolia trees and set up camp. For our glamping decor, I went for a boho feel: fringe, tapestries, and patterns were my inspiration. I stayed with floral and feather motifs to complement the pretty fall scenery. Anything I didn’t already have on hand, I grabbed at Wal-Mart. In true glamping fashion, I wore a dress and we set up our tent, camping table and chairs. For our table I put out real dishes and goblets nicer than the ones we usually use. The pretty lights, candles, and fire all dancing off the glittery feathers set the perfect atmosphere for glamping.
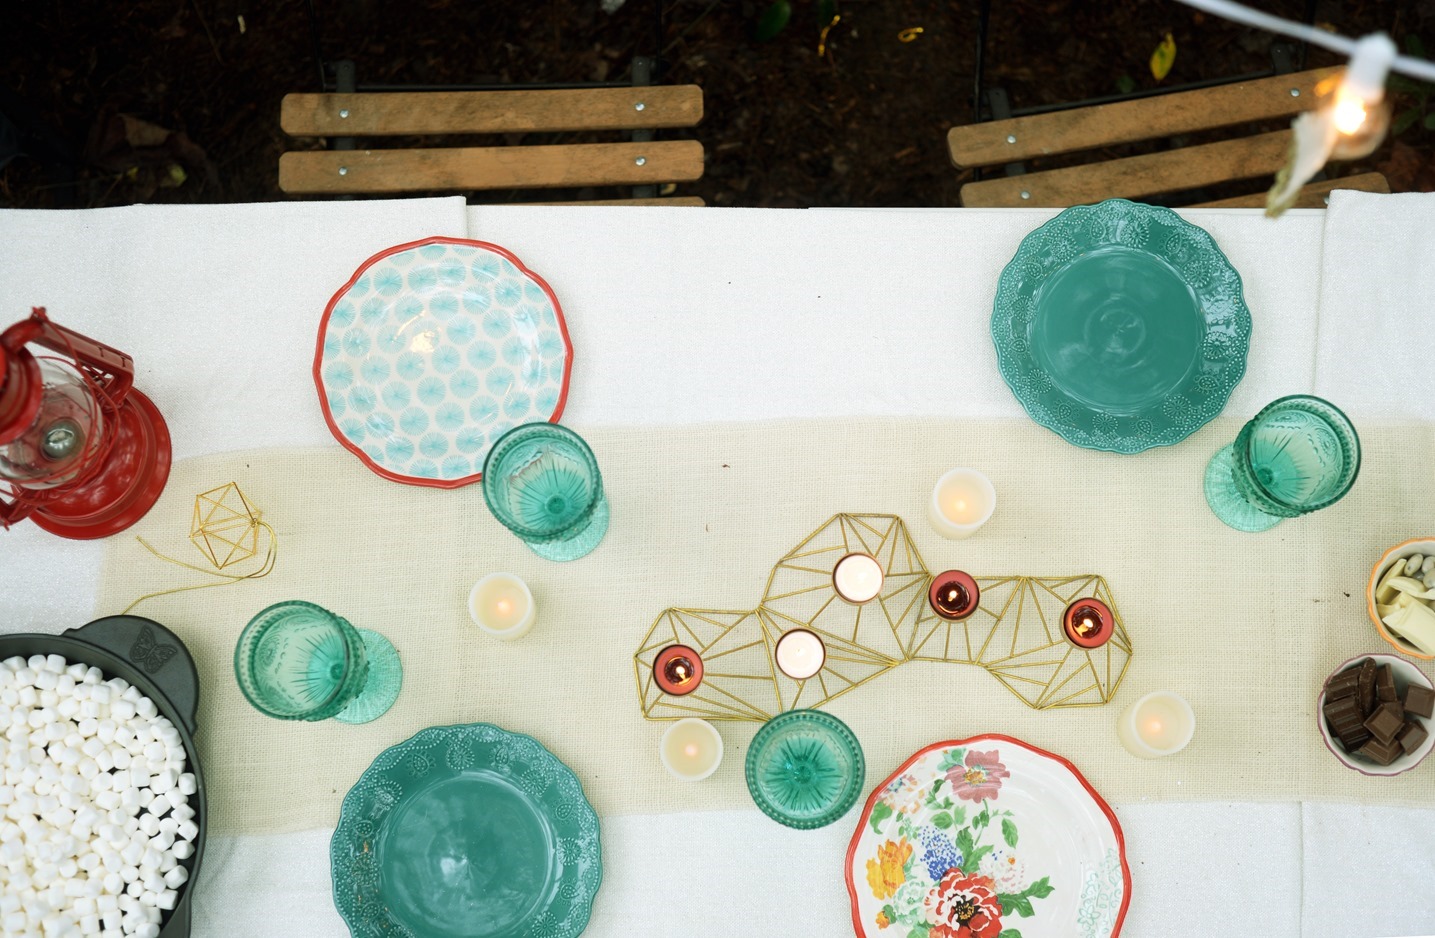
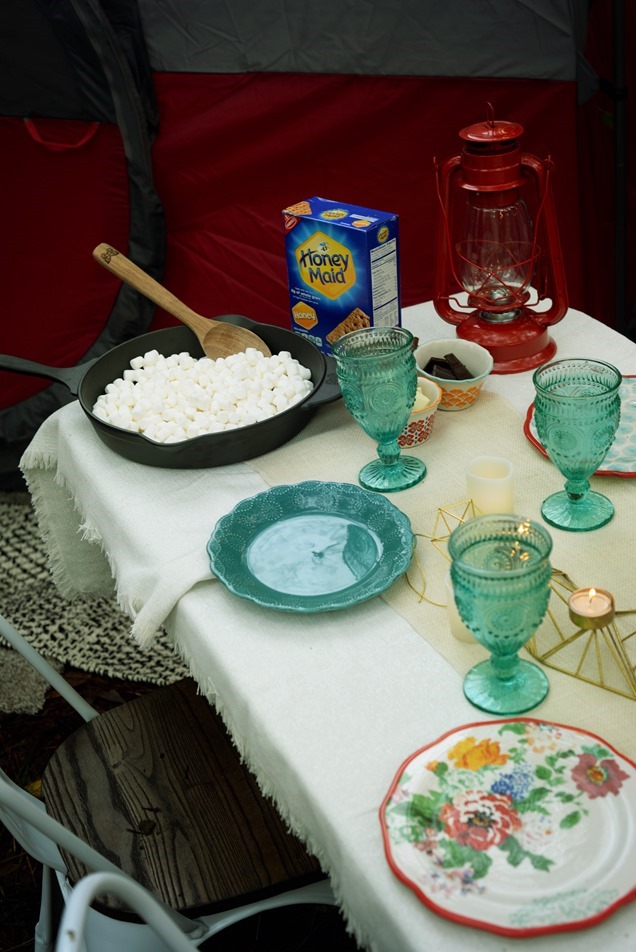
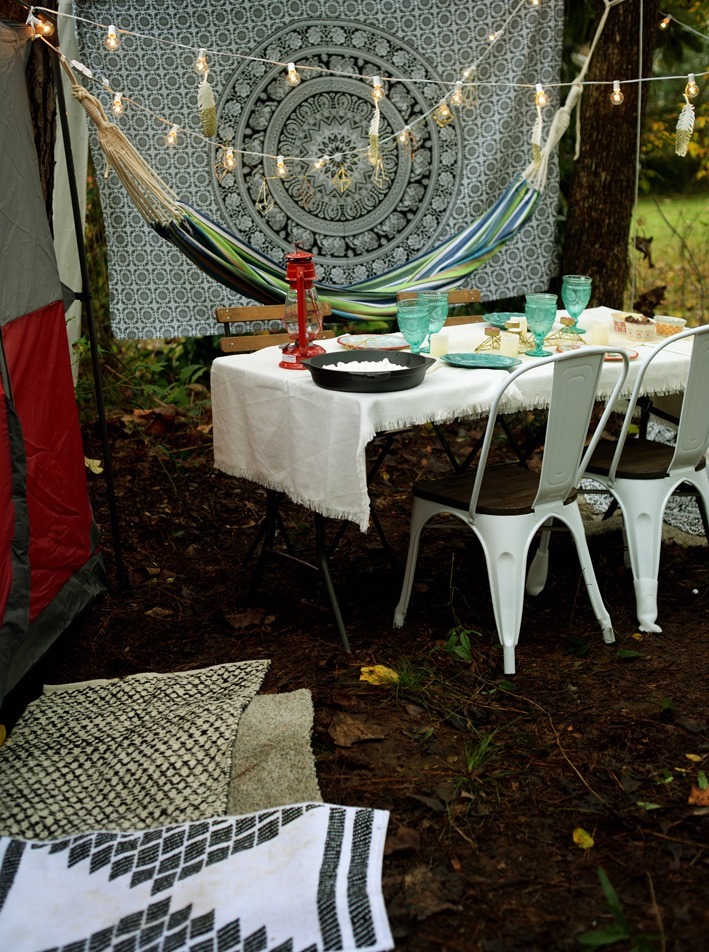
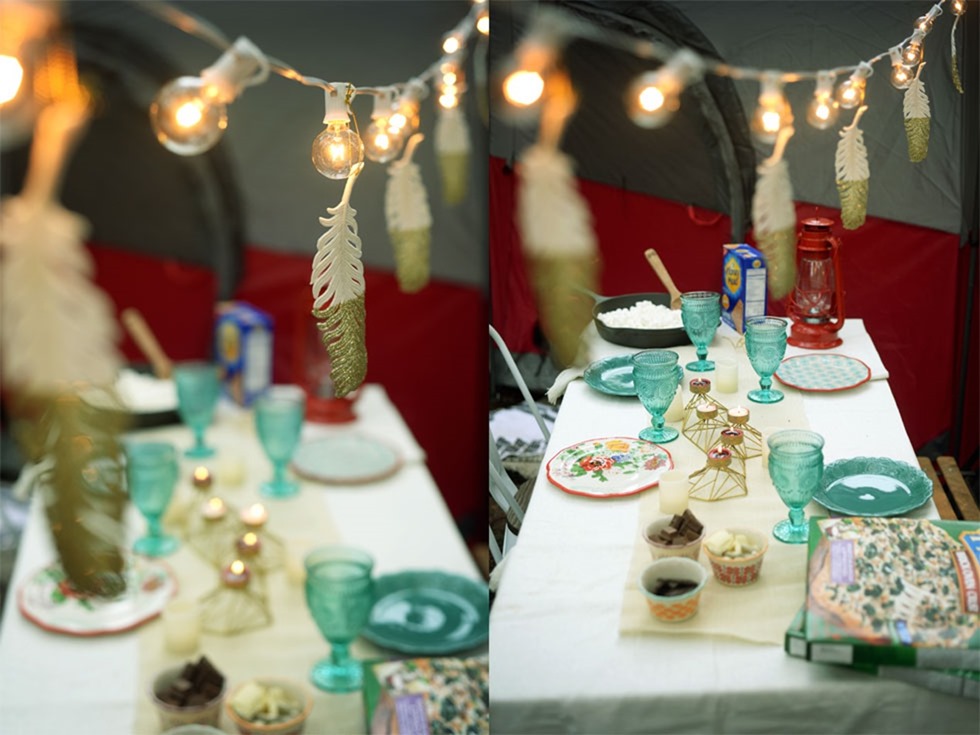
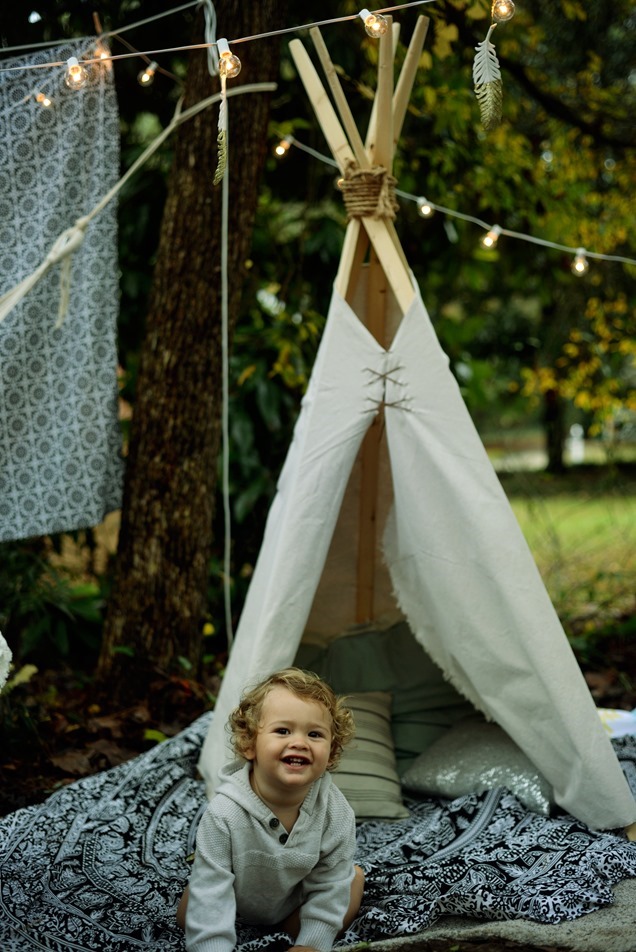
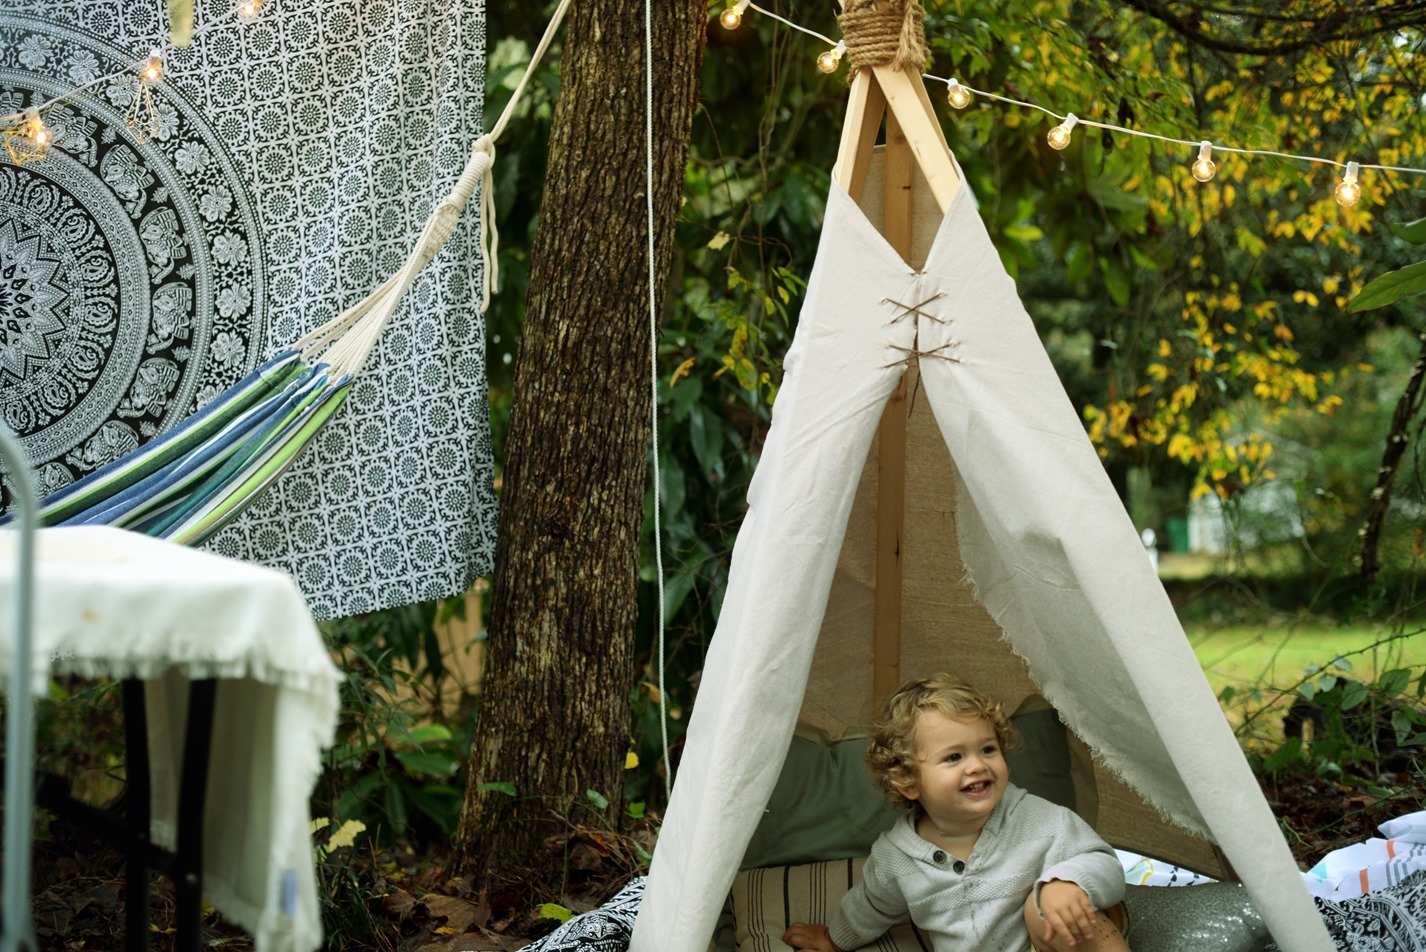
I hung pretty tapestries and sheets and brought rugs outside. We hung a hammock to relax in, put our camping chairs by the fire and we made a teepee for the boys to play in with a little lounge area beside it. The boys loved the teepee so much, Rhett played in it for hours.
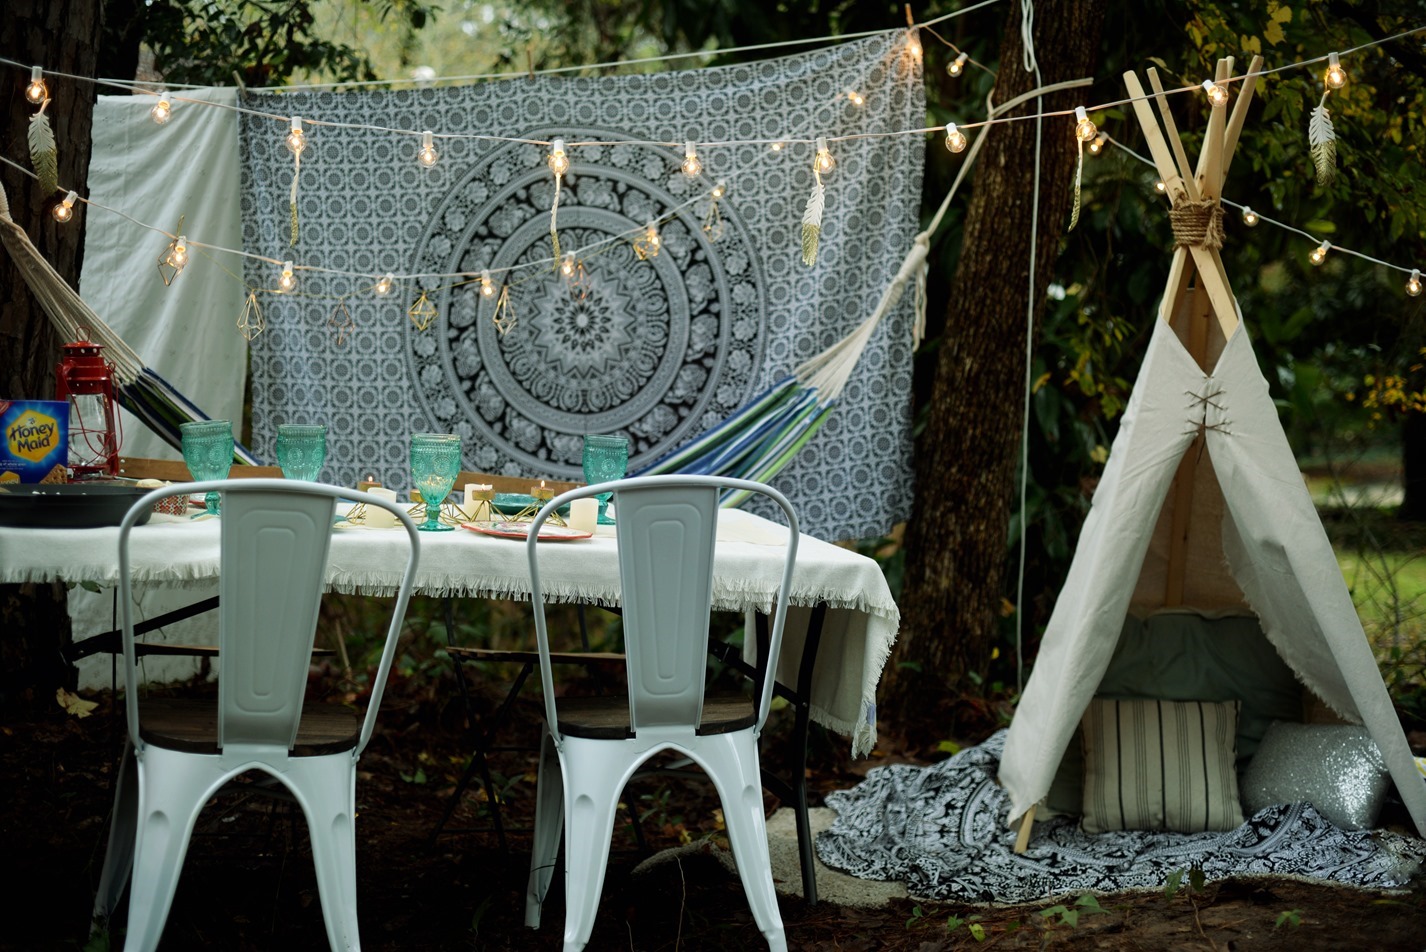
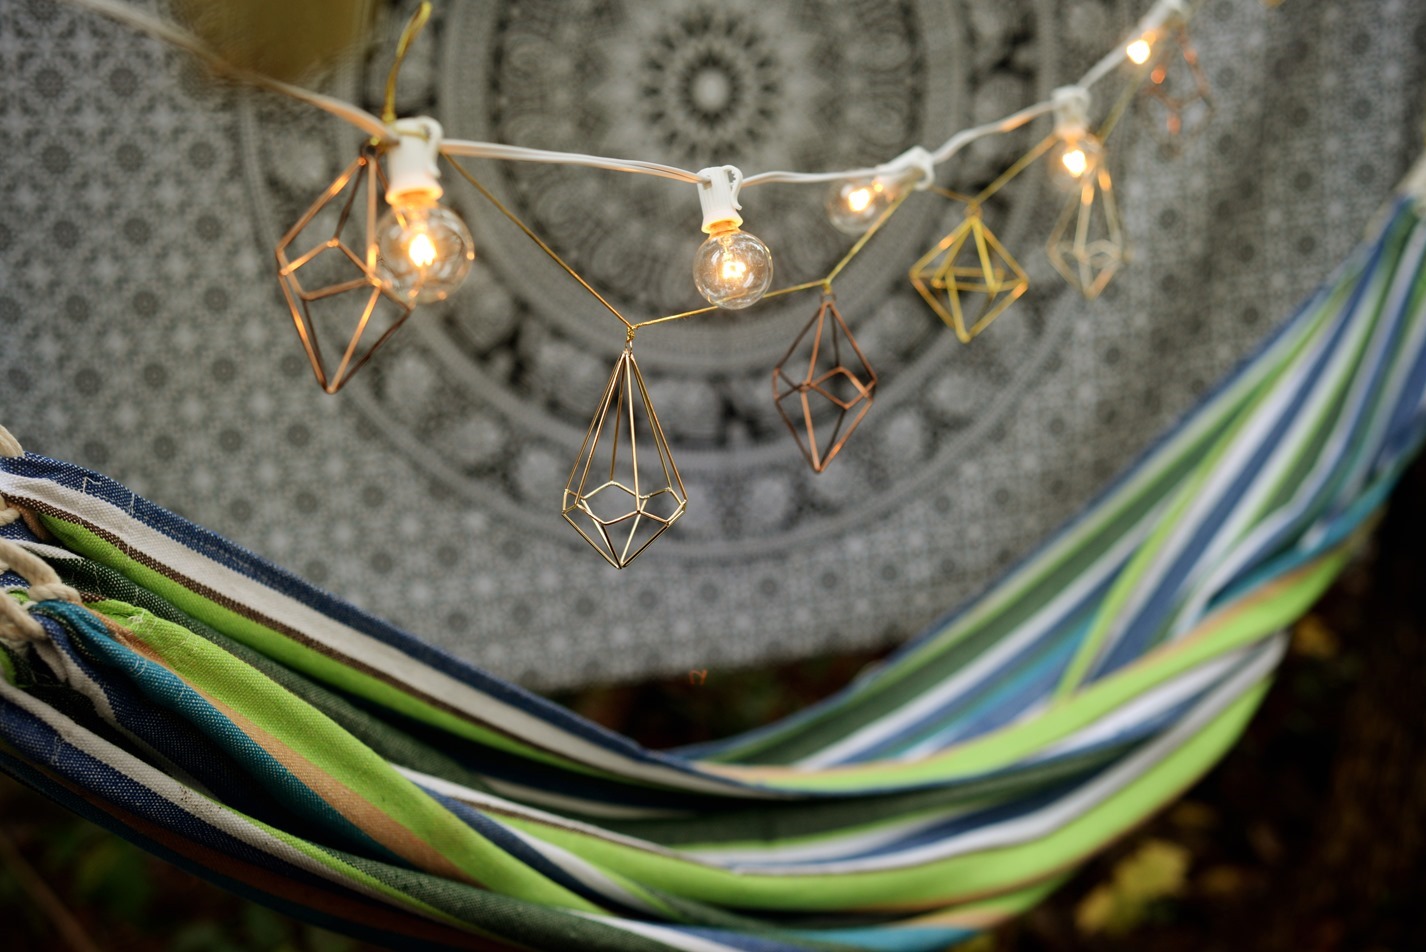
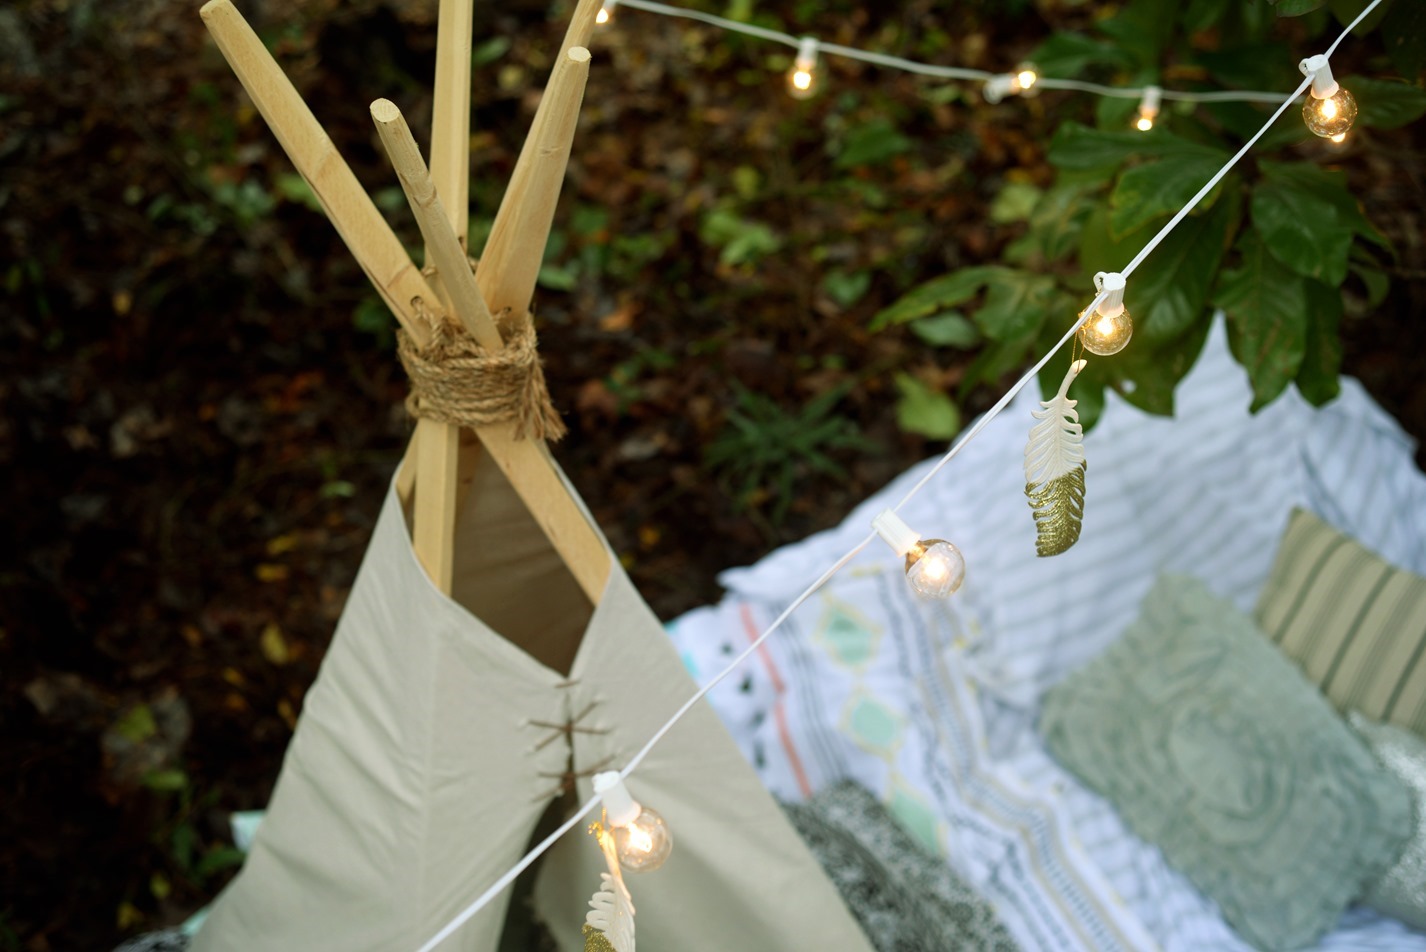
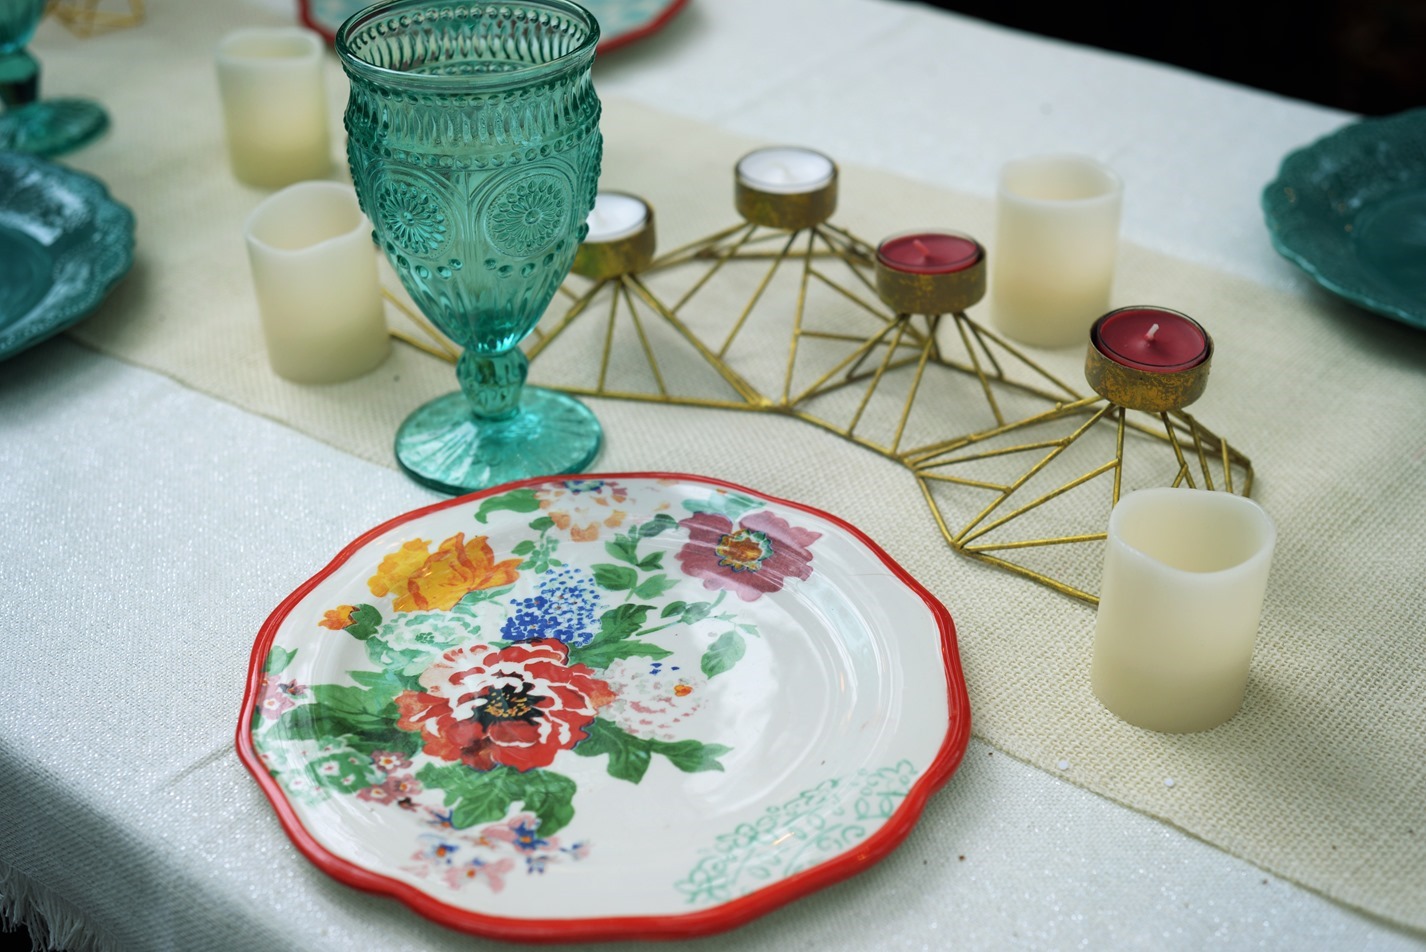
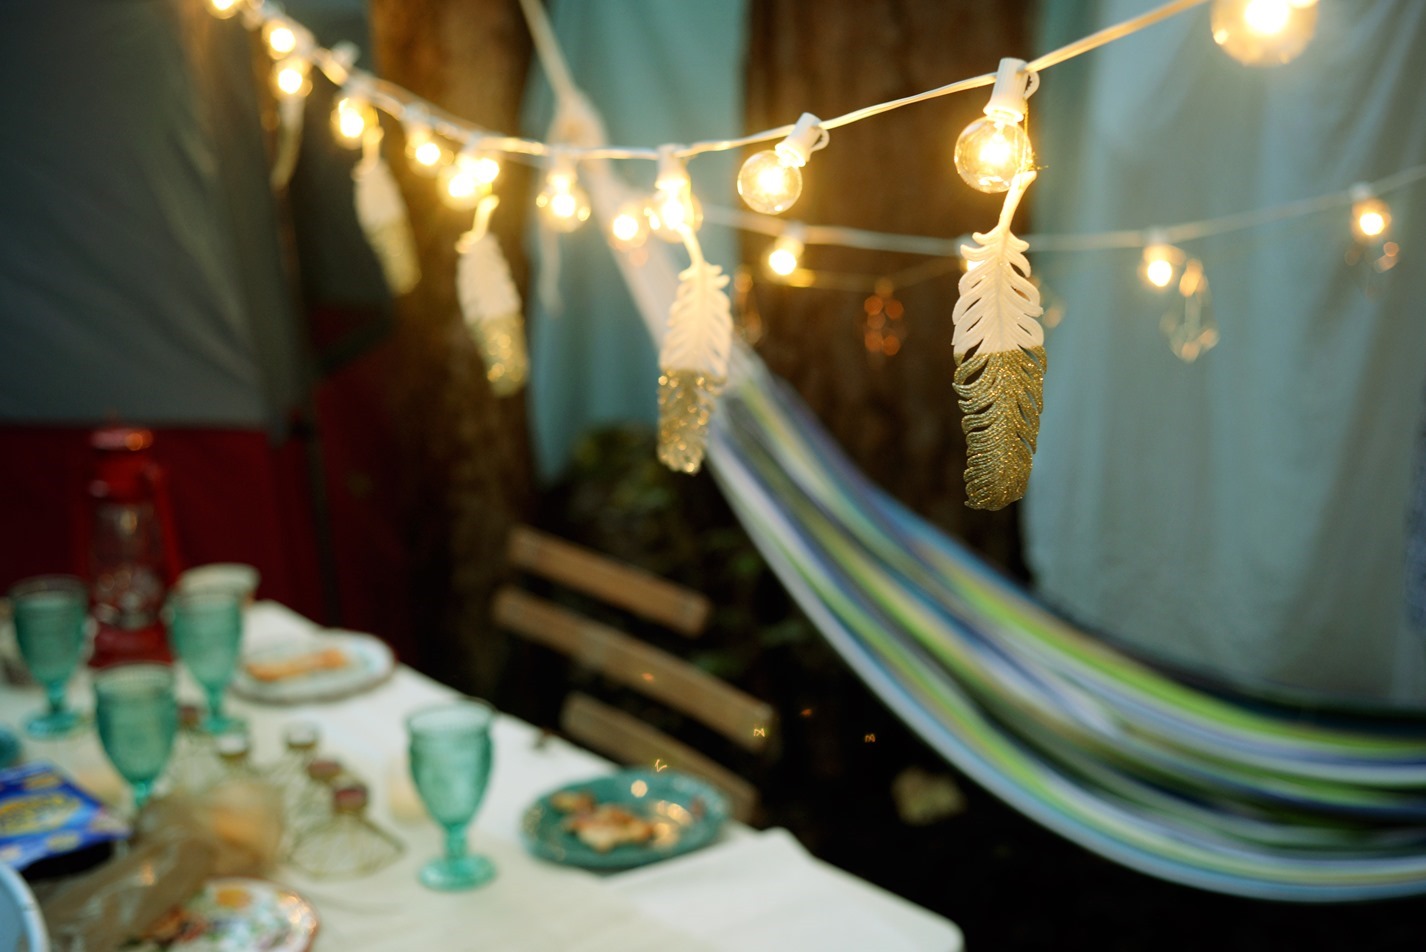
I love all these mis-matched plates I picked up at Wal-mart. They look so pretty outside. For food I planned a meal that could be made on the campfire but didn’t need any utensils to eat so we’d have less clean-up. The glittery feathers and lights above the table gave the whole set-up a dreamy feel. I wish we could eat out there every night, it was so pretty. The feathers are actually Christmas ornaments that I simply hung from the clips on the lights.

The Teepee we built might have been the highlight of the experience for Rhett. It gave him somewhere safe to play away from the fire and he just loved siting in there and playing with toys.
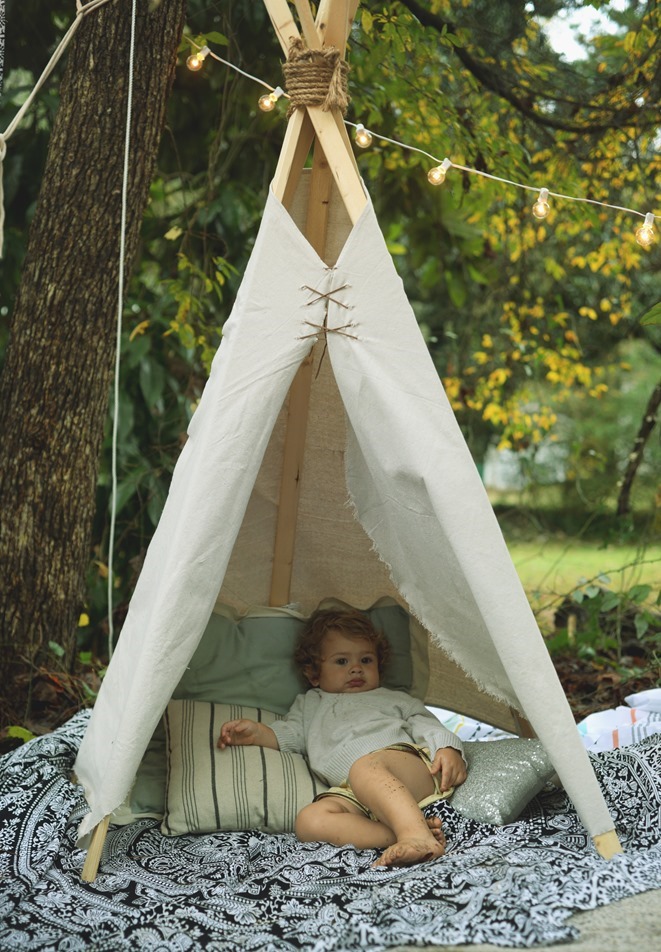
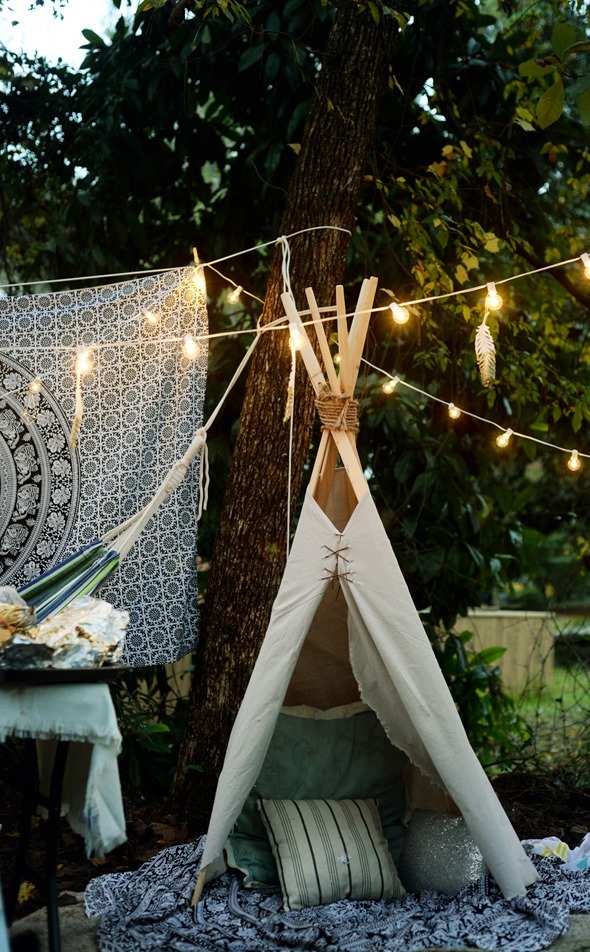
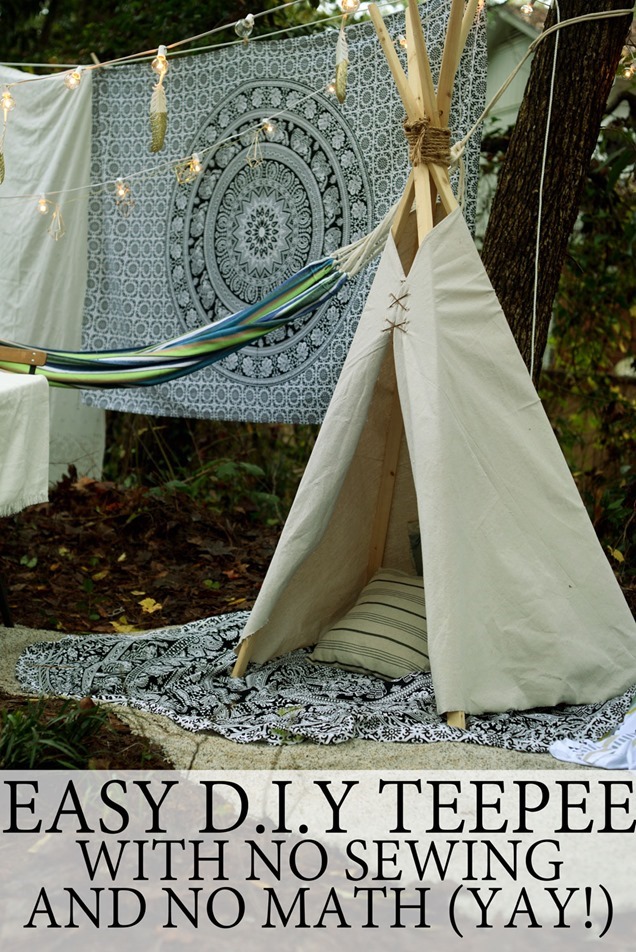
D.I.Y. No-Sew Teepee Directions:
There are so many great teepee how-to’s out there, but have you ever read them? They sound easy until you get to a point where they want you to calculate angles and bust out the sewing machine and make a pattern and maybe I’m just lazy but I left geometry back in high school, but I really wanted to have a teepee to take along since they are so cute, and they fit the glamping experience perfectly so we figured out a way to make one with no math and no sewing!!!
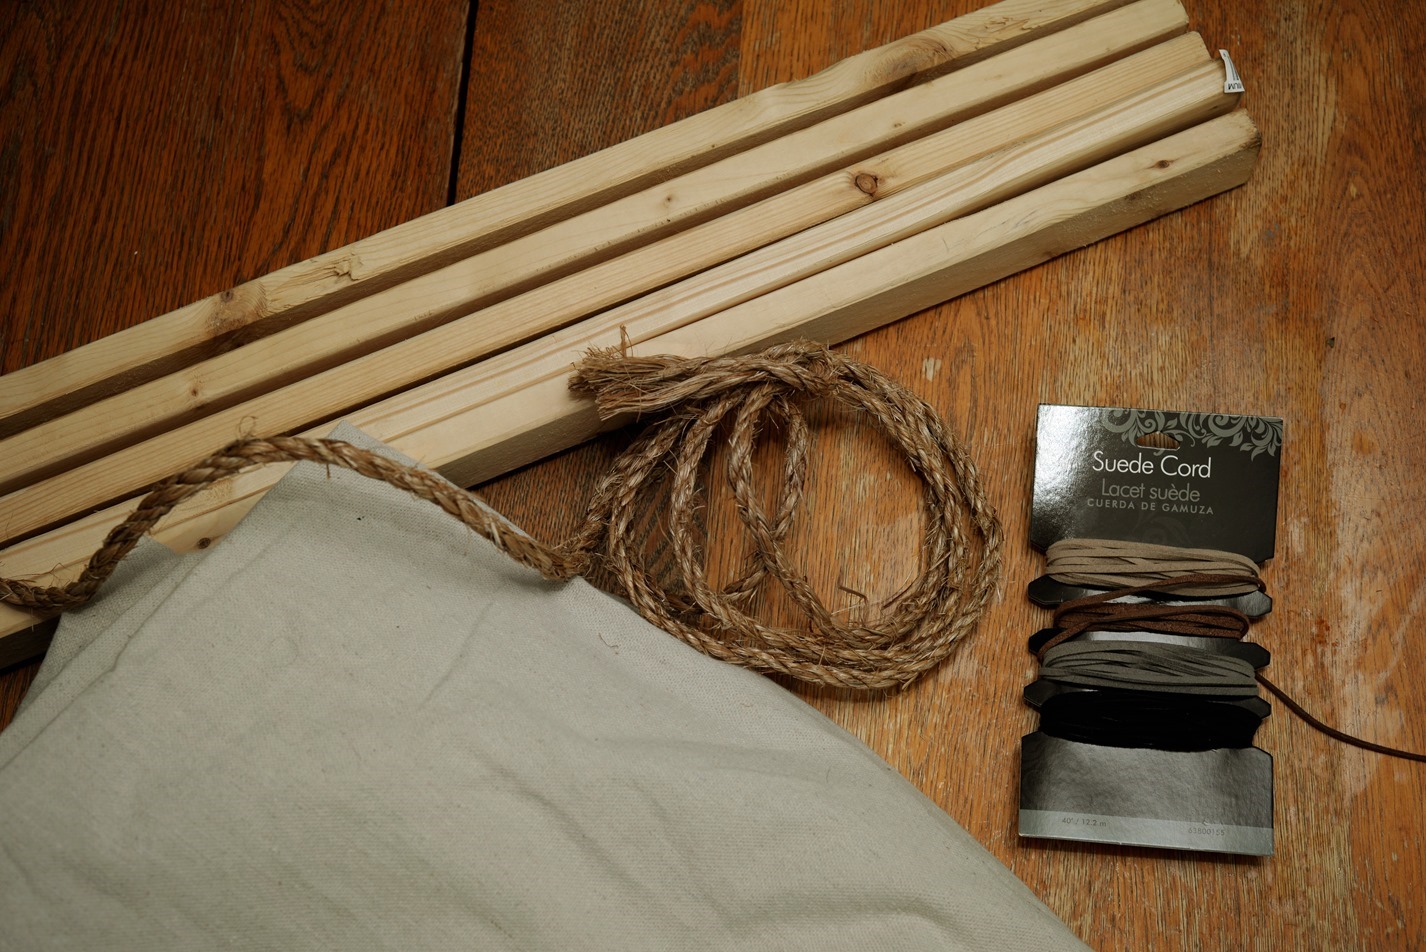
Supplies:
1X2 boards- you’ll need 5 that are 8 feet long (or longer if you want a taller/wider teepee)
Canvas Painters Dropcloth (ours was 4’X10′ prior to cutting it)
Rope
Leather Cord
I knew I wanted the teepee to have an authentic/rustic look to it, so the first thing we did was take all five boards (these will be your poles) and planed the edges of them. We used a hand planer to take off all the hard edges and then sanded the sides and the tops. If you don’t have a hand planer you can use a pocket knife, it will take longer but have the same look. Then we measured a foot down each board and drilled a hole for the rope to go through, and followed up by sanding the holes.
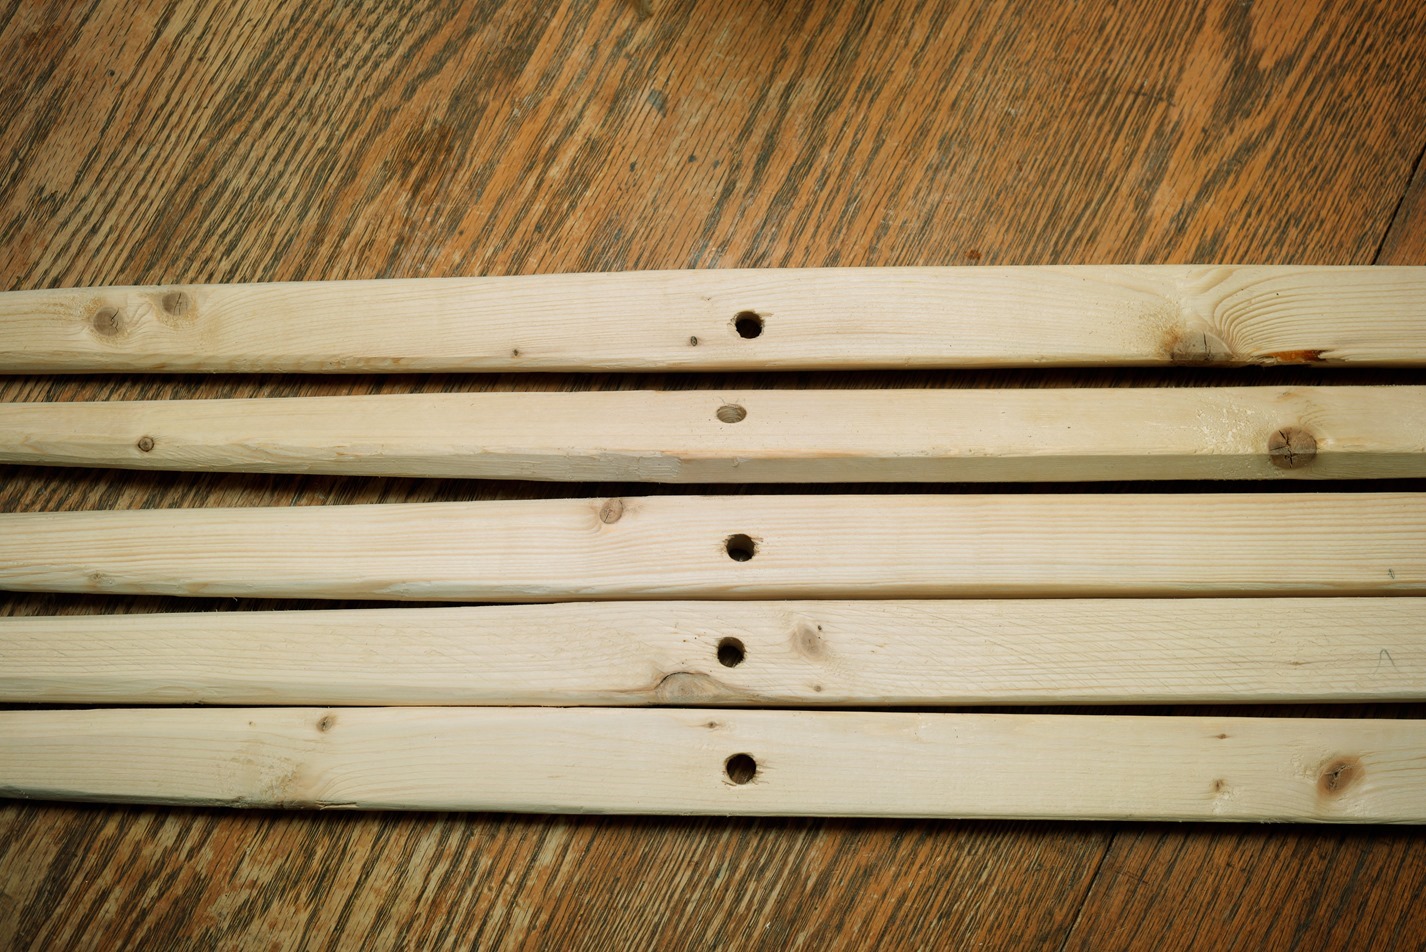
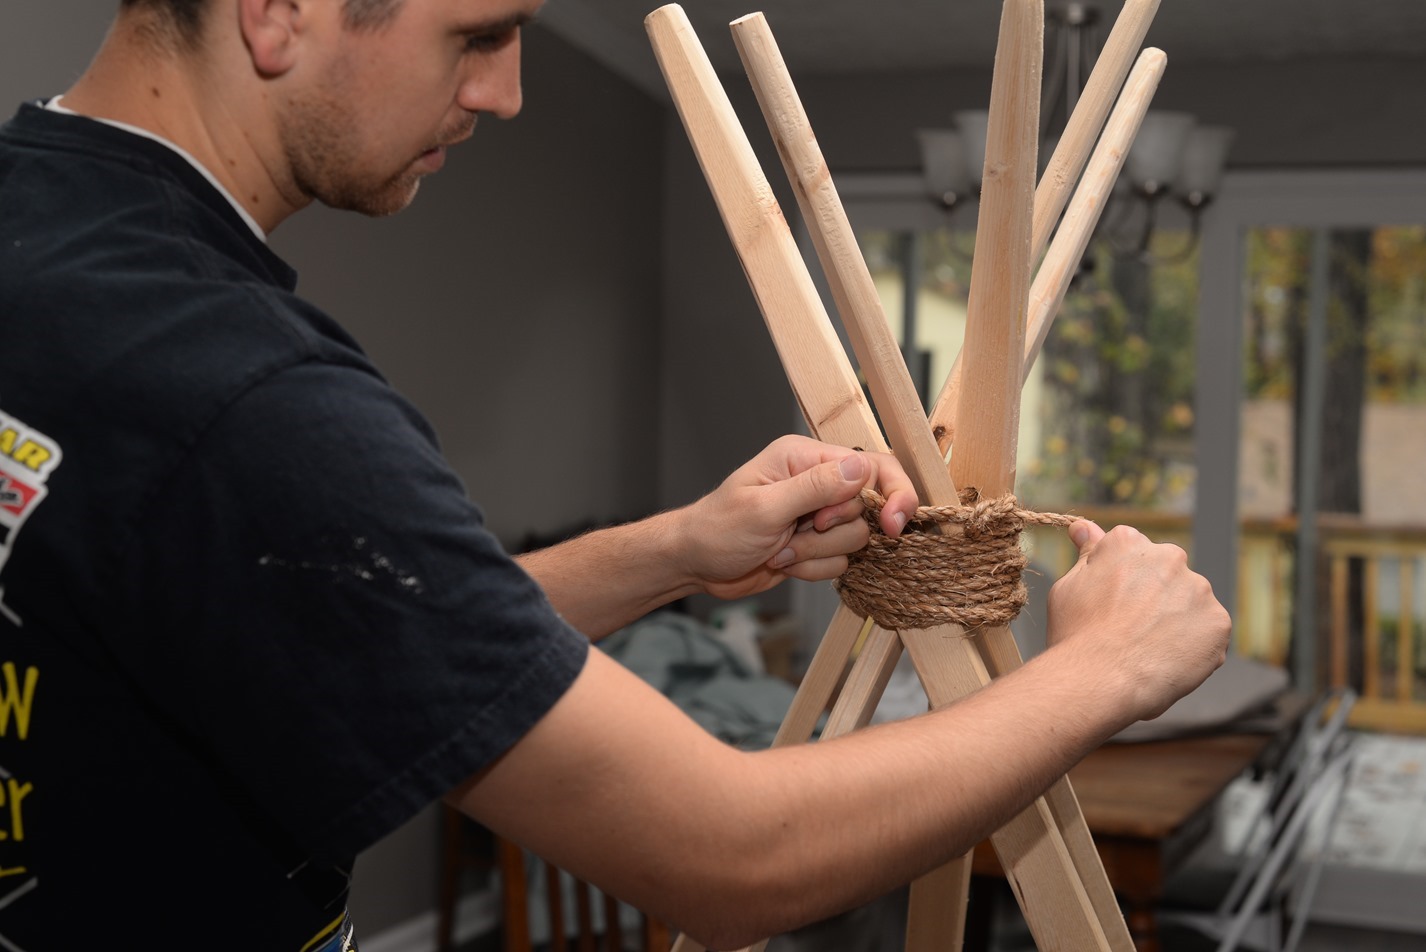
Next you’re going to want to stand up your poles back to back and run the rope through the holes, putting about a foot of rope hanging down on the other side. Then spread your poles out out in five different directions and wrap the rope around from top to bottom. When you get to the end, tie the ends together in a secure knot. The frame for your teepee is done!
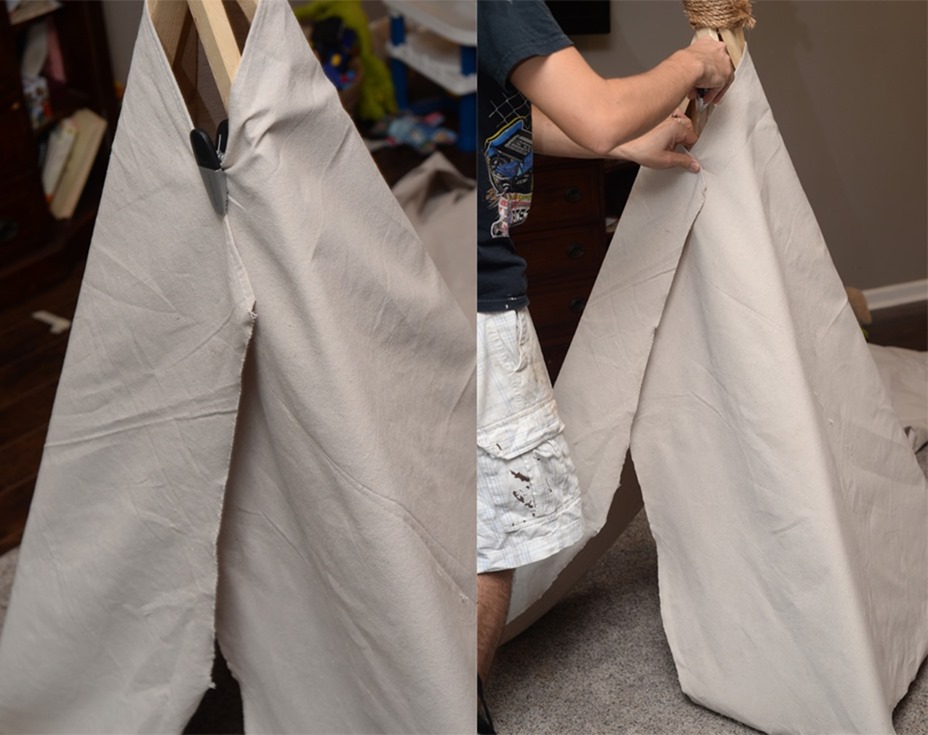
To make the cover, grab your drop cloth and drape it over the frame. I pulled ours around the front and then used a clip to hold the front together so I could move the canvas around to where I wanted it to hang. This can get tricky and is much easier to do with two people. You’re going to want to decide how much overhang you want in the front, and where you want your cover to touch the ground all the way around. I wanted a slight overlap in the front and then it to turn before it touched the floor. We took a pencil and traced most of the lines and then put it on the ground and cut; I also ironed the drop cloth at this point. Once it was cut (and your cuts can be a little rough, we’ll fix that in a minute), we put it back onto the frame and clipped the top to hold it again. At this point I went around with the scissors trimming up anywhere that I wanted a little more curve or anything really jagged.
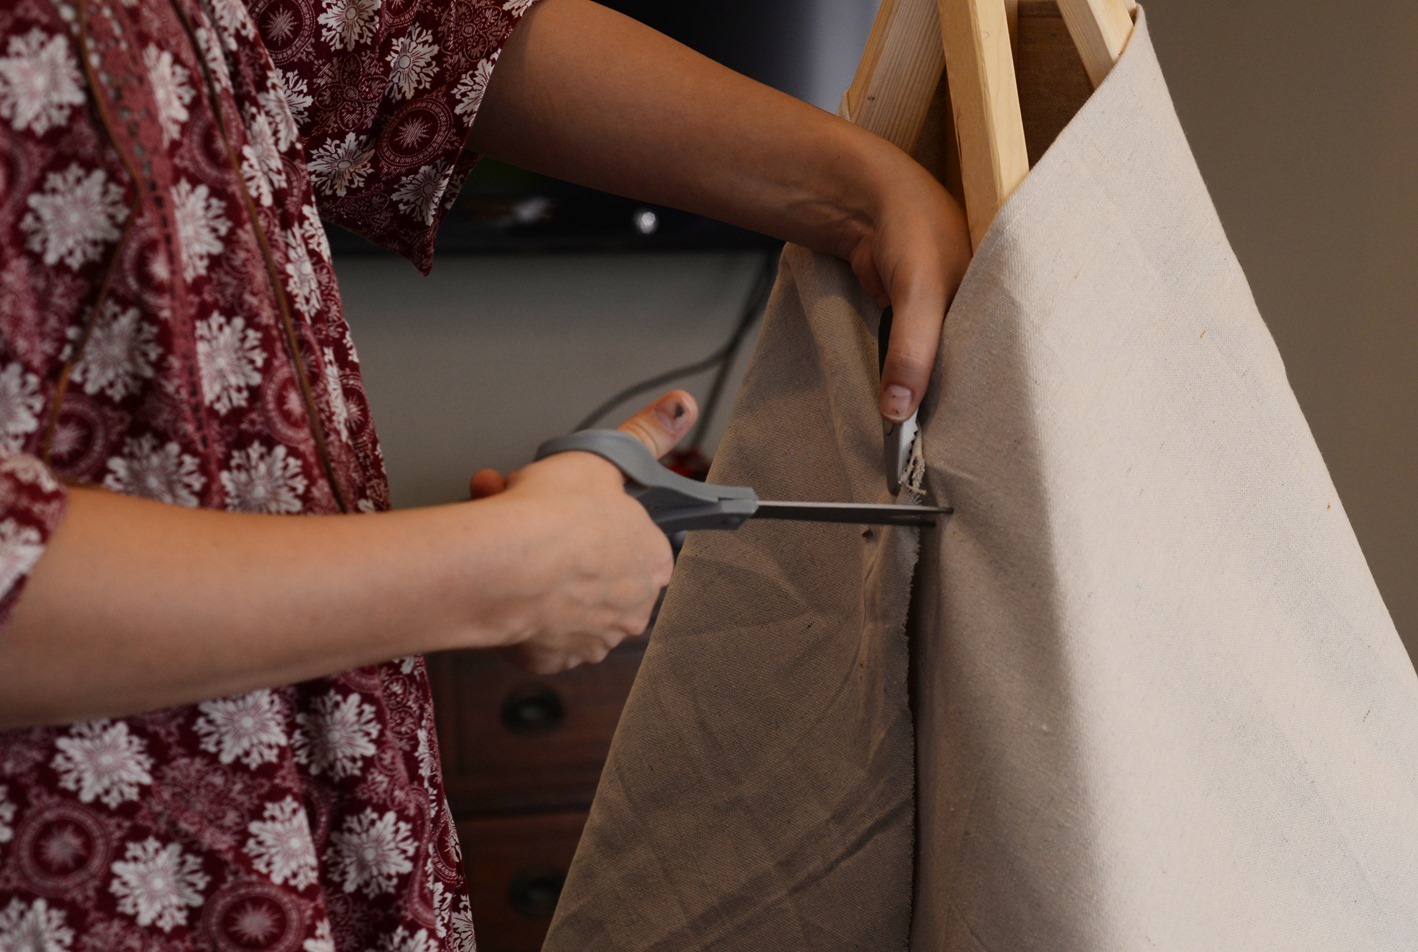
Next you’re going to cut six holes for the leather lacing that holds the canvas on. I simply pinched the fabric where I wanted holes, and made a small cut with my scissors. You can add fray check to the cut holes if you want to, but I liked the frayed look. My boys have played with our teepee a lot, including knocking it down and pulling on the laces, and we haven’t had any problems with the holes unraveling or tearing. Next take your leather cord and cross lace it through the holes to secure the canvas and to add a nice leather touch. Tie it off in the back and cut the excess cord.
Now your raw edges are going to look very unfinished at this point. To give them a finished, boho-inspired look, I frayed the fabric along the cut edges. The easiest way to do it was to simply hold the fabric taut with one hand and then to lightly pinch the fabric with my other hand and slide it down the edge a few times, fraying the strings. Any strings that hung out too long I trimmed even with the others. I love the way the fringe edge looks and because the canvas is so durable, it’s not going to easily unravel, but if you are concerned about that or you use a less-tightly woven fabric, you might want to use fray-check on these edges as well.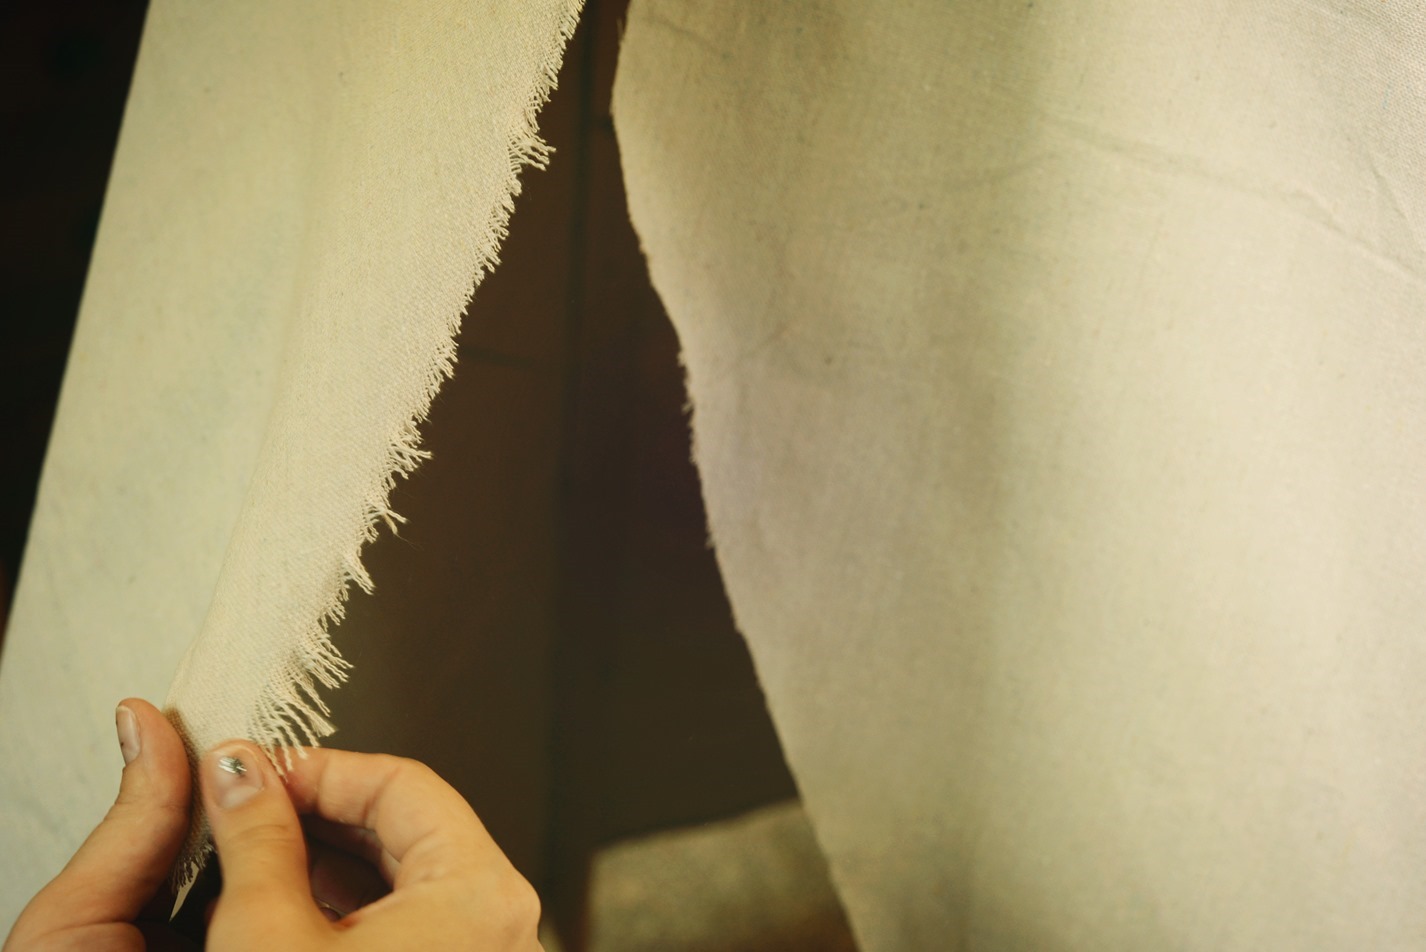
Now you have the perfect easy teepee for all of your glamping adventures!
My boys were really excited about cooking the pizzas over the fire- they don’t normally help with the meals when we go camping and have never had campfire pizza before. We love Freschetta pizzas, they have the best toppings and are so much better than other pizzas so we bought the Freschetta® Brick Oven Crust Roasted Mushroom & Spinach variety and the Pepperoni (the Freschetta® Naturally Rising pizzas are really good too, just sayin). You can find them in freezer aisle at Wal-mart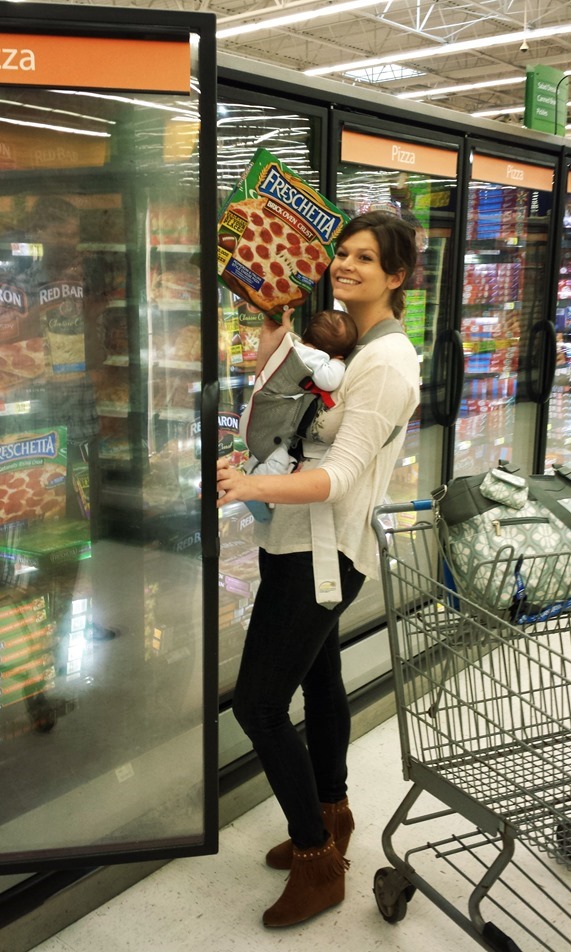
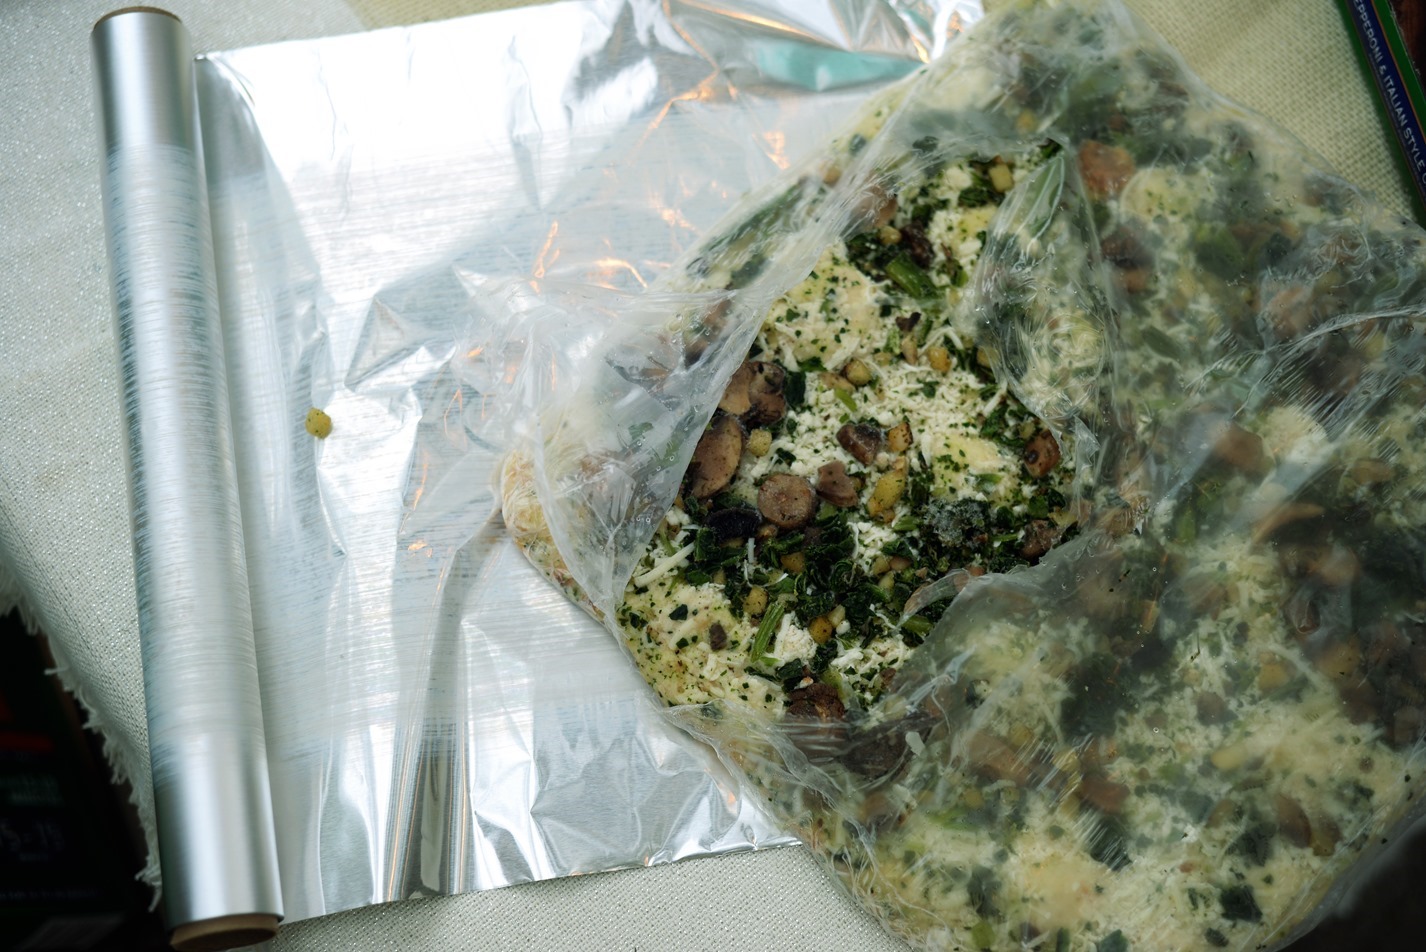
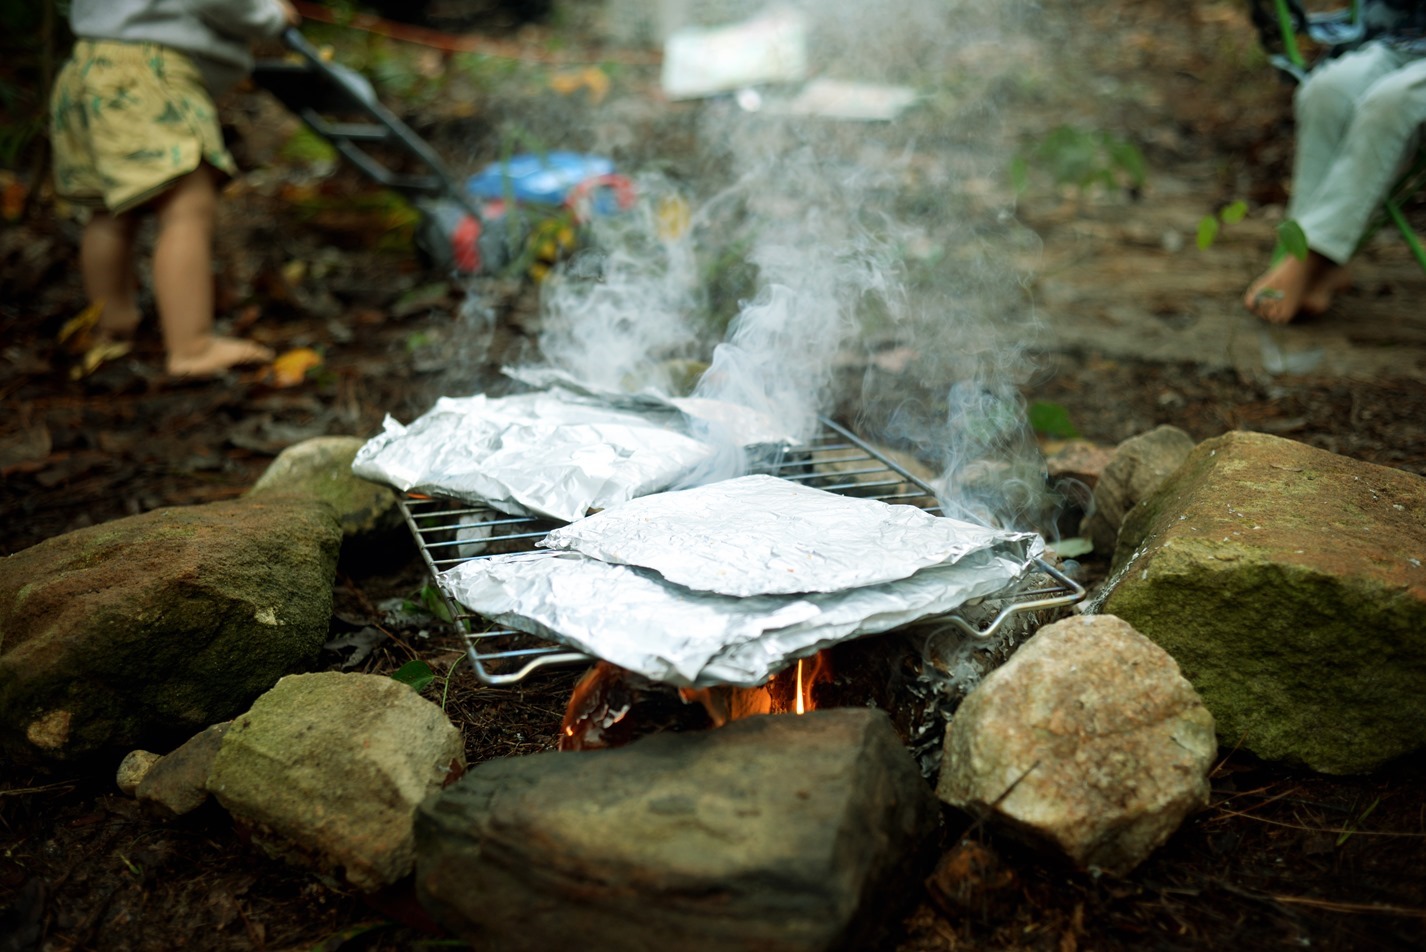
Cooking them over a fire was really simple and easy. Keep your pizza frozen until you’re ready to use it (and don’t eat them before cooking, yuck), remove the pizzas from the packaging, double wrap them in foil, making sure the entire bottom is covered especially, and place on a grill top over the center of a low fire (put your grill top on the fire five minutes before the pizzas so it can heat up). The cooking time varies based on how hot your fire is, and can be affected by wind or how cold it is outside, ours took about 15 minutes but you’ll know they’re done when the bottoms are golden brown and the cheese is all melted. Remove the pizza from the fire and let them sit for at least two minutes to cool off and then they’re ready to serve! Any you don’t eat can be put back in the cooler or thrown away.
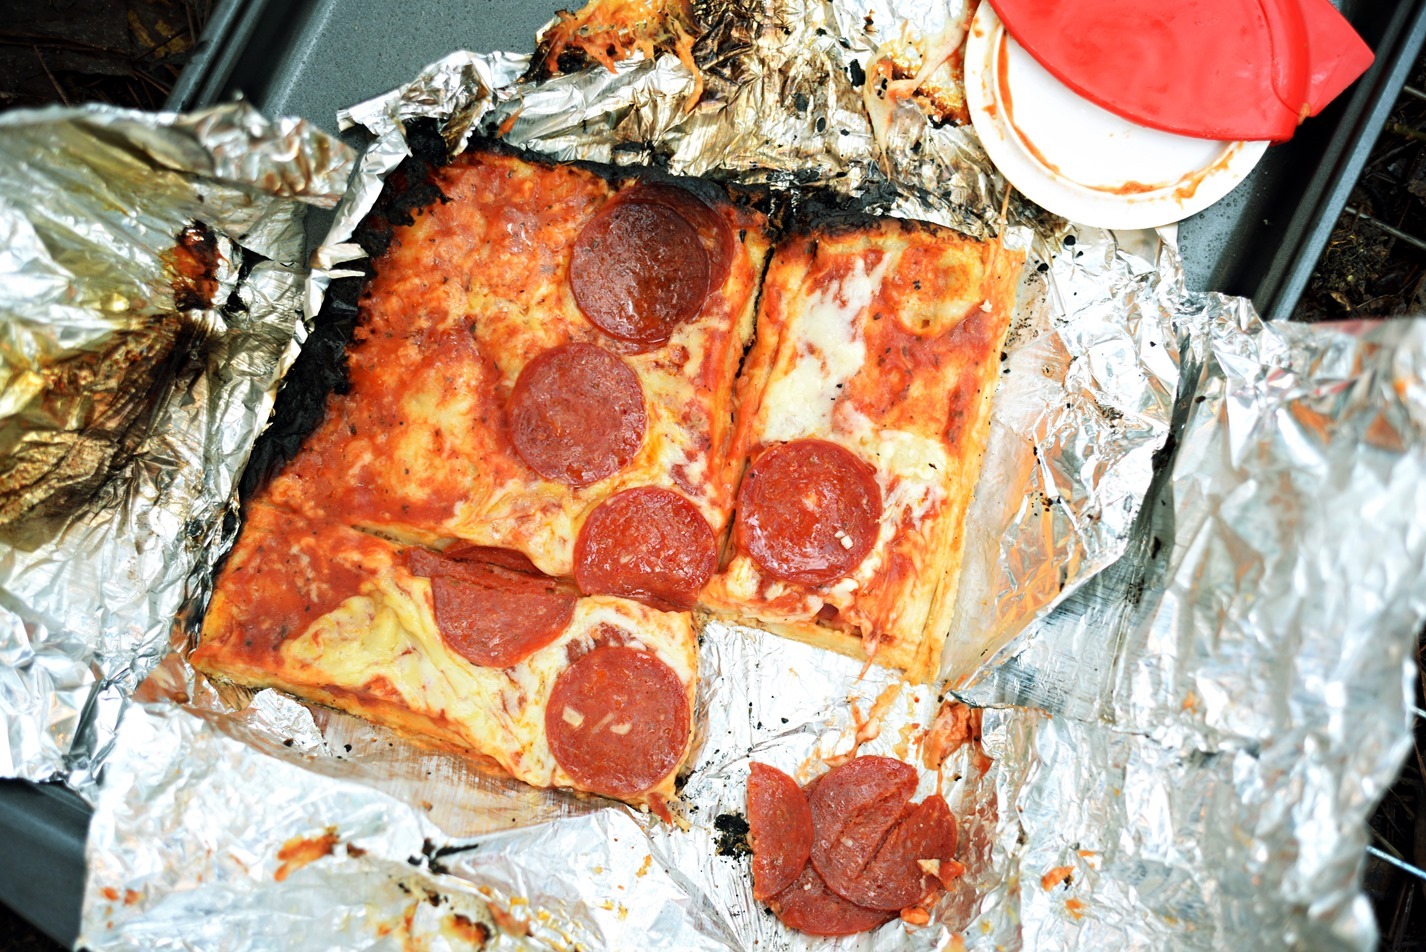
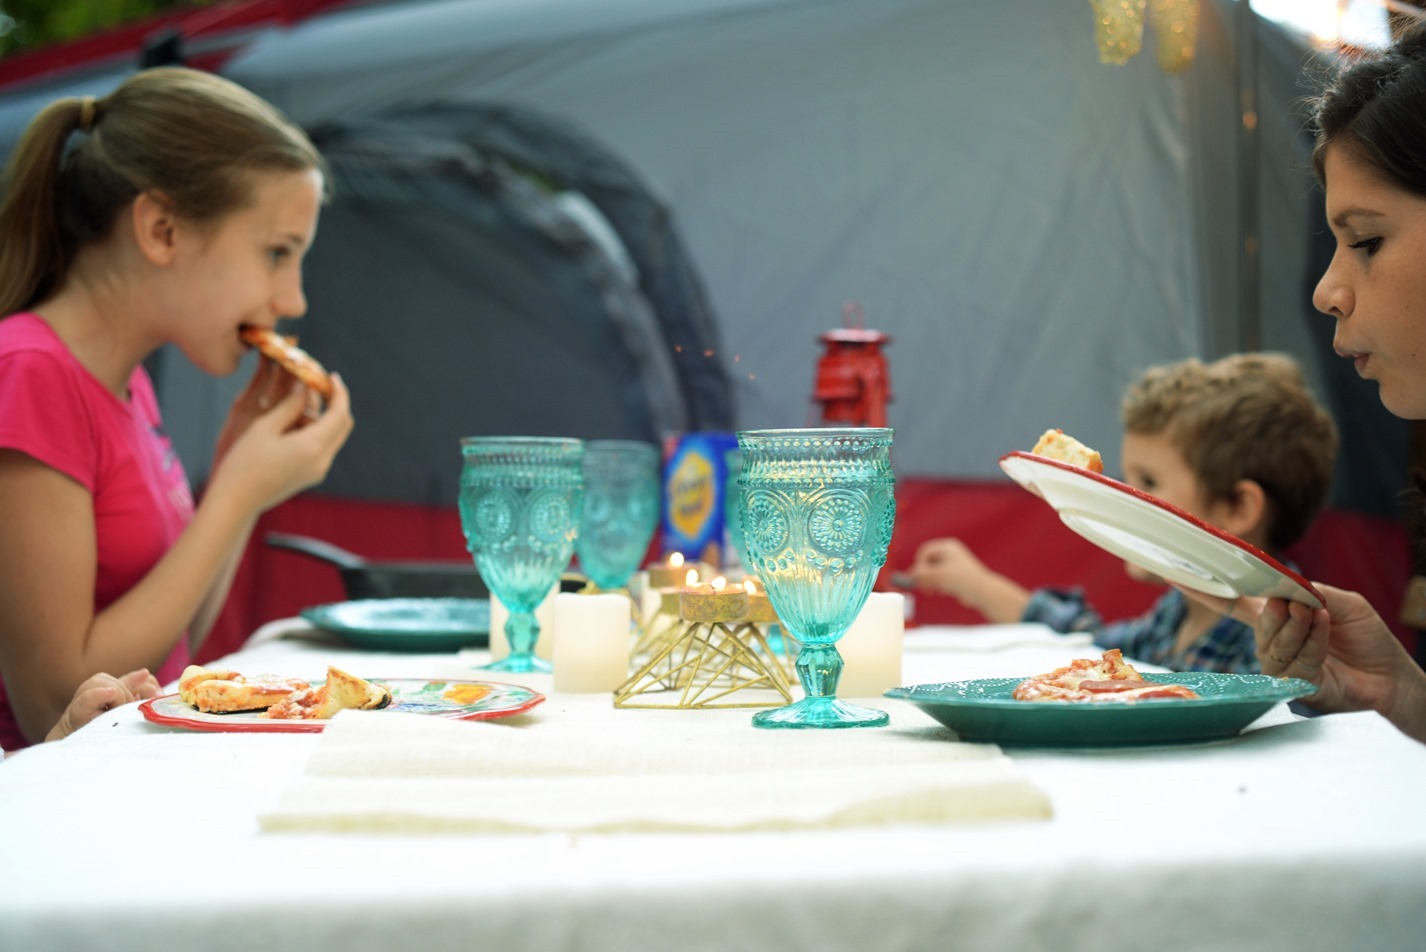
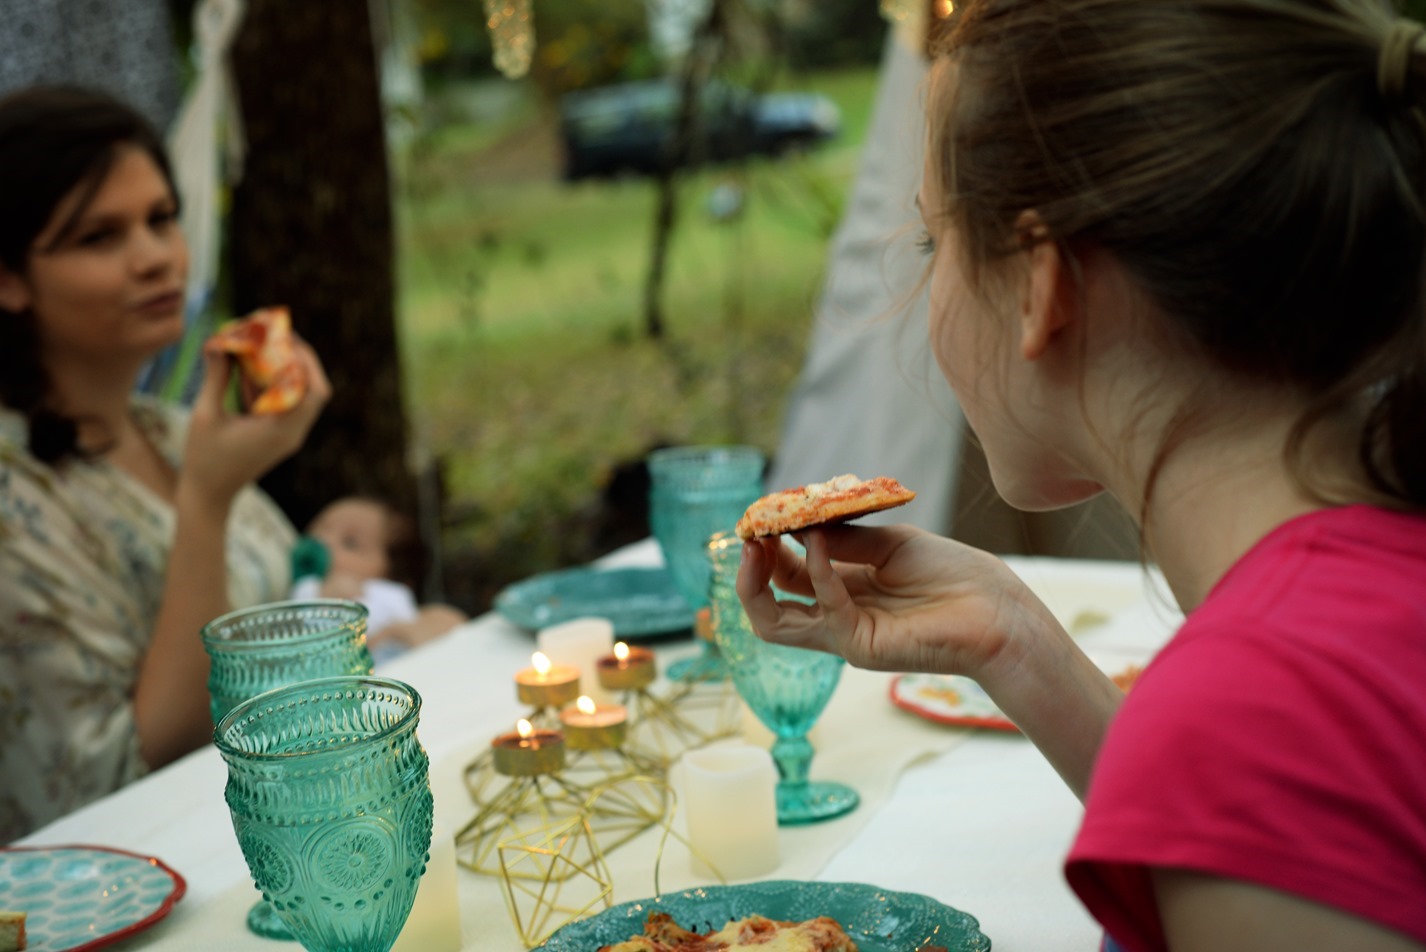
They were so good and definitely added to the glamping experience having something we truly enjoyed eating. Make sure you bring along something to cut the pizza too.
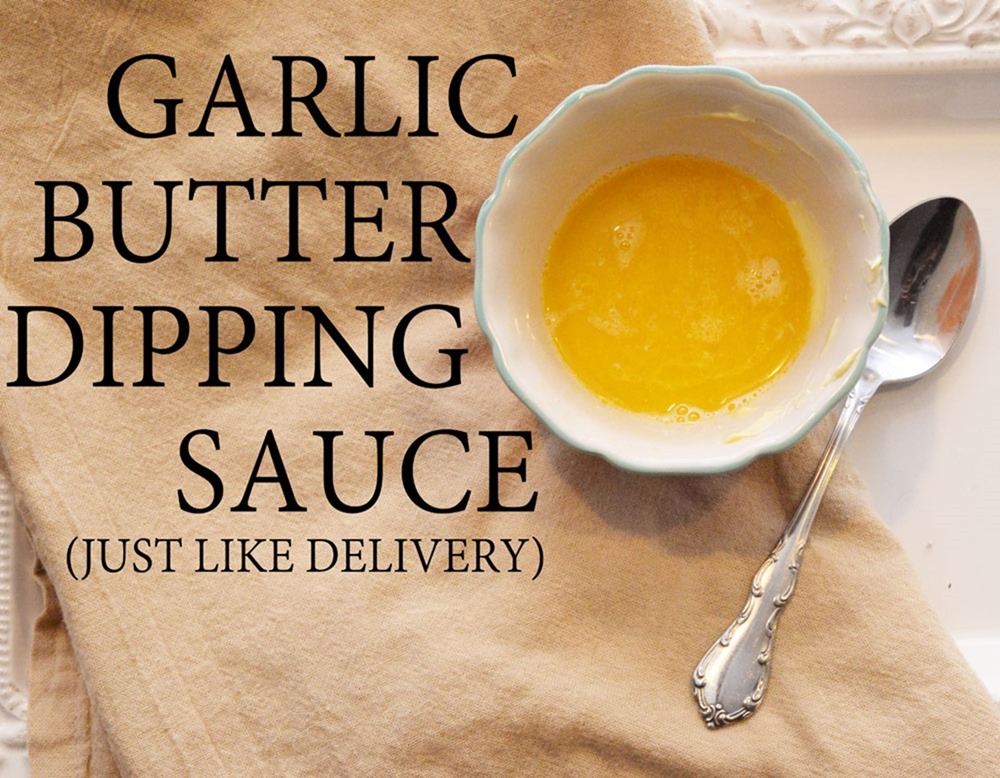
I also made a great garlic butter pizza dip to go along with the pizza; it taste just like the ones that come with restaurant pizzas. This dip is great for glamping because it will do well in a cooler without getting hard. I used a butter spread instead of real butter so that it would stay soft. Pop&Cook garlic is great too because you don’t have to do any prep work, you just pop them in and go.
For the dip, you’ll only need three simple ingredients: salt, butter spread, and garlic.
In a microwavable bowl, place 1/4 tsp of salt, 1/2 a cube of the Pop&Cook garlic (it’s above 1/2 a glove of crushed garlic), and 1/2 cup of the butter spread. Microwave it for twenty seconds on high.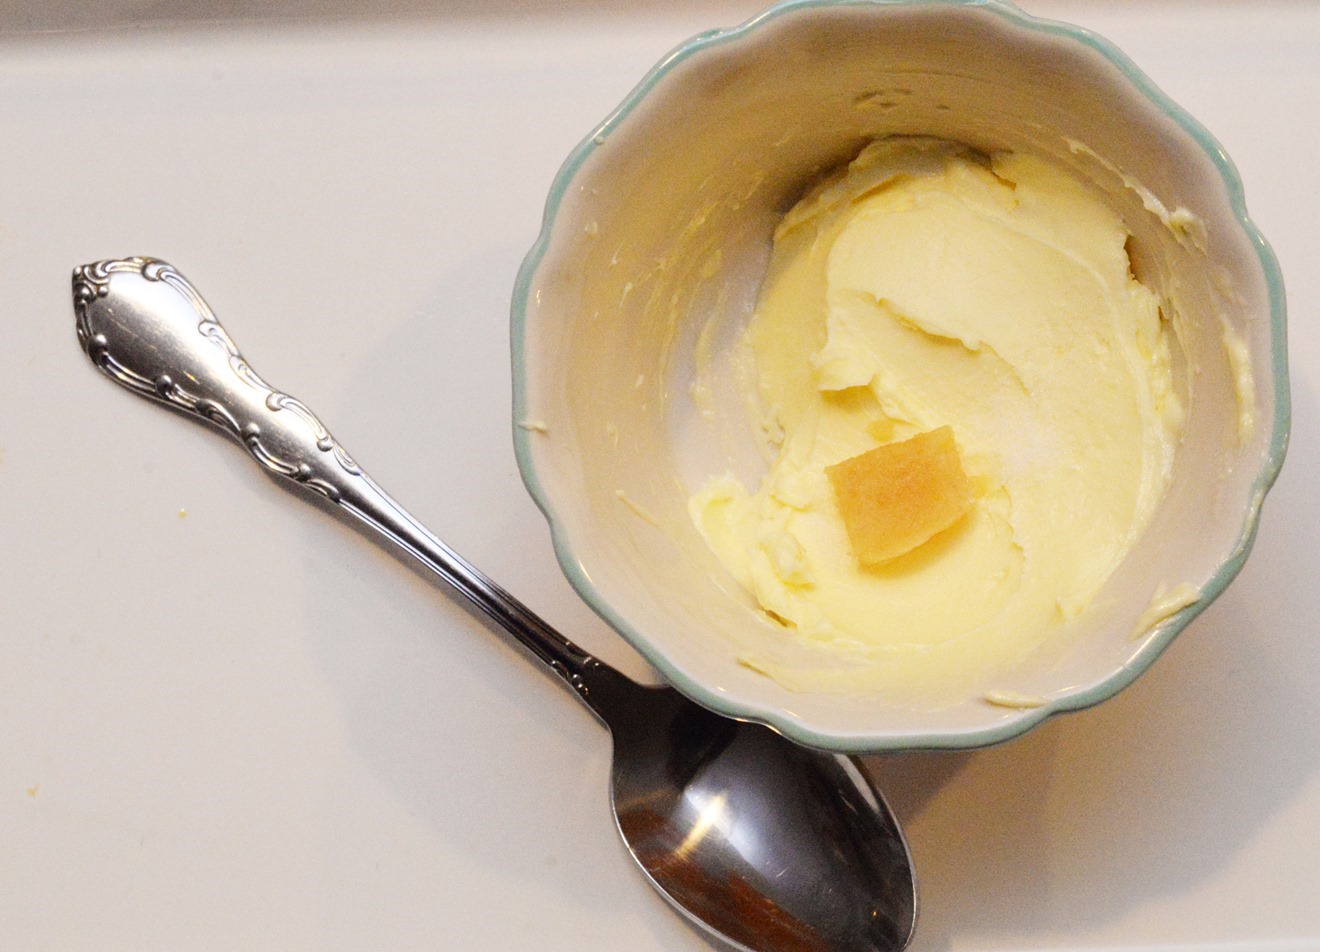
Take it out, stir it, and it’s ready! If you’re taking it camping, let it cool and then place in a cooler-safe container and have fun!
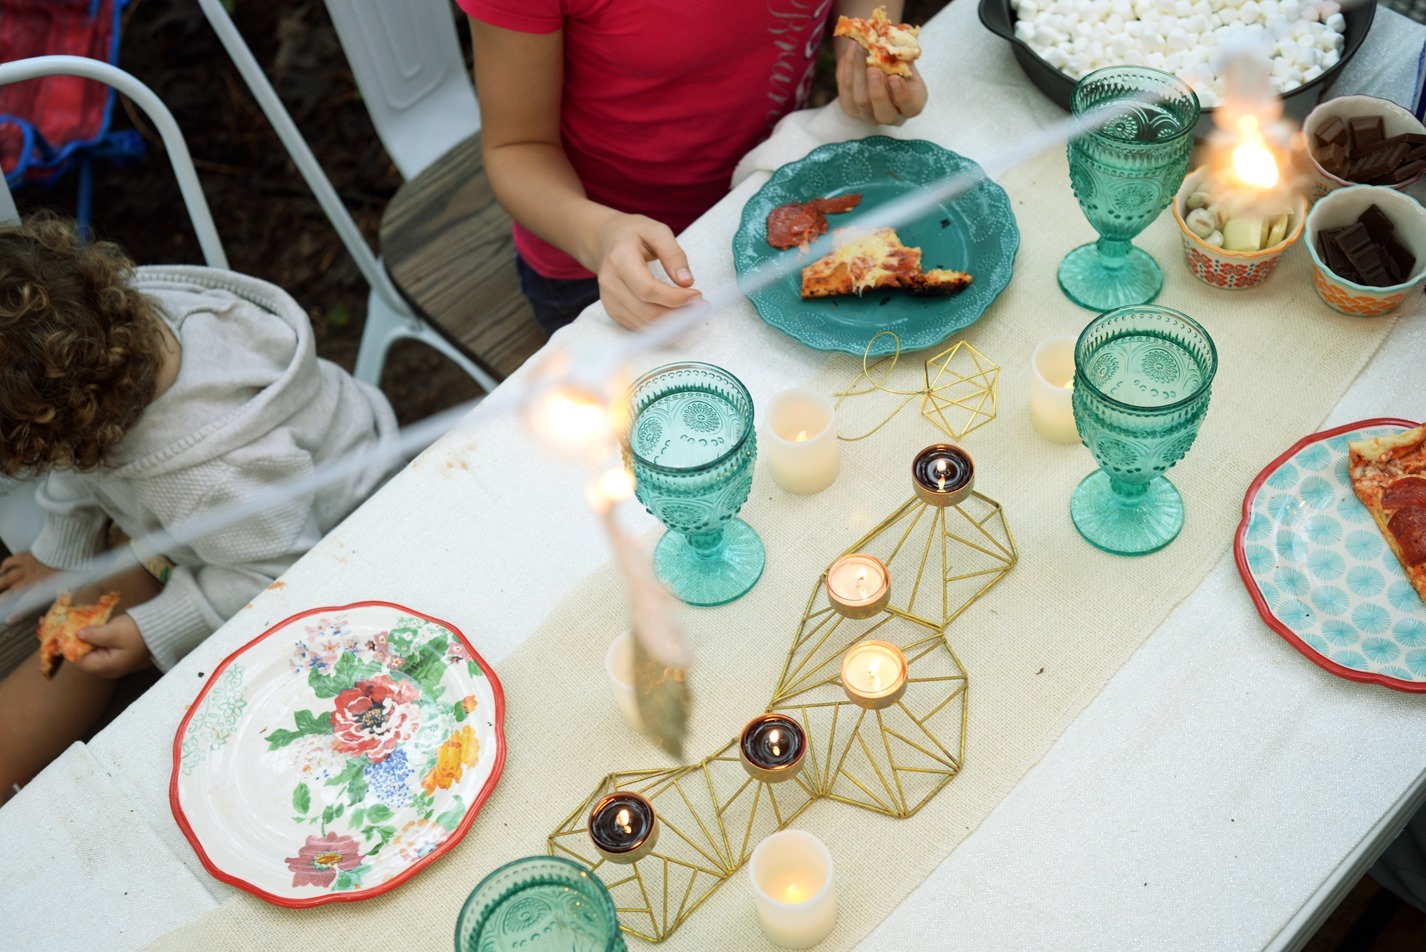
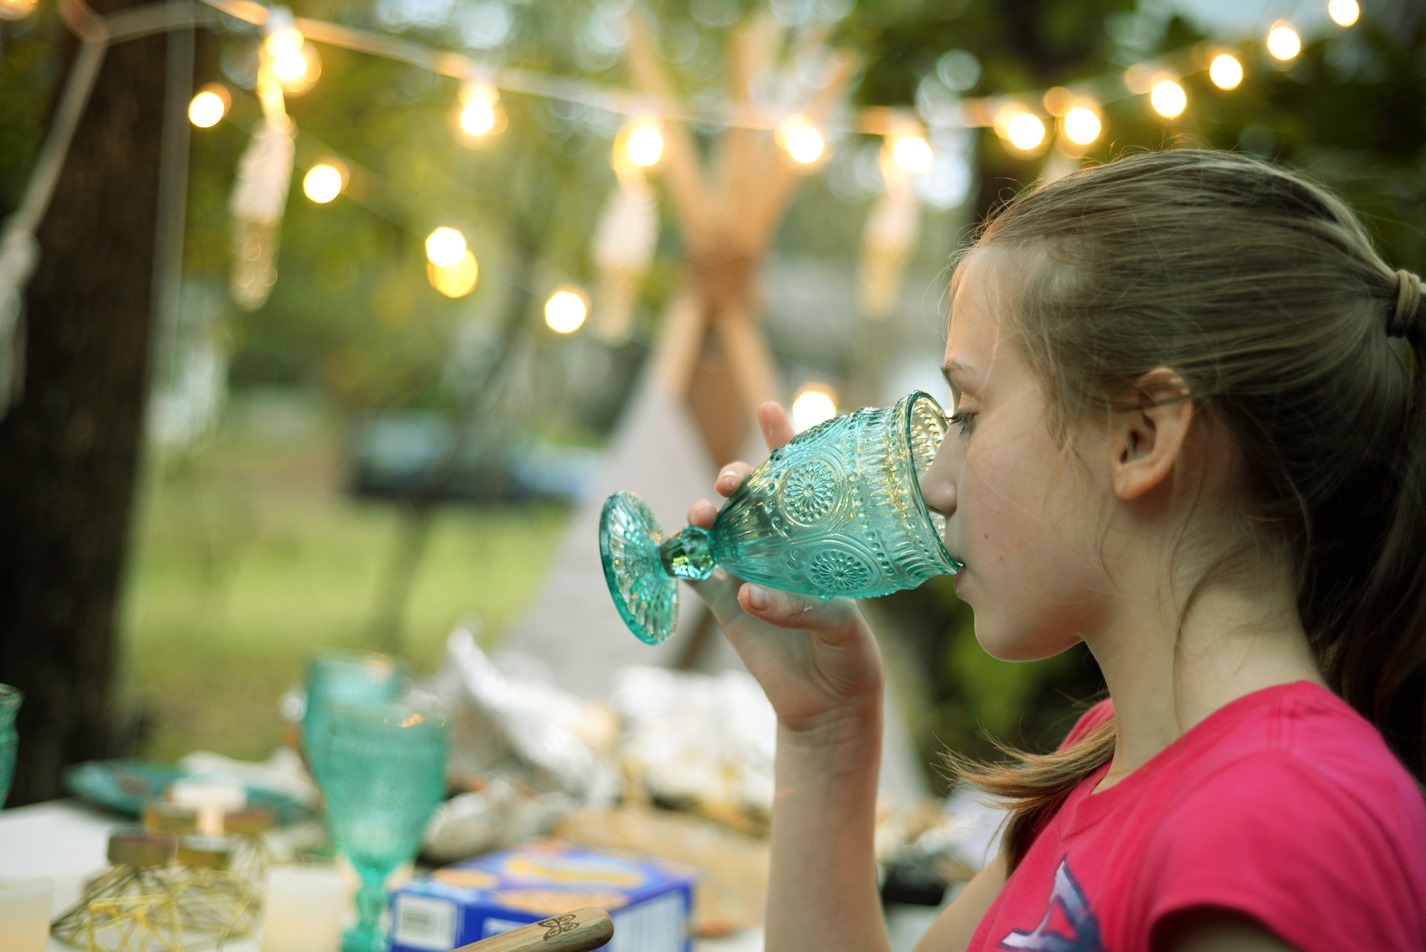
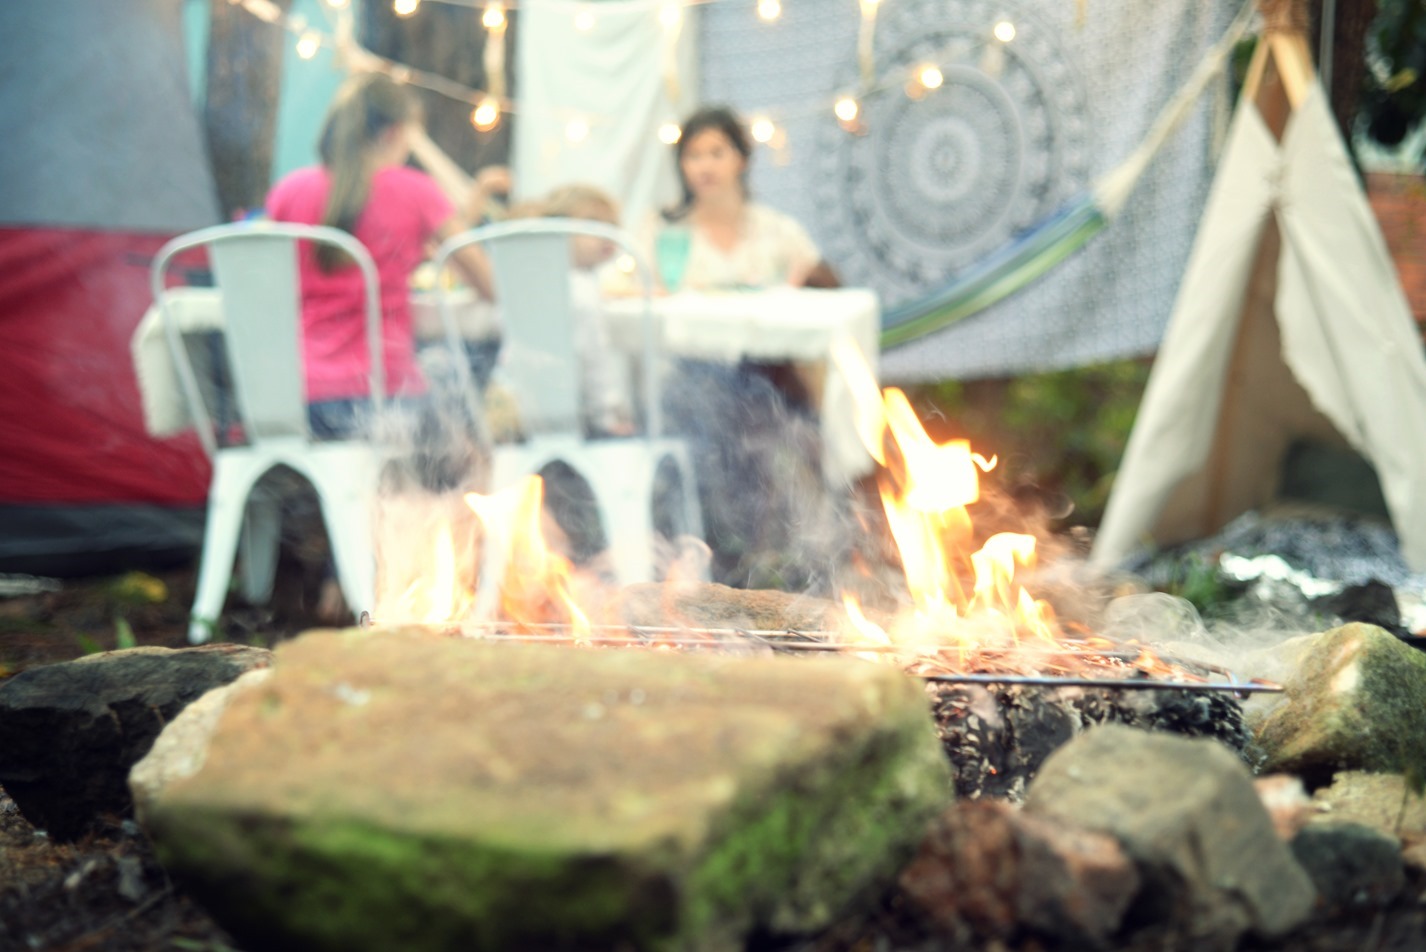
That’s my sweet niece eating with us. She joined into help out with the boys. She is the best helper! Once we were done with dinner, we moved on to dessert.
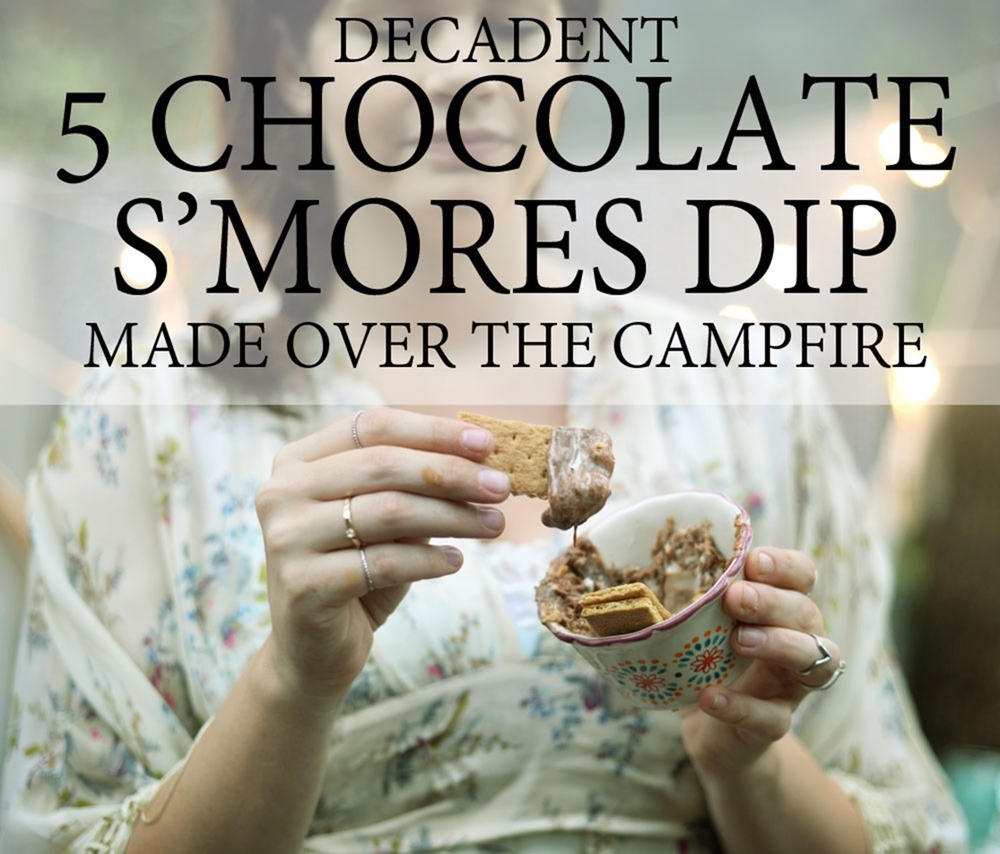
I had an idea I wanted to try for a S’mores dip that is cooked over the campfire, and it came out better than I could have even planned.

Ingredients:
Marshmellows
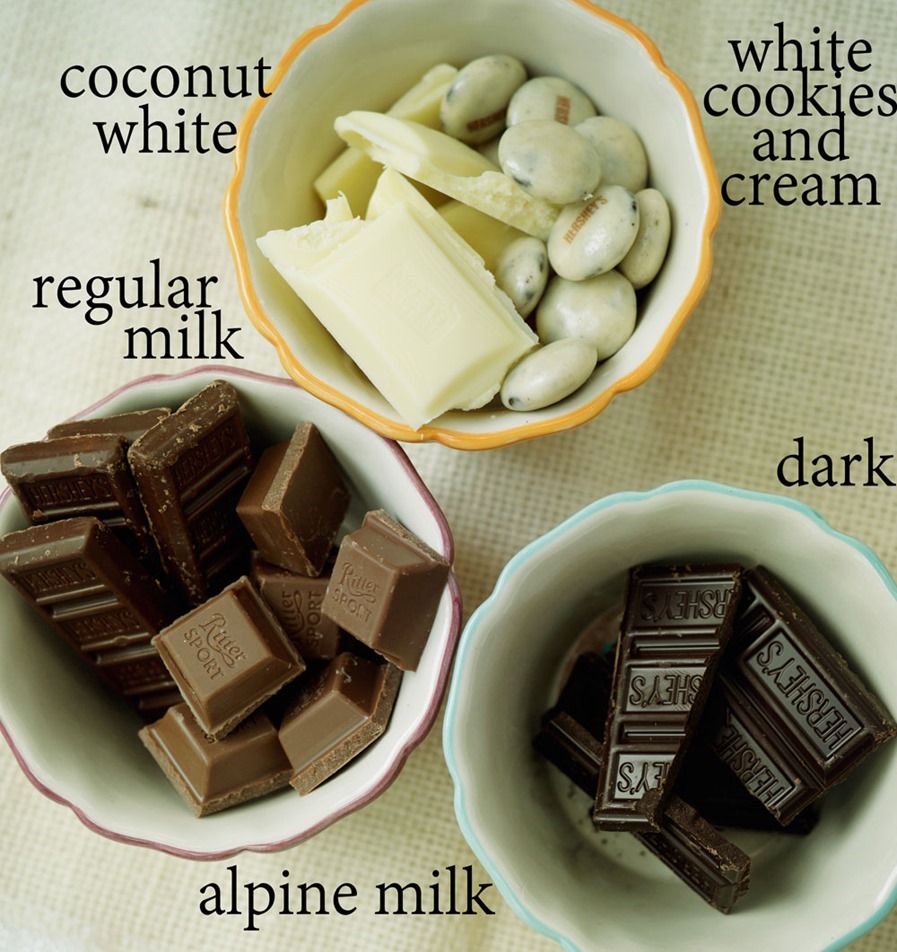
Five Kinds of Chocolate- I used regular milk chocolate, alpine milk chocolate, dark chocolate, white chocolate with cookies and cream, and the secret ingredient- white coconut chocolate
Graham Crackers

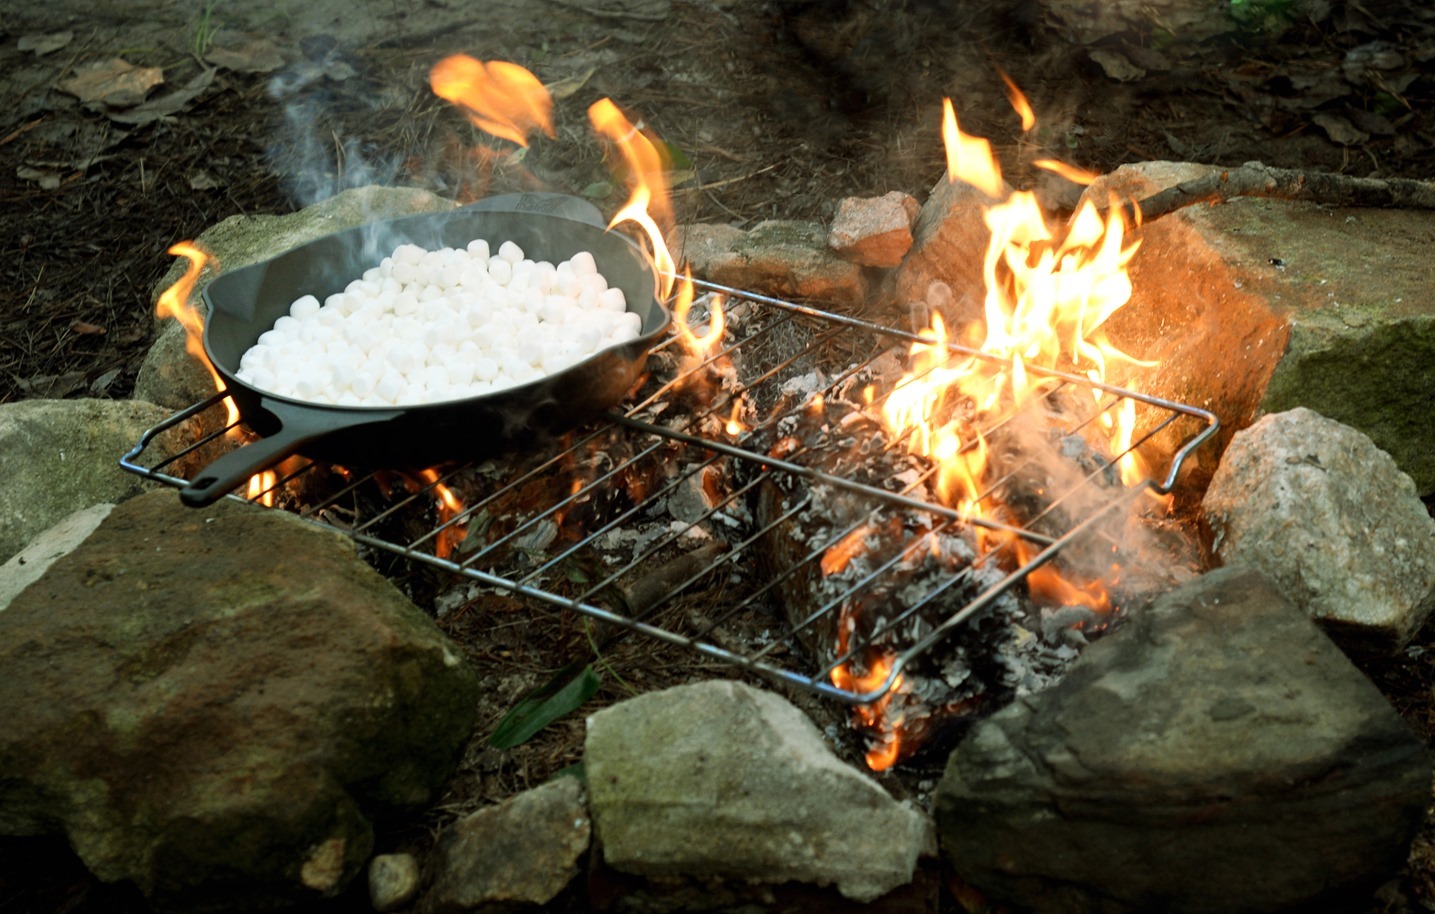
Directions: Pour your bag of marshmallows into a cast iron skillet. You don’t need to worry about spraying the skillet with any kind of oil as long as your skillet is still seasoned well. Put your skillet on the fire and let it cook until you begin to see the marshmallows browning on the edges.
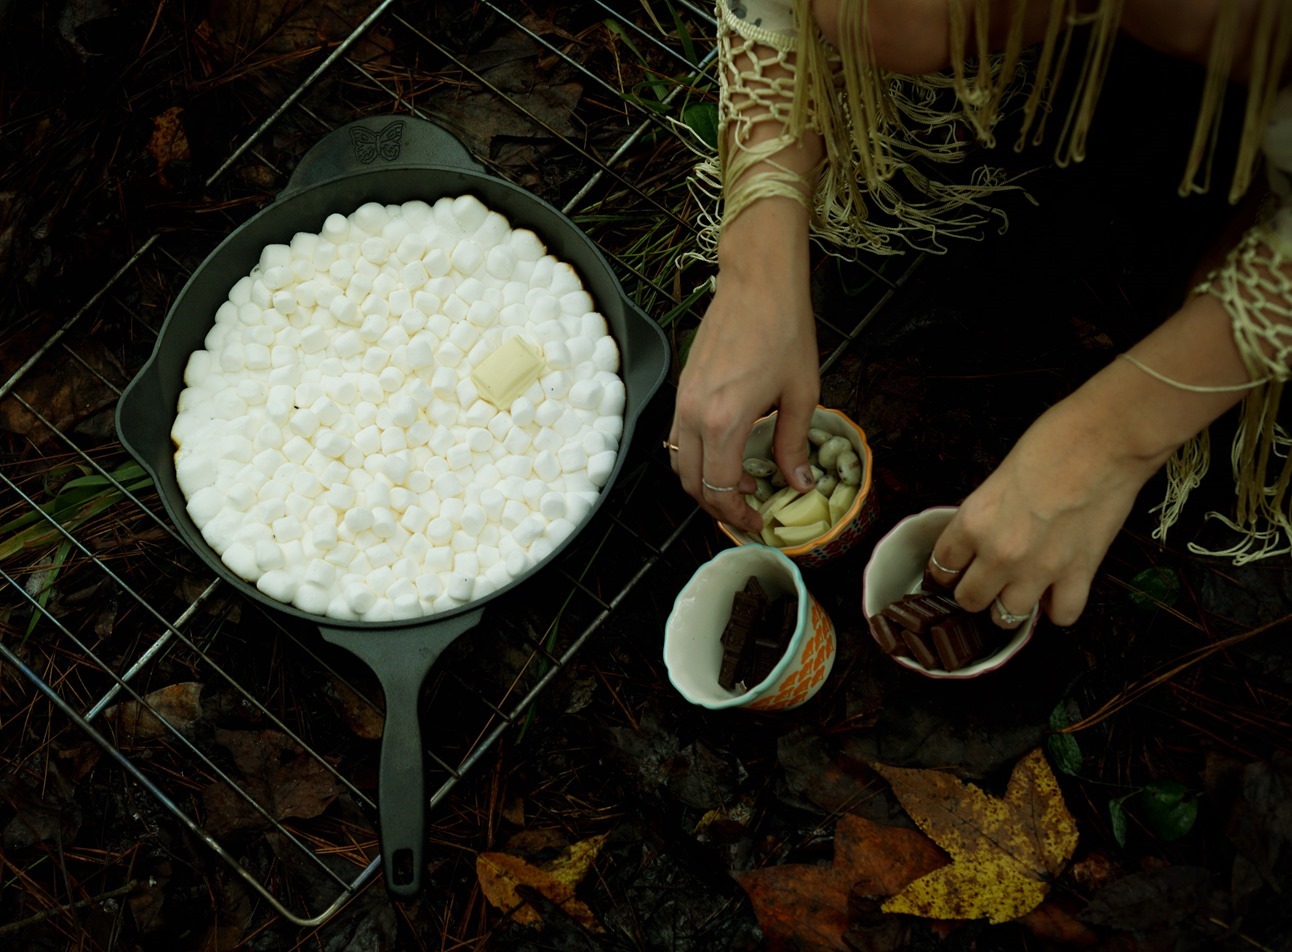
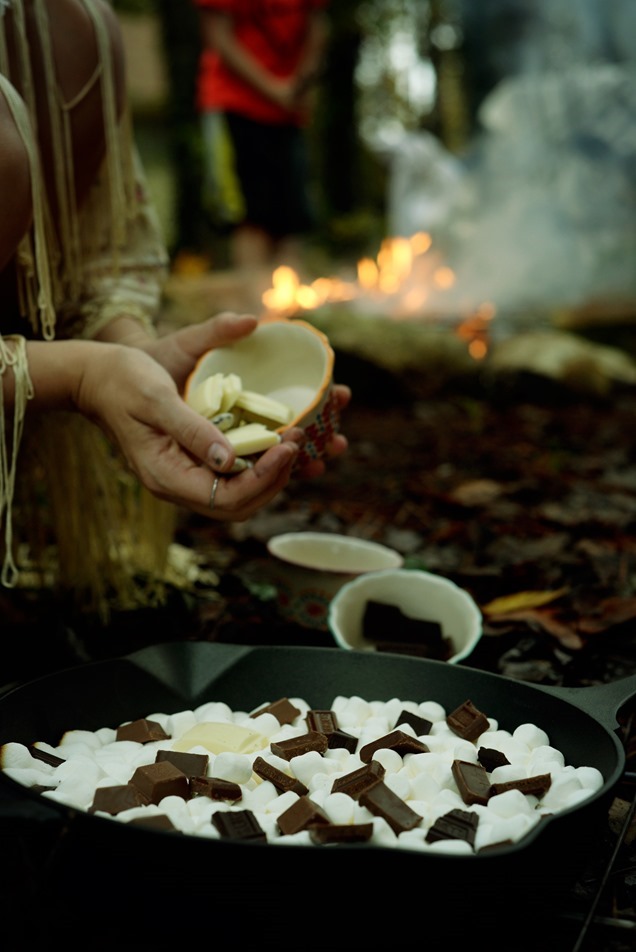
Remove your skillet from the fire and put all of your chocolate on top. (I wish I had stirred my marshmallows before so I could have marbled the chocolate in, so if you’re going for looks, mix the marshmallows before adding the chocolate.) Then put it back on the fire. It only needs to sit on the fire long enough for the chocolate to melt. Stir the chocolate in until evenly mixed and remove from the fire again! Serve with graham crackers to dip in and it’s the perfect S’more!
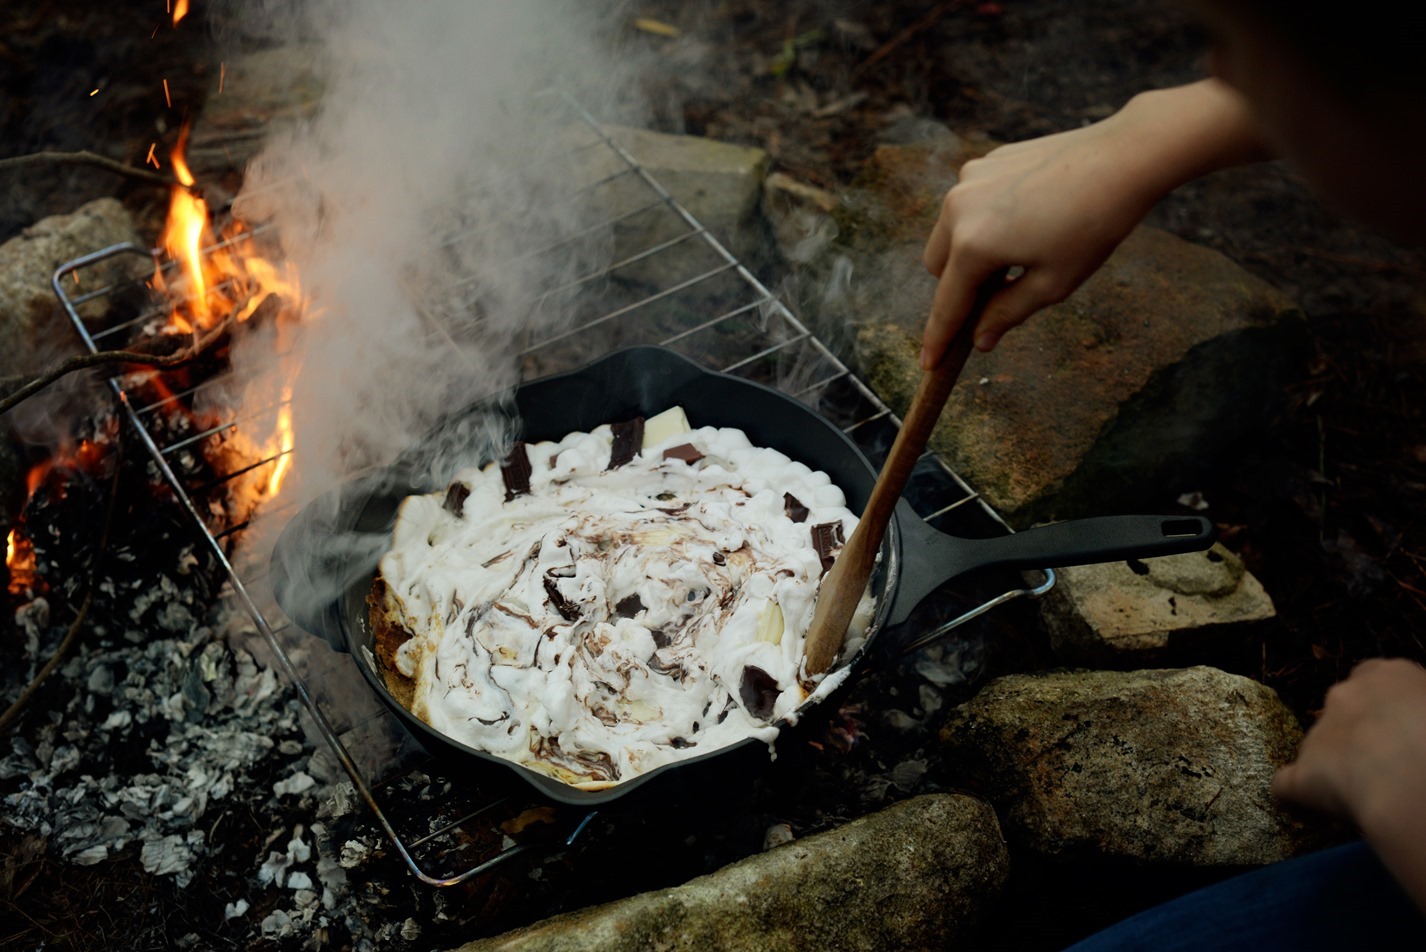
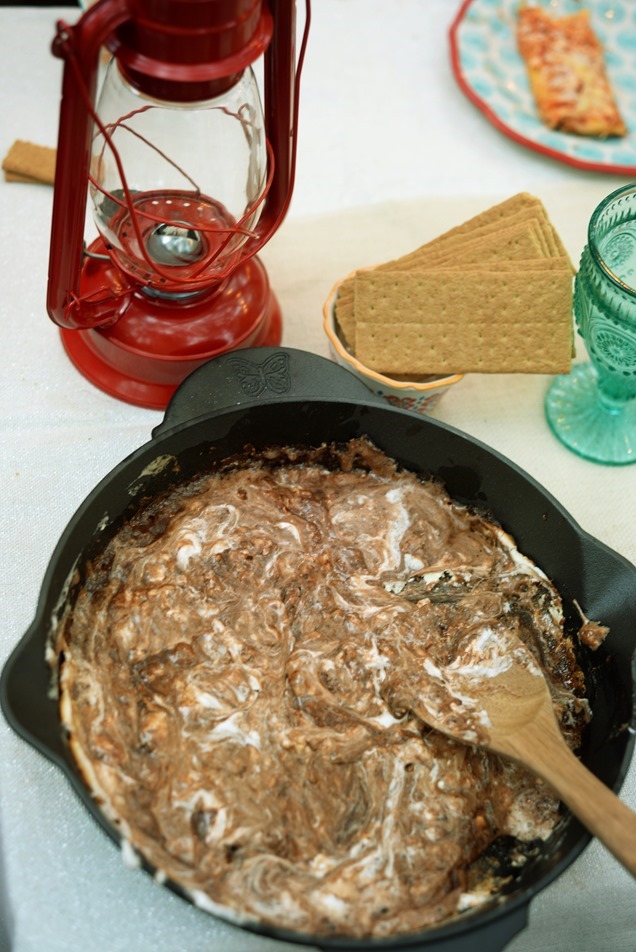
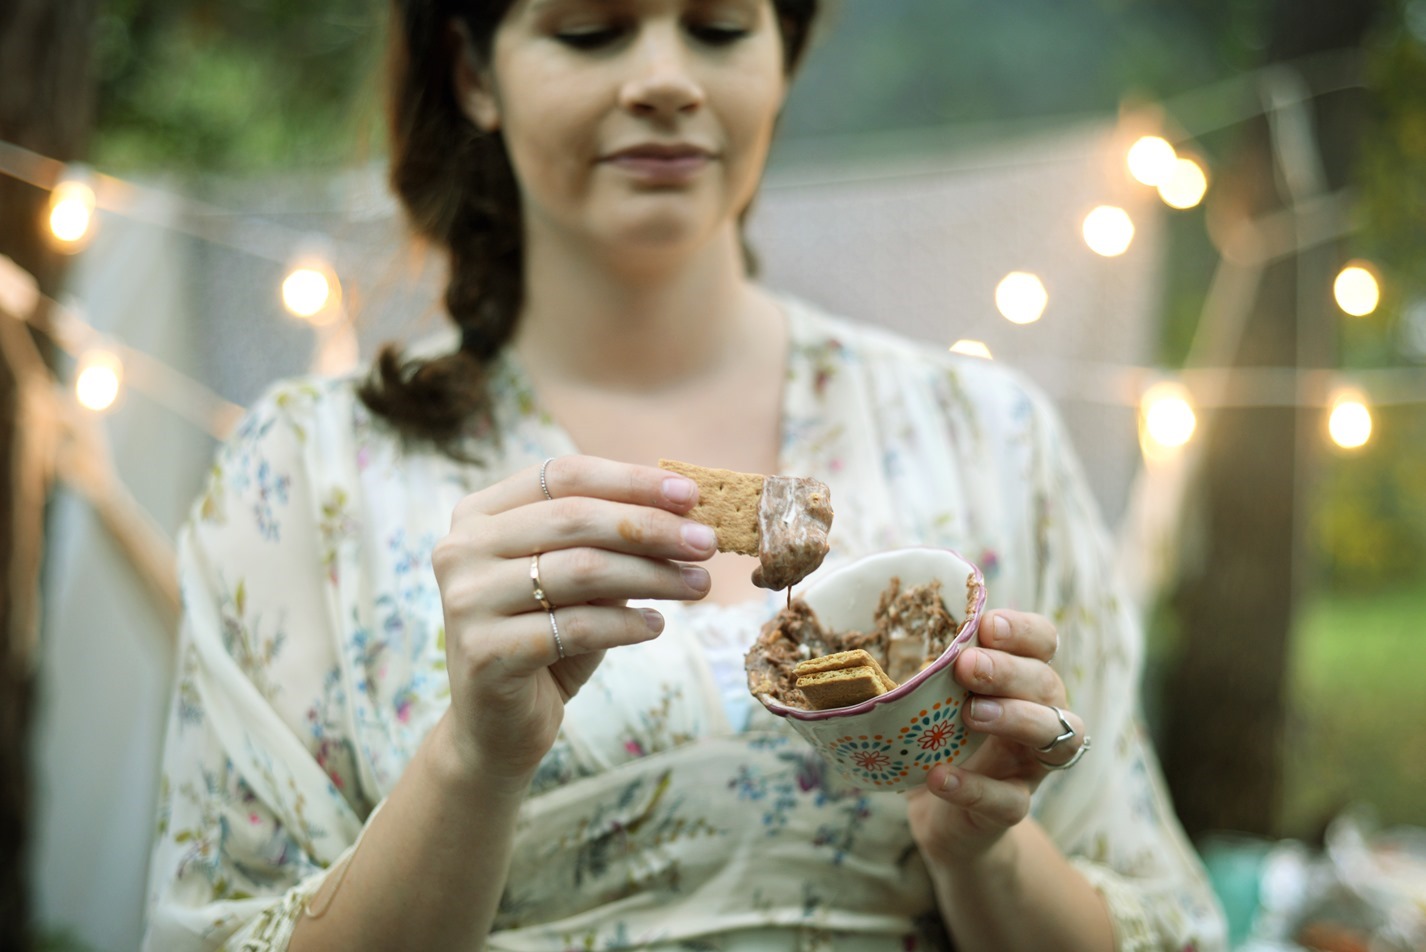
I knew this was gonna be good, but I had no idea. It was SO good. You know how your chocolate never melts enough and your marshmallow is always burnt? Problem solved. Plus, it’s a great dish to share.
We spent the rest of our night cooking marshmallows, playing in the teepee and just enjoying our cute camp spot. It was the most perfect evening and I can’t wait until we get to do it again. Hopefully the rain lets up and we can enjoy being outside again!
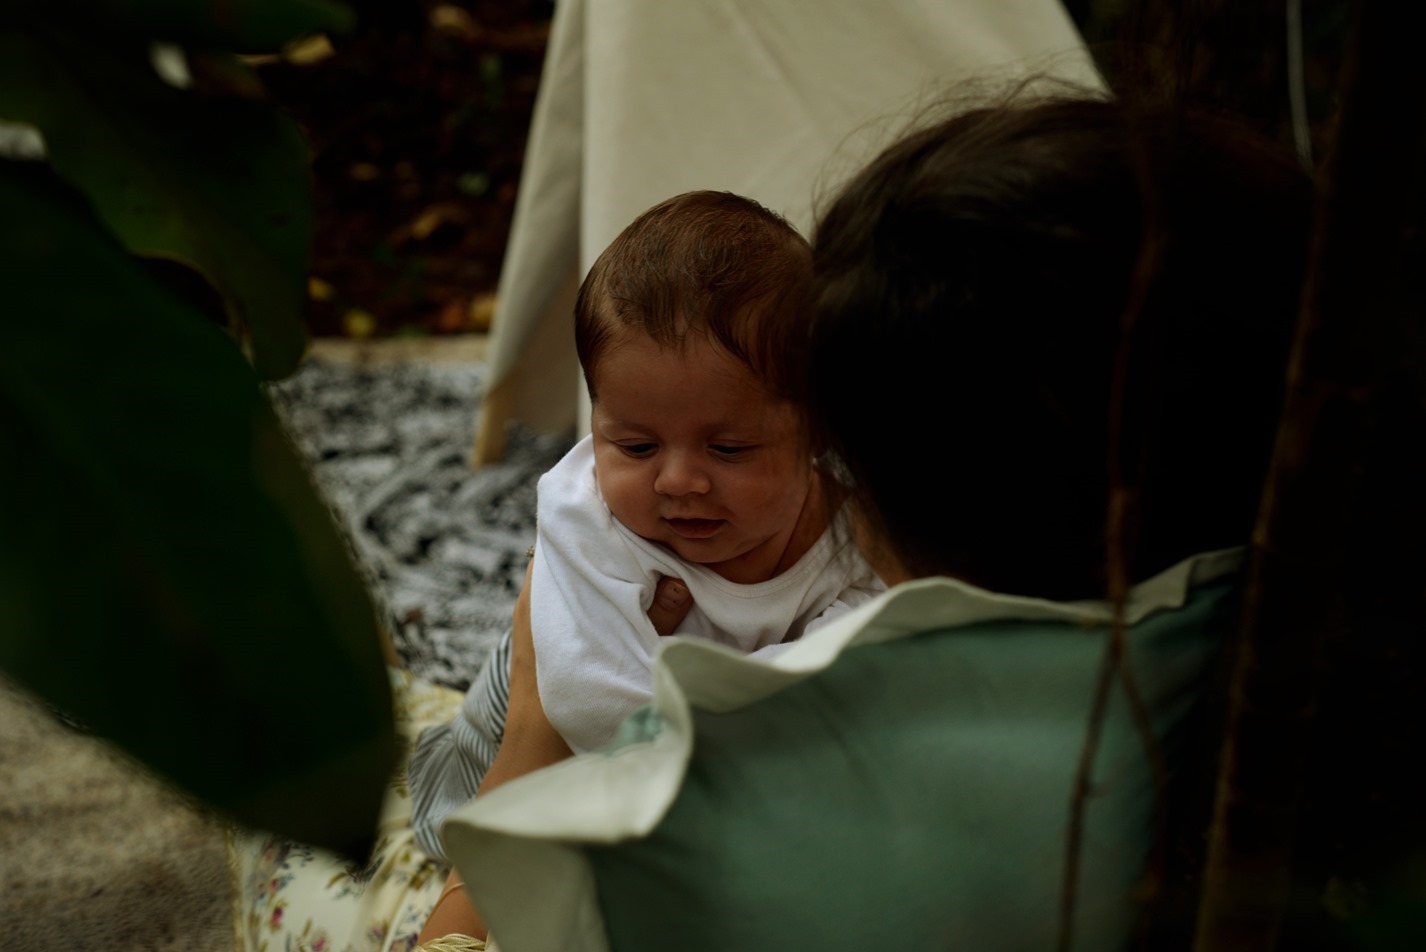
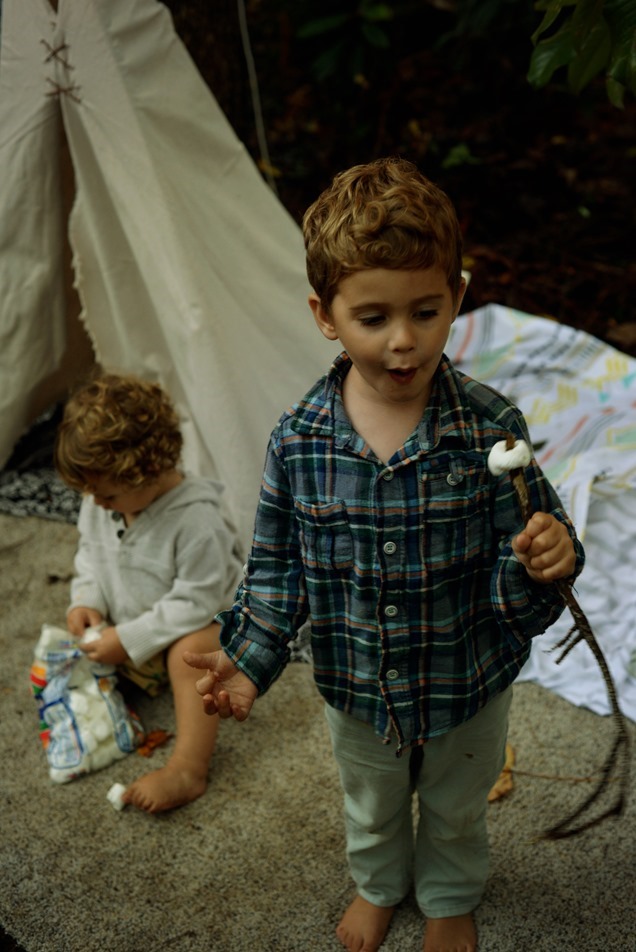
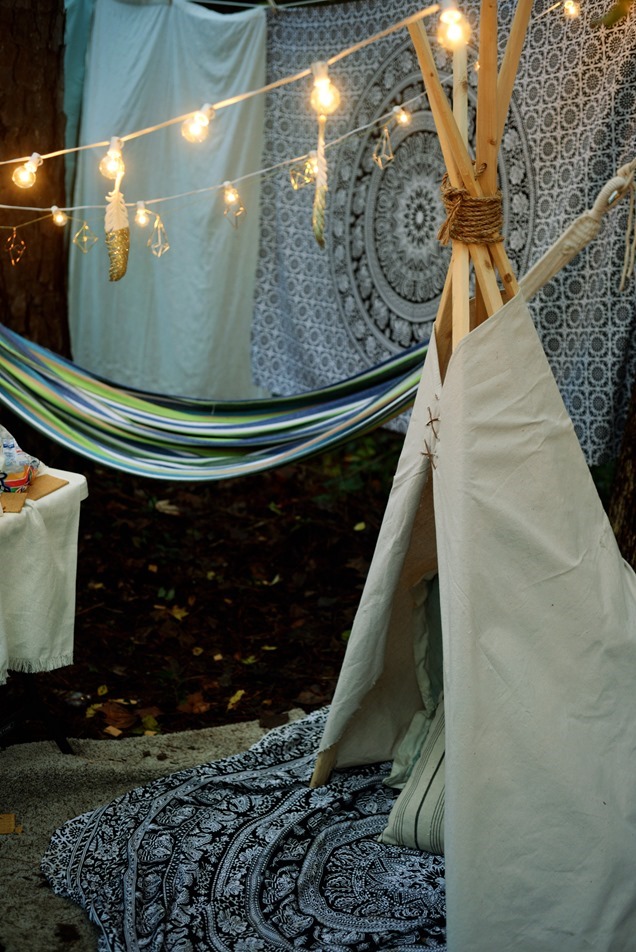
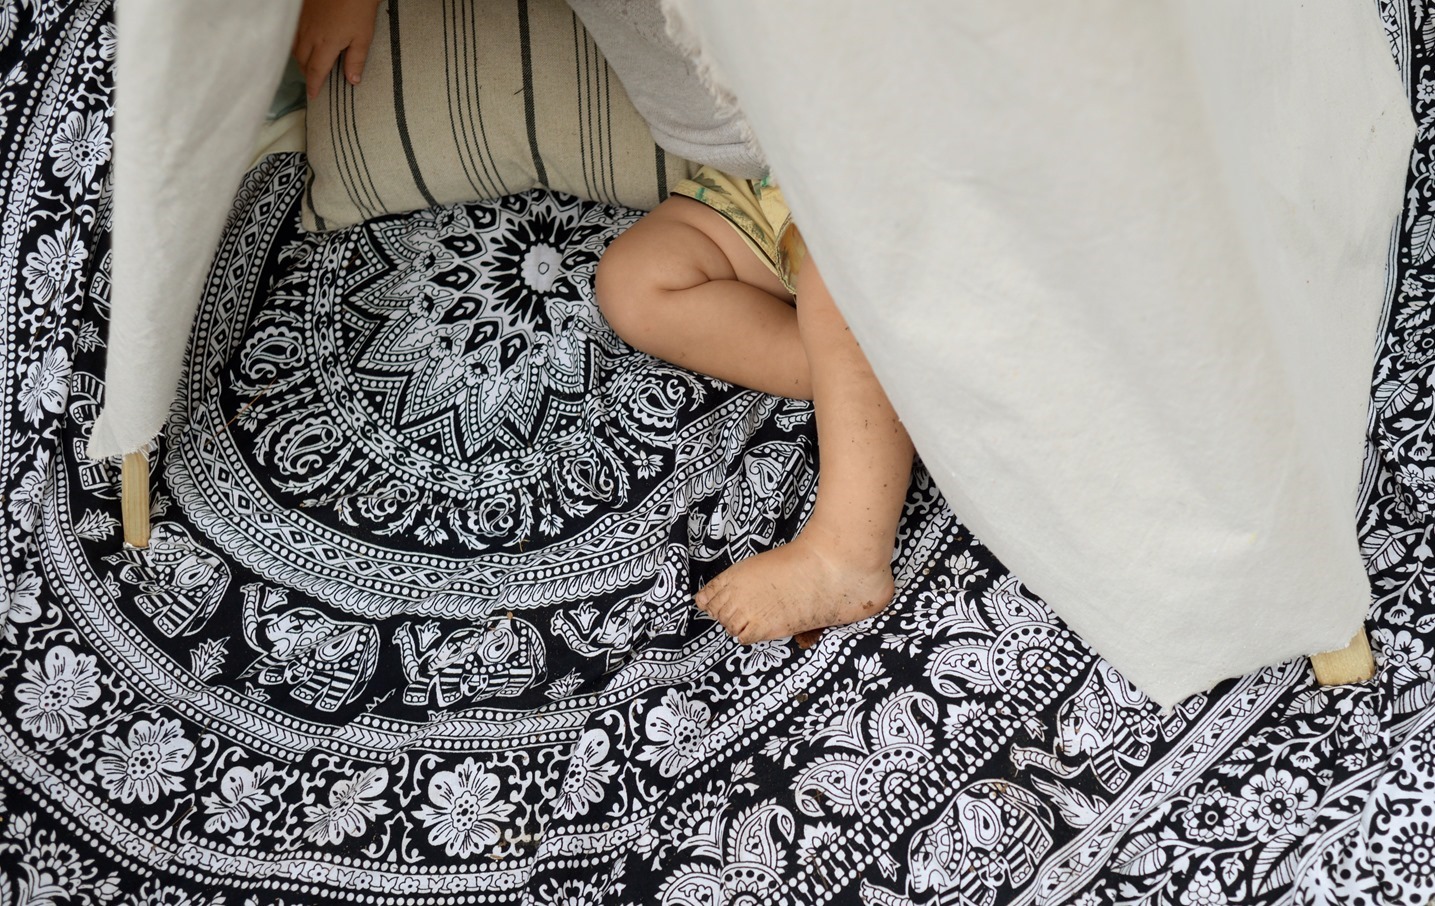 The teepee was a great place to crash.
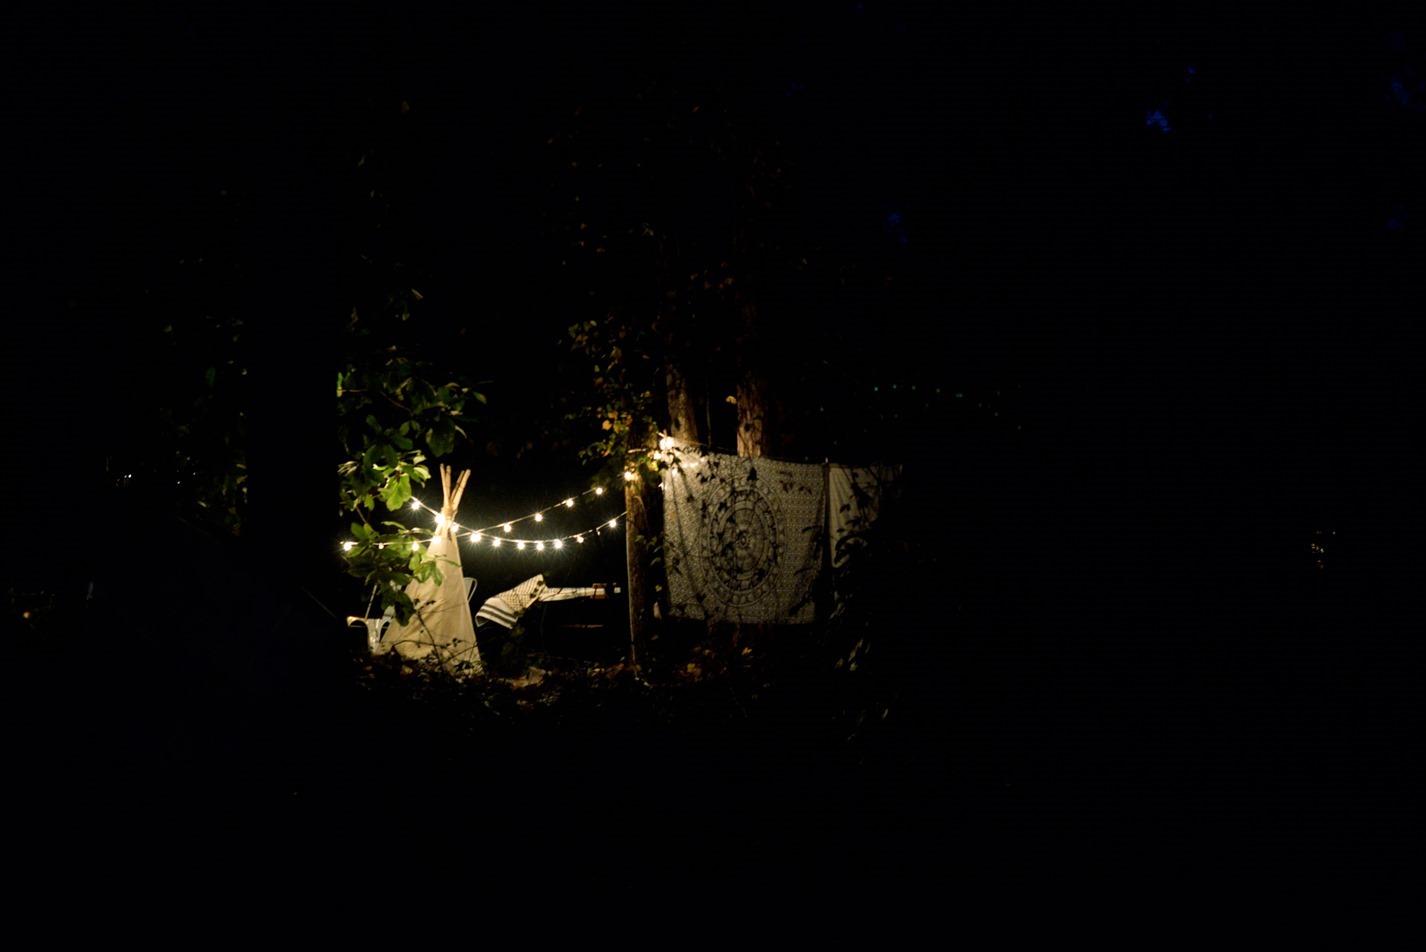
I had such a fun time glamping with my family, and now I really want to plan a girls trip. Have you ever gone glamping? You know you’re dying to go now, aren’t you?


That Teepee turned out great! You did a fabulous job… and no sew is right up my alley.
Paige
http://thehappyflammily.com
I love your TeePee! How cute – and your children will be able to enjoy it for years to come. It looks like you’ll be glamping a lot in the future! Next time, invite me – I’m dying for your s’mores! #client
I love glamping! I first heard of it when I was living in Seoul. People would just pitch up a tent anywhere green and just chill. They even had places just for glamping, all of the work done for you, you just arrive and enjoy! Are those dishes and cups from the new Pioneer Woman line at Walmart? They look so lovely!
Yes they are, I love her line! I’m seriously wanting to go glamping in Seoul now!
I LOVE that teepee! I’m sure your children will get lots of play out of it when the glamping is over. It makes me wish my kids were young again. They would have loved it. And the feathers are too cute. Great ideas!
Thanks Tonya, and thanks for visiting! You can find me on instagram too @goodmorningloretta!
Hi, I am curious how the canvas cover doesn’t slide down the poles? I see that it is held together by the cross-stitch with the leather cord but if the poles are slightly bumped, does the cover start inching its way down the poles?
Thank you. I enjoyed reading your post that I stumbled upon!